Set up ThingsBoard Edge
In this step, you will create an Edge instance record in your ThingsBoard account, install the instance, and access the Edge UI.
Provision Edge
Section titled “Provision Edge”Before installing Edge software, create an Edge instance record in your ThingsBoard account. This generates the credentials (Edge key and Edge secret) that Edge uses to authenticate on the server.
-
Log in to your ThingsBoard account as a Tenant Administrator. Use your own credentials or the defaults (
tenant@thingsboard.org/tenant). -
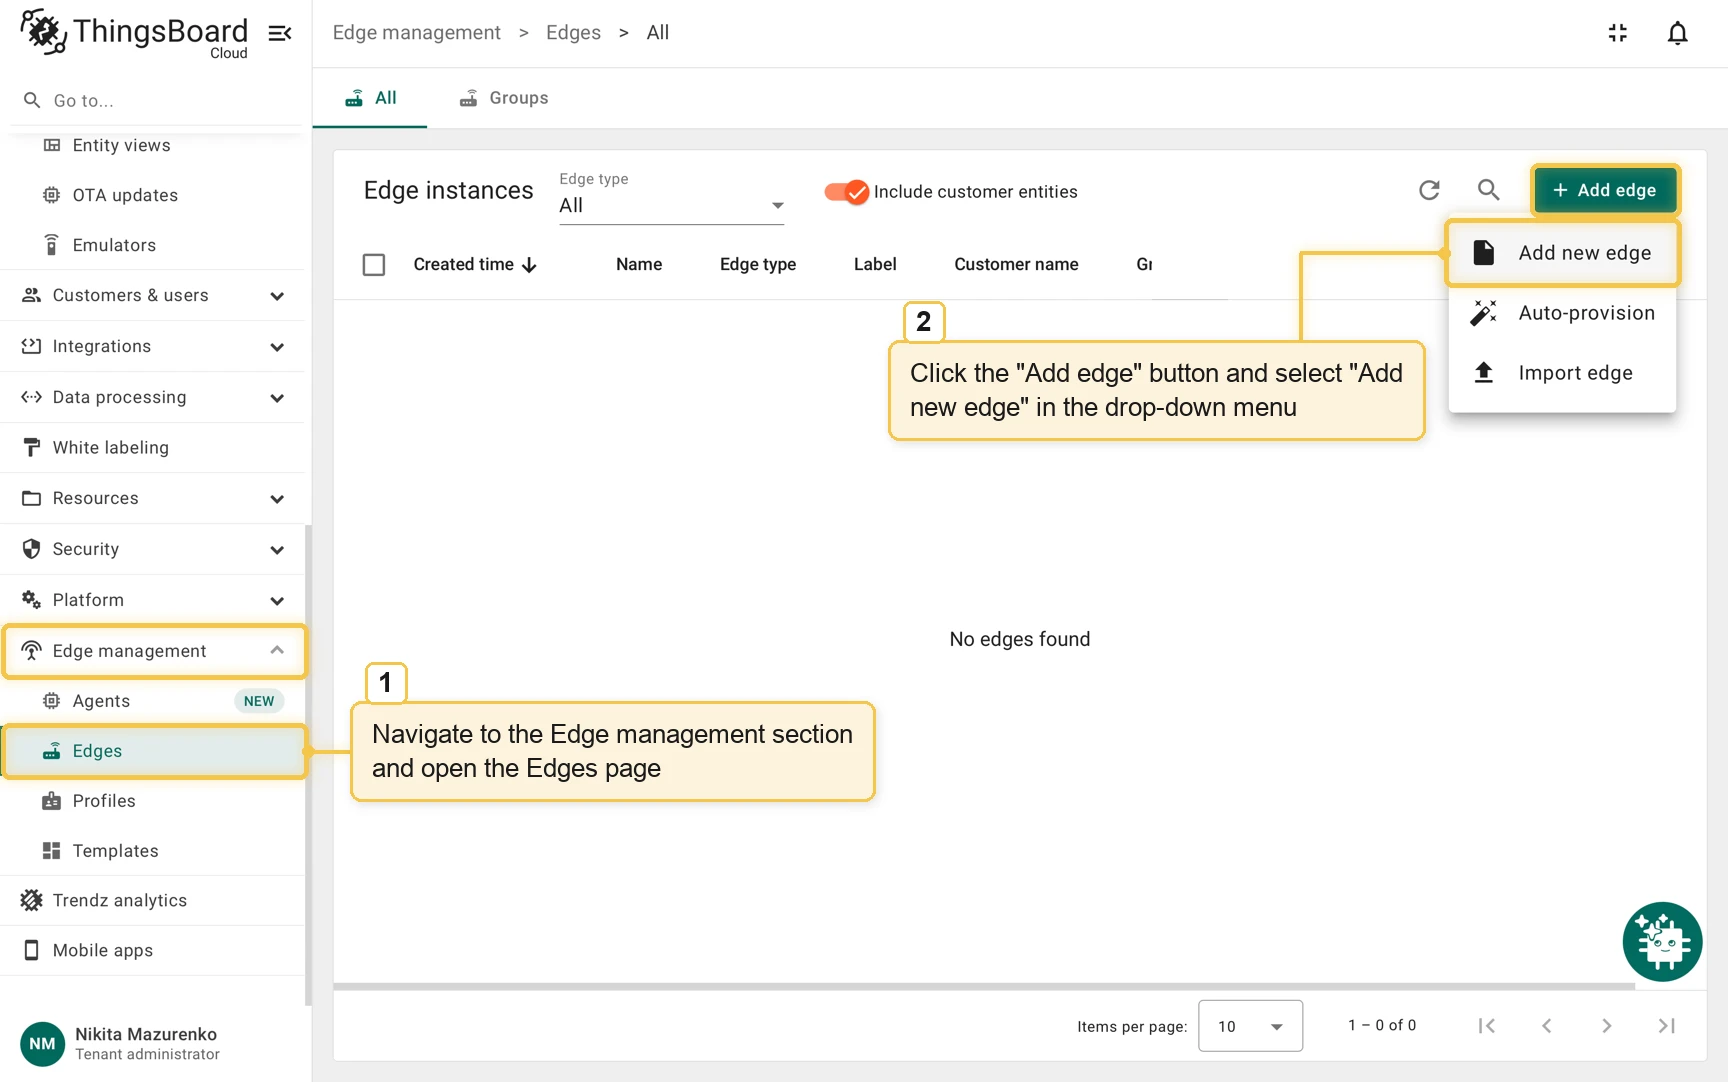
Go to Edge management > Edges, click Add edge, and select Add new edge.
-
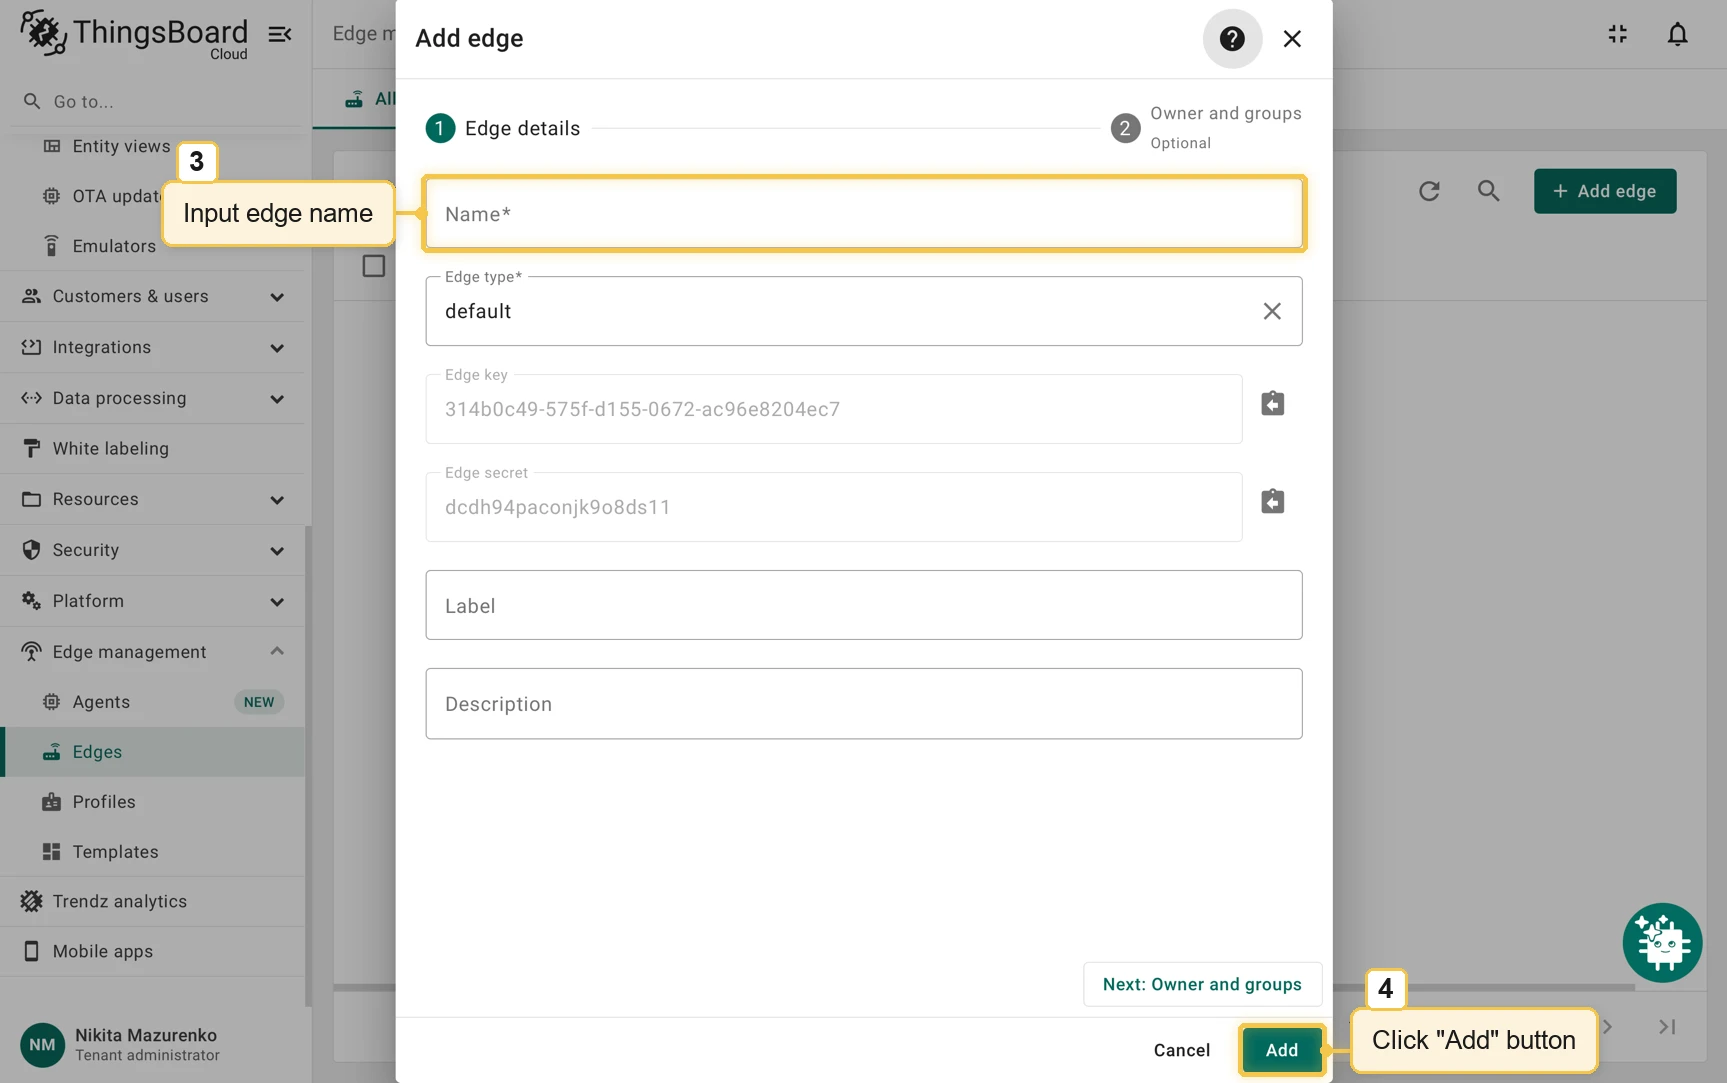
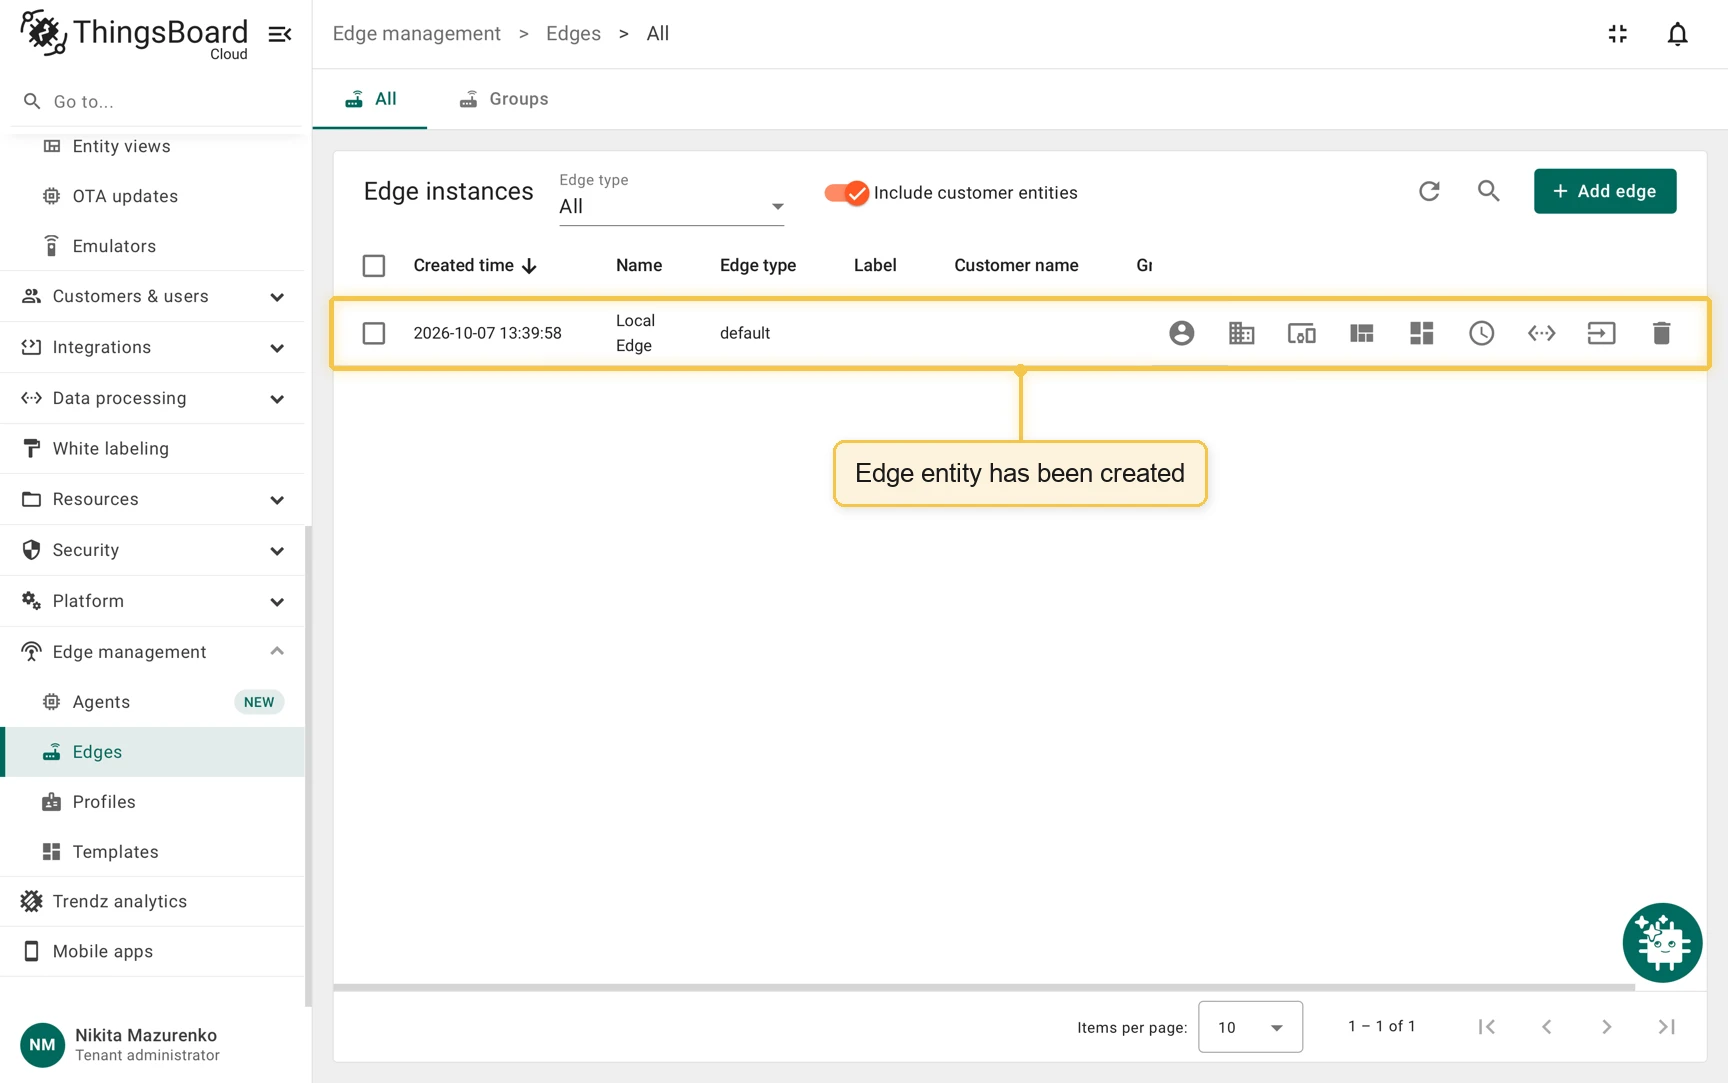
Enter a name for the Edge and click Add. The new Edge appears at the top of the list, and the Edge created! Check Install & Connect Instructions dialog opens with the installation instructions.
Install ThingsBoard Edge
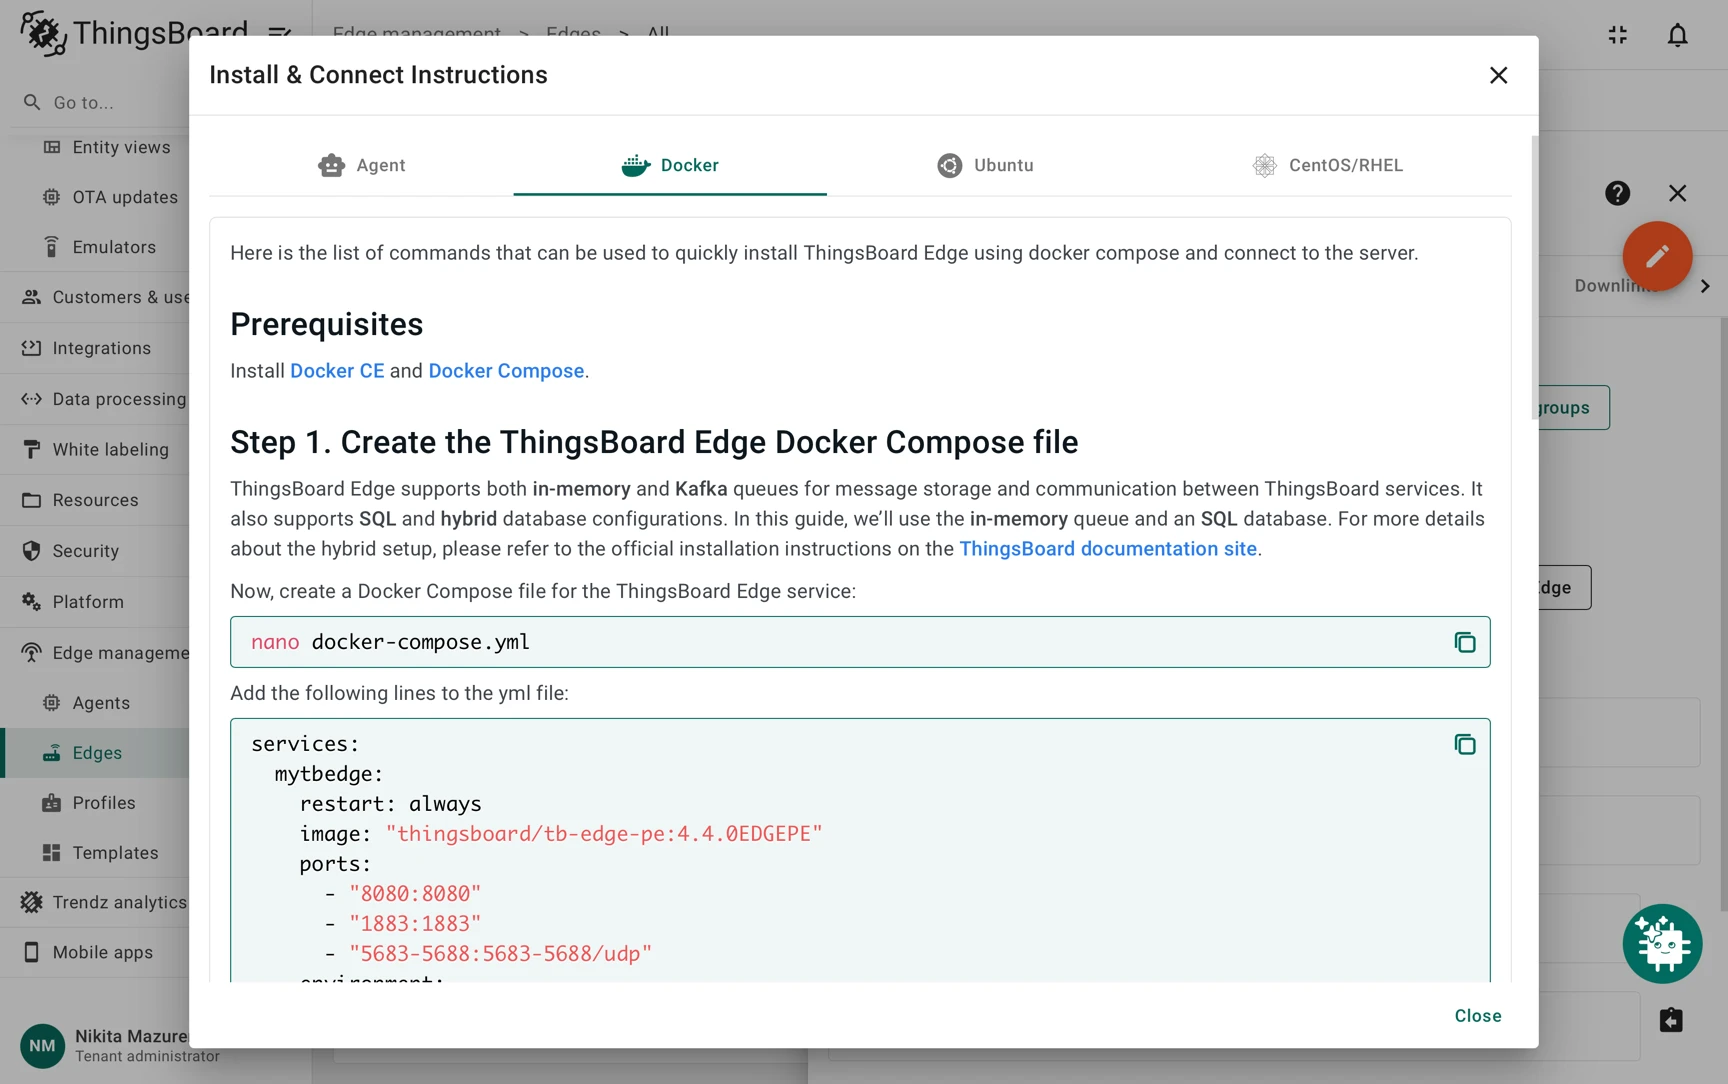
Section titled “Install ThingsBoard Edge”The dialog contains ready-to-use commands. They already include the Edge key and Edge secret of this Edge, so you do not need to copy anything by hand.
-
In the dialog, select the tab for your installation method (Docker, Ubuntu, or CentOS/RHEL) and run the displayed commands to install and start ThingsBoard Edge. The dialog opens on the Agent tab, which is for remote installation with a Remote Agent; you do not need it for this tutorial.
-
Once Edge starts (this may take a few seconds), open http://localhost:8080 in a browser and log in with your Tenant Administrator credentials. If Edge runs on the same machine as the server and you changed the ports as the instructions suggest, use port
18080instead. -
In the Edge UI, go to Edge > Status. The status is Connected. On the server, the Attributes tab of the Edge shows the server attribute
active=true.
If you cannot use the commands from the dialog, see the manual installation instructions.
Checklist for moving on
Section titled “Checklist for moving on”Was this helpful?