
Generate New Metrics
The Trendz Metric Explorer lets you create new metrics from existing telemetries and publish them to ThingsBoard as Calculation Fields. The creation flow moves through four progressive stages.
Key Concepts
Section titled “Key Concepts” ┌──────────────────────────────────────────────────────┐ │ Metric Definition │ │ Name + Description + Calculation logic │ │ (blueprint — no code yet) │ └───────────────────────┬──────────────────────────────┘ │ Implement Field / Create Custom Field ▼ ┌──────────────────────────────────────────────────────┐ │ Generated Metric │ │ Python code, executes in real time │ │ Cannot be used in Trendz views or dashboards │ └───────────────────────┬──────────────────────────────┘ │ Save Calculation ▼ ┌──────────────────────────────────────────────────────┐ │ Native Calculation Field │ │ Integrated into Trendz — available in views │ │ (real-time only, no historical points in TB) │ └───────────────────────┬──────────────────────────────┘ │ Reprocess / Refresh job ▼ ┌──────────────────────────────────────────────────────┐ │ Native Calculation Field + ThingsBoard Telemetry │ │ Historical data saved — available in dashboards │ └──────────────────────────────────────────────────────┘Metric Definition
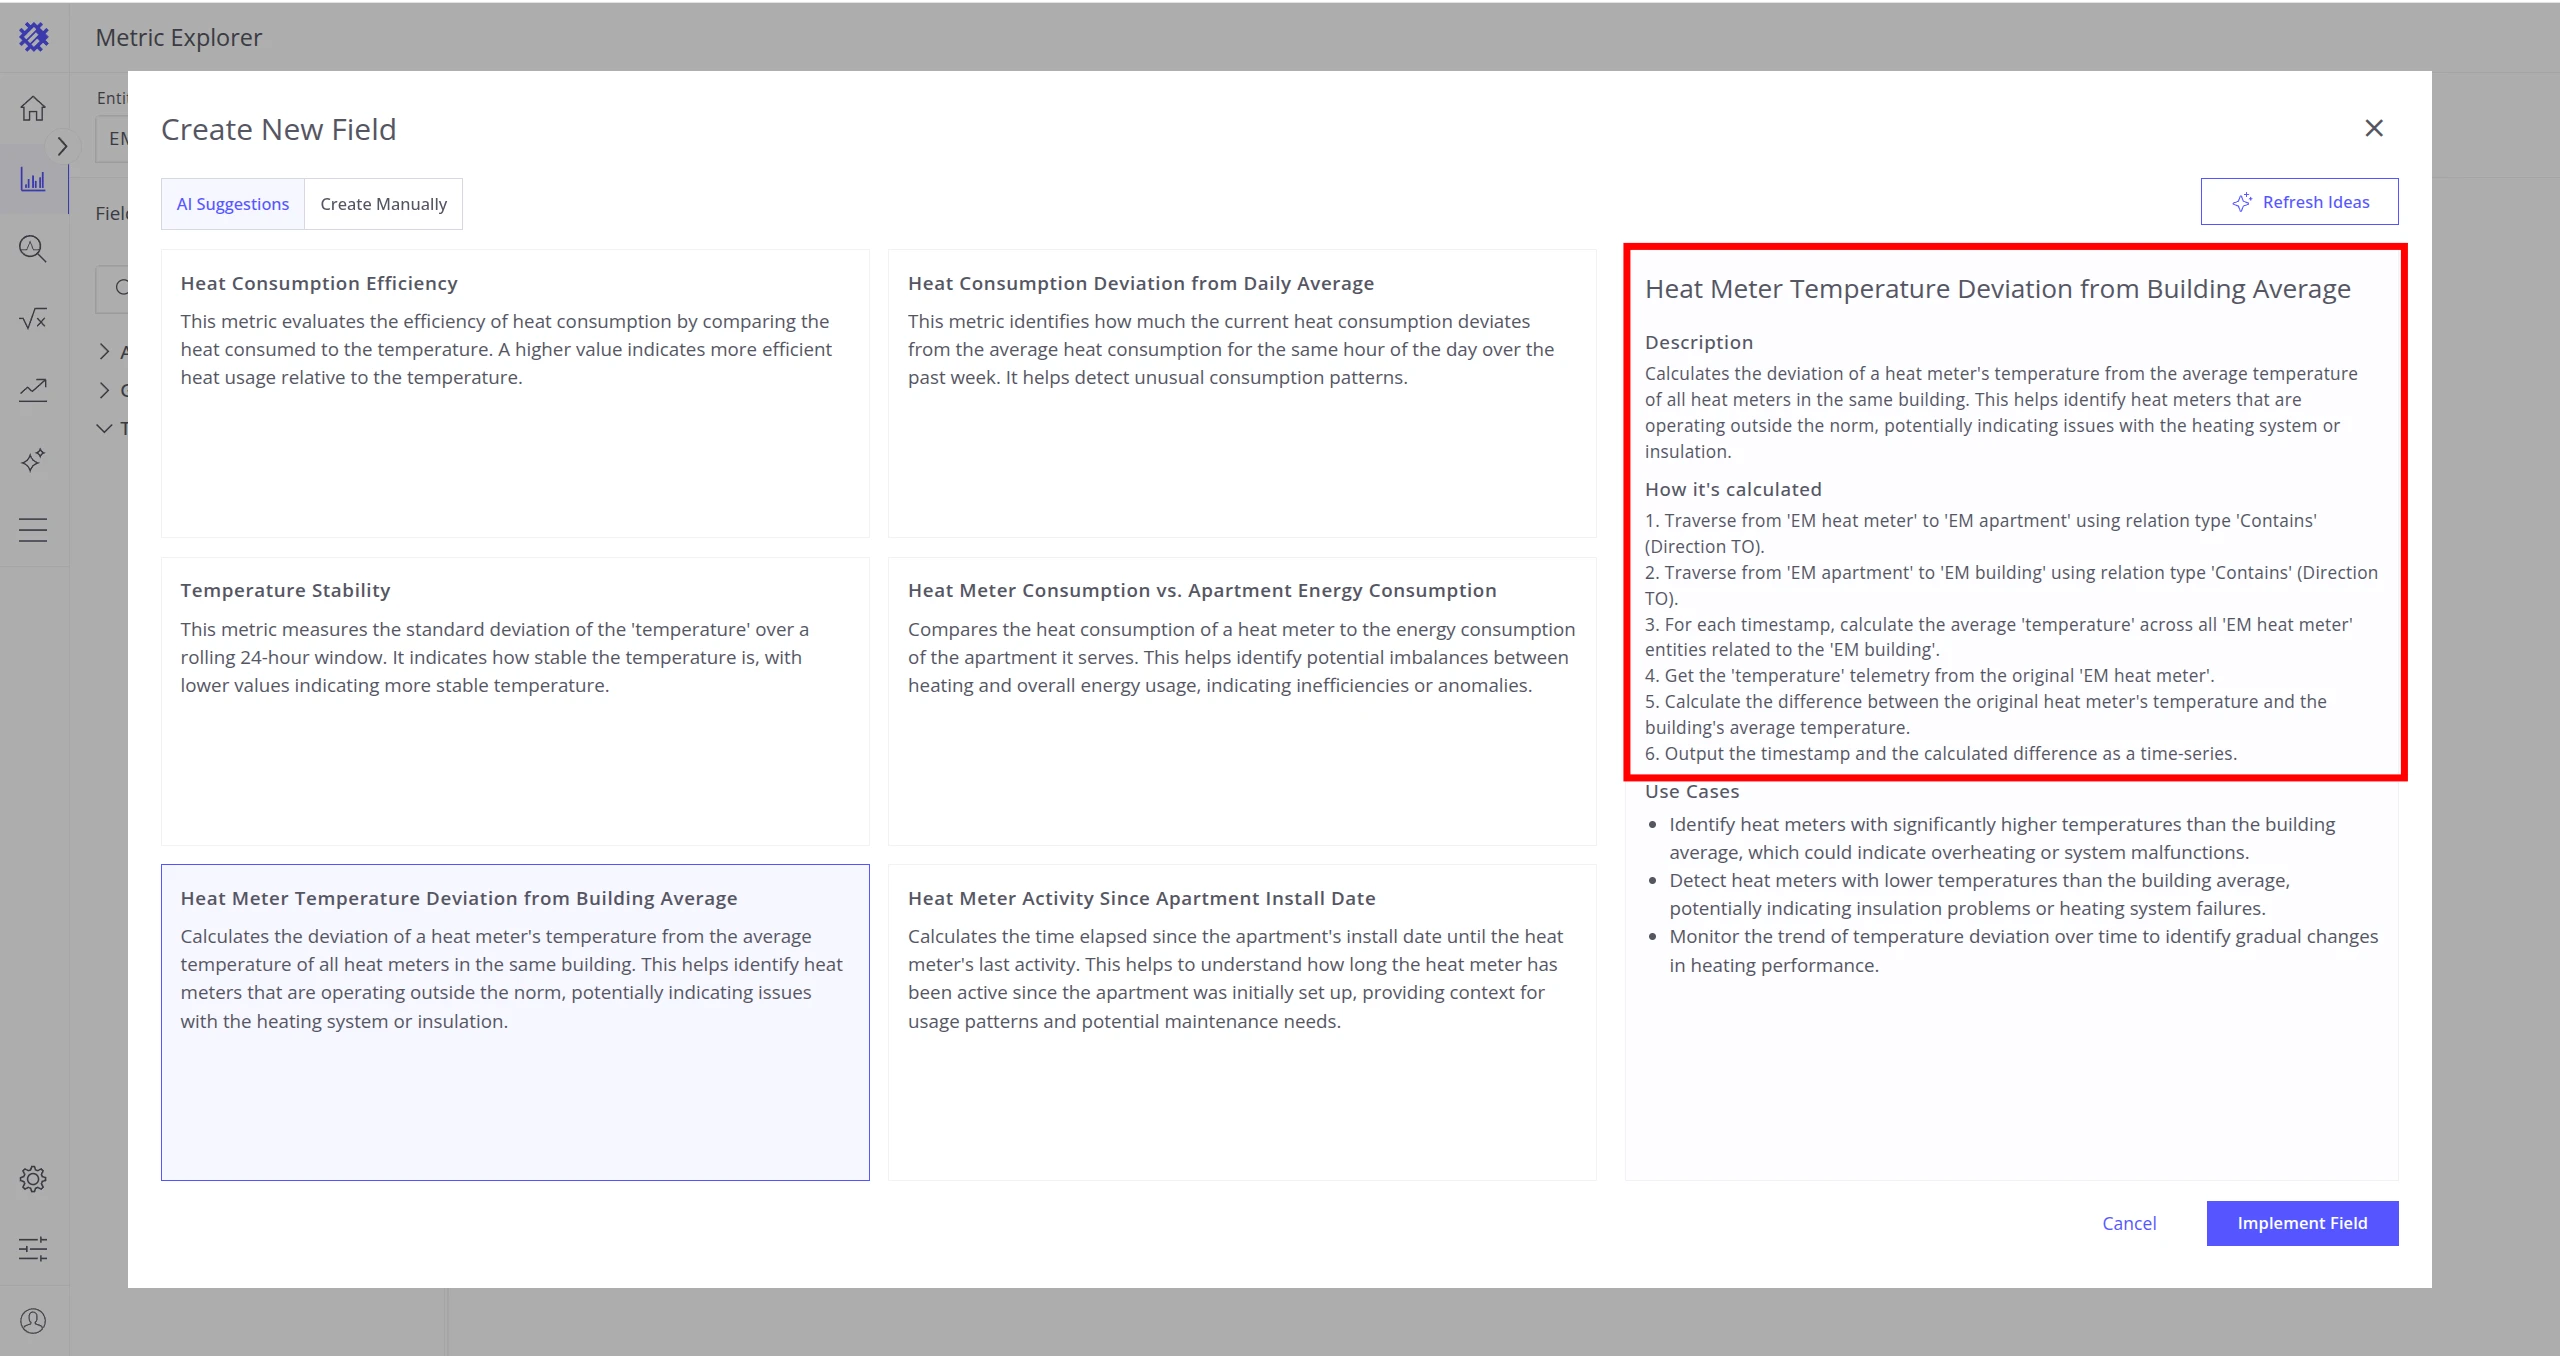
Section titled “Metric Definition”A Metric Definition is a blueprint for a future metric. It contains:
- Metric Name — displayed in the Generated Metrics folder in the Fields Section.
- Metric Description — a short explanation of what the metric measures.
- How to calculate — step-by-step instructions describing the calculation logic.
A Metric Definition has no implementation — it is purely a textual description of what should be built.
Generated Metric
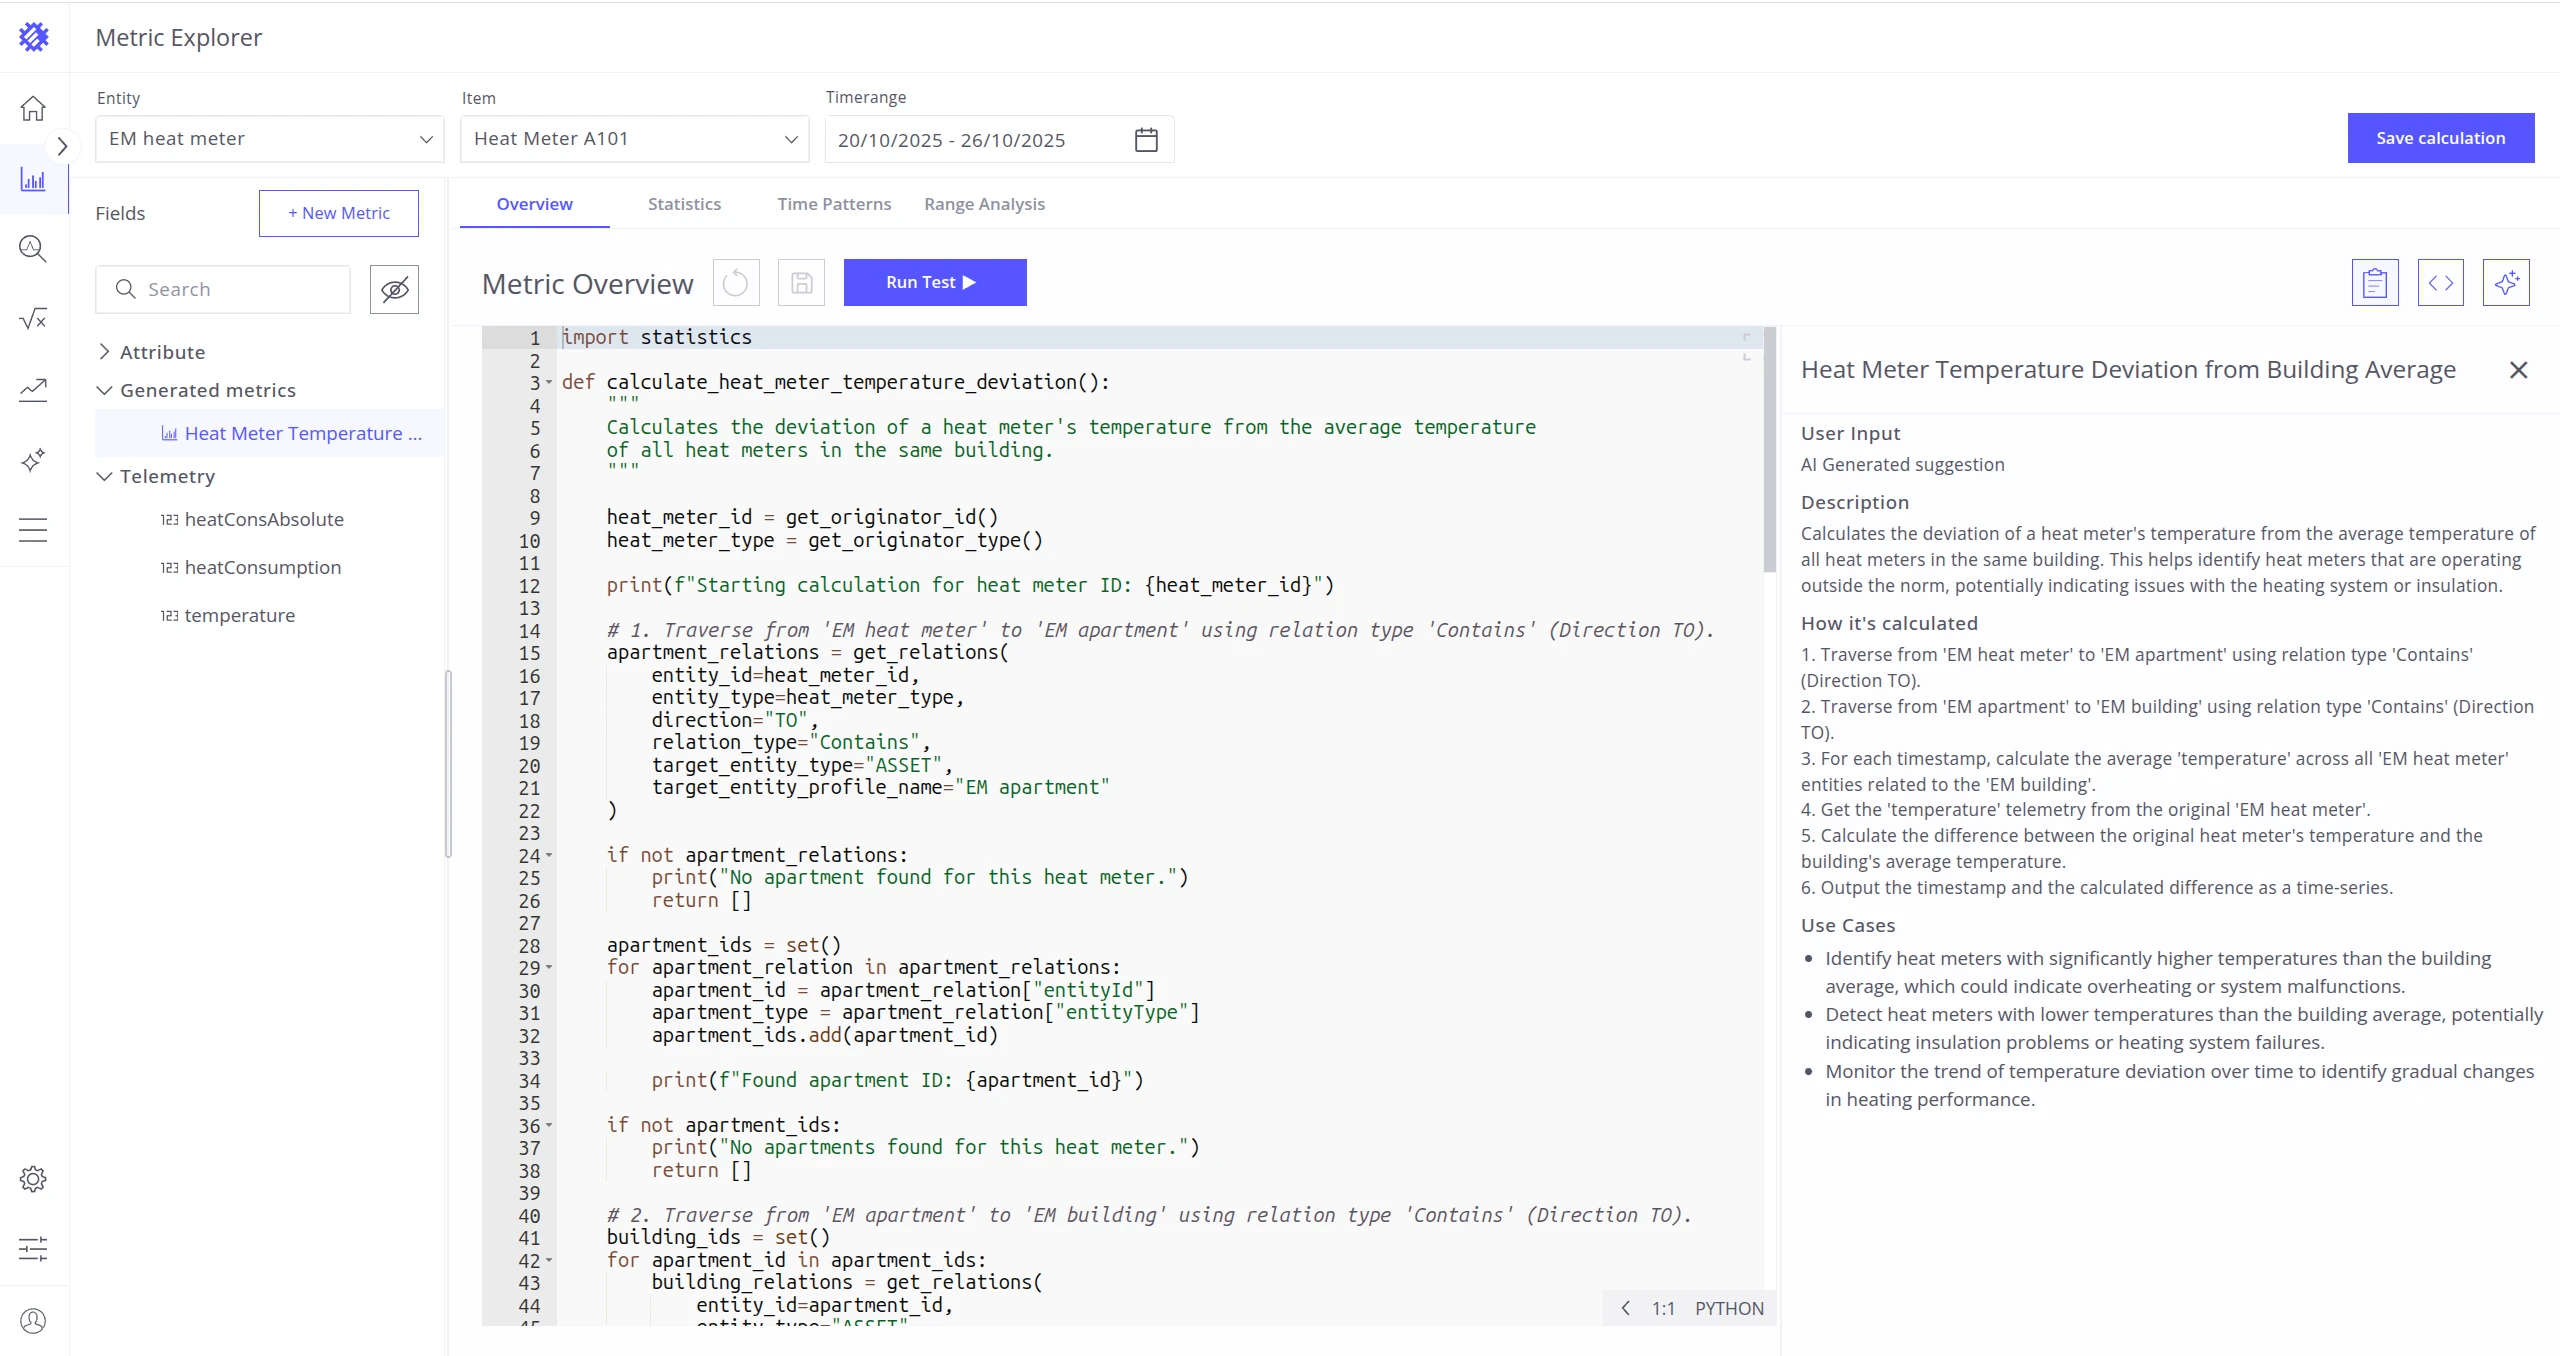
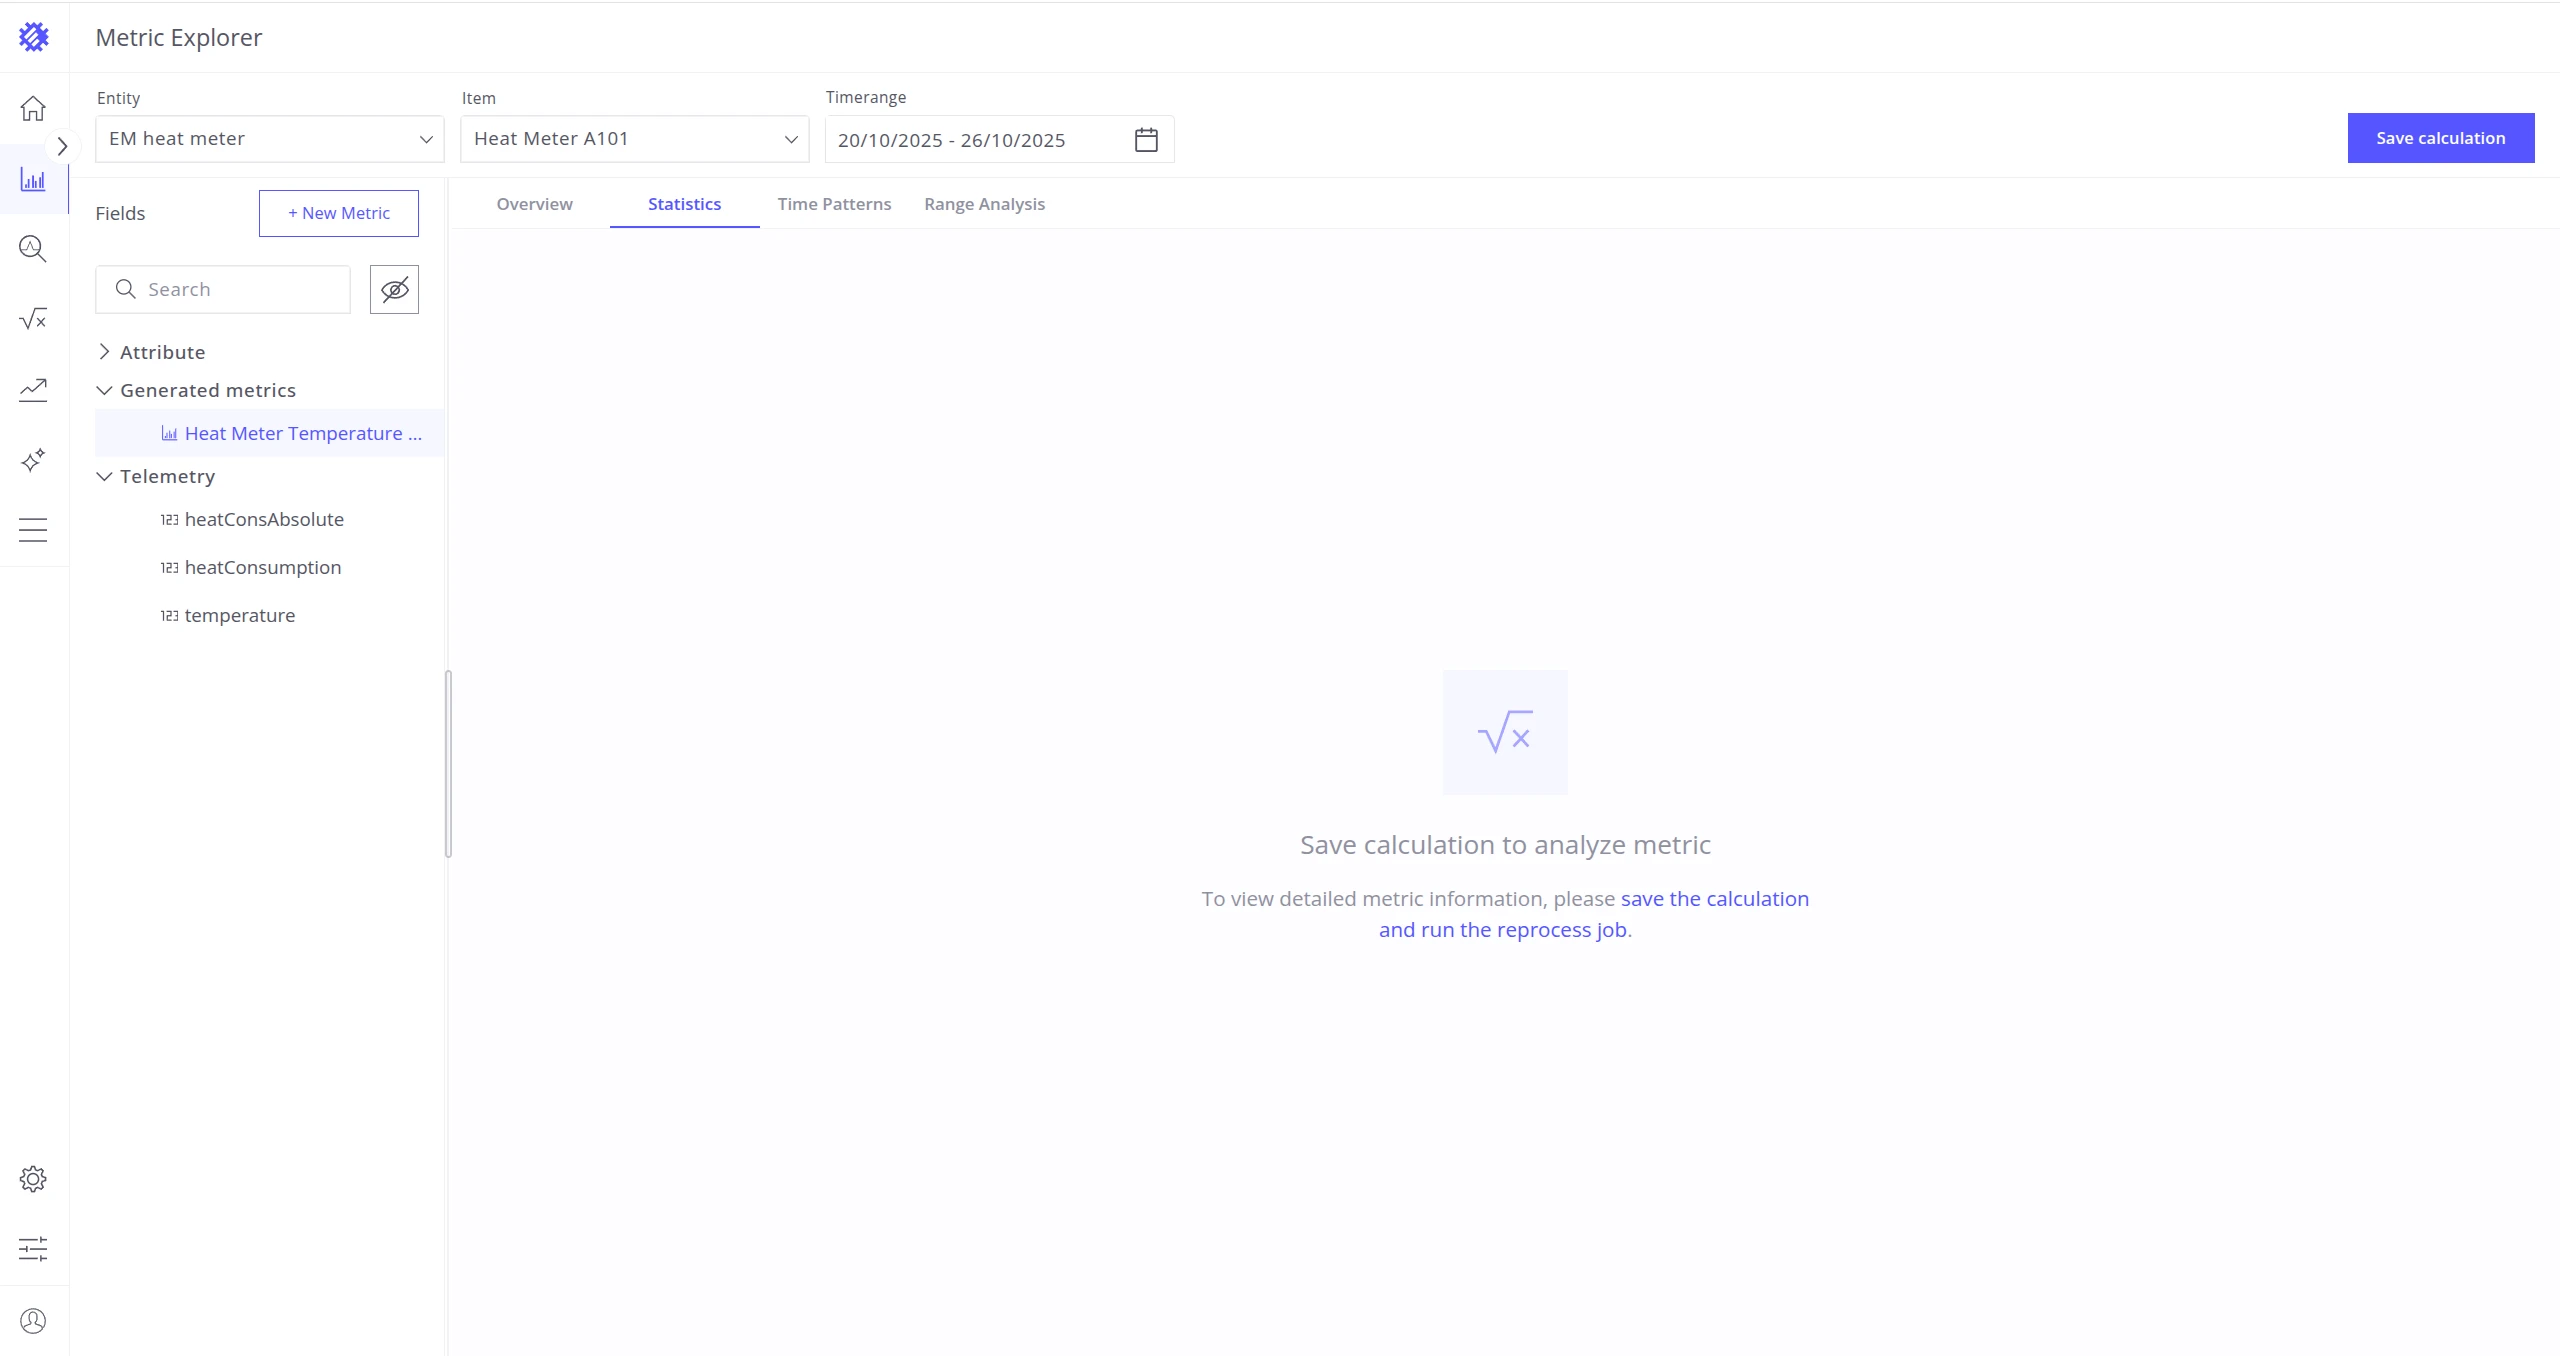
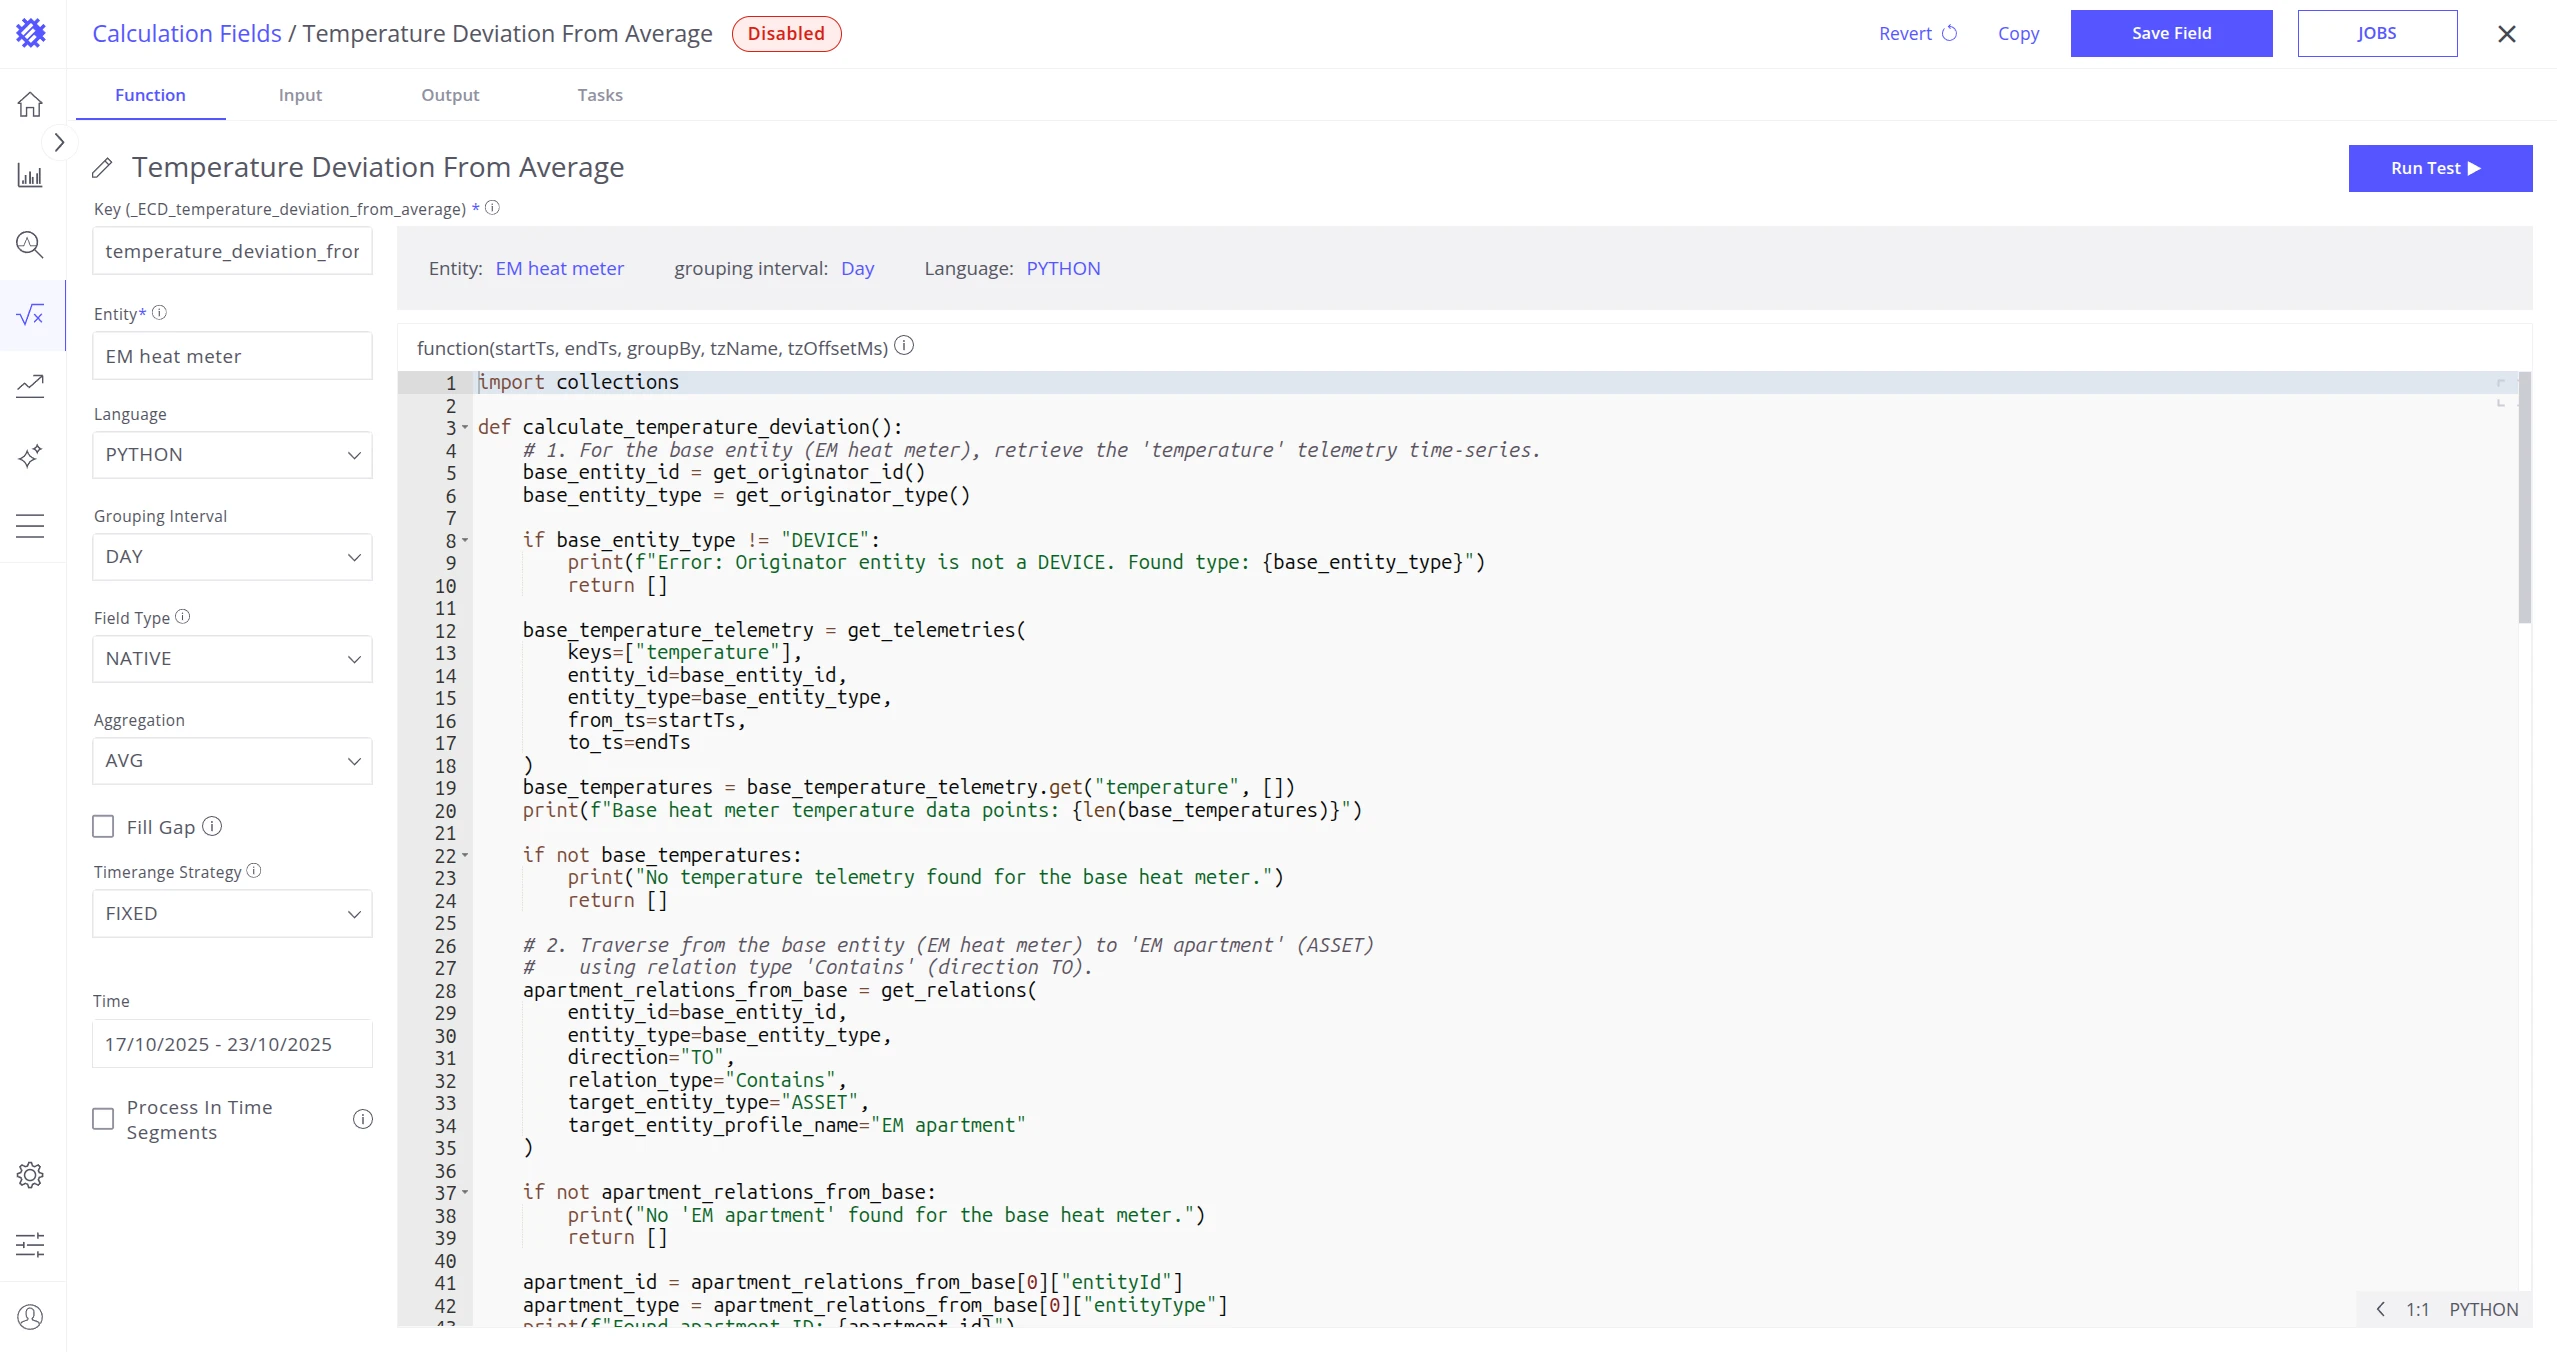
Section titled “Generated Metric”A Generated Metric is an implemented Metric Definition. It contains Python code that executes in real time to produce telemetry values (as a chart or table). A Generated Metric does not store points in ThingsBoard and cannot be used directly in Trendz views — it is a template for a future Calculation Field.
Native Calculation Field
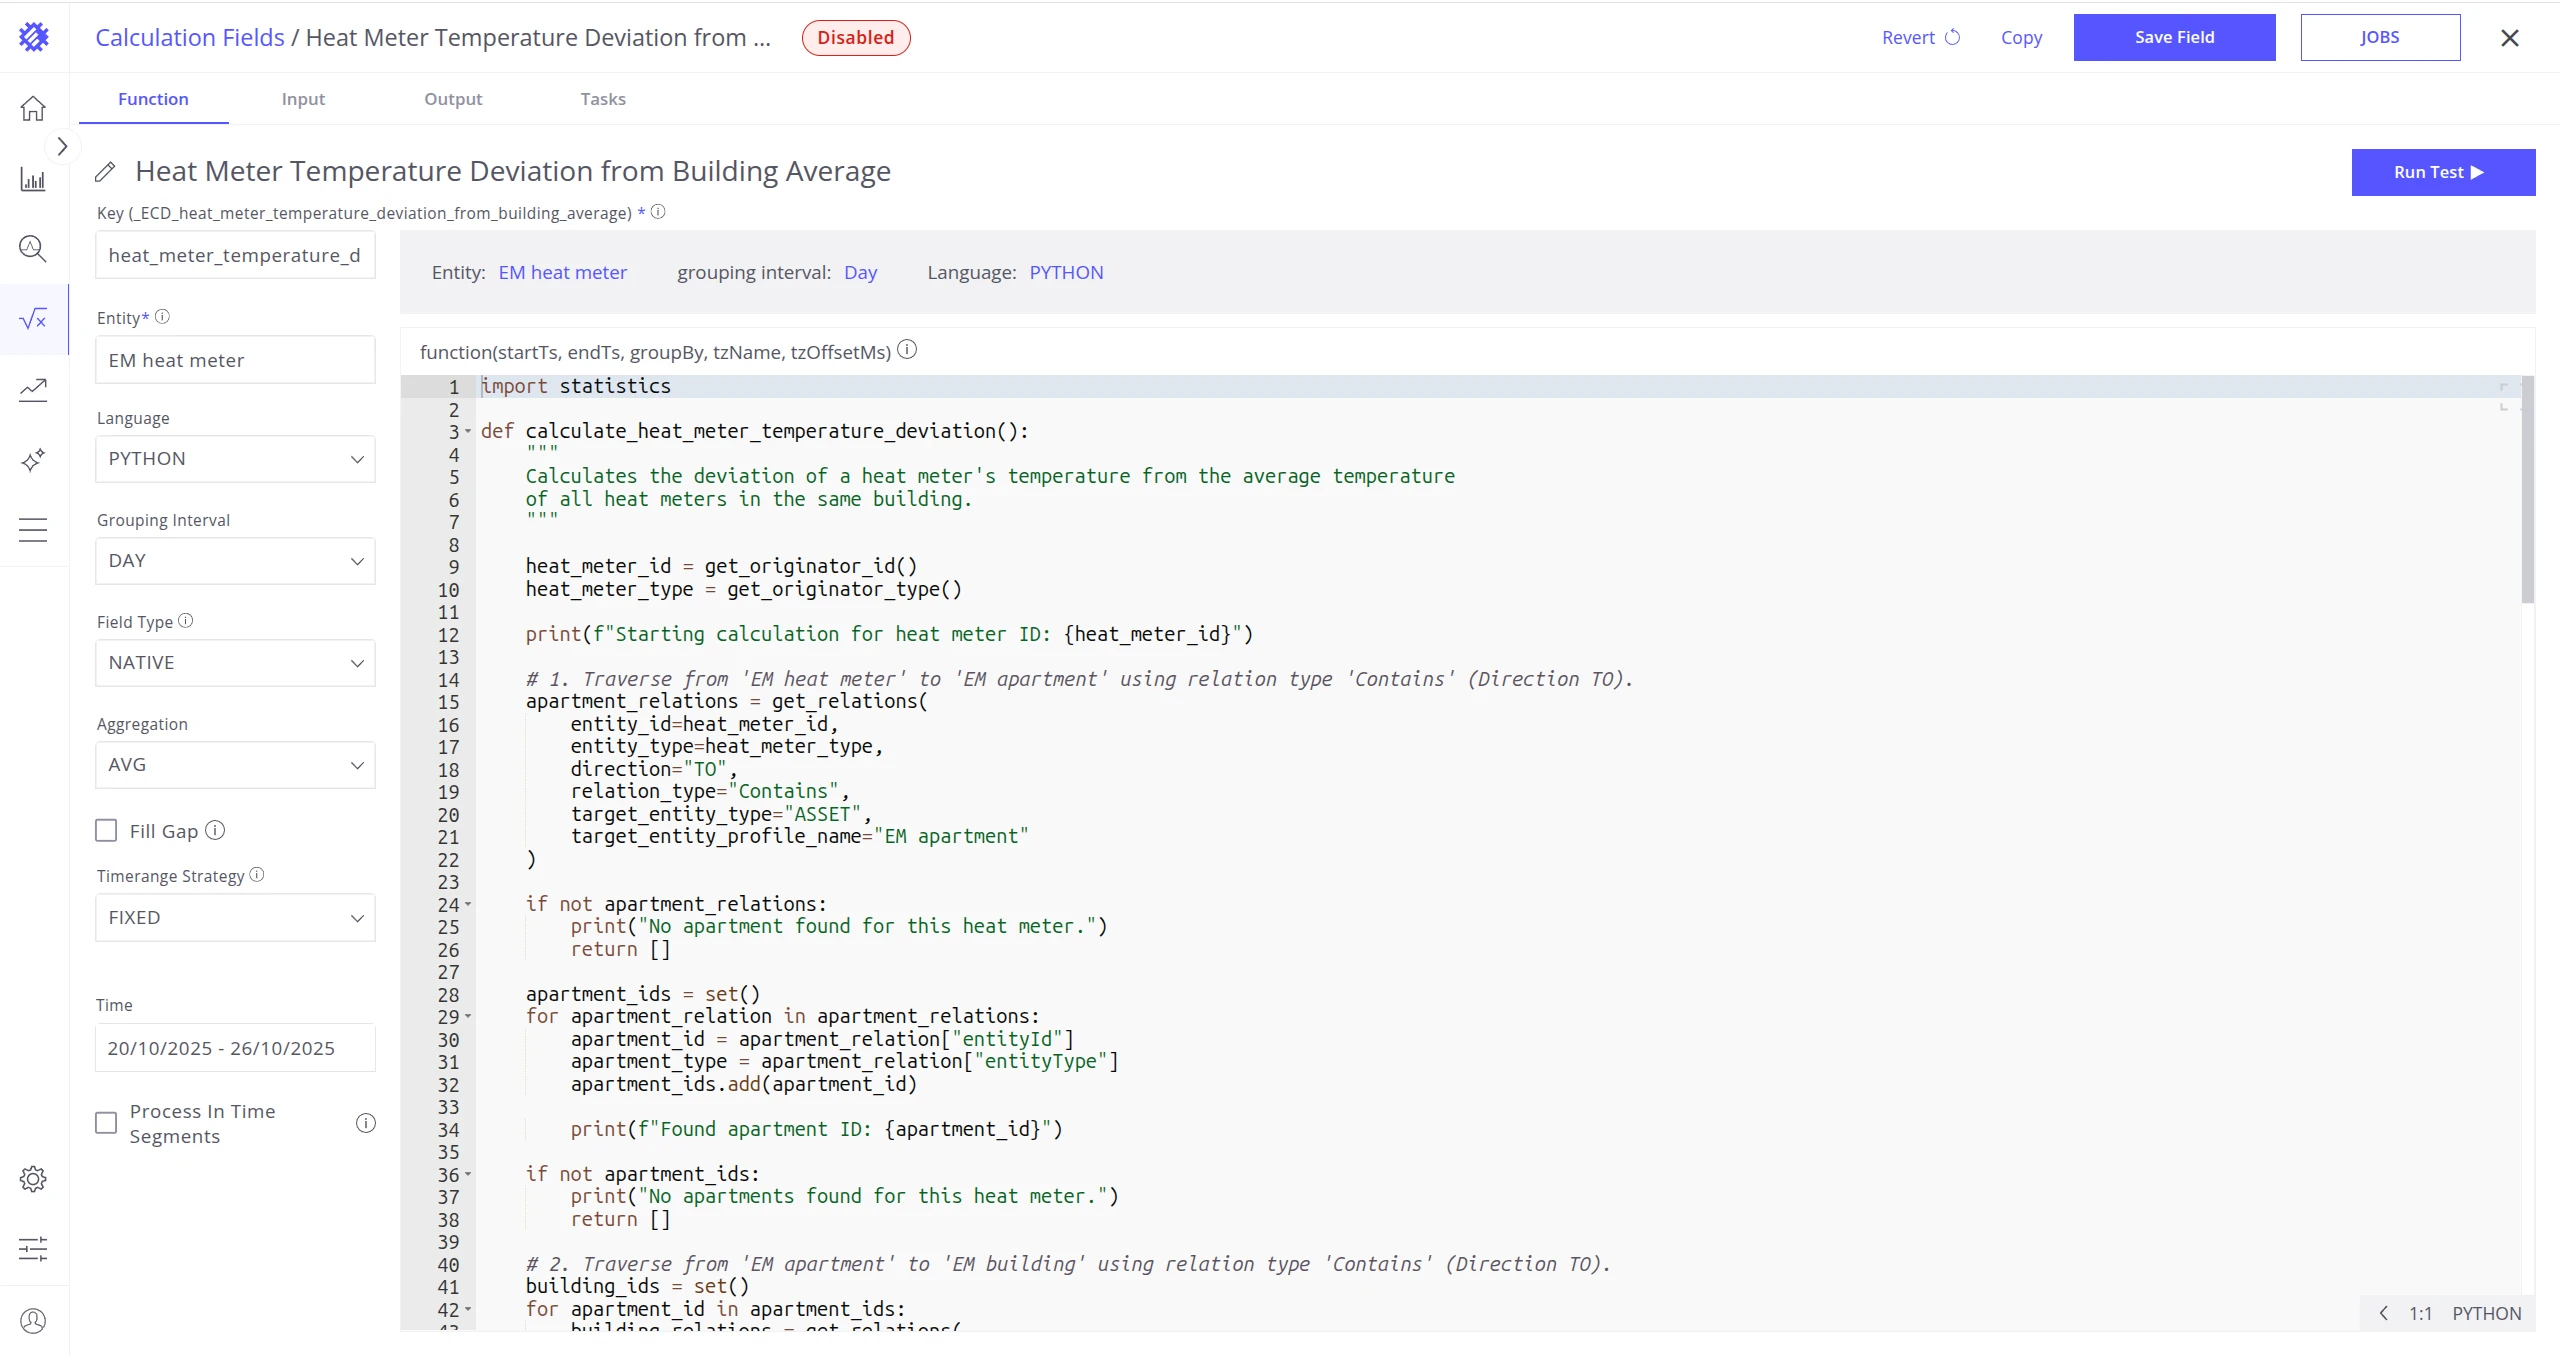
Section titled “Native Calculation Field”A Generated Metric can be promoted to a Native Calculation Field, which is fully integrated into the Trendz ecosystem. At this stage the calculation is available in views in real time, but still has no historical telemetry points in ThingsBoard.
See Native Calculation Fields for details.
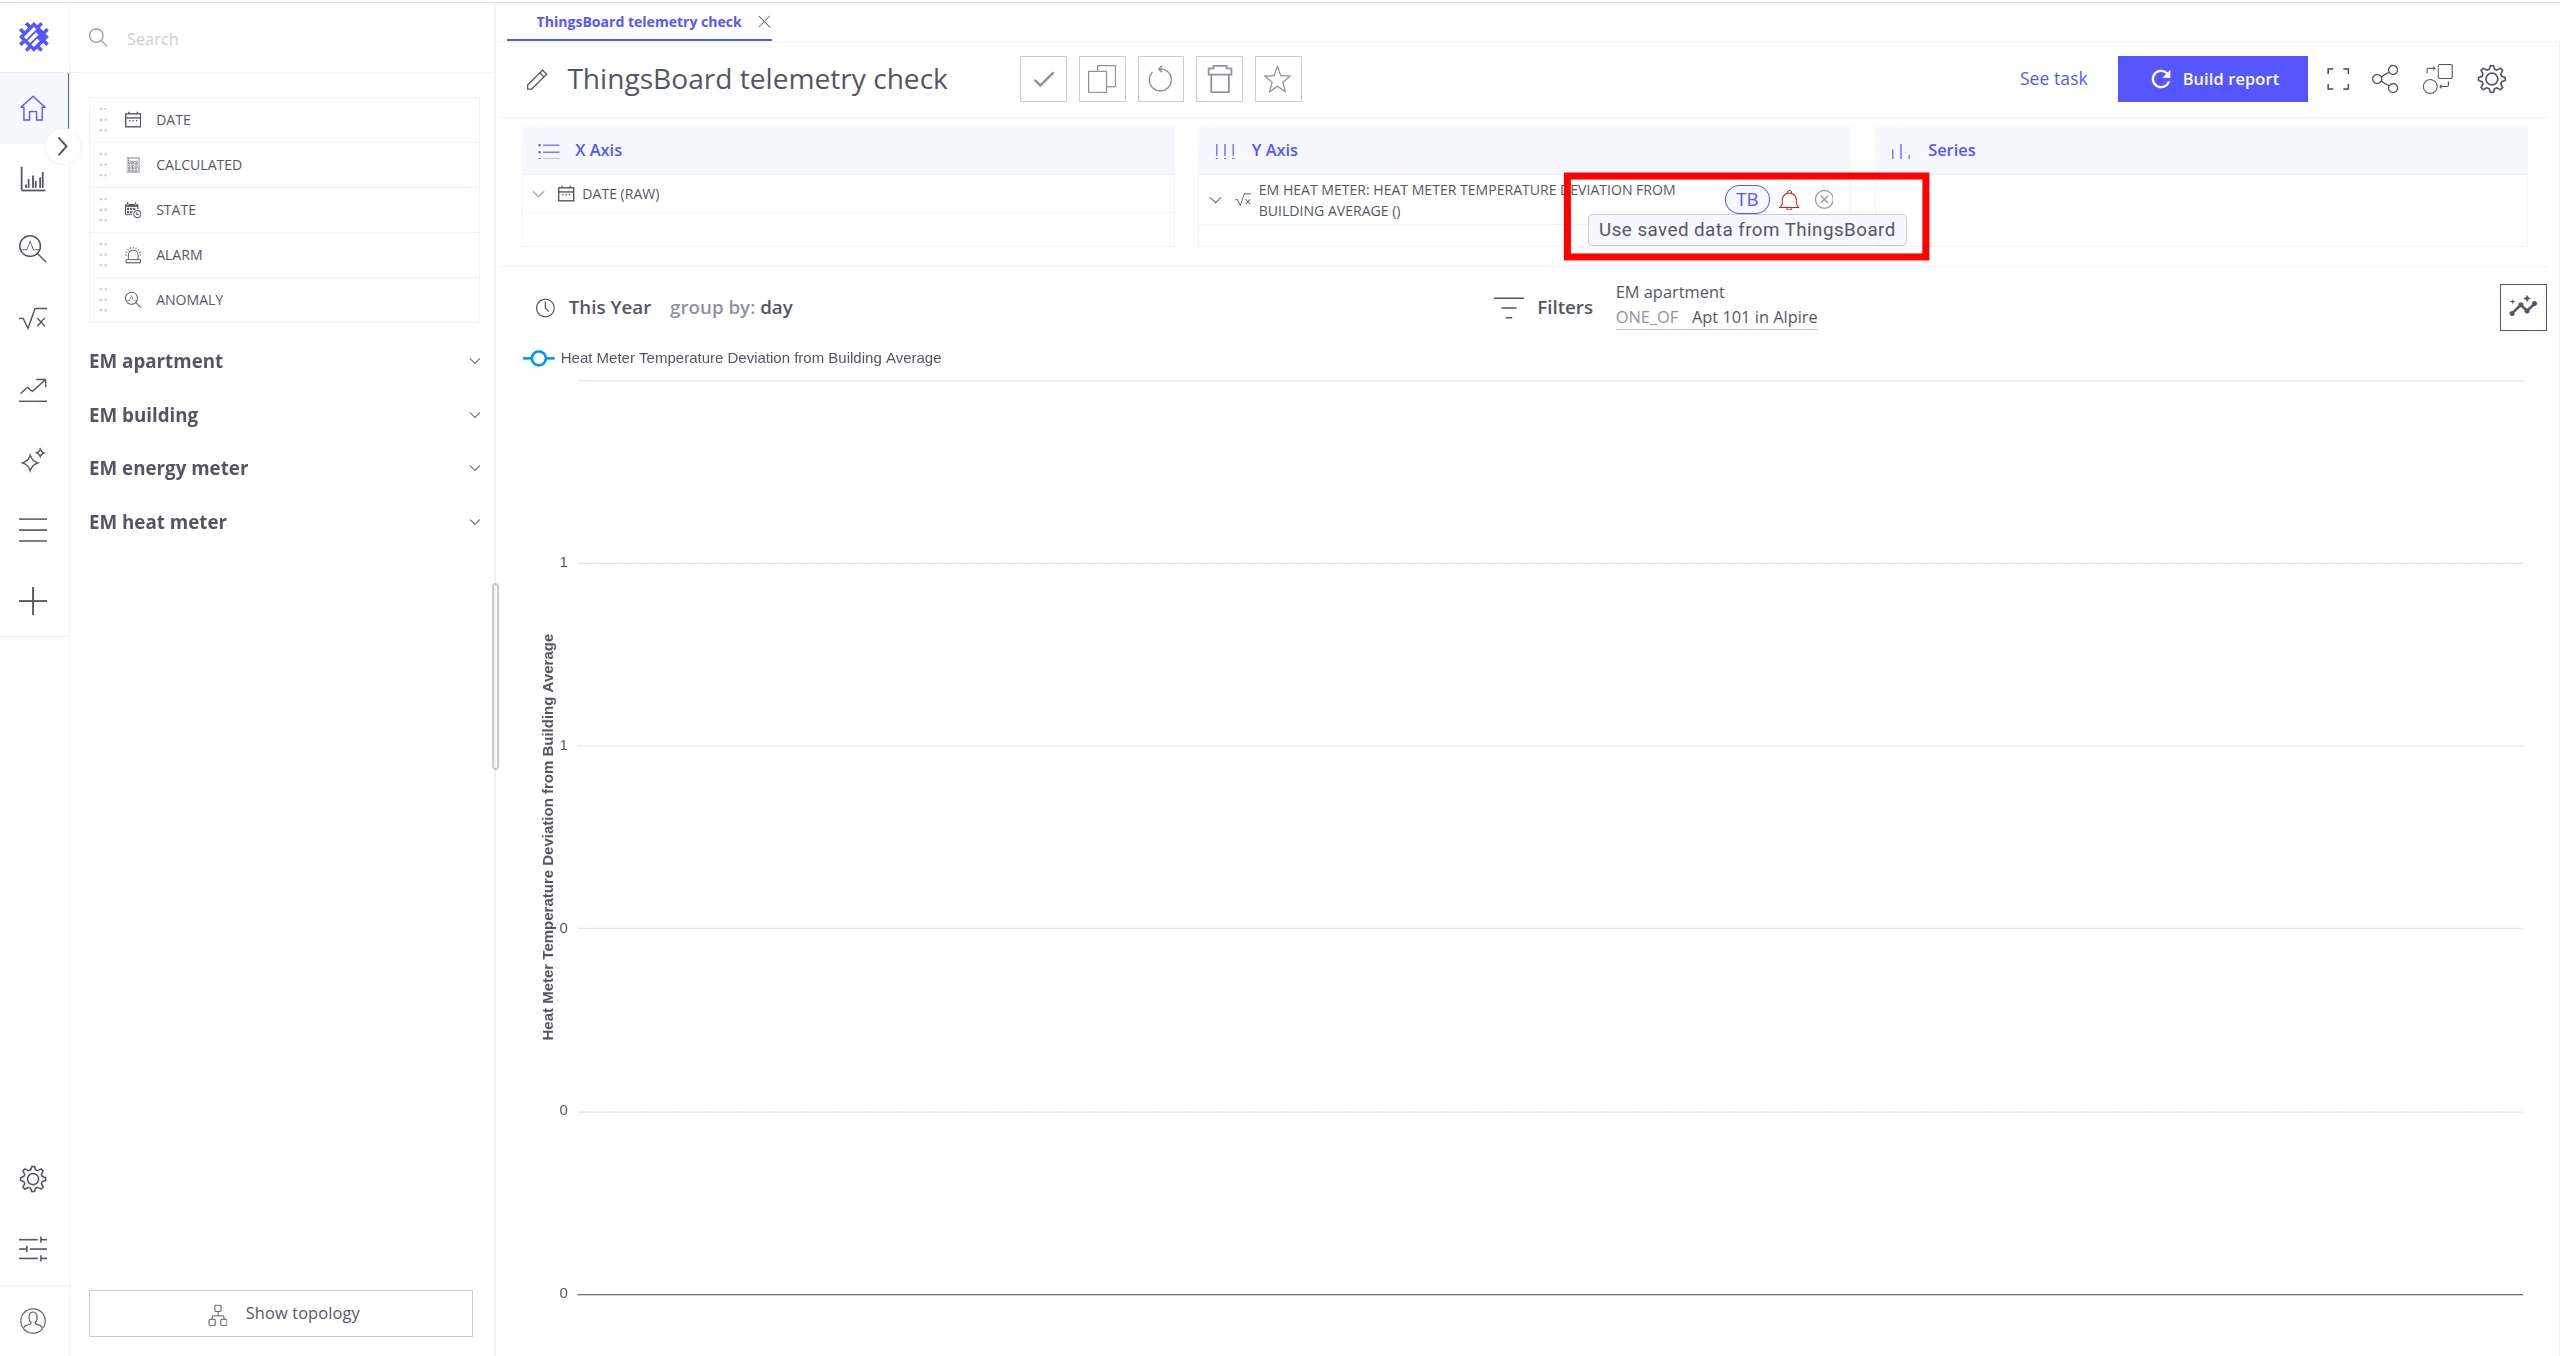
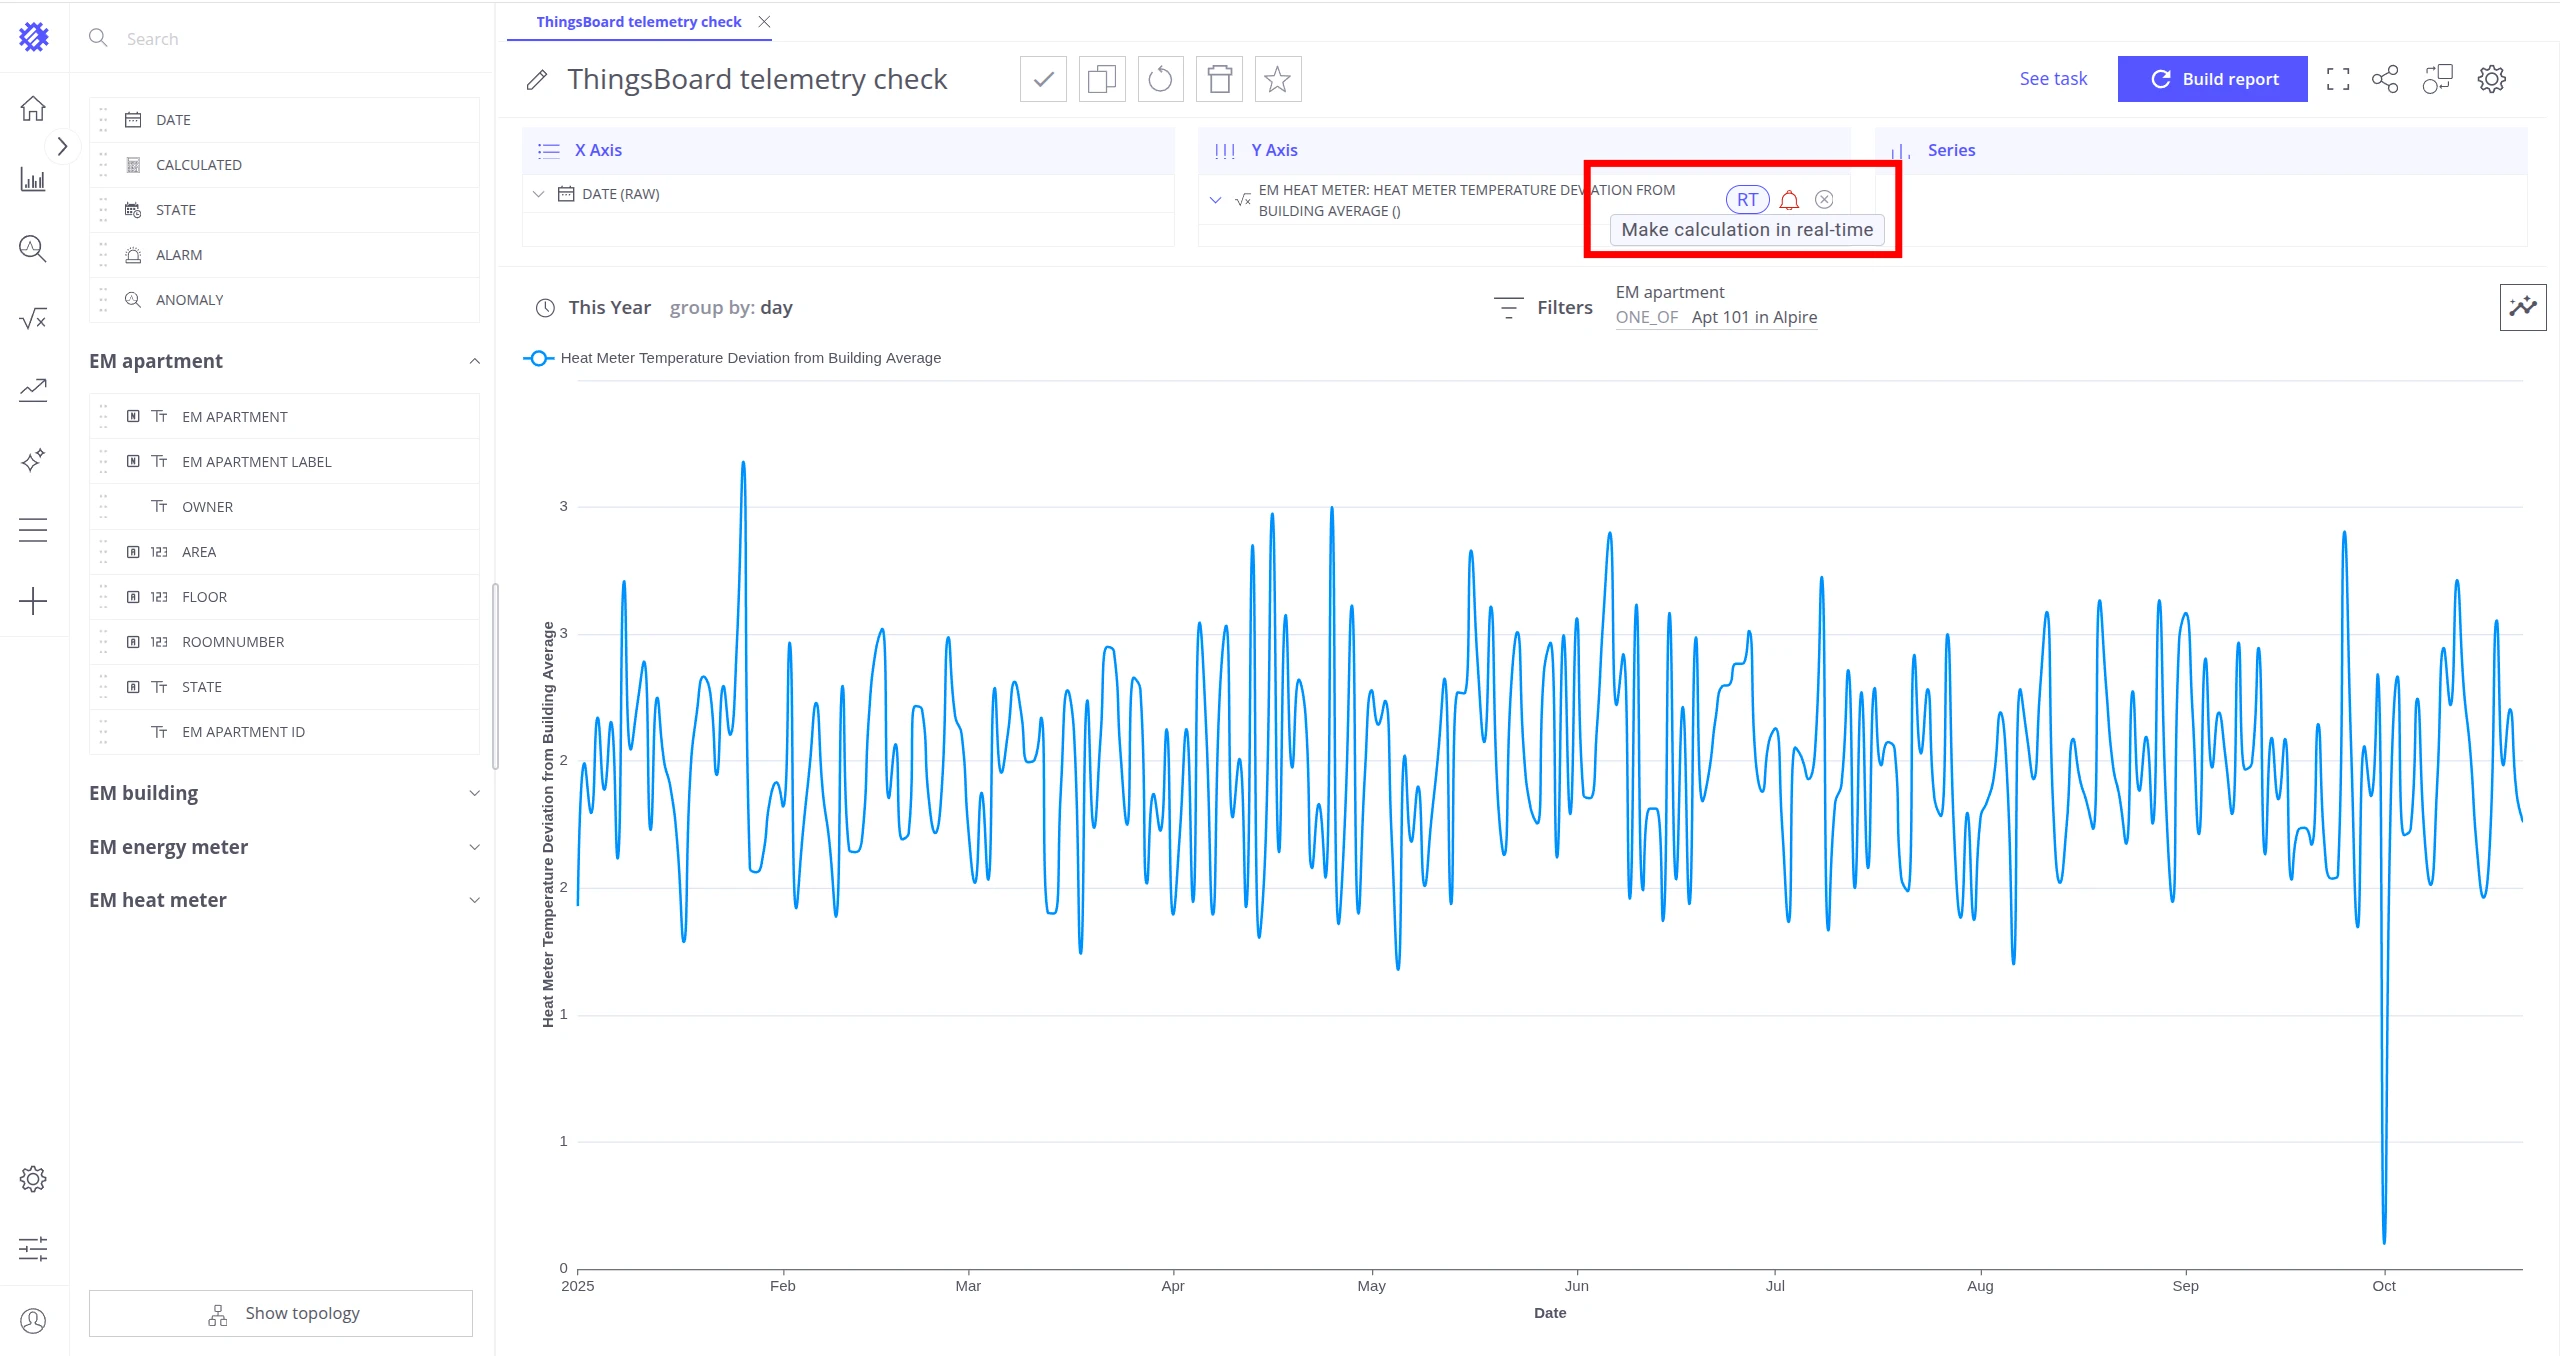
Native Calculation Field with Telemetry
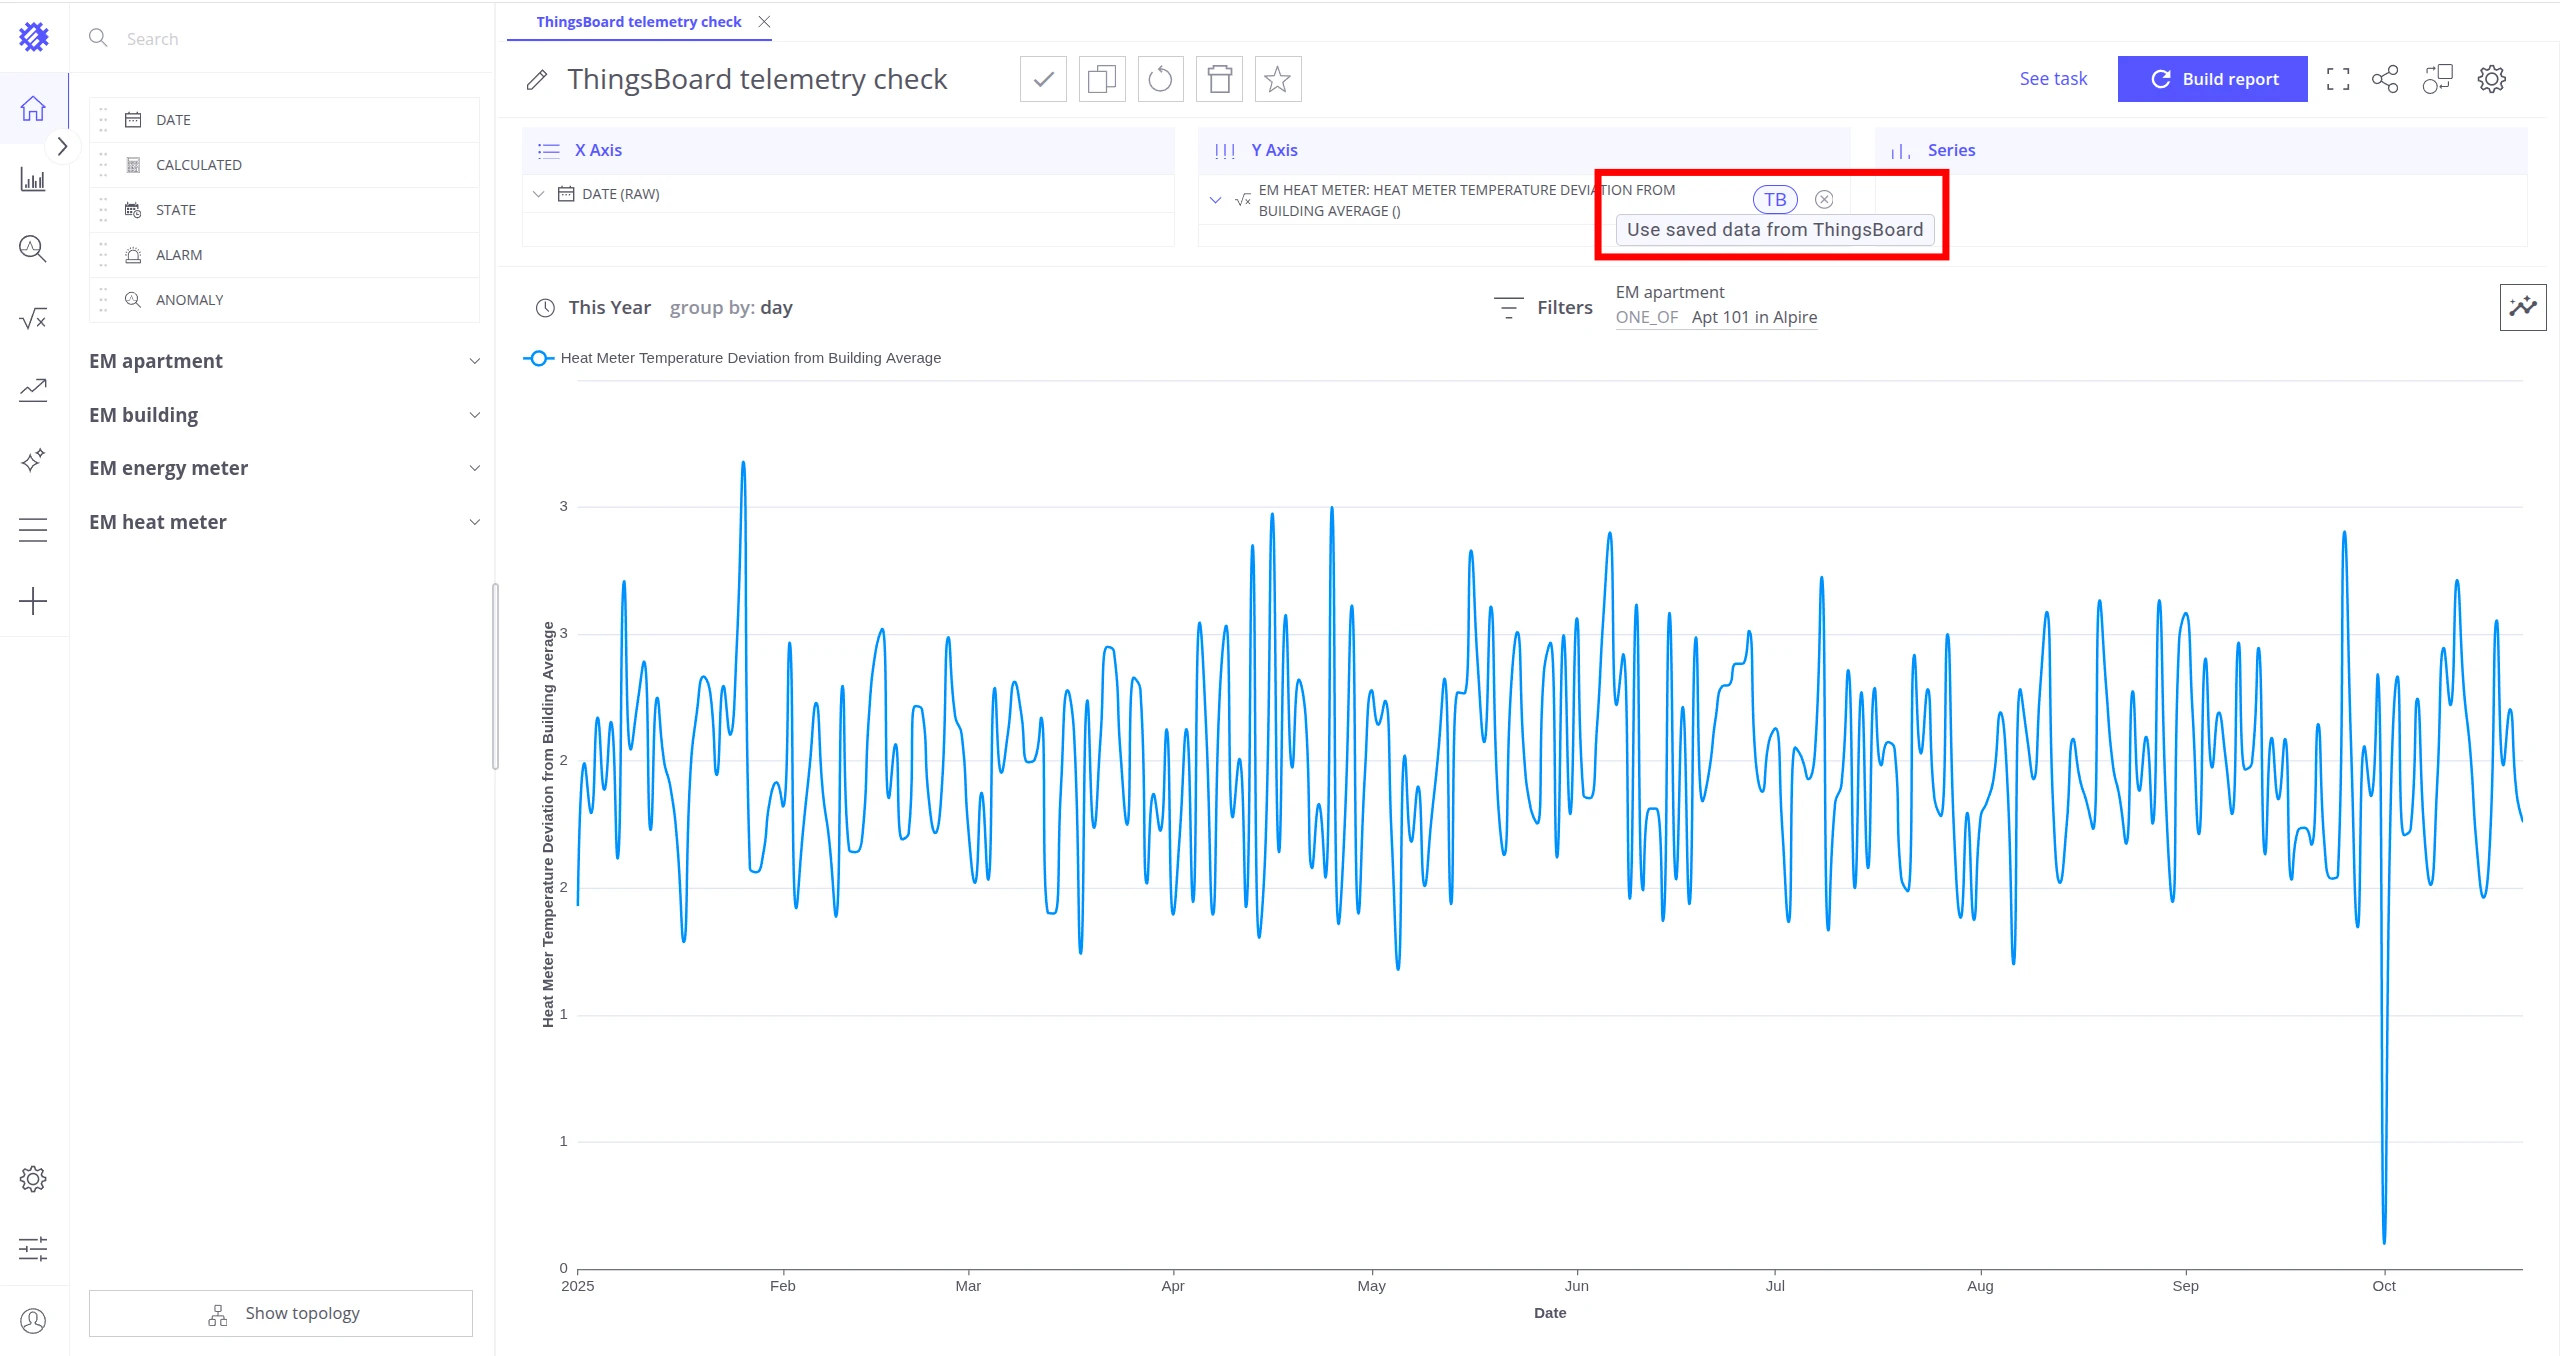
Section titled “Native Calculation Field with Telemetry”To persist historical data in ThingsBoard, configure a reprocess or refresh job for the Native Calculation Field. Once the job runs, telemetry points are saved to ThingsBoard and become available in dashboards and reports. See Use Metric in ThingsBoard for details.
Create New Metric
Section titled “Create New Metric”-
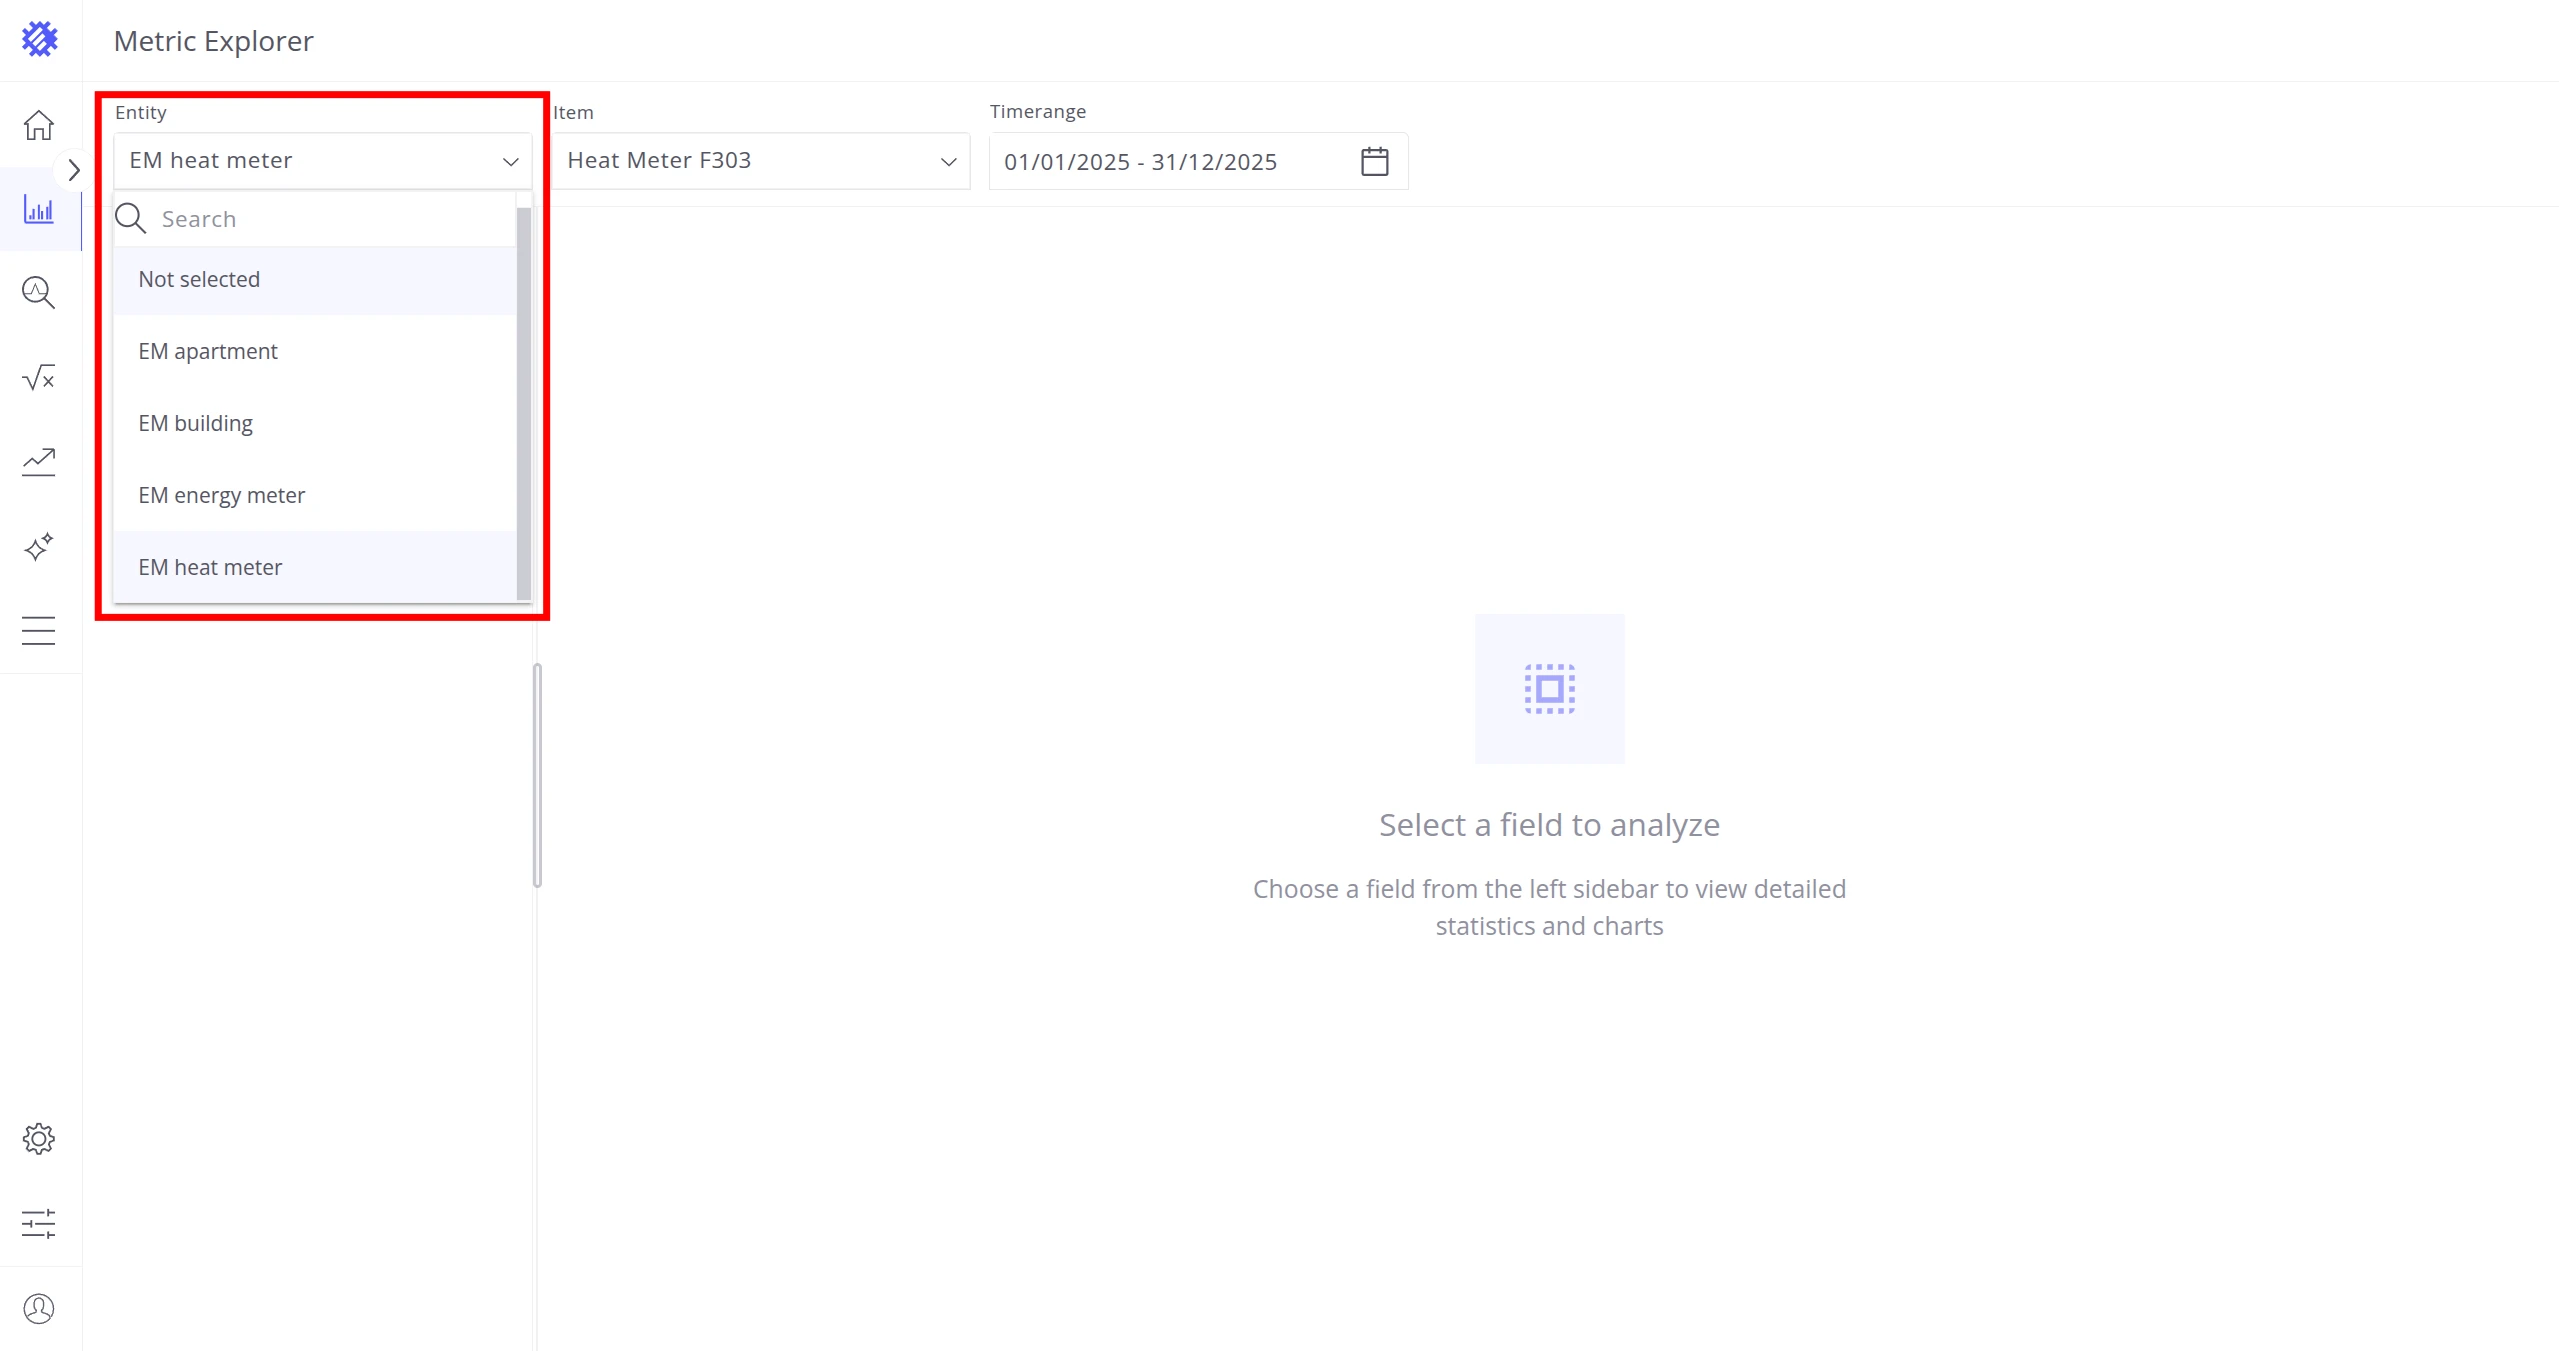
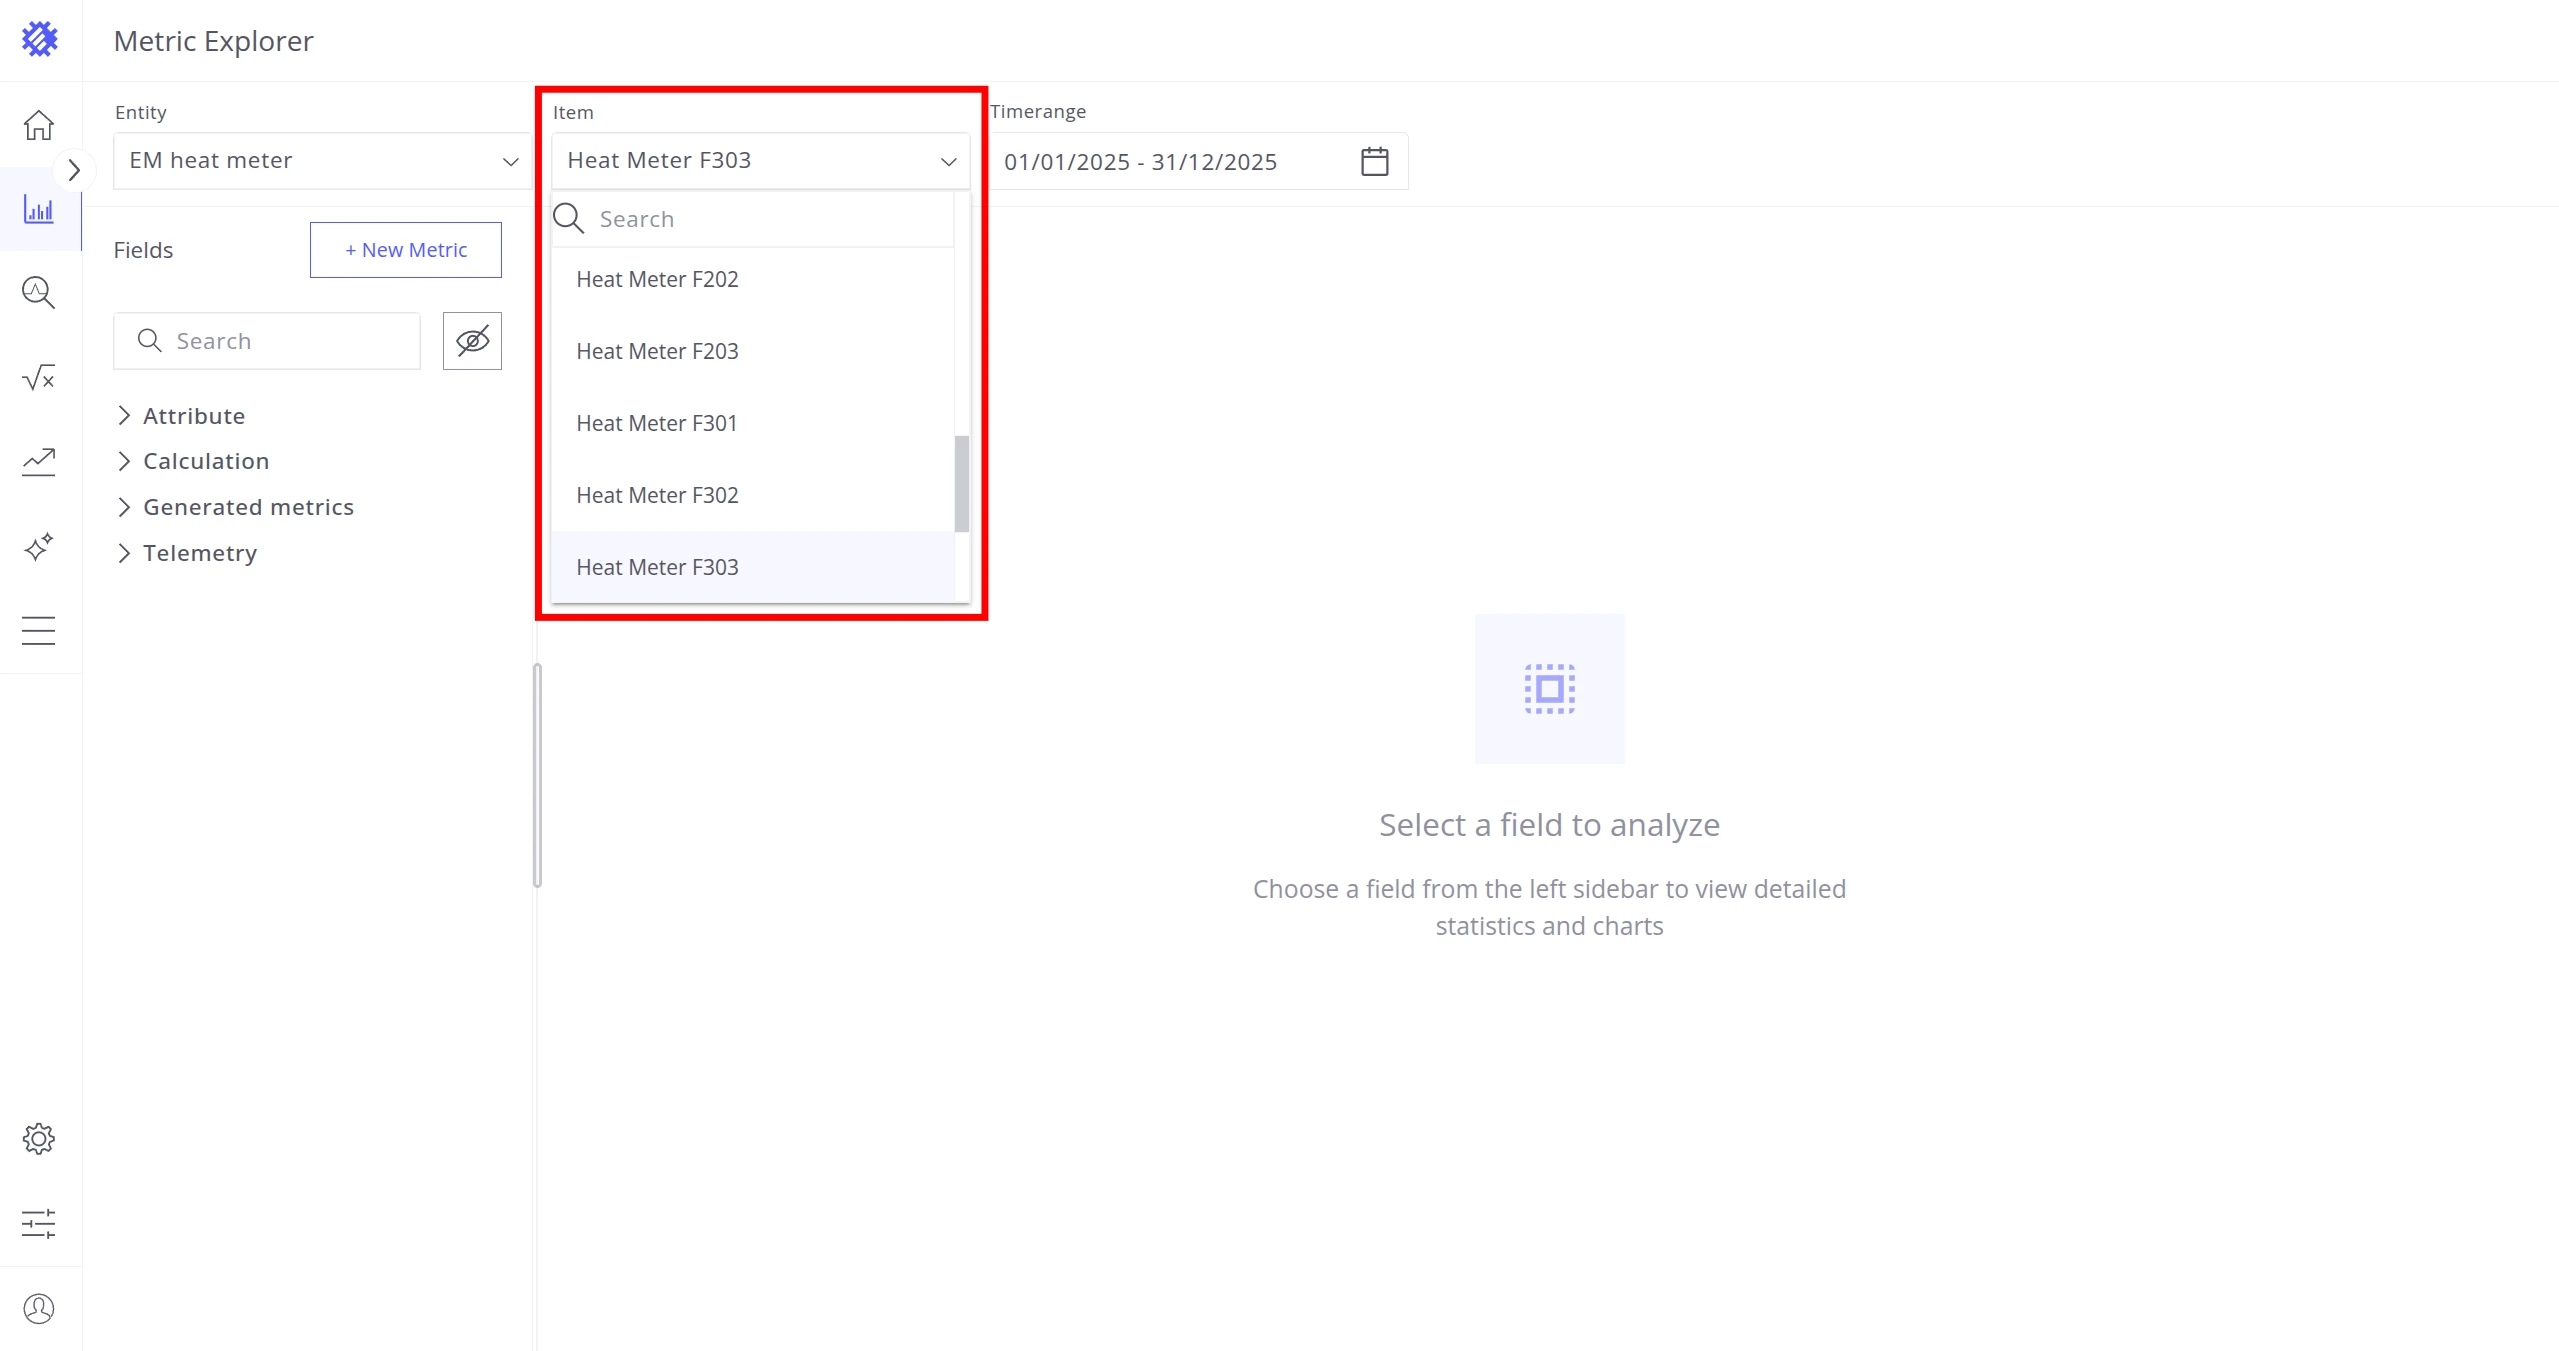
Choose the Entity (Device or Asset profile) for which the metric will be generated.
-
Choose the Item (Device or Asset) on which the metric will be tested.
-
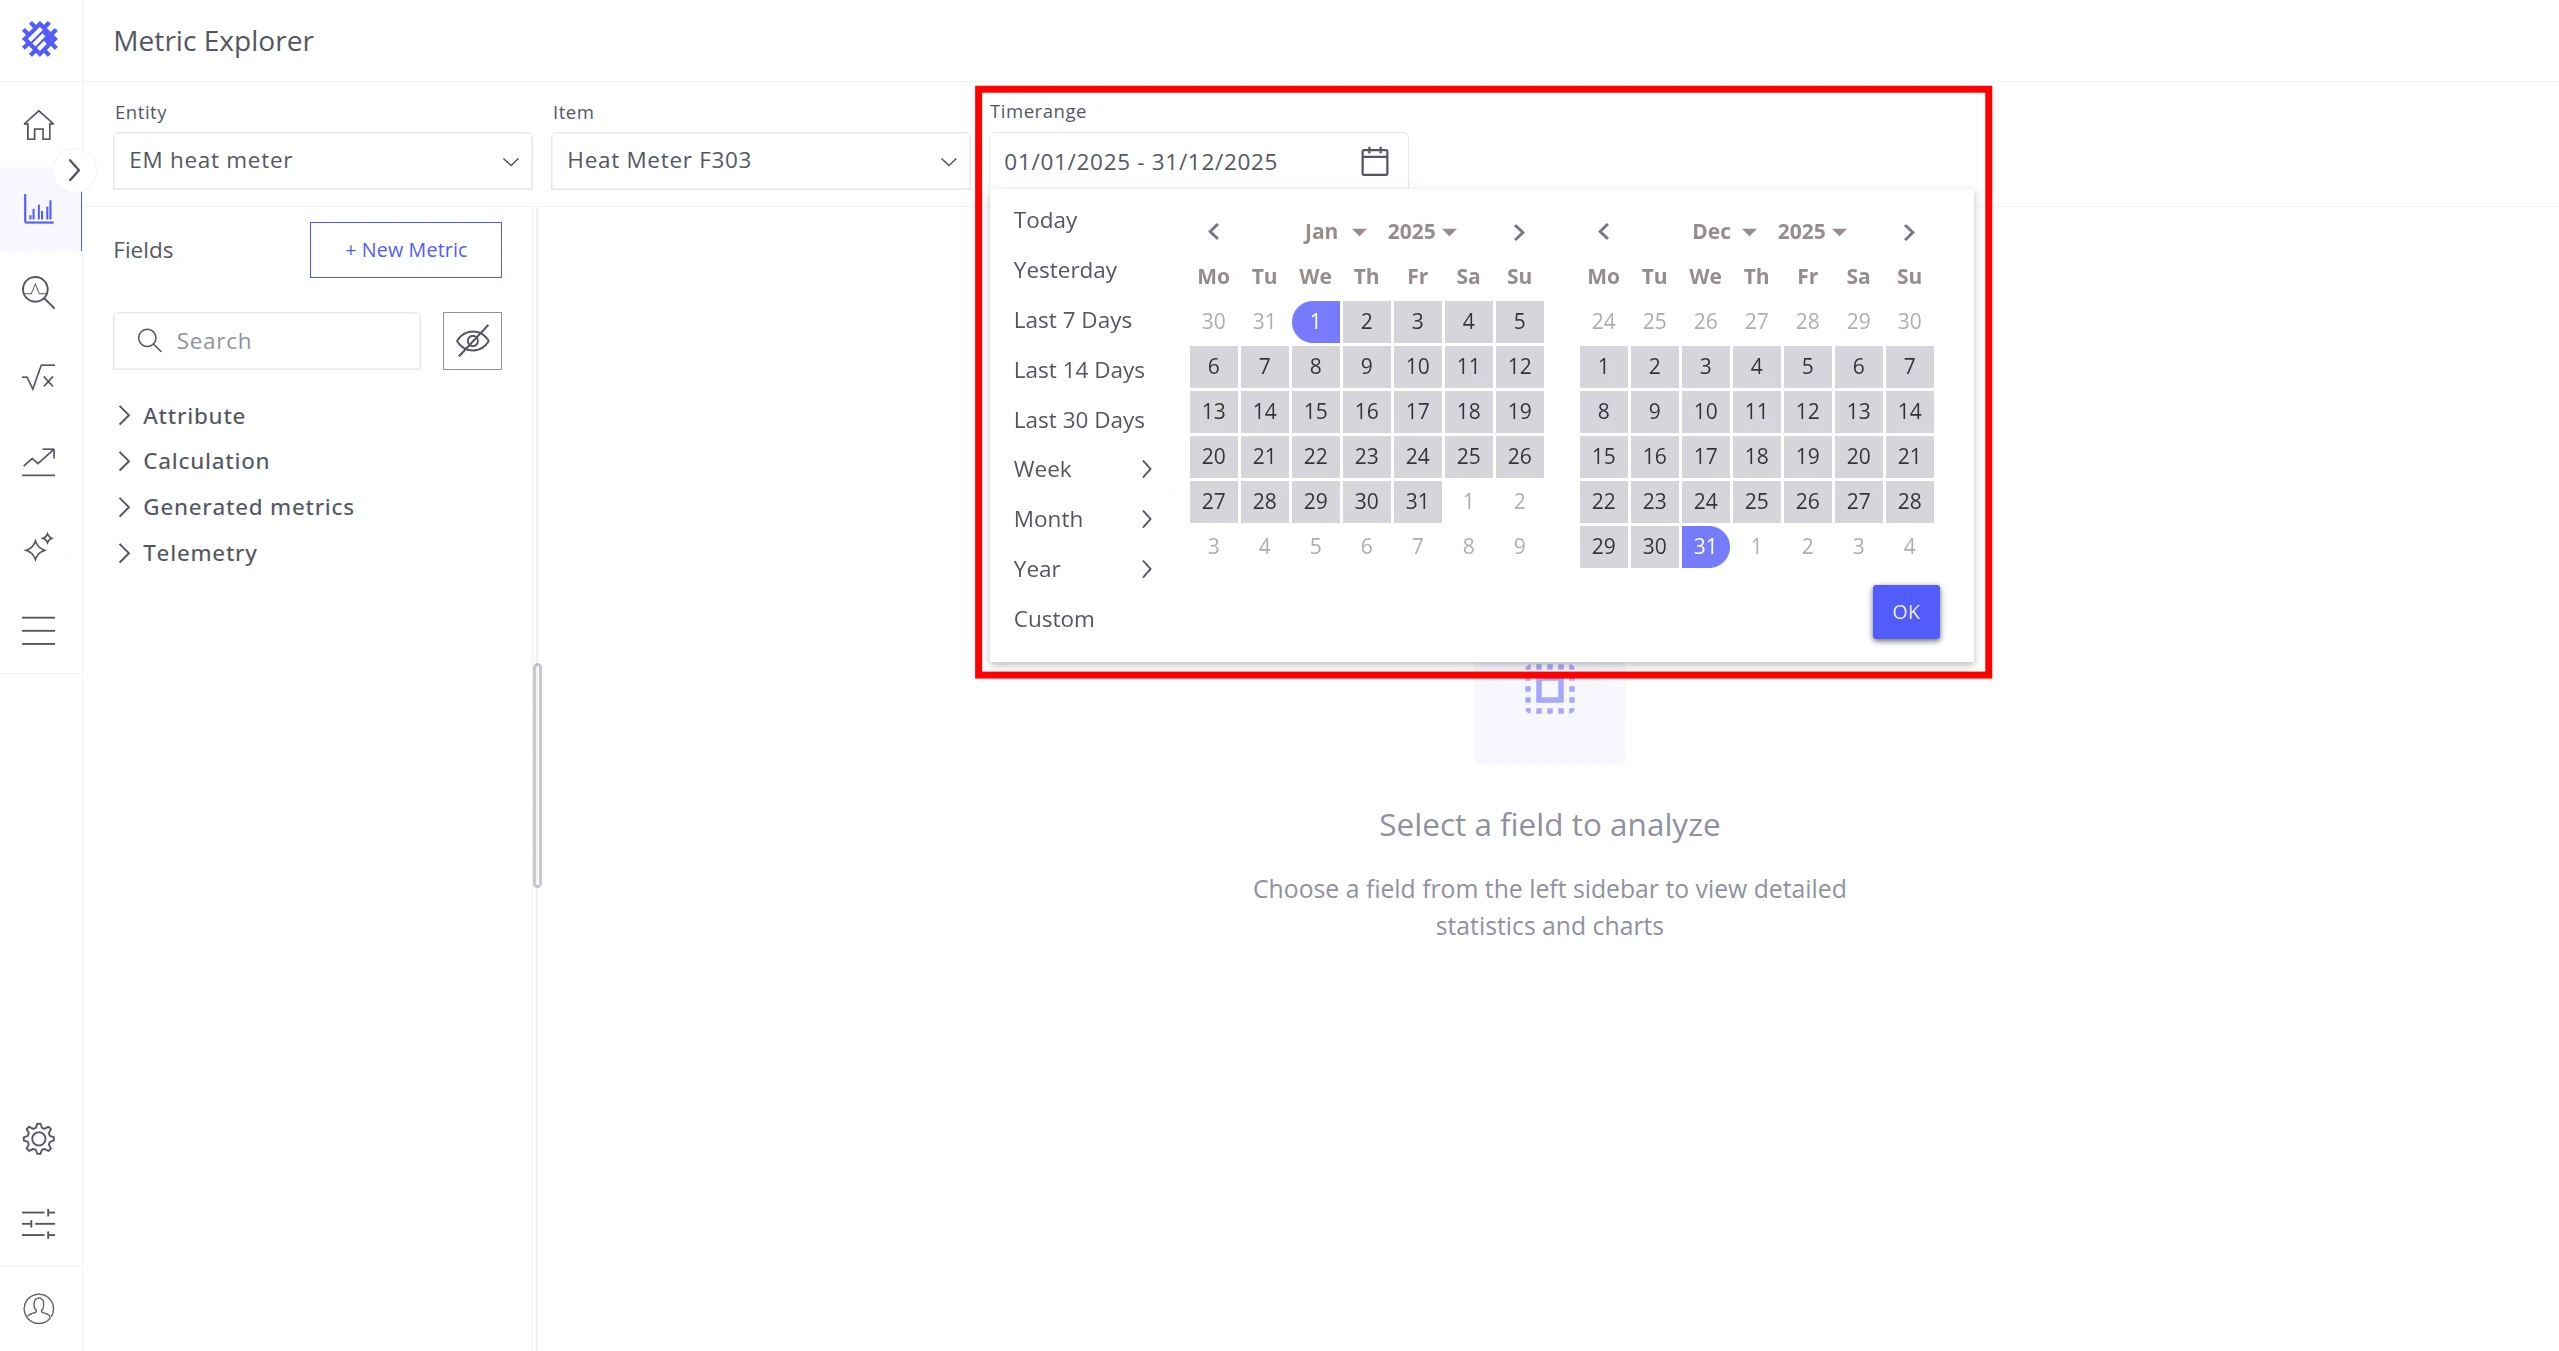
Set the timerange for testing.
-
Click + New Metric.
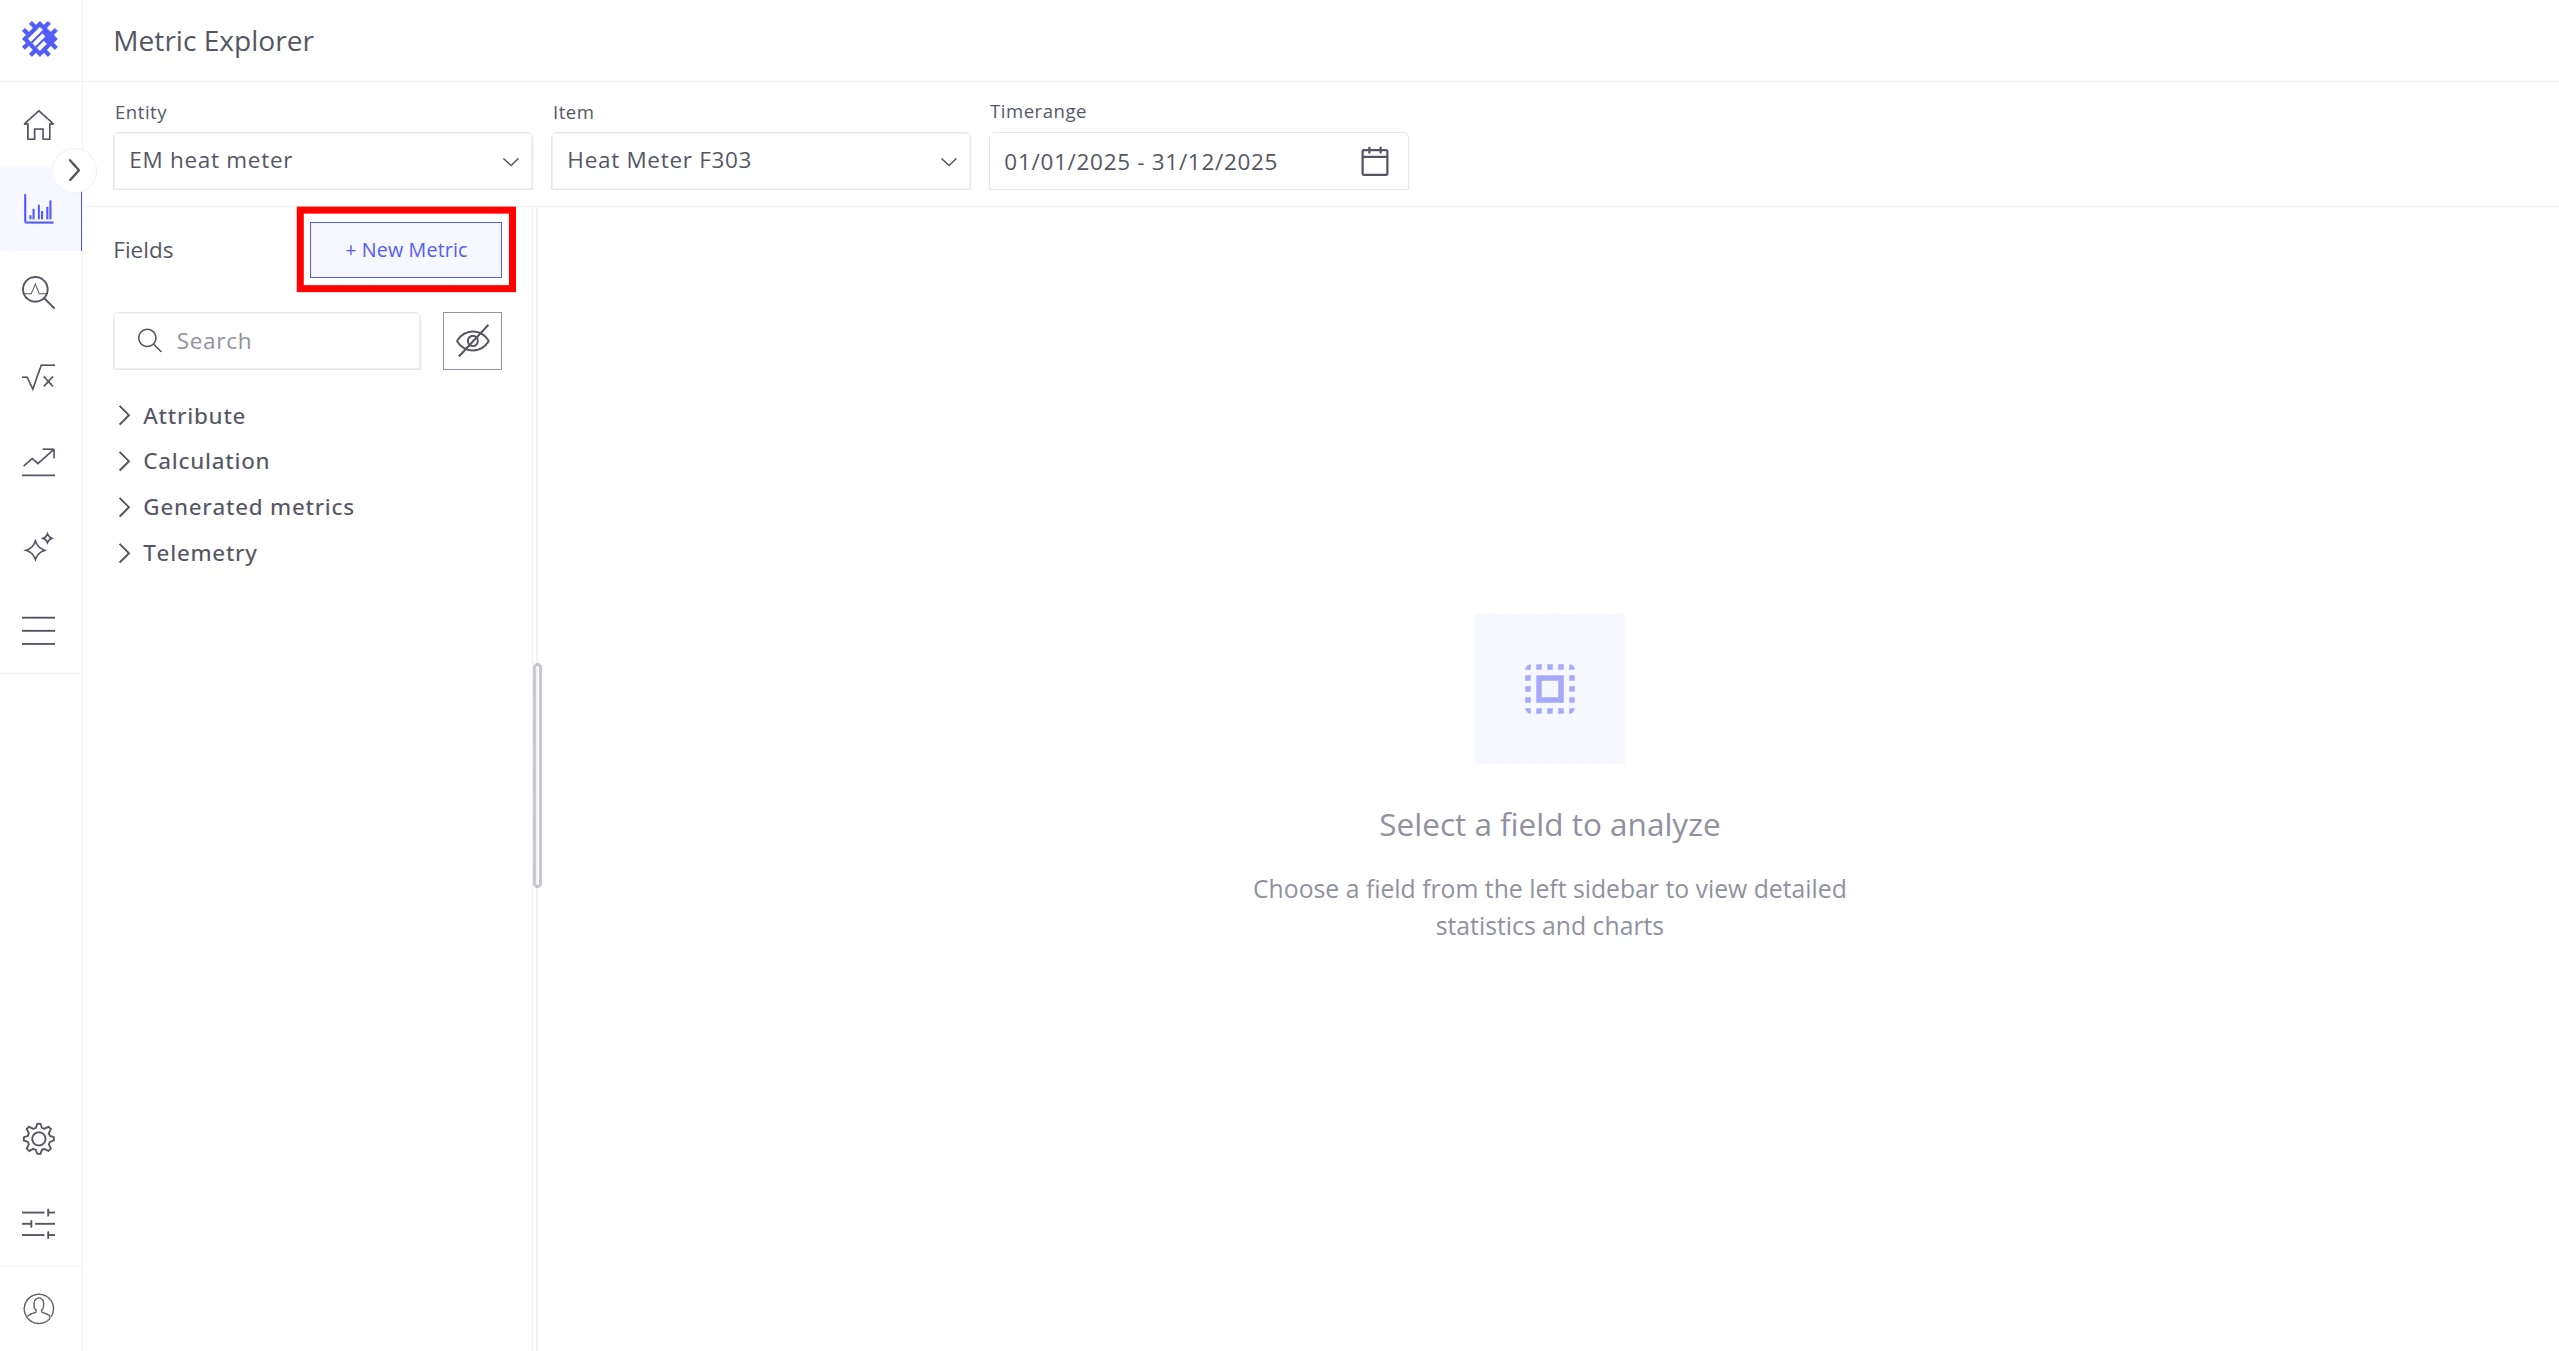
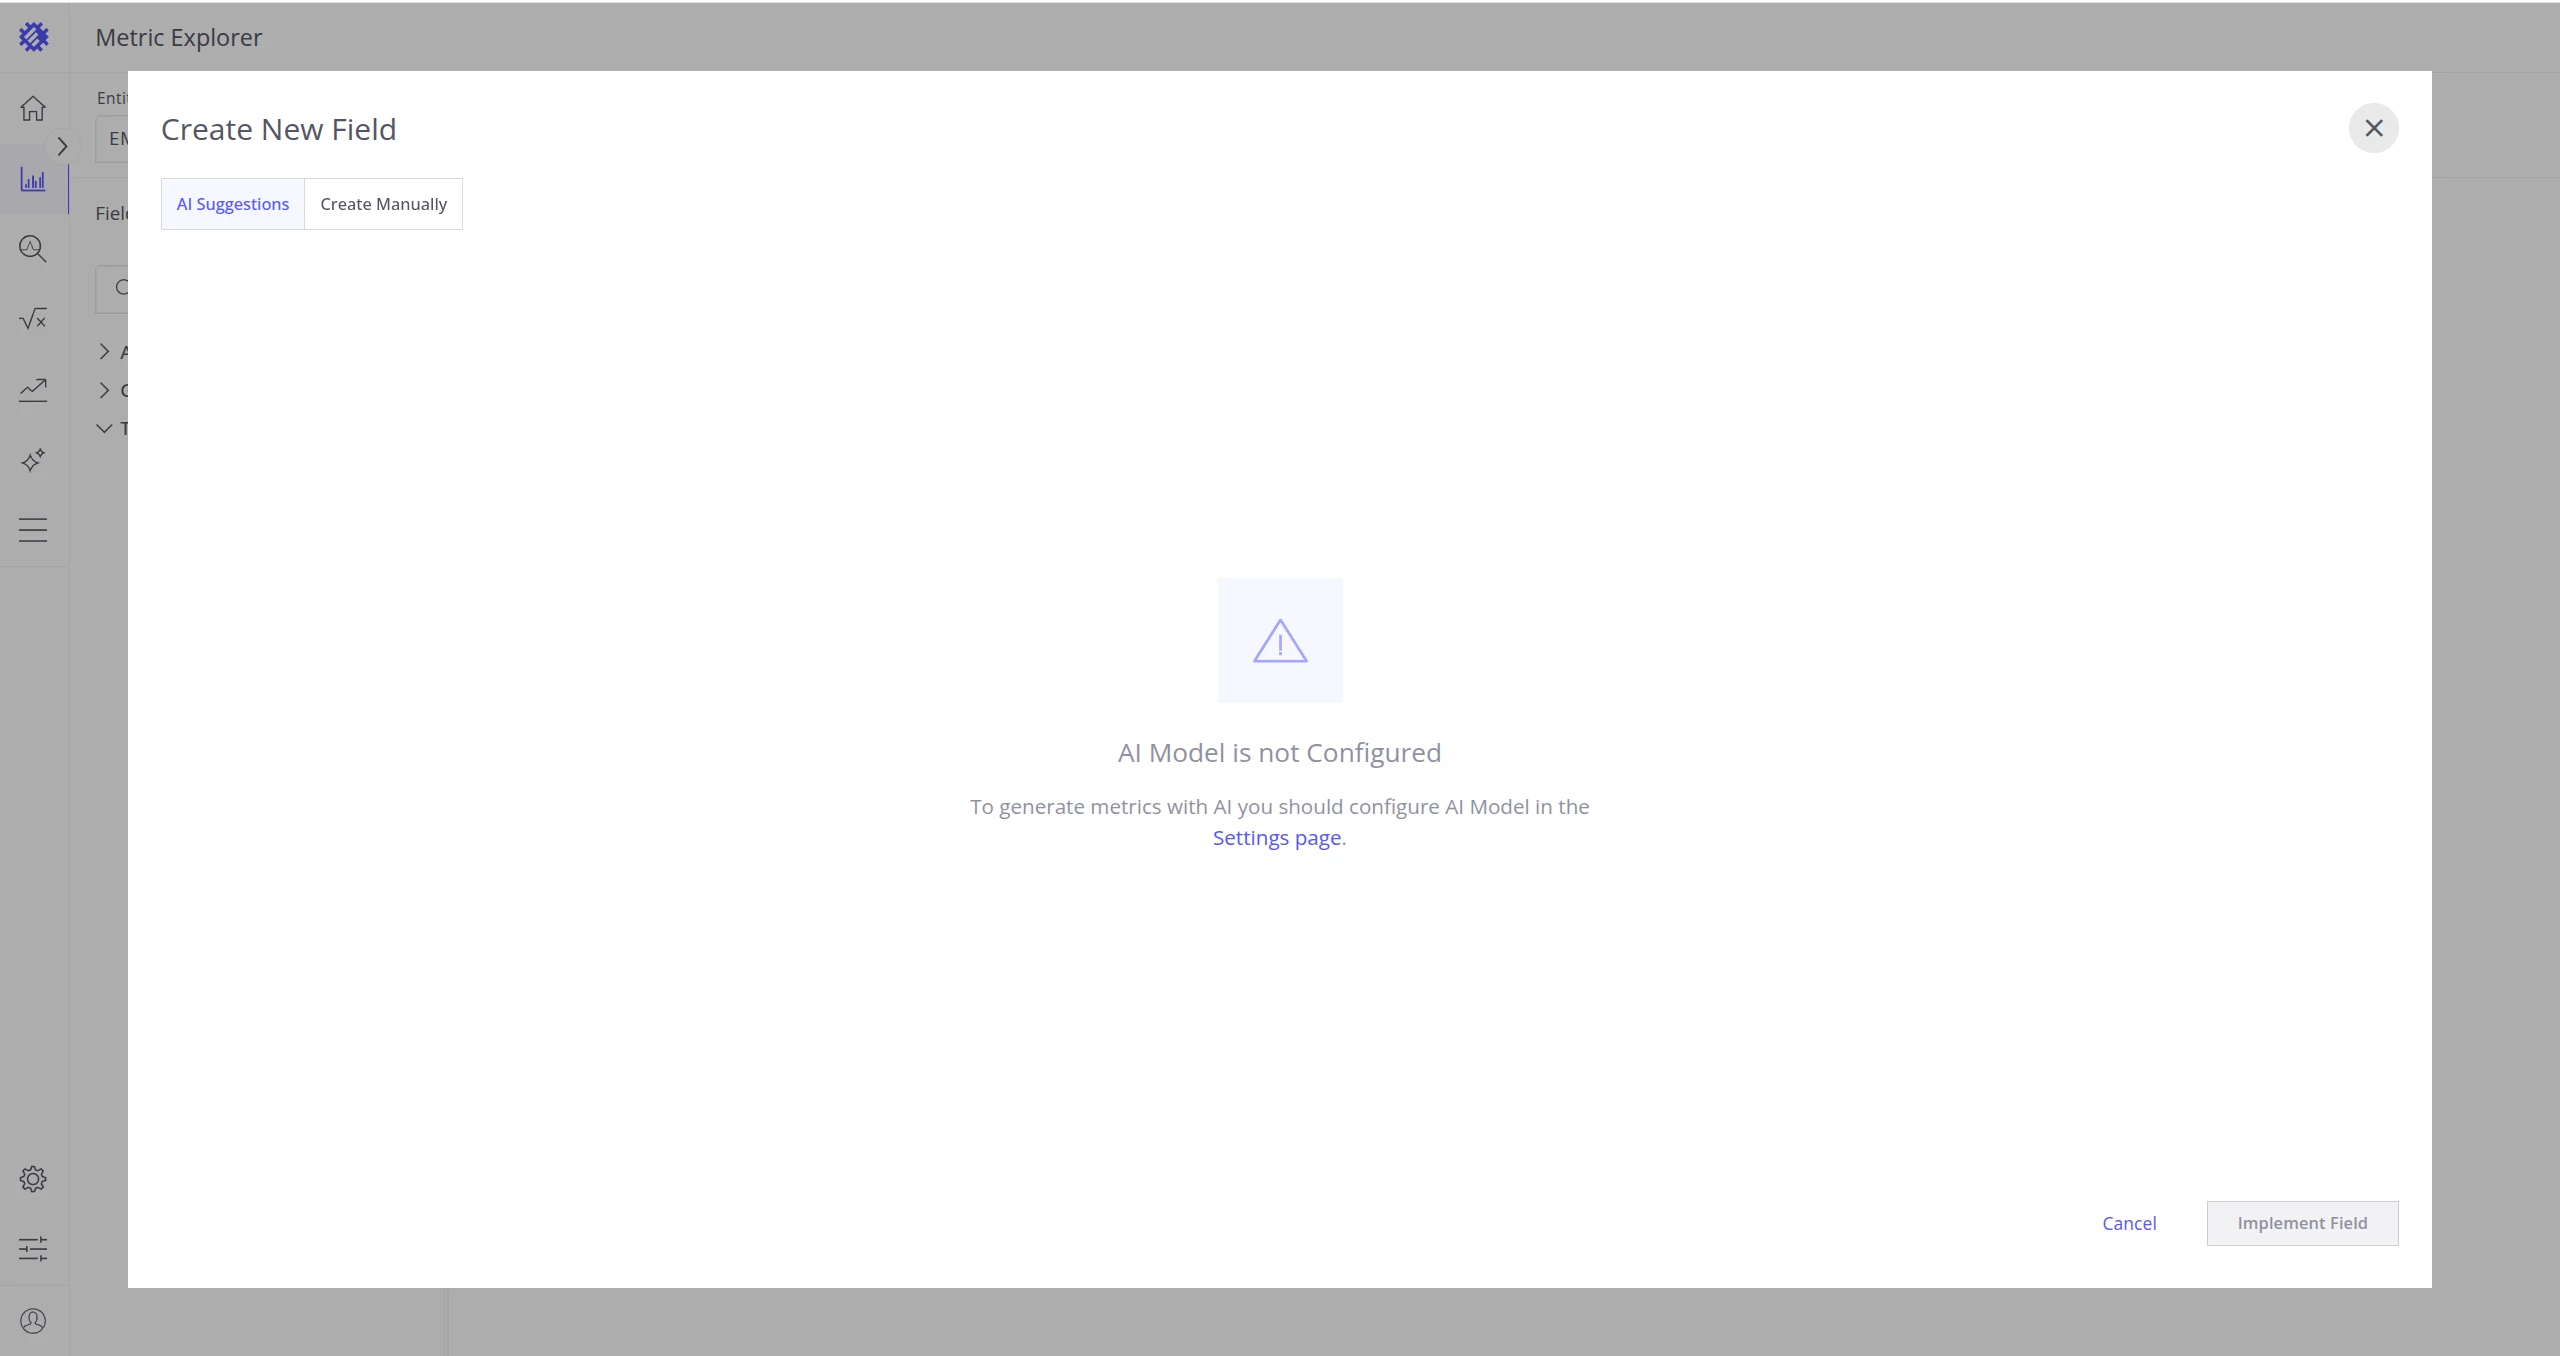
After clicking + New Metric you will see two options: AI Suggestions and Create Manually.
AI Suggestions
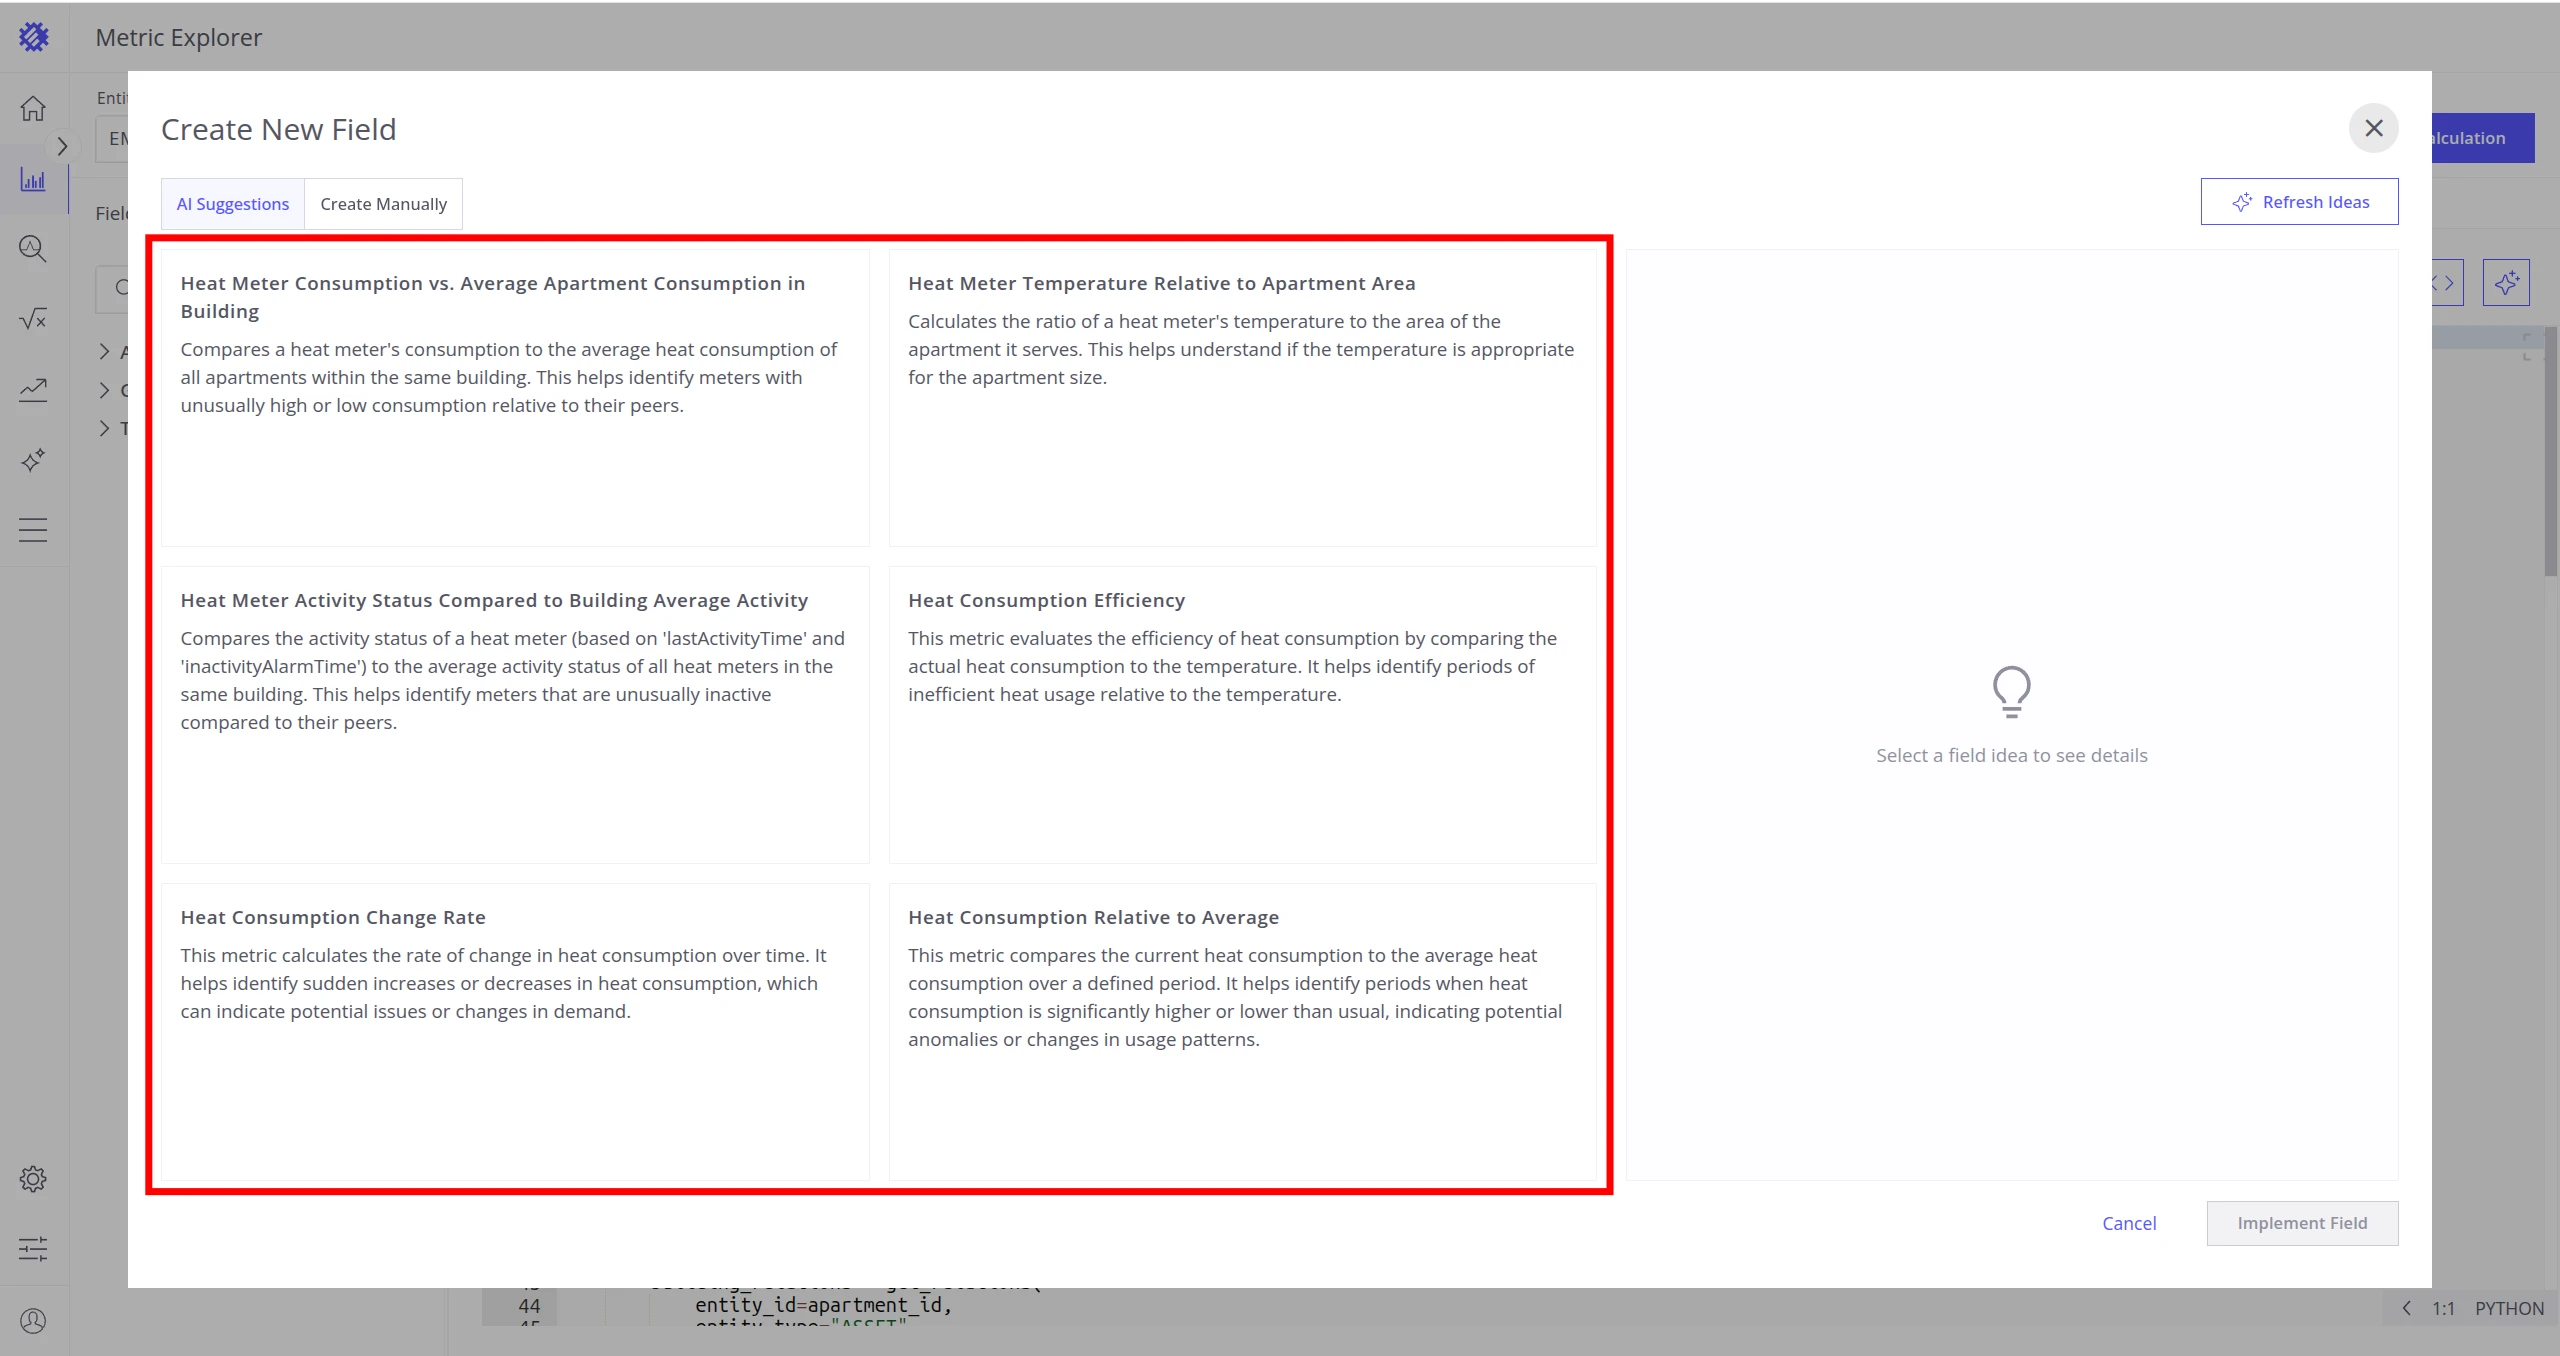
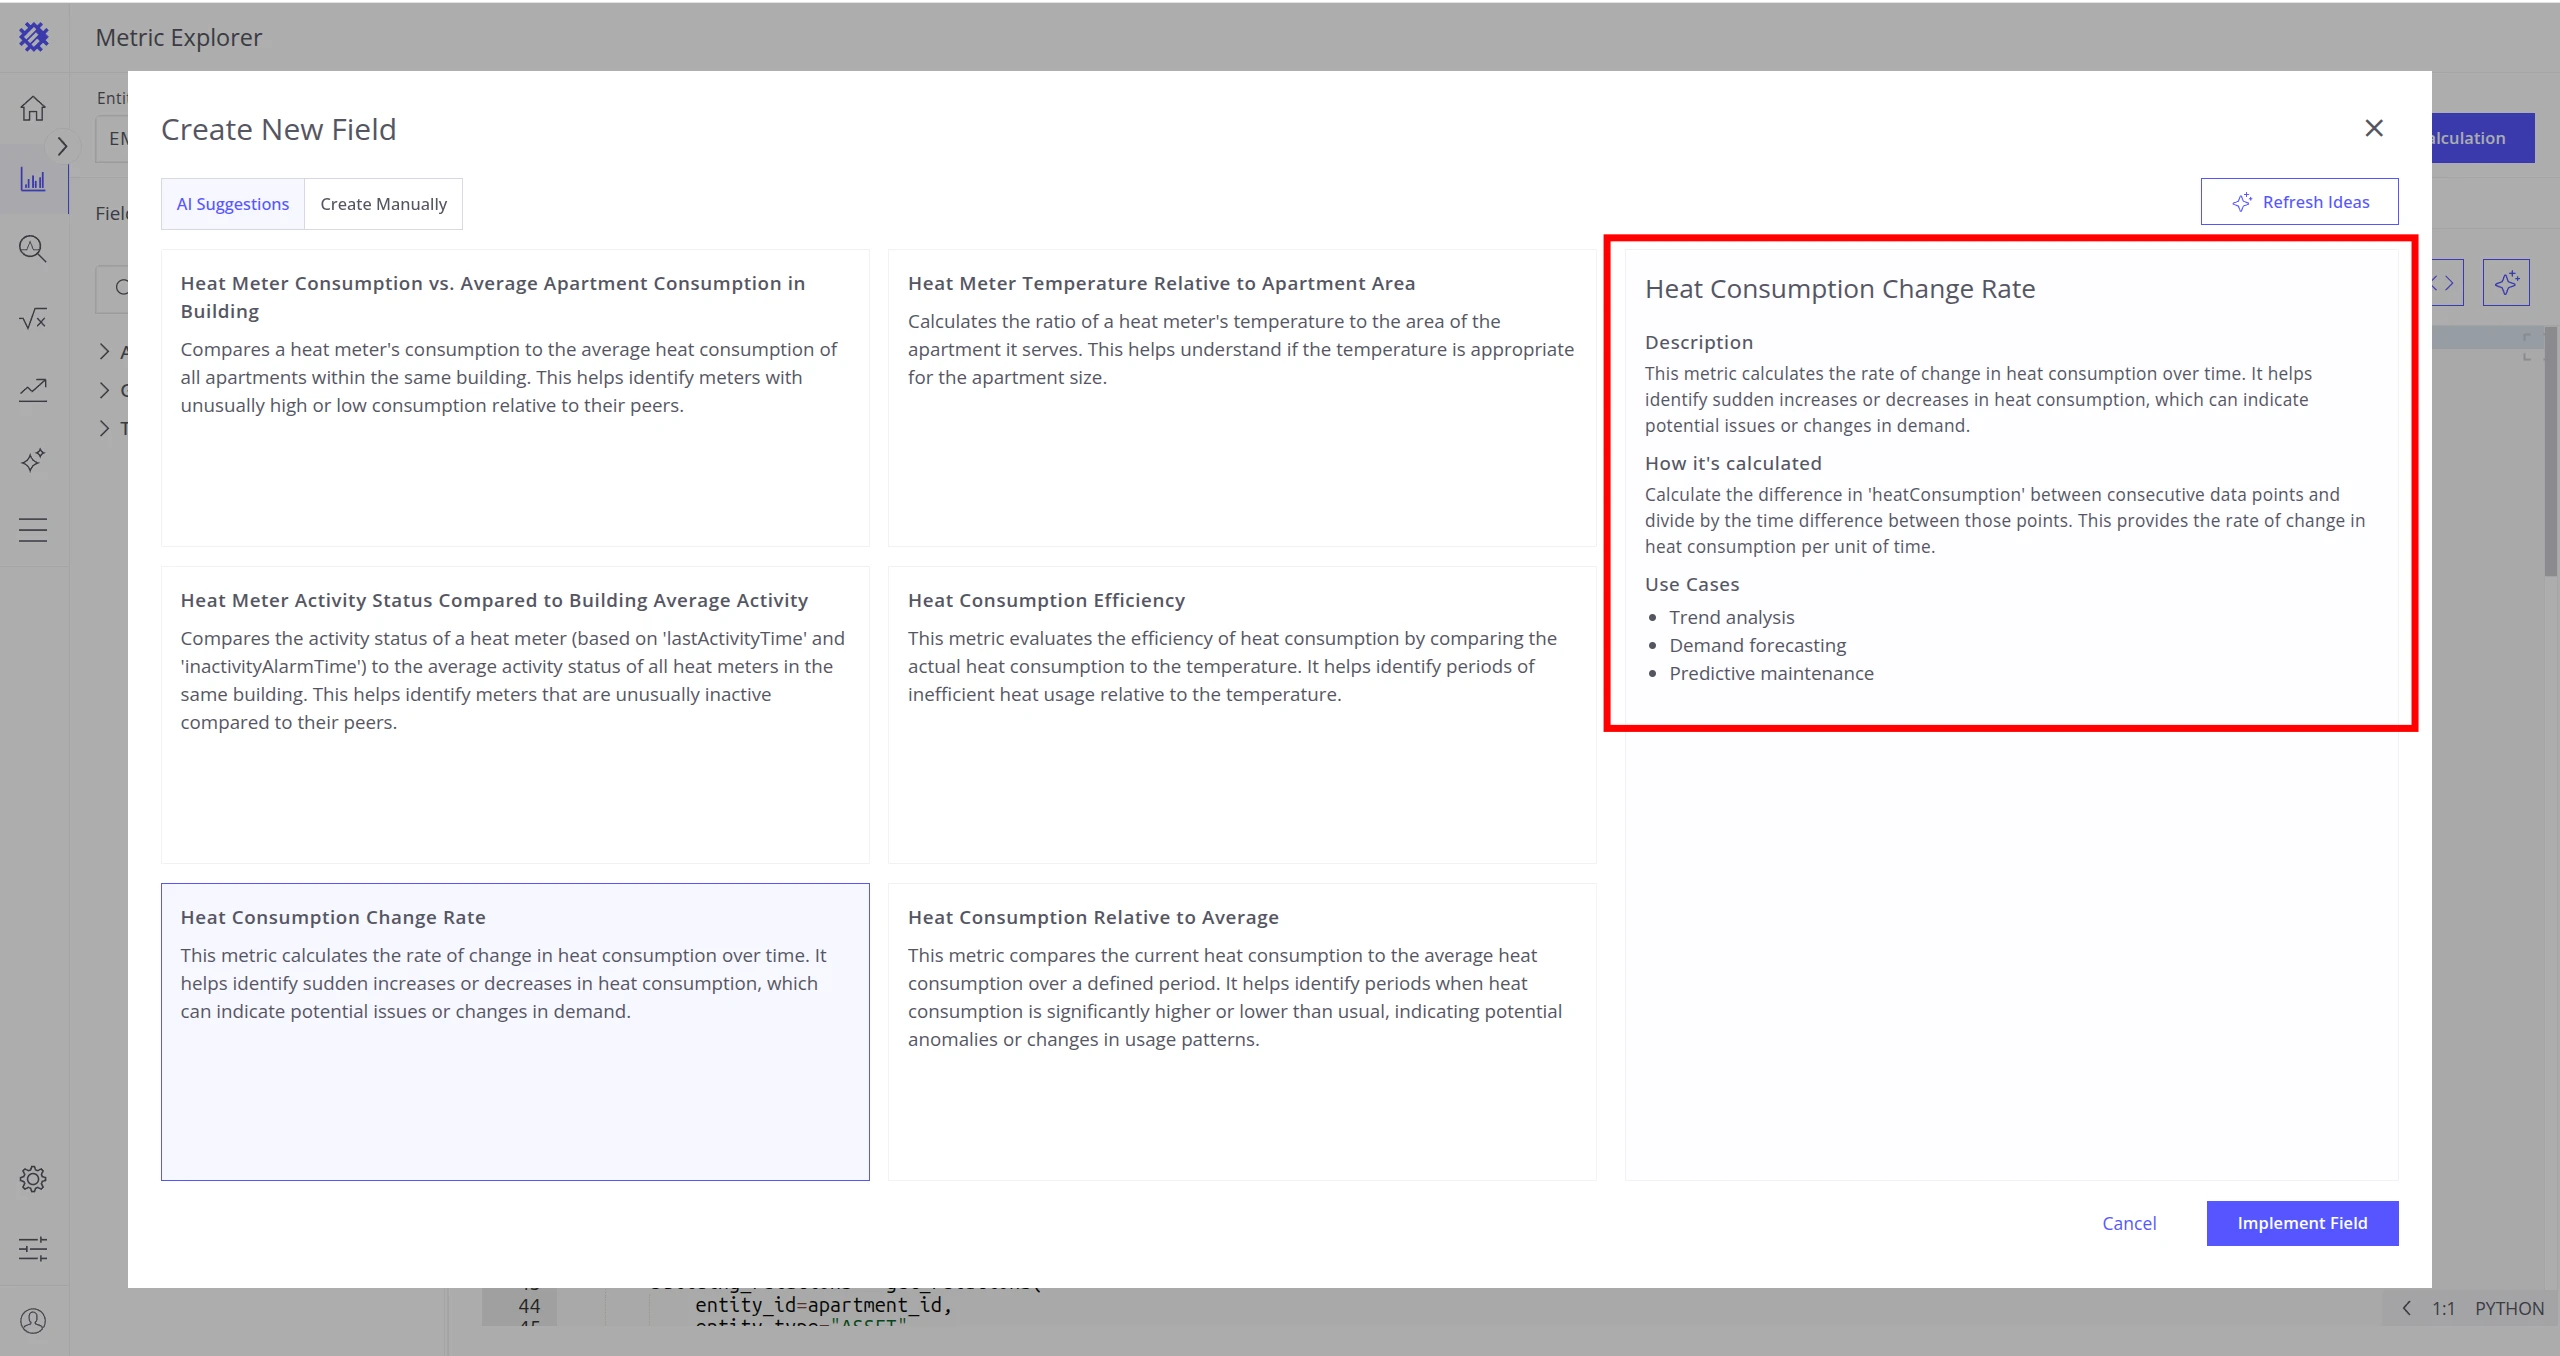
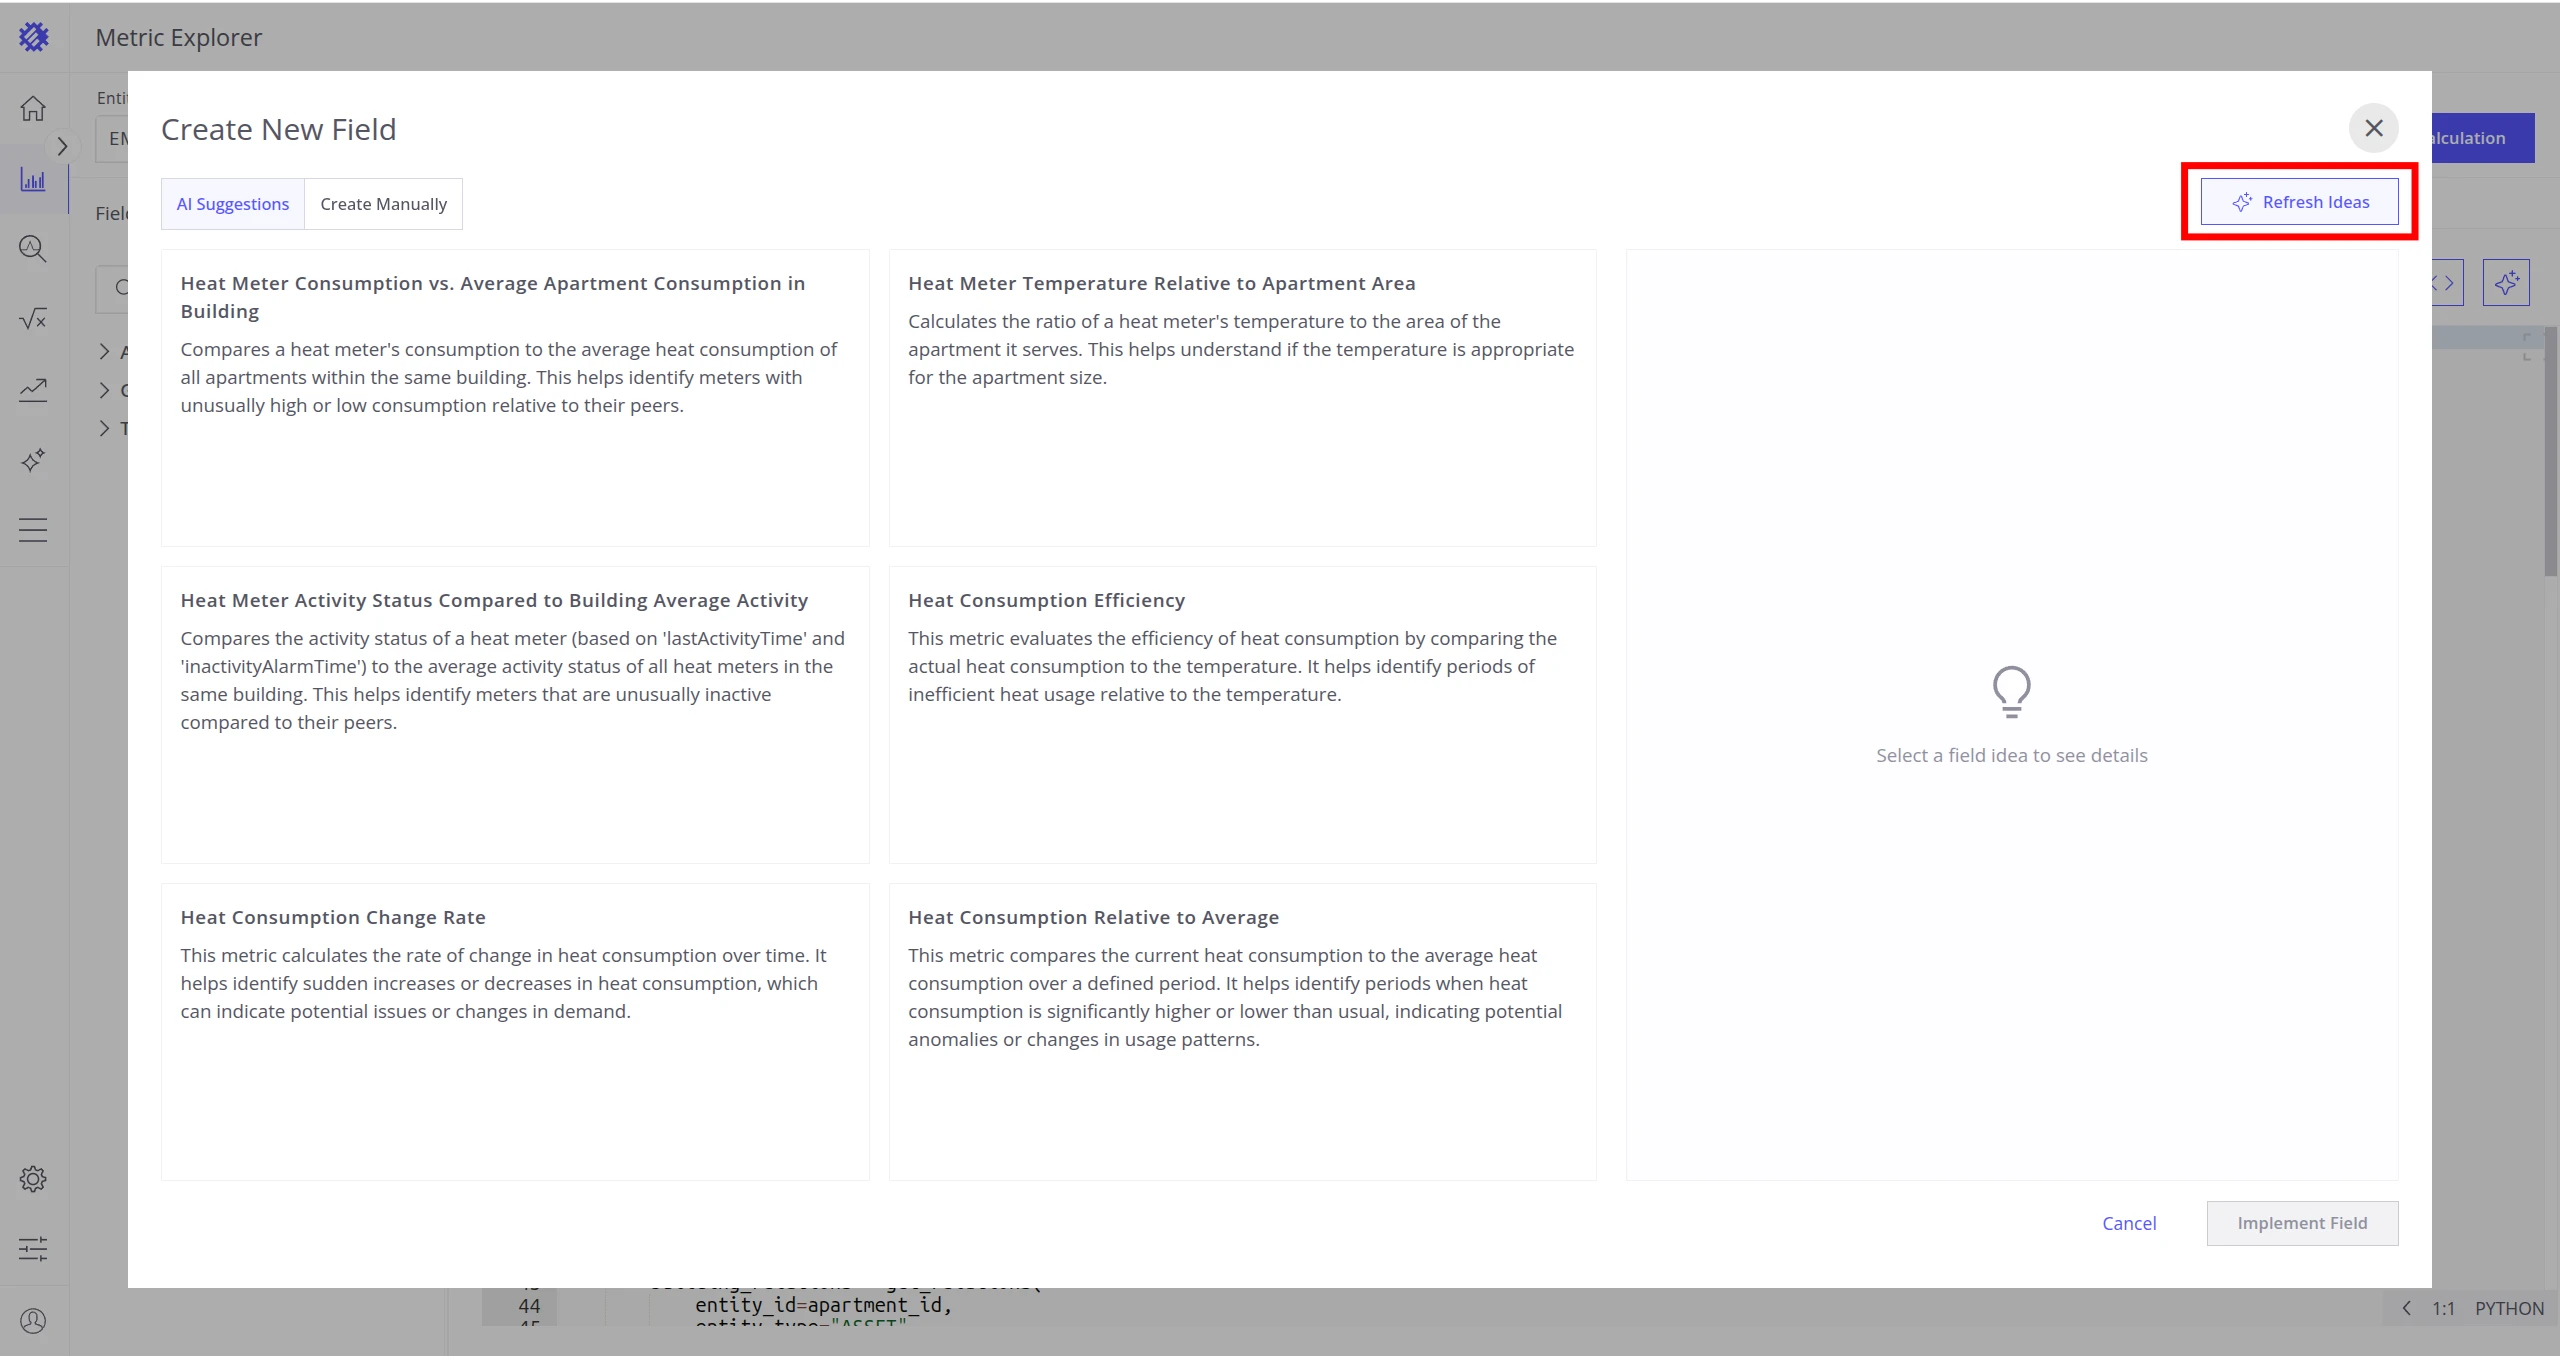
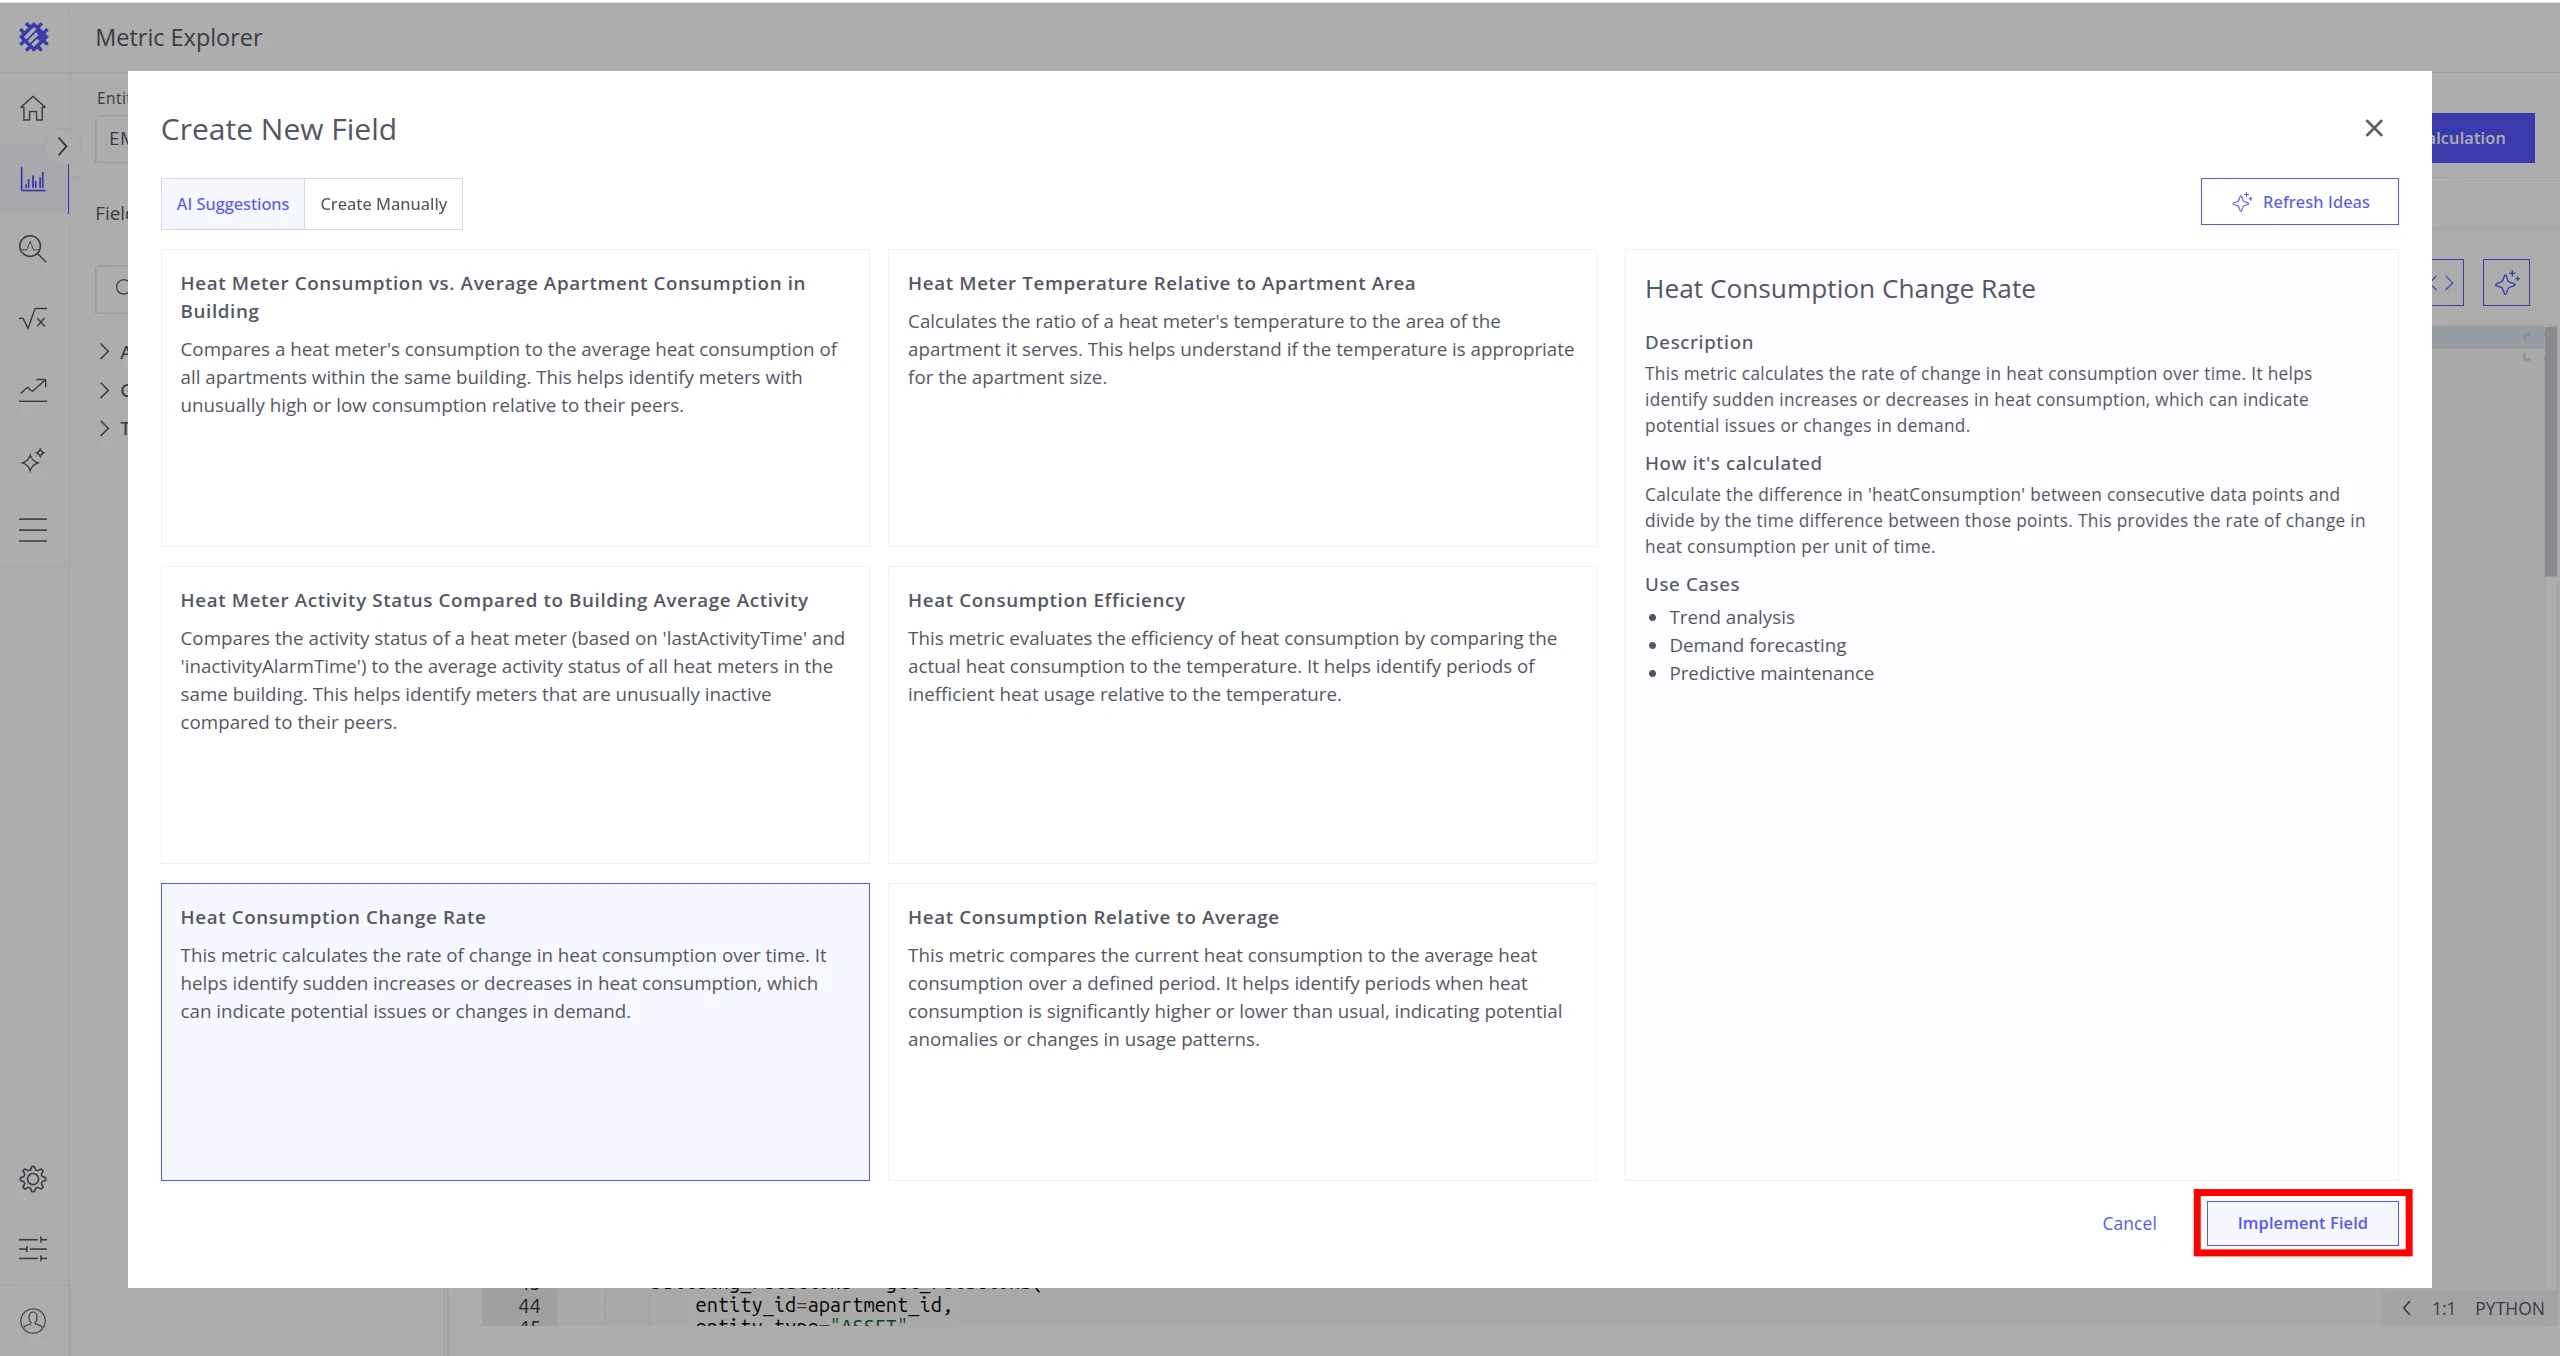
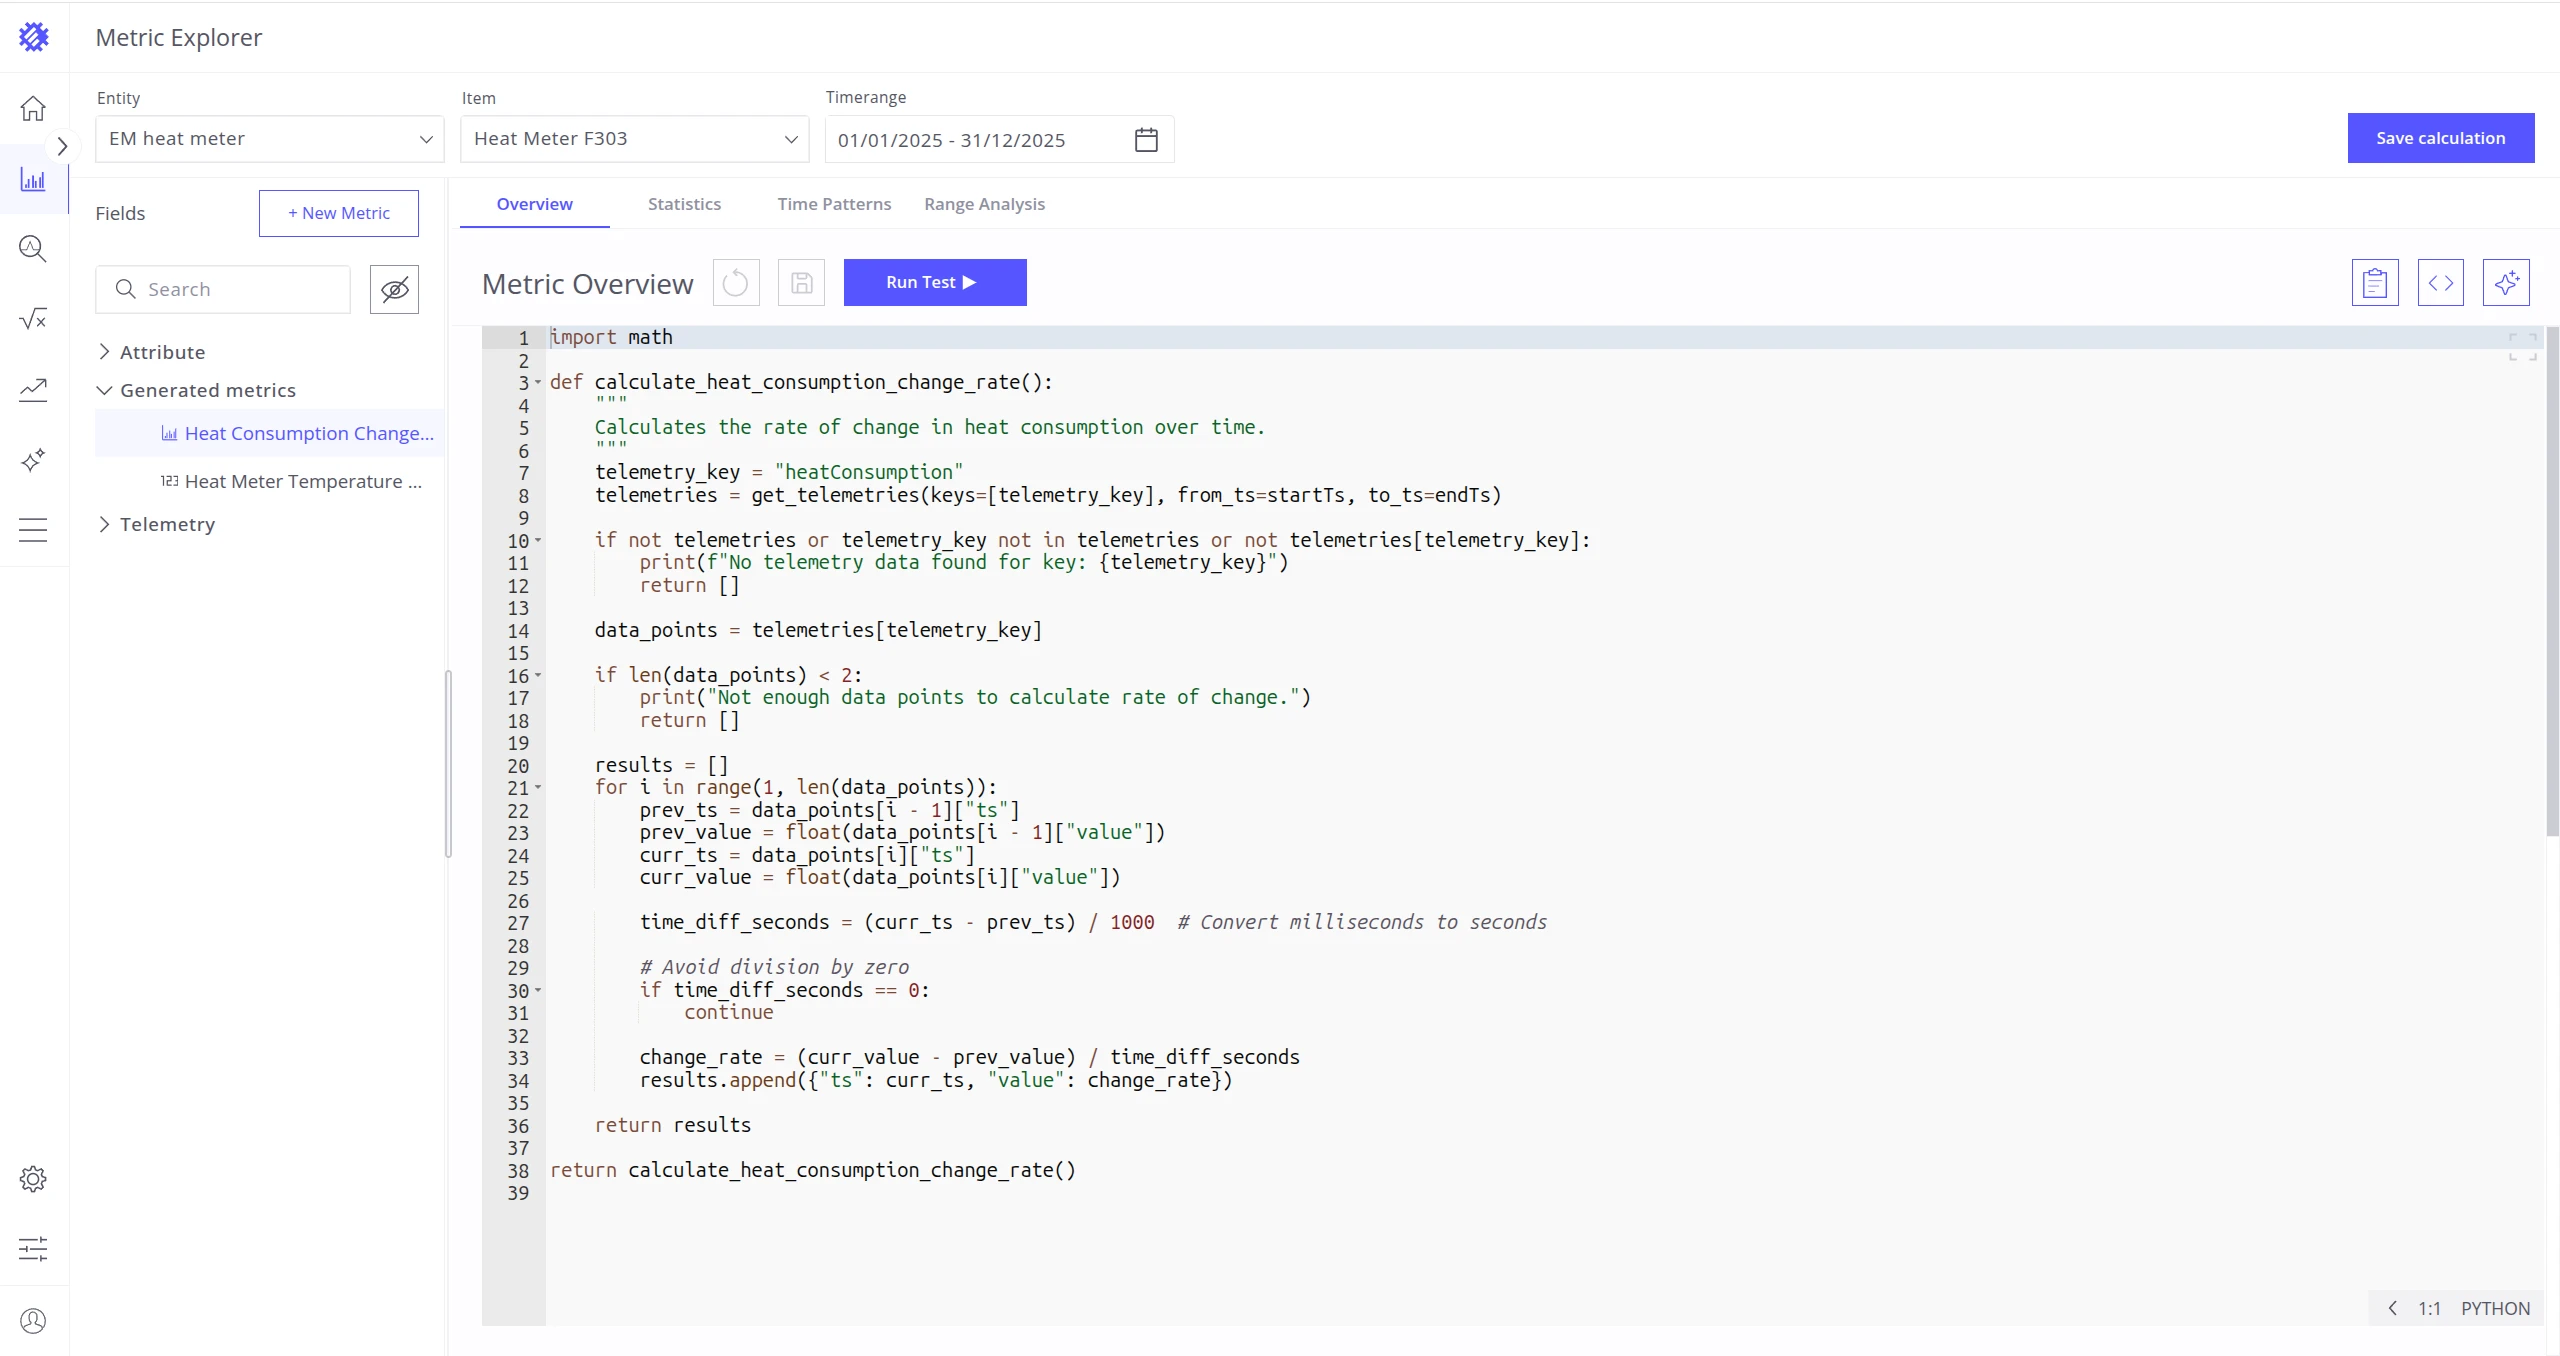
Section titled “AI Suggestions”The AI agent proposes six metrics based on your telemetries and topology. Click any suggestion to see its Metric Definition (name, description, calculation logic) and use cases. If you are not satisfied with the proposals, click Refresh Ideas to generate a new set. When you find a metric you want, click Implement Field — you will be redirected to the Generated Metric Overview tab.
Create Manually
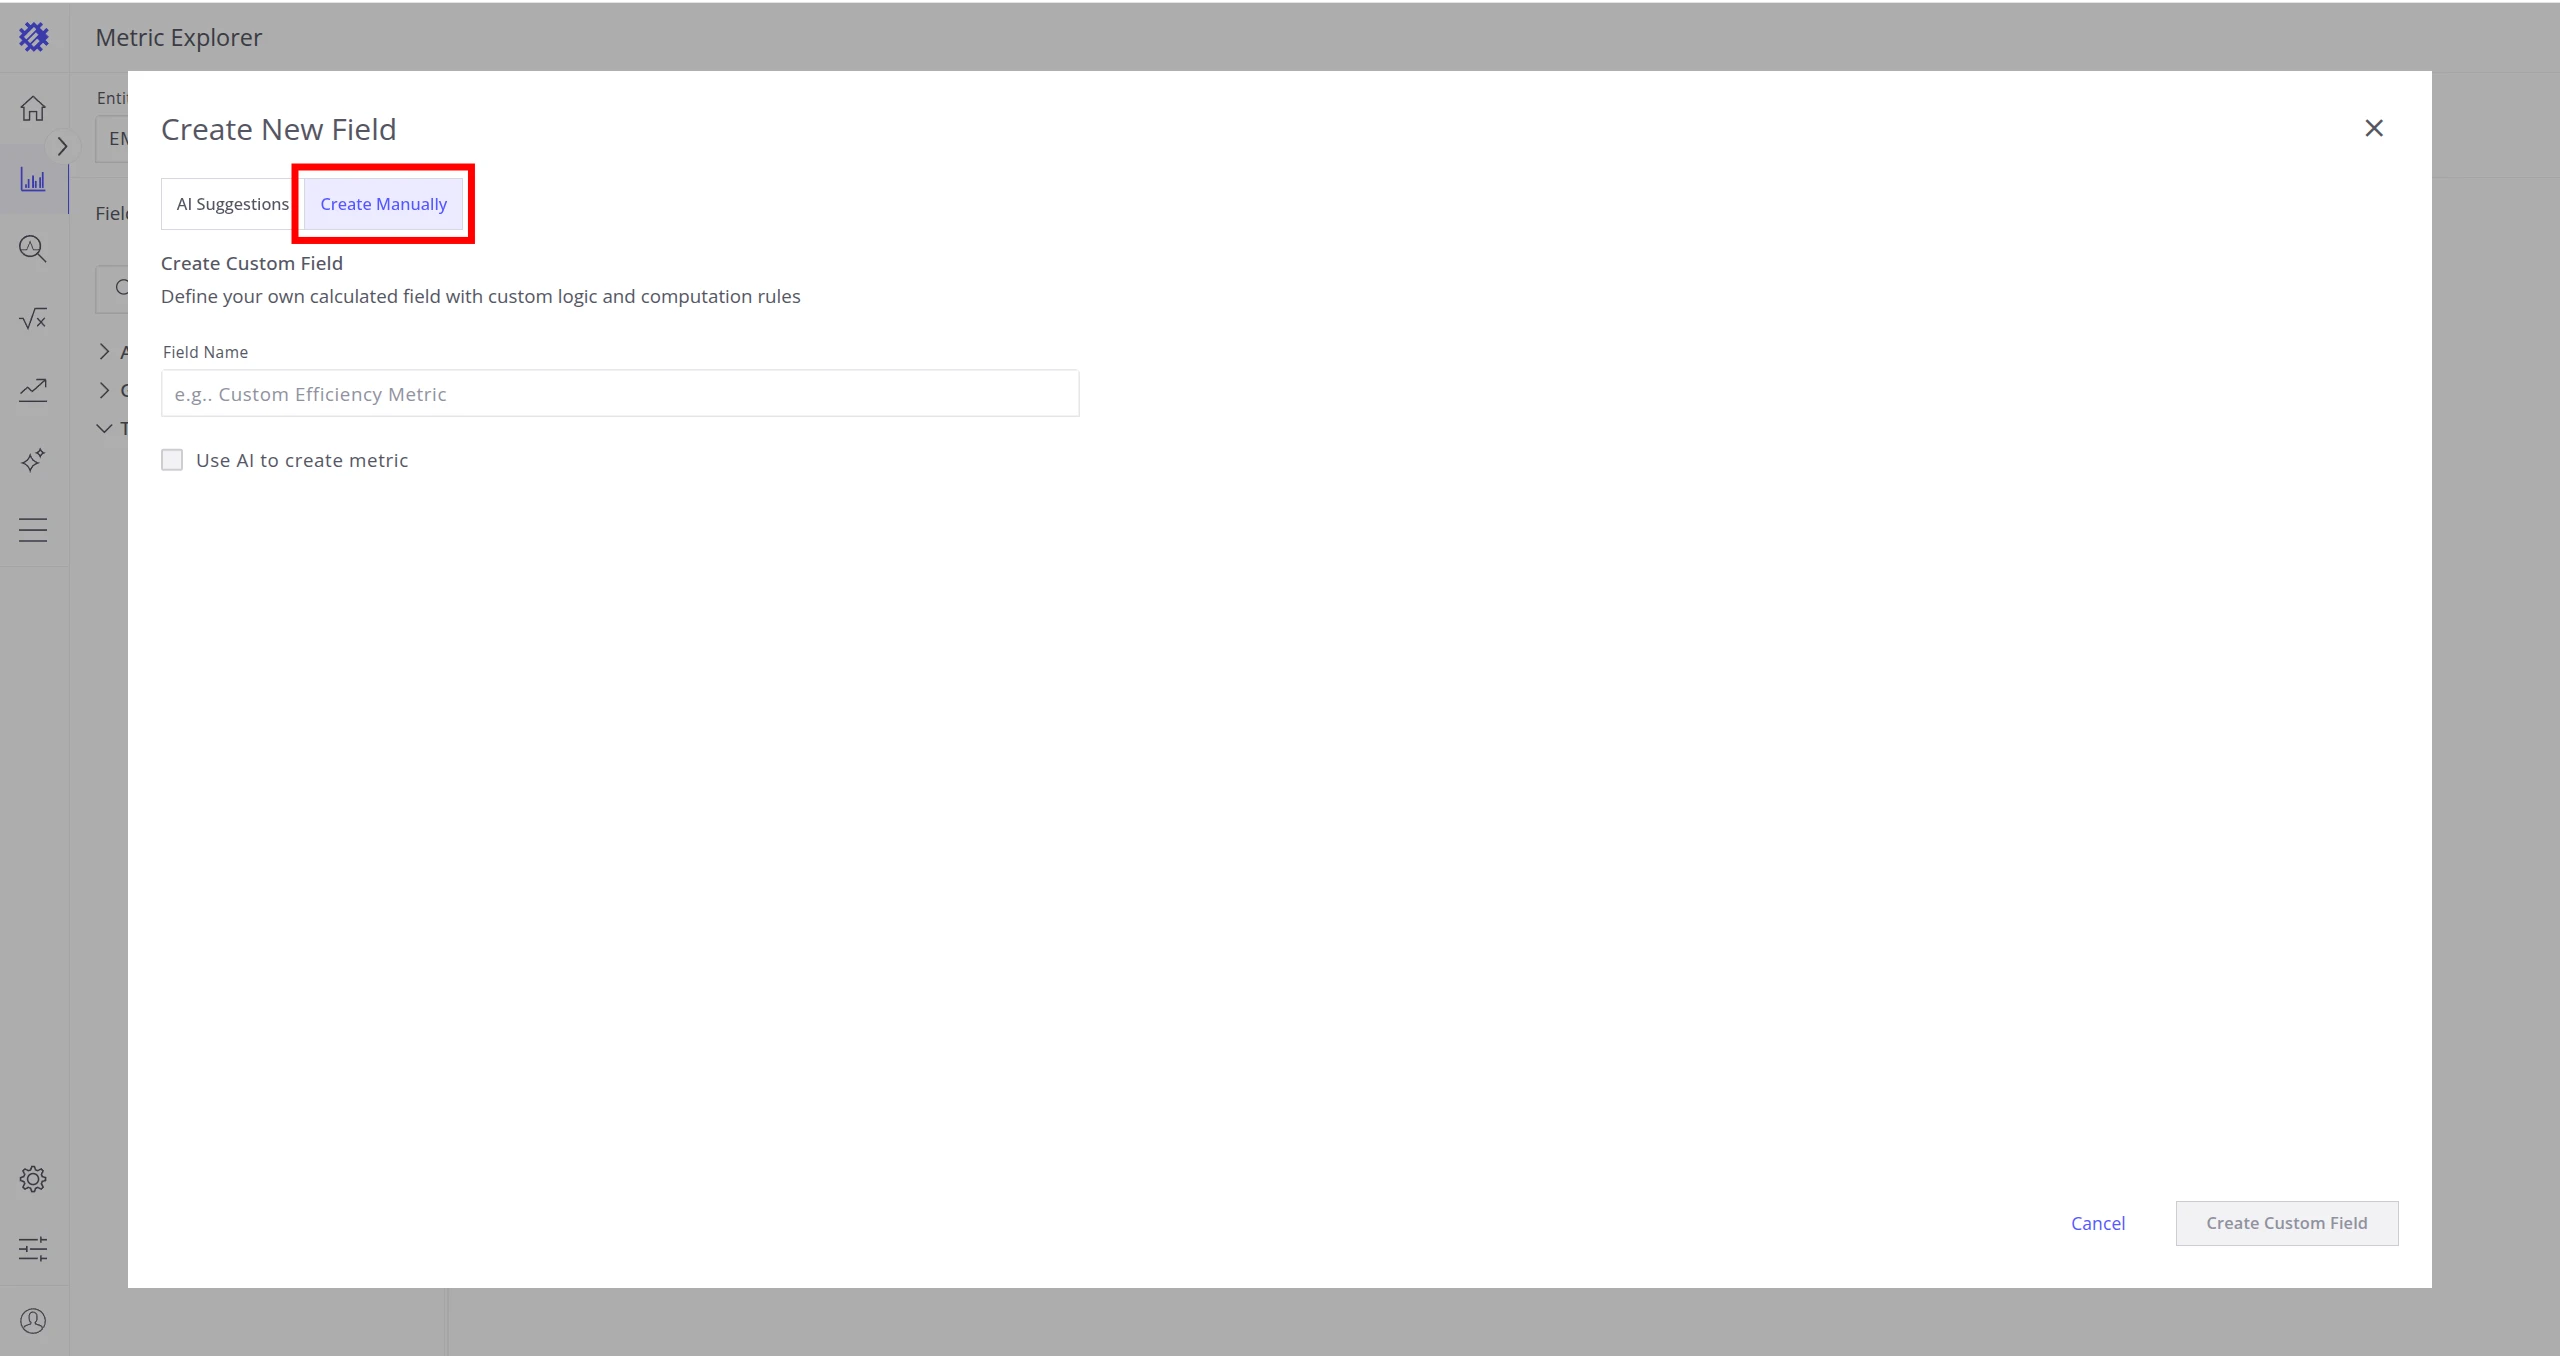
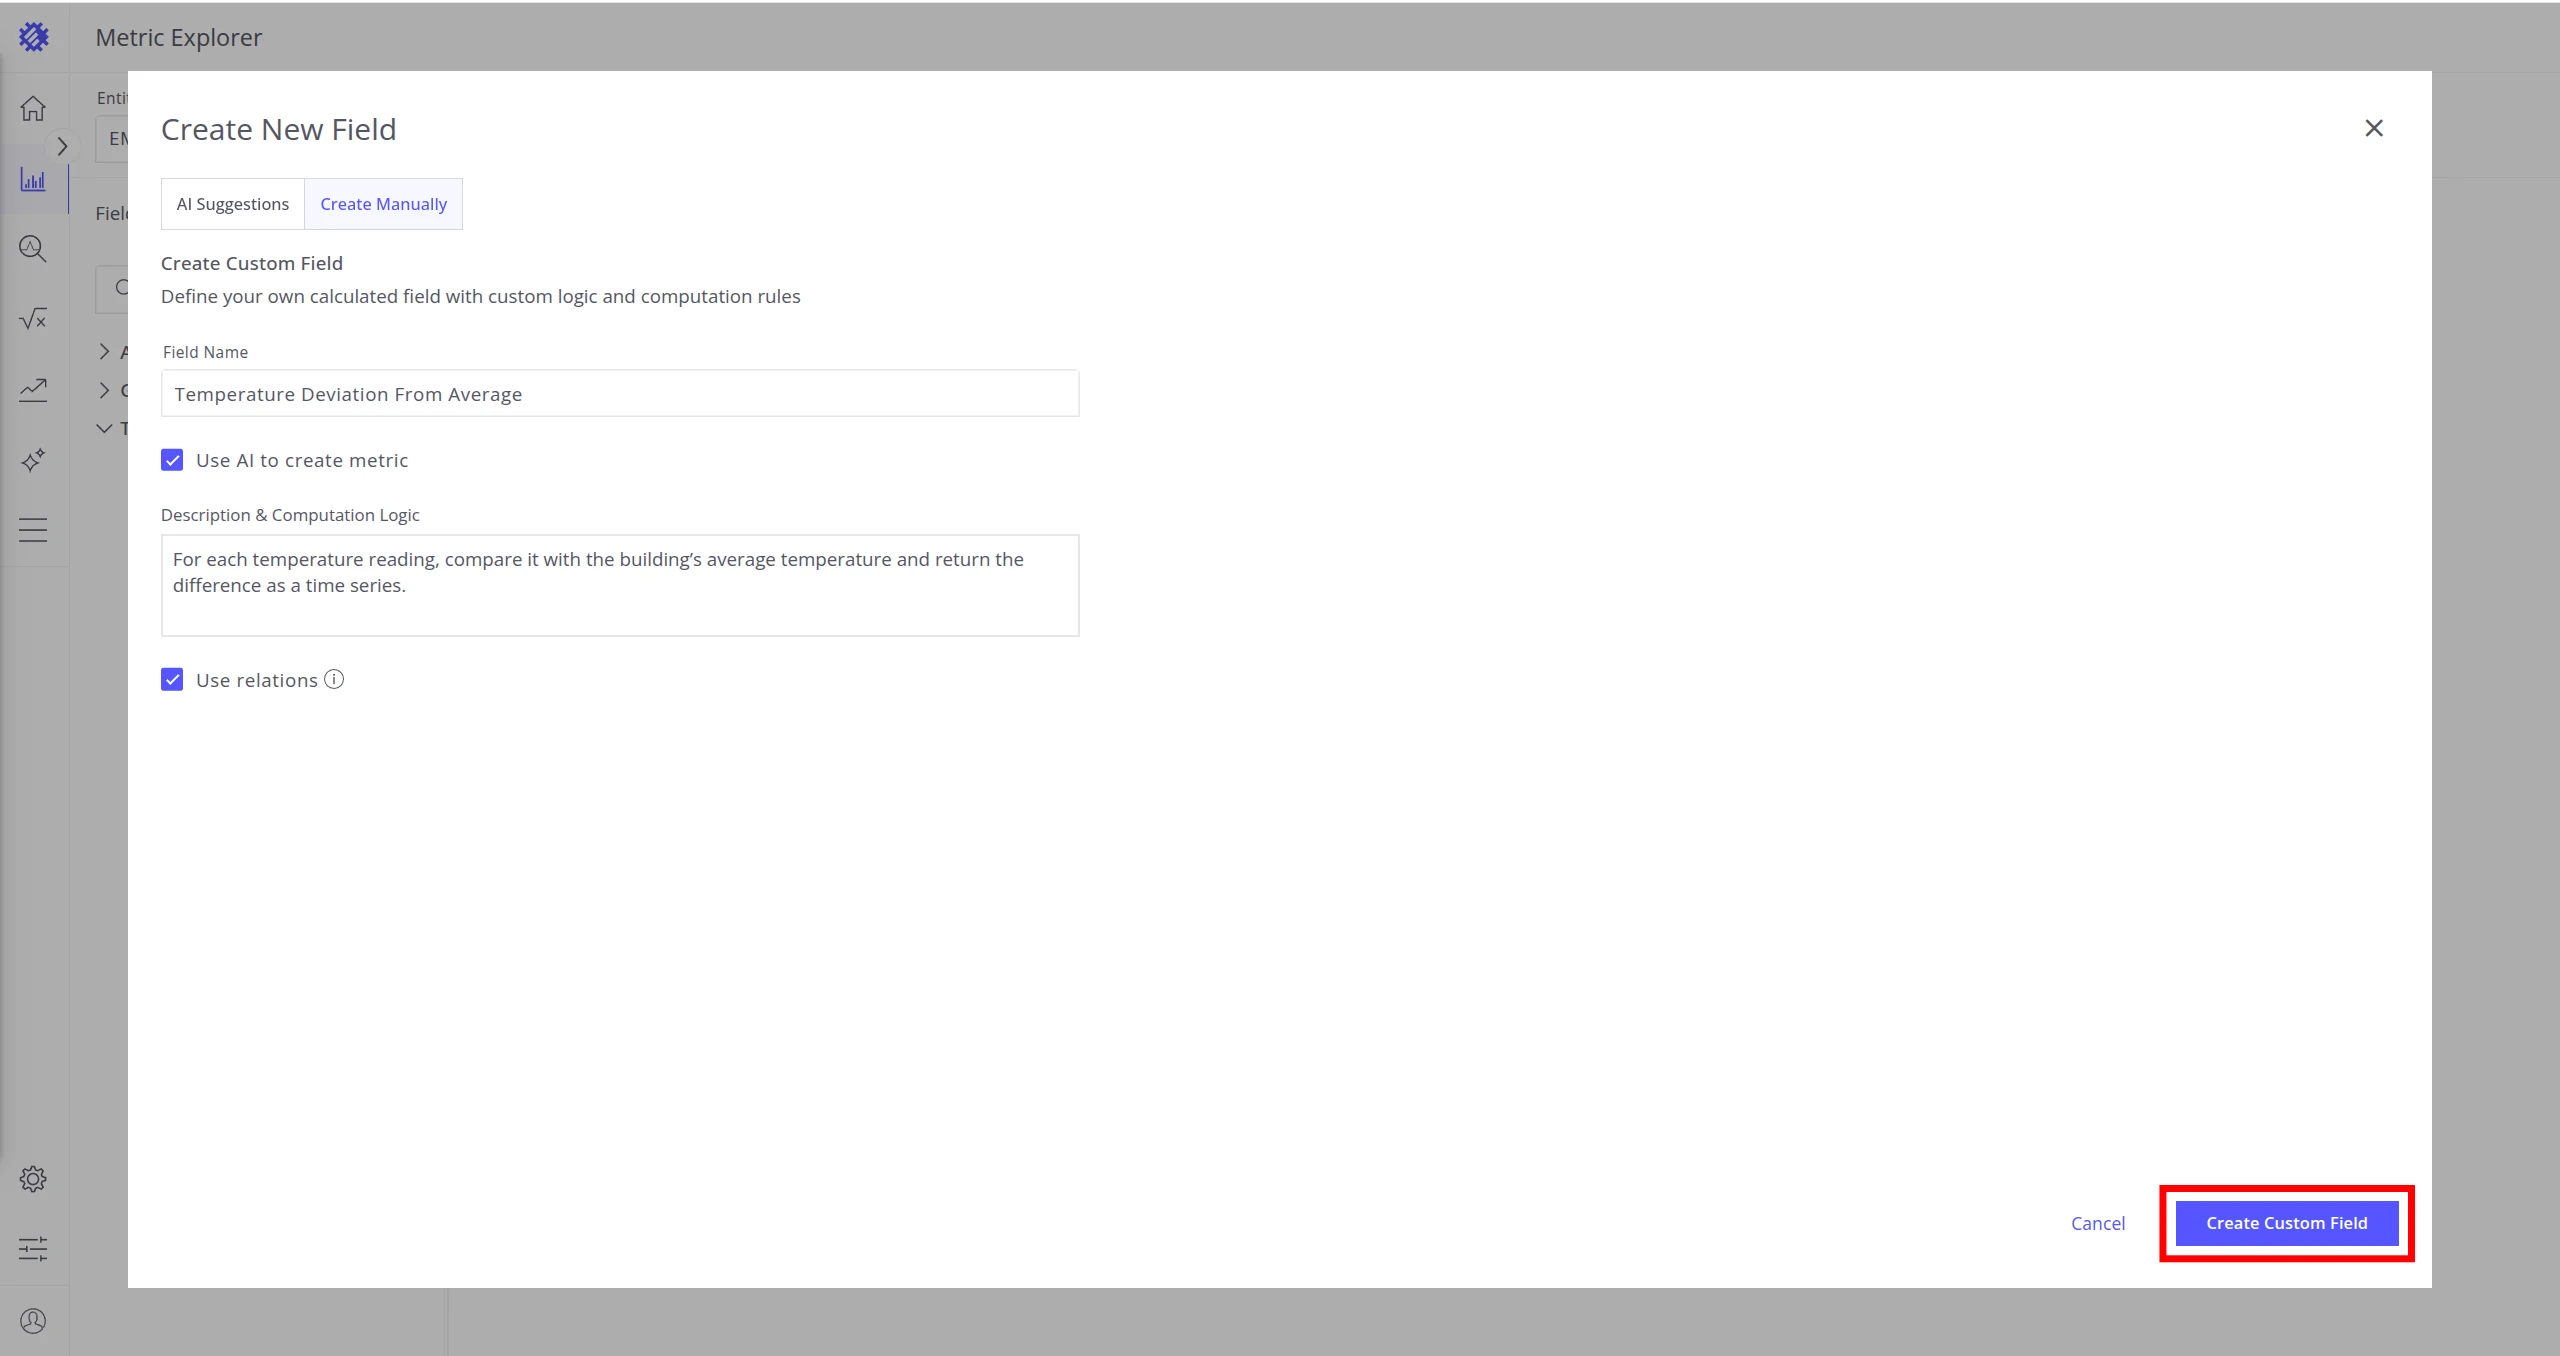
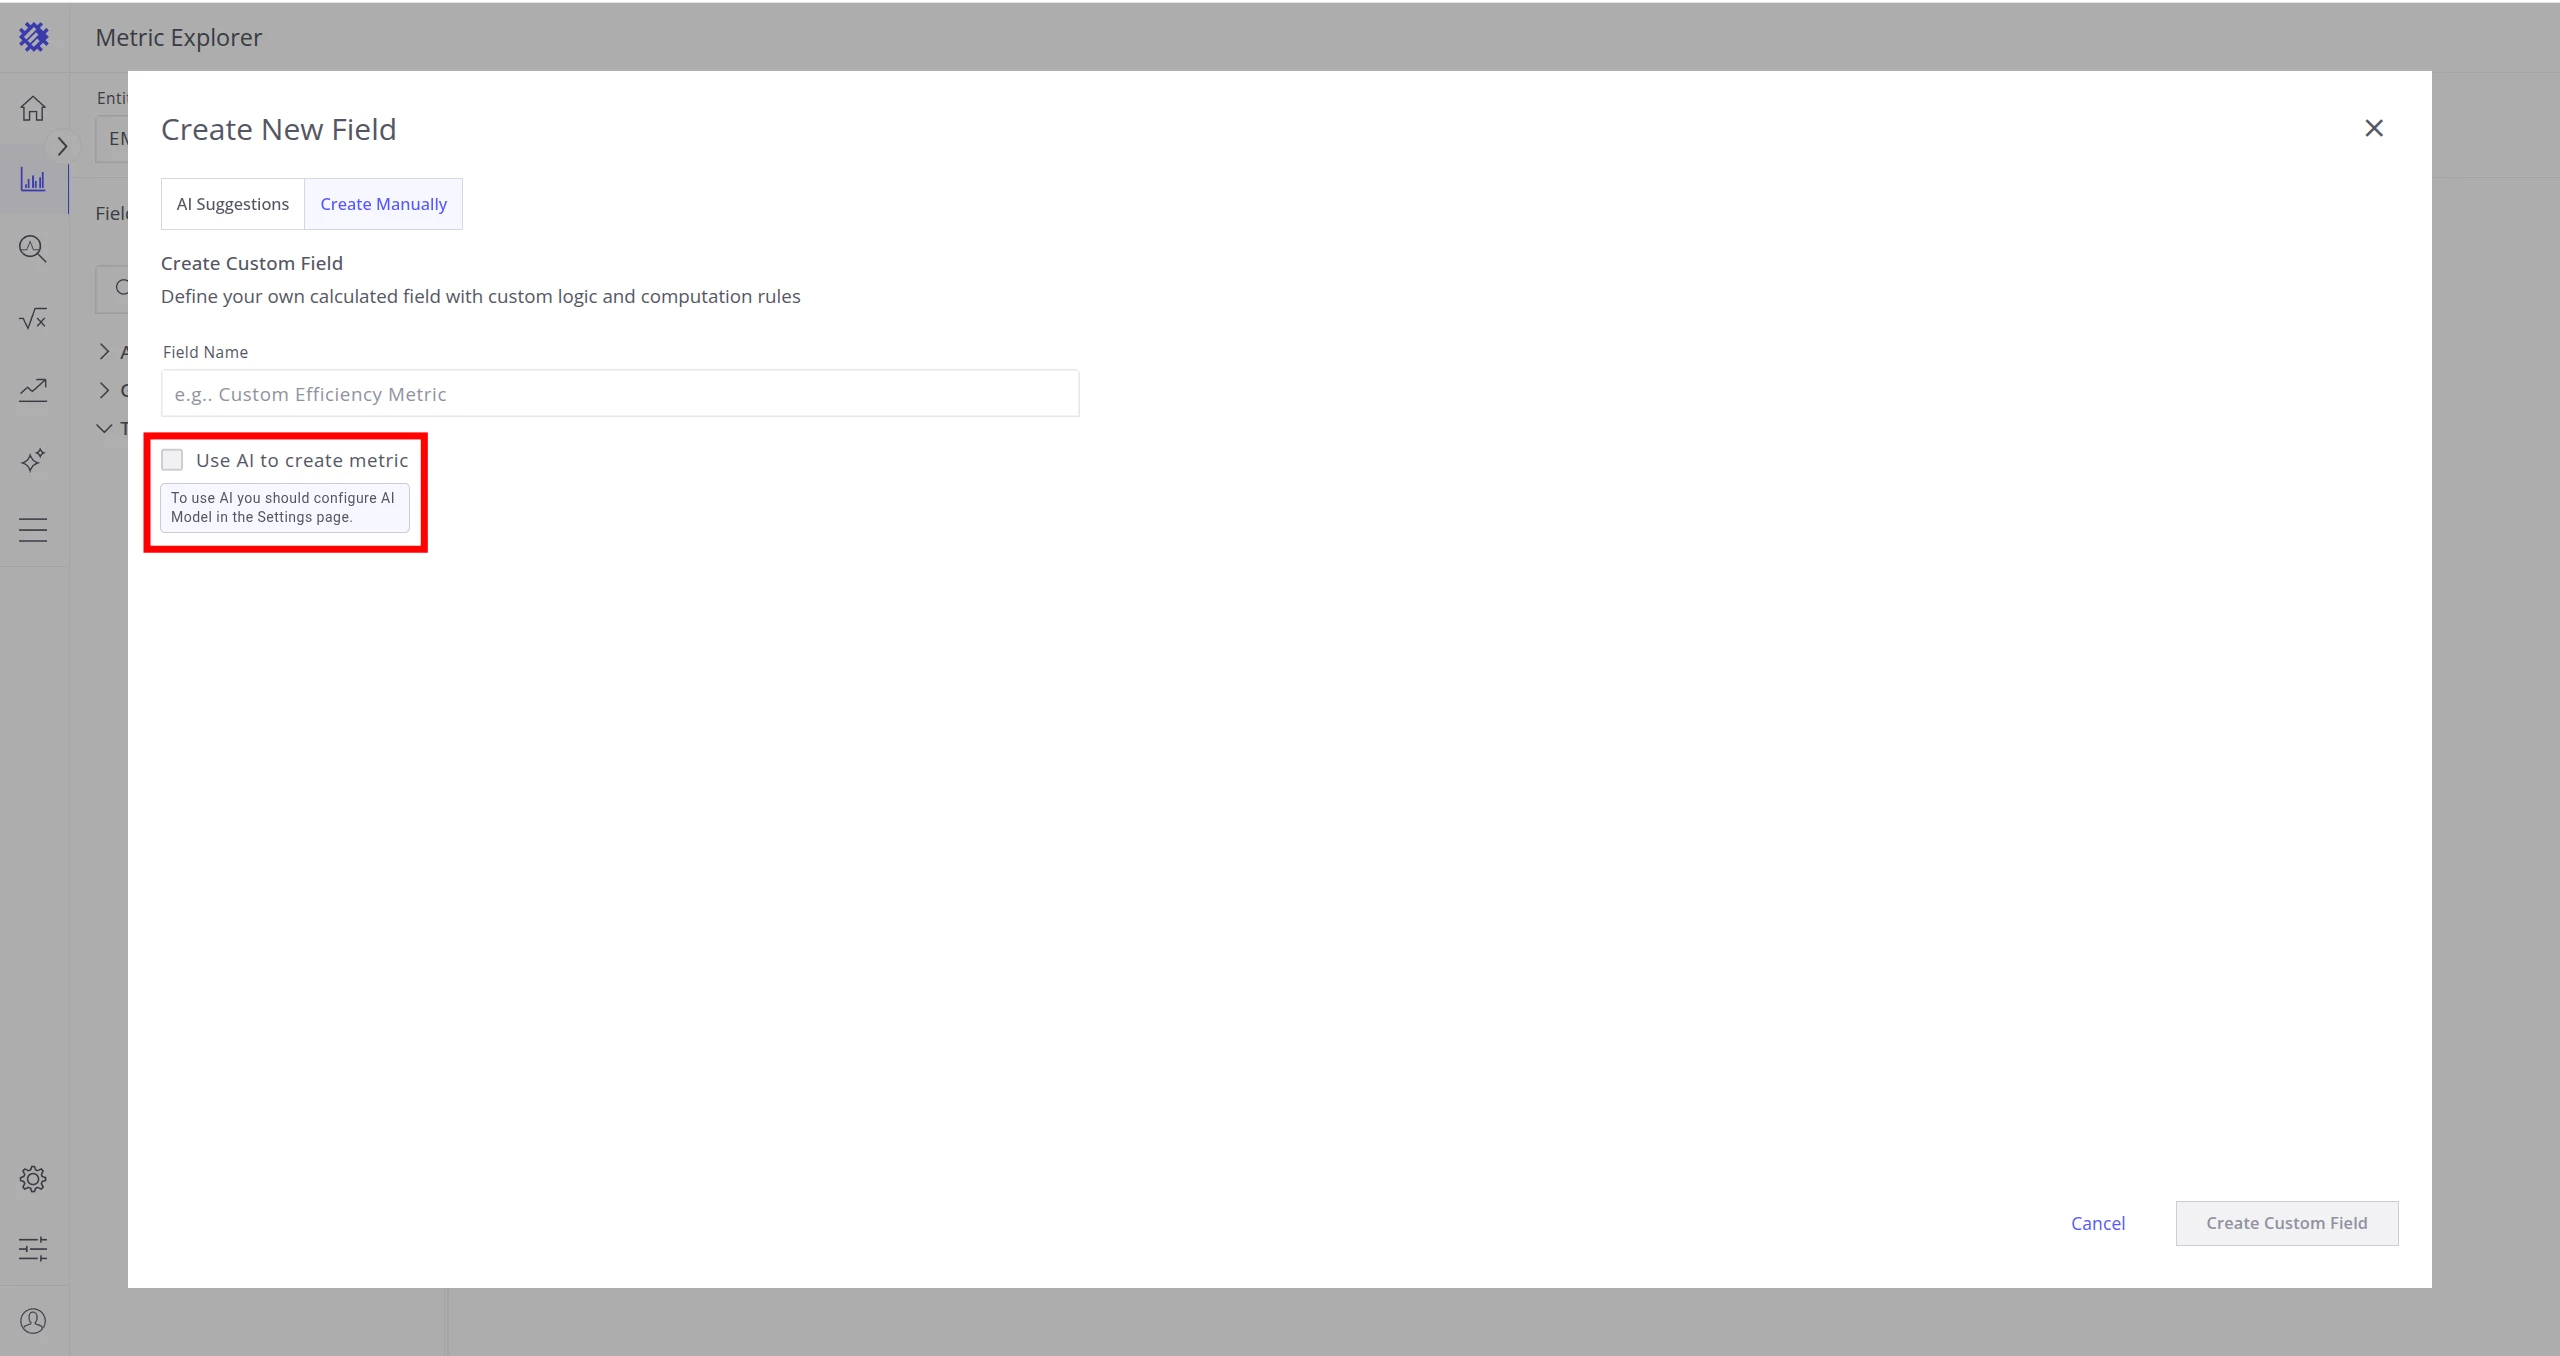
Section titled “Create Manually”Click Create Manually to define a metric yourself, with or without AI assistance.
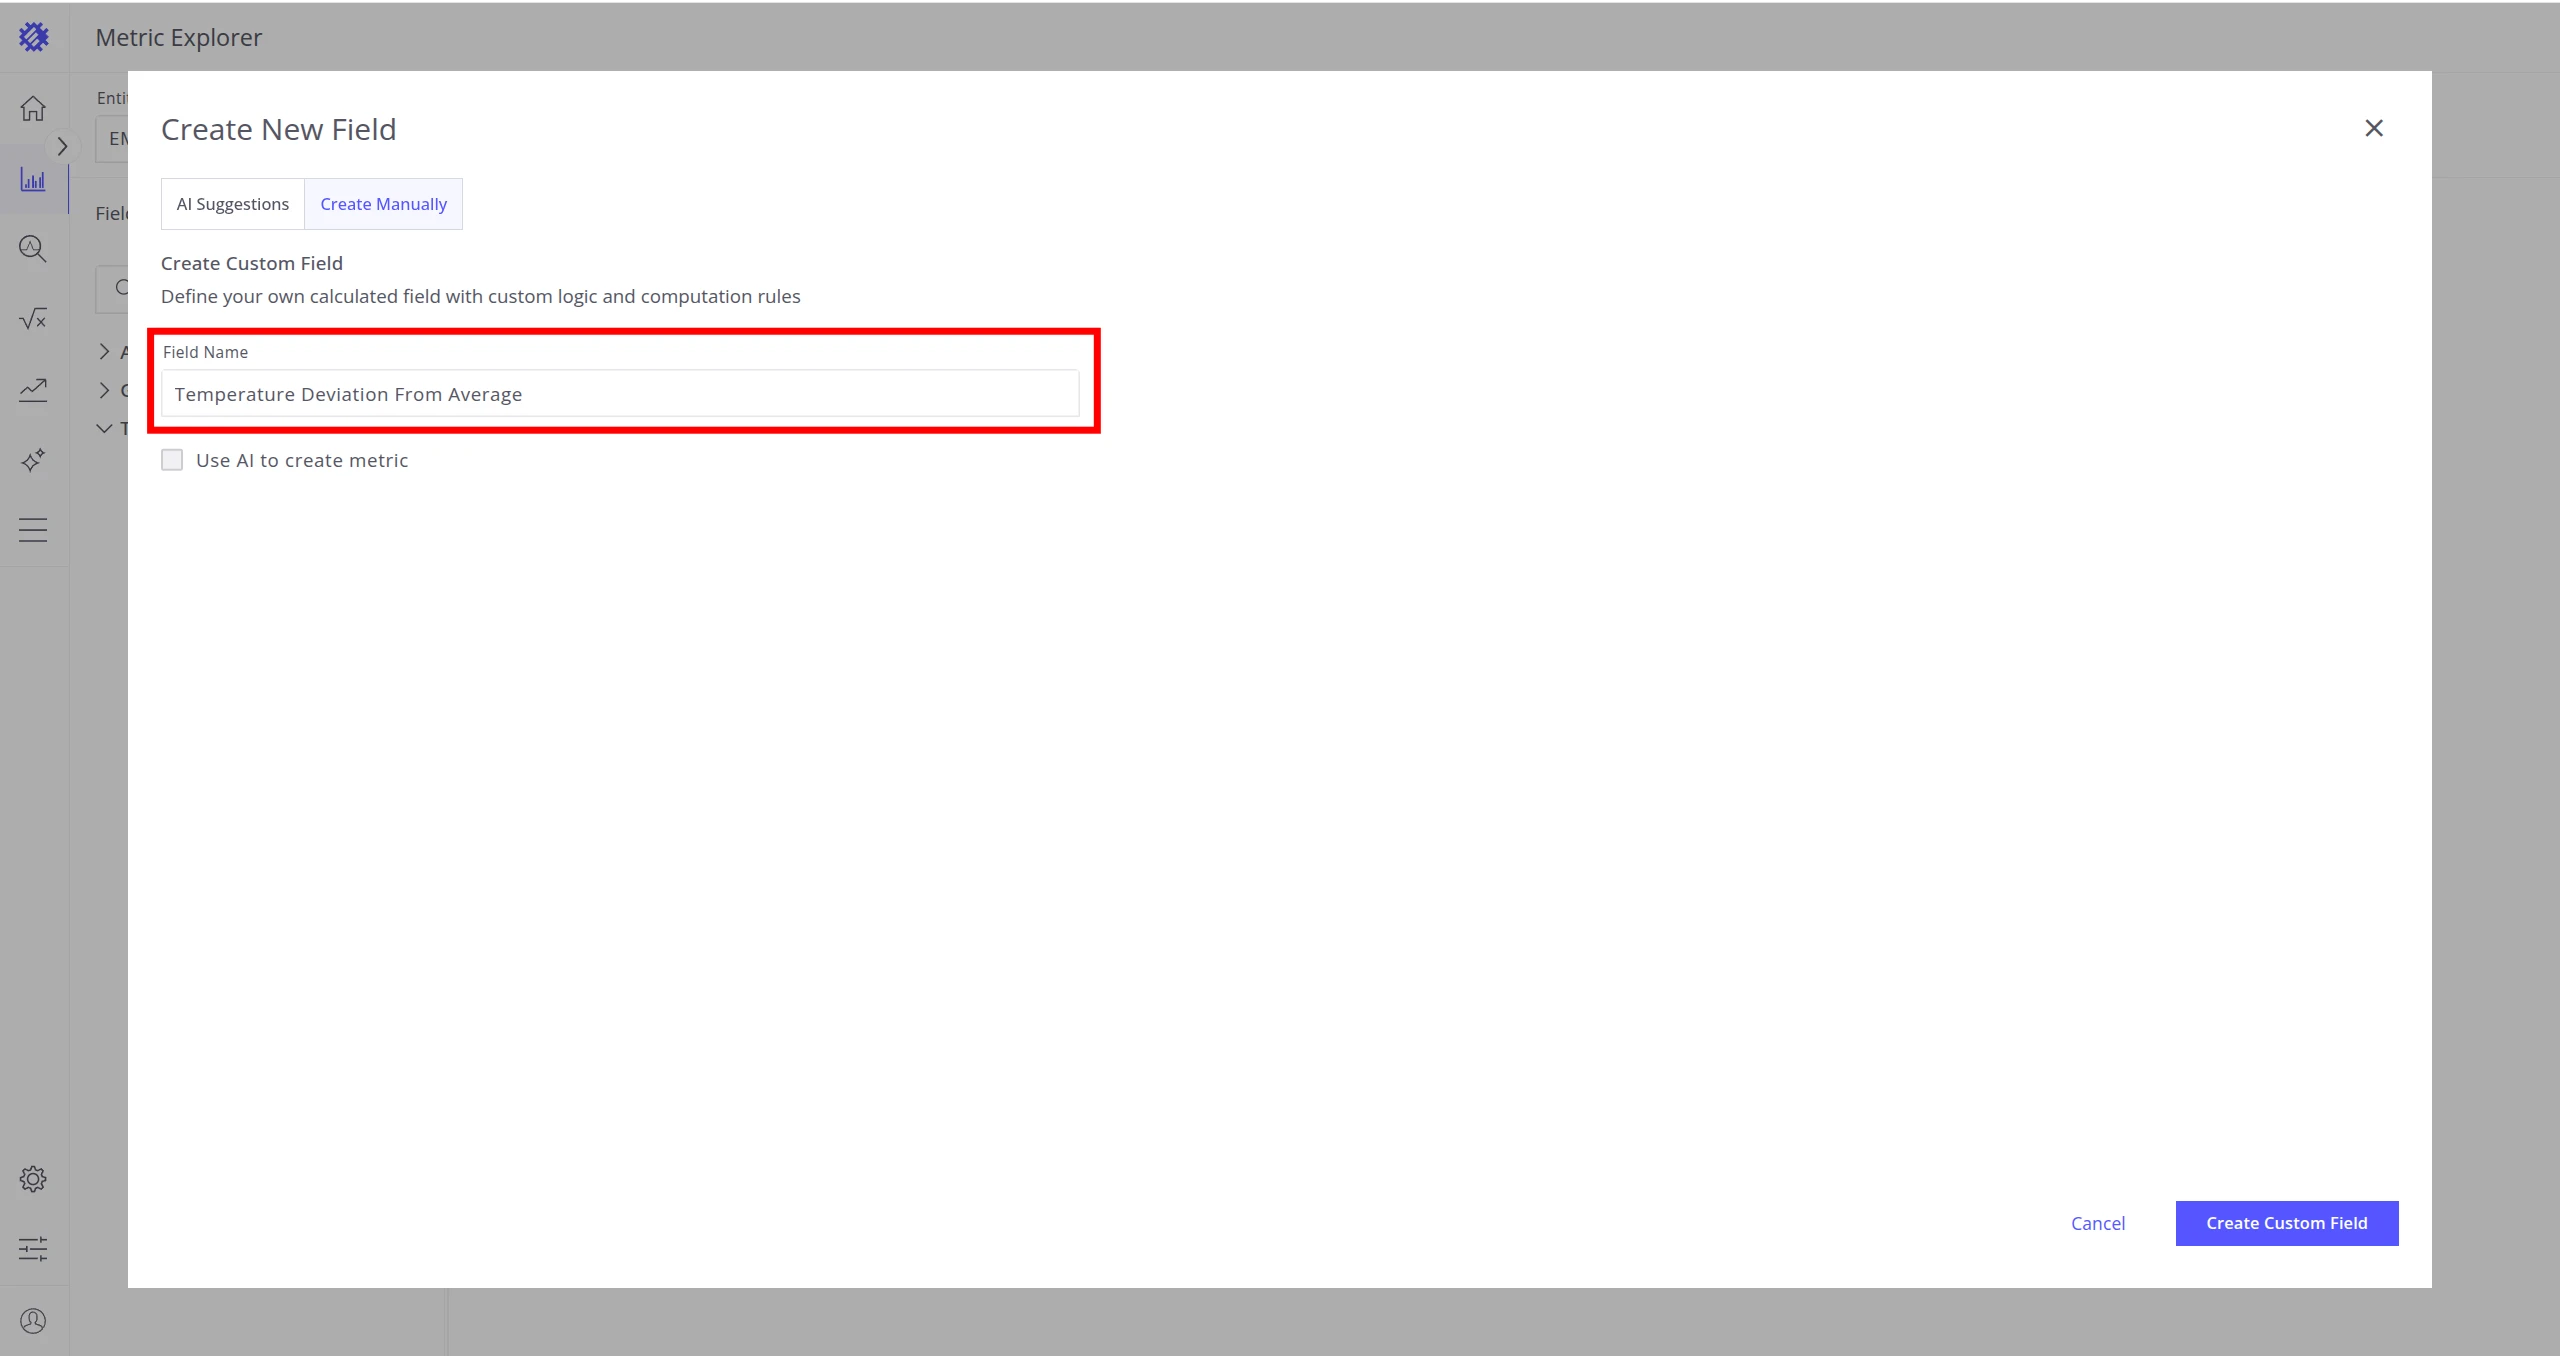
Without AI — enter only a Field Name and click Create Custom Field. An empty code editor opens; write the metric code yourself.
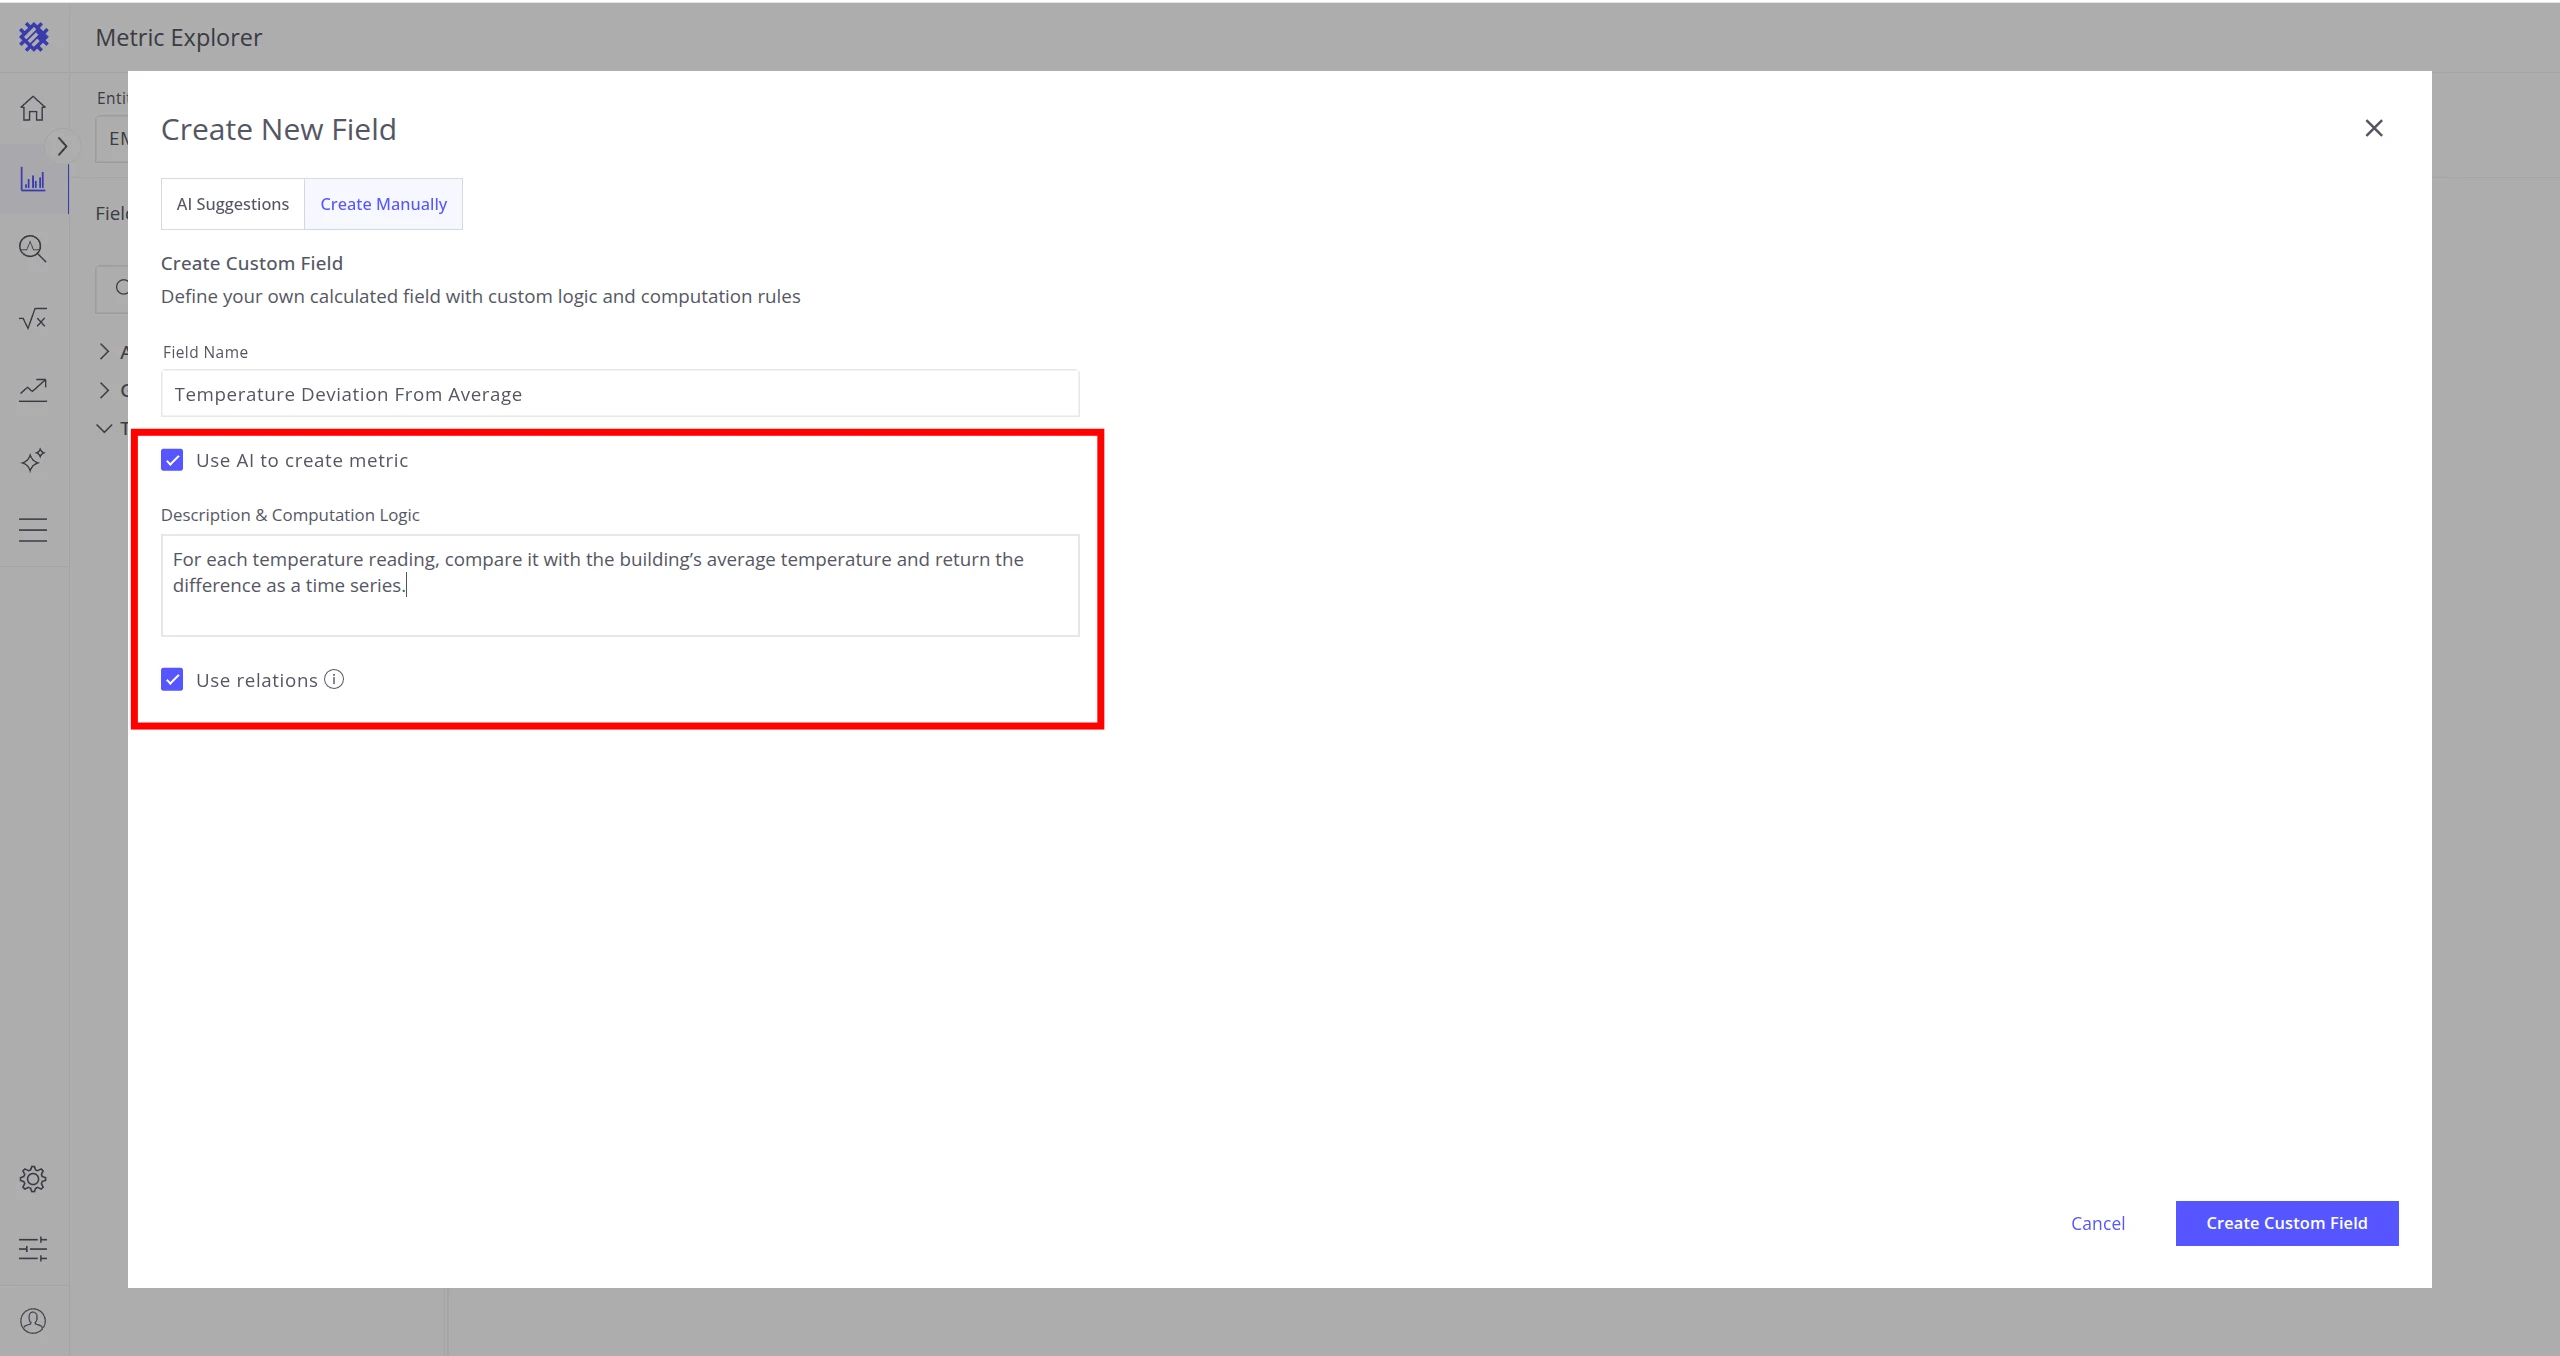
With AI — check Use AI to create metric and fill in:
| Field | Description |
|---|---|
| Description and Computation Logic | Describe what the metric should do and how to calculate it. |
| Use Relations | Enable if the metric code should access telemetries from related entities. See Managing relations for details. |
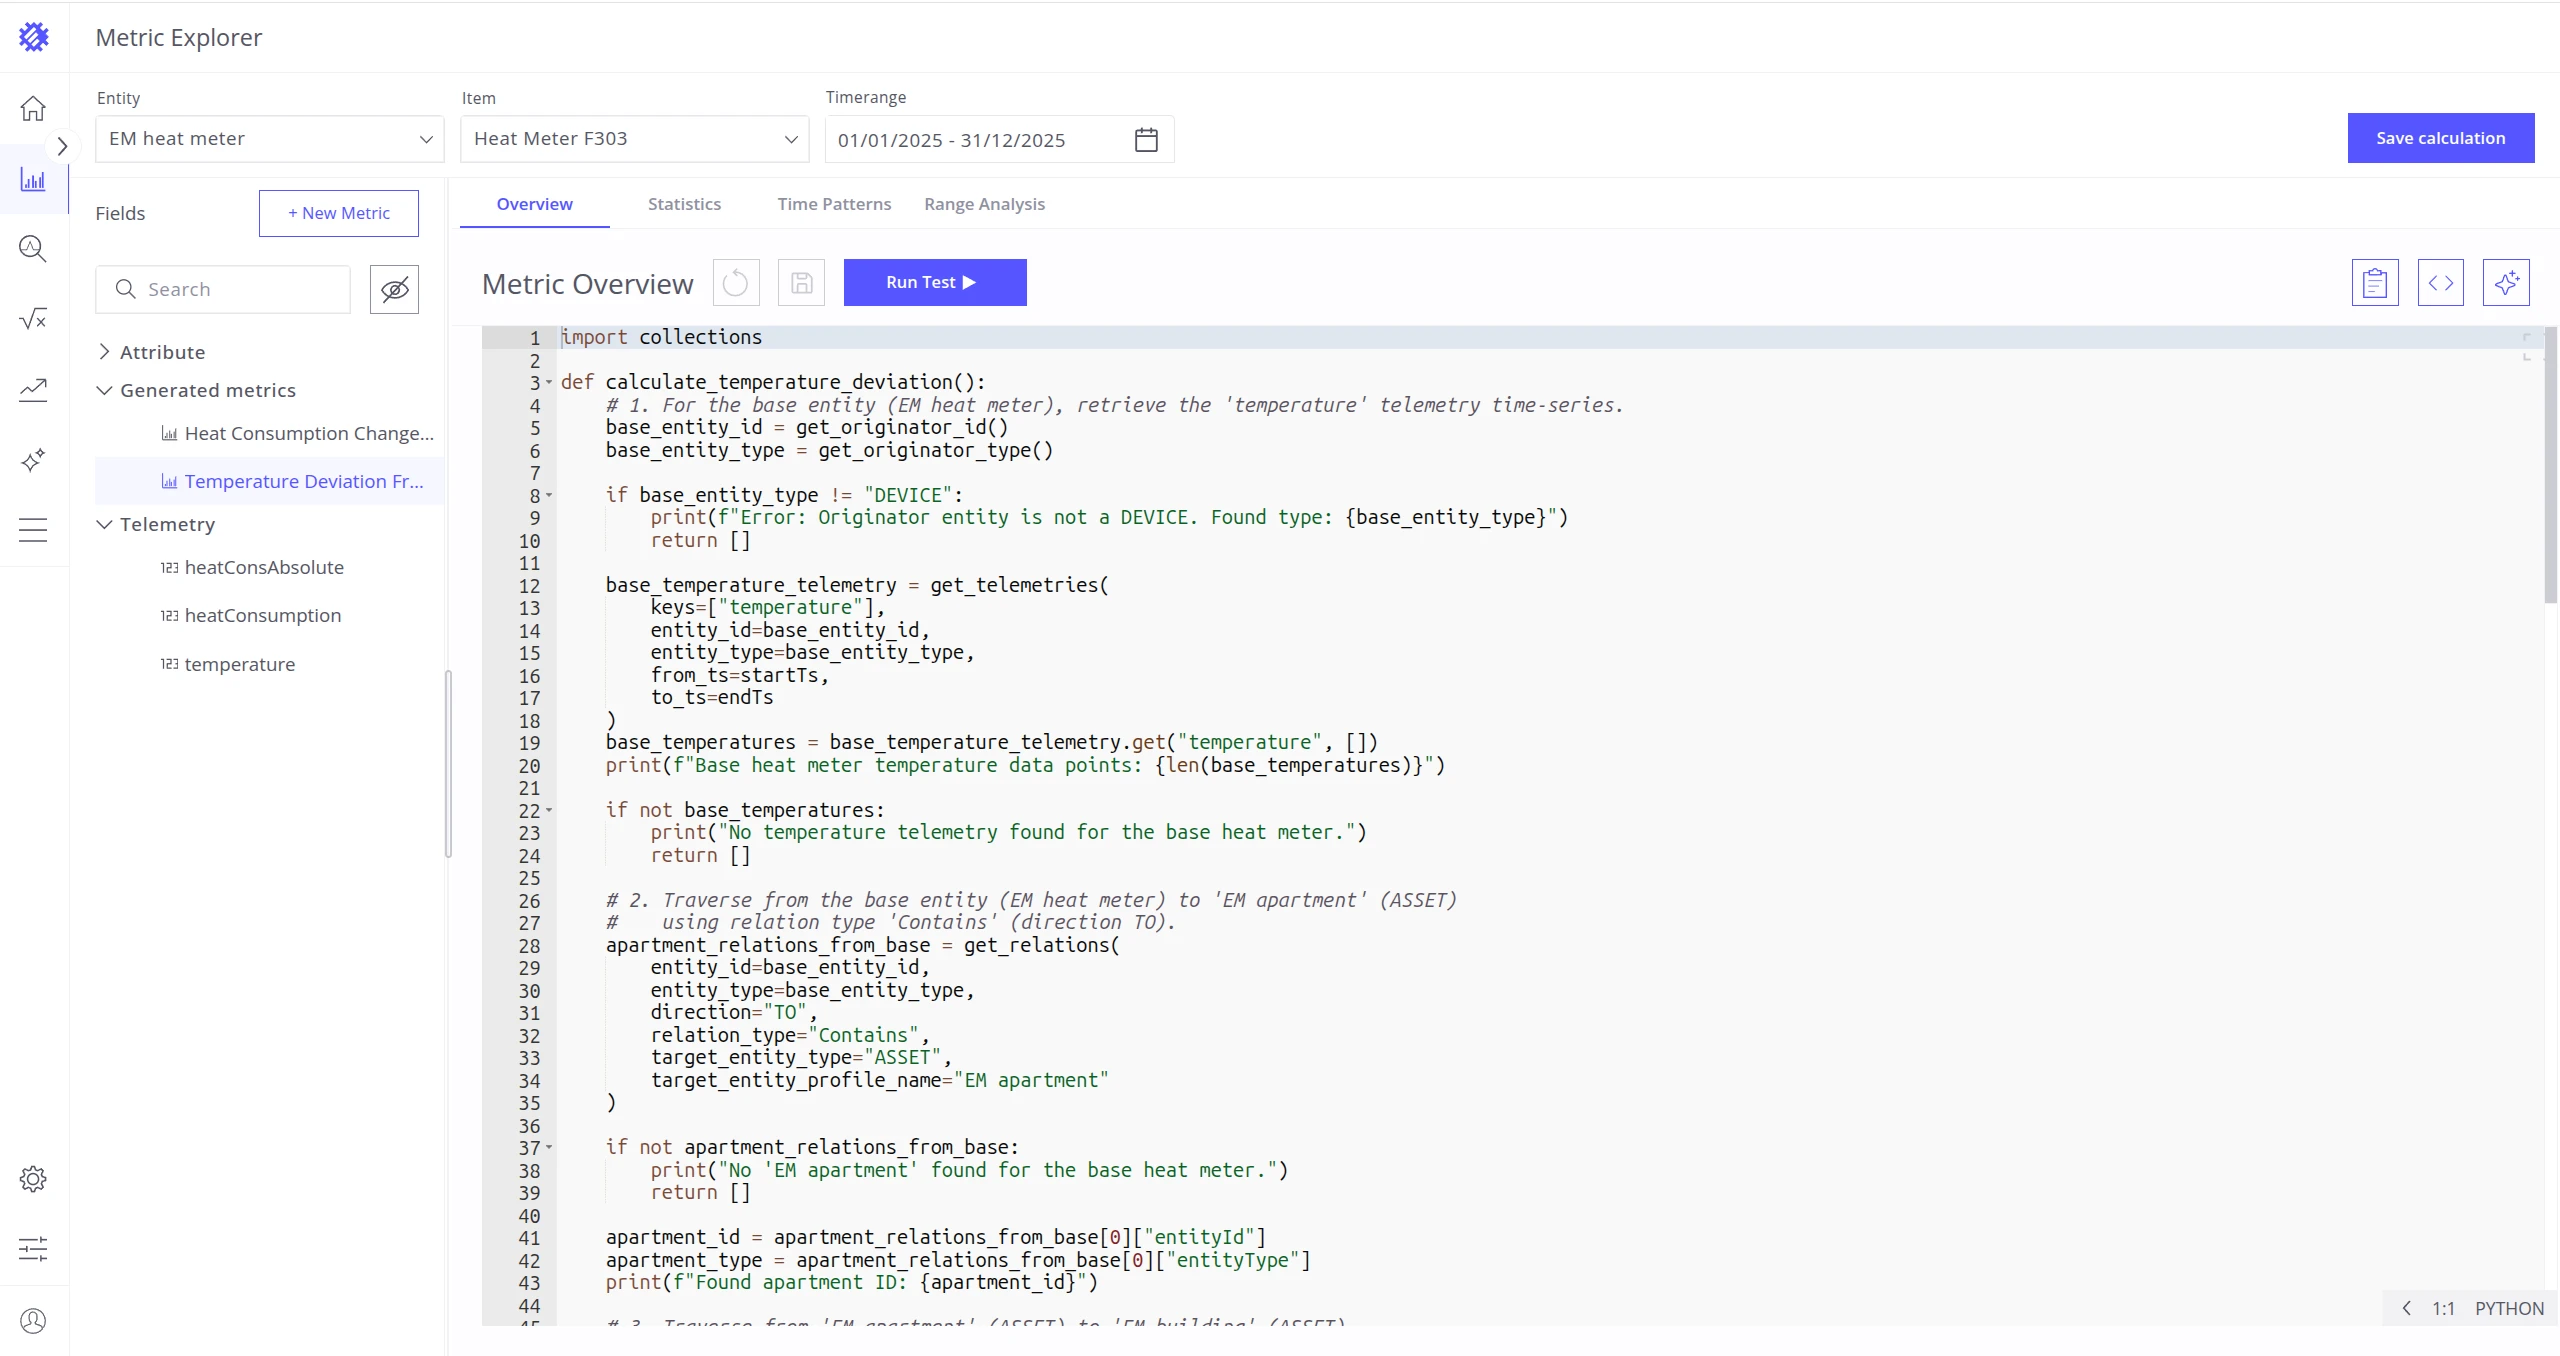
Click Create Custom Field — Trendz generates the Python code and opens the Generated Metric Overview tab.
Generated Metric Actions
Section titled “Generated Metric Actions”Open the Generated Metrics Overview by clicking any metric in the Generated Metrics folder, or by implementing a metric through the steps above. If you created the metric without AI you will see an empty code editor; otherwise the AI-generated code is already present.
Code Editor
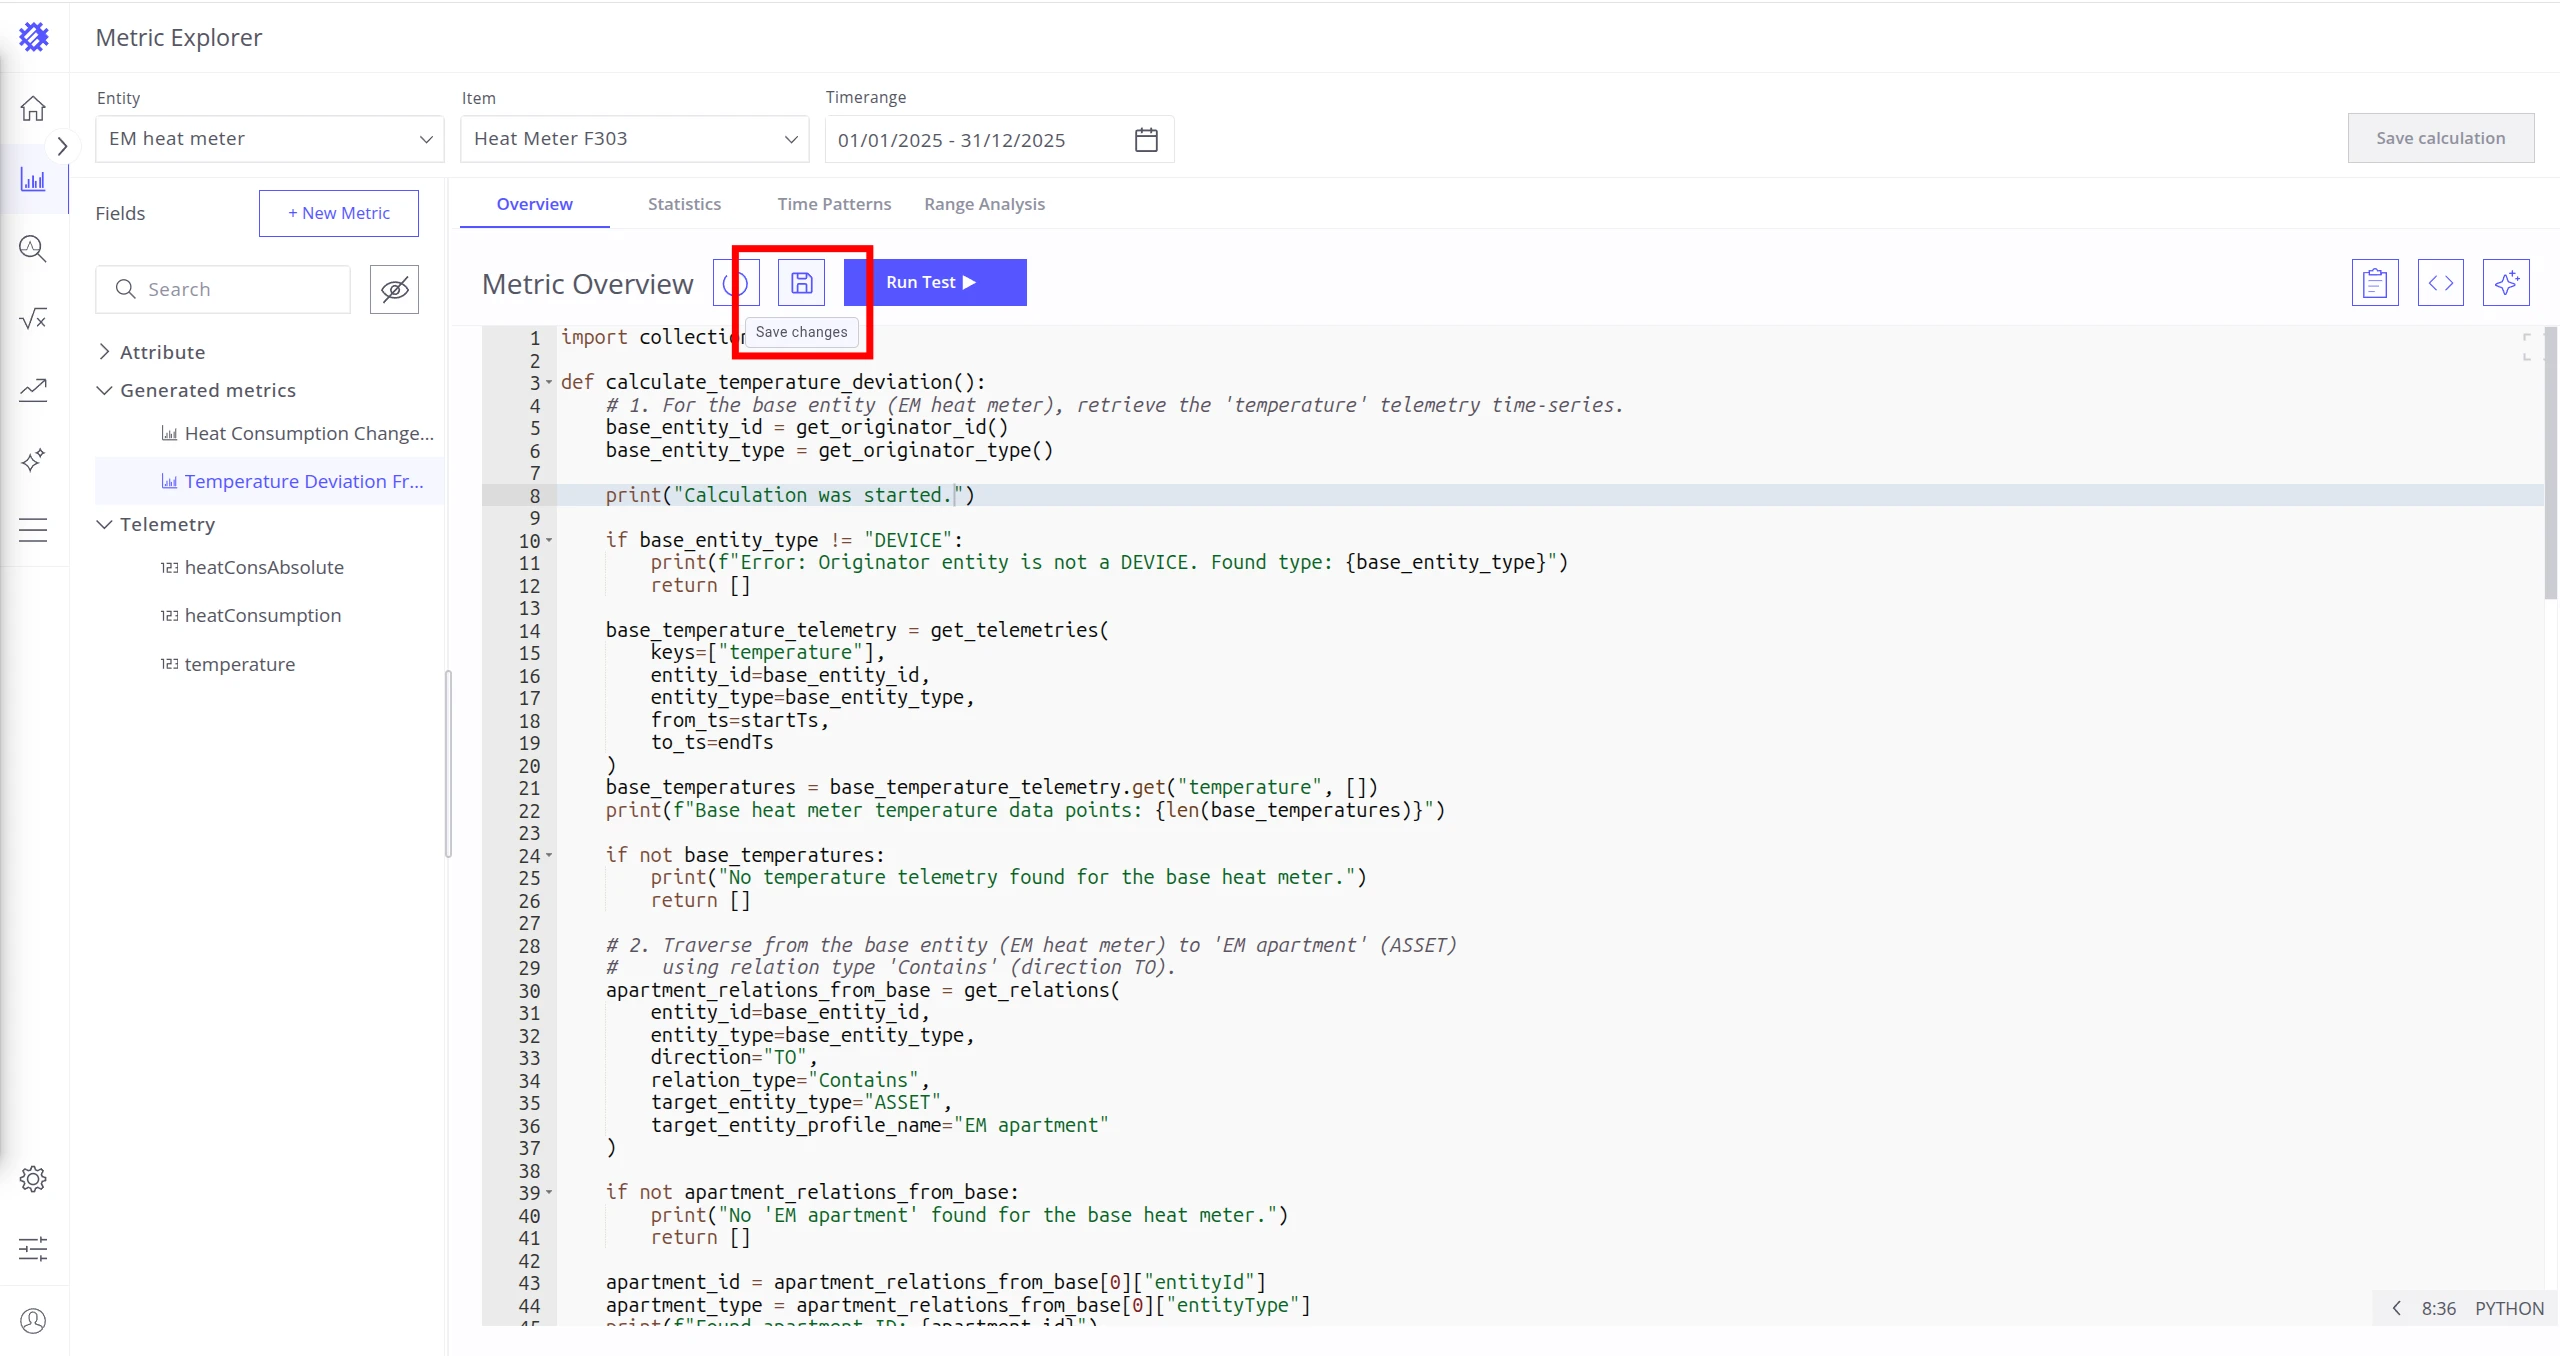
Section titled “Code Editor”Write or modify metric code in the built-in editor. The syntax is the same as Native Calculation Fields — see Native Calculation Fields for reference.
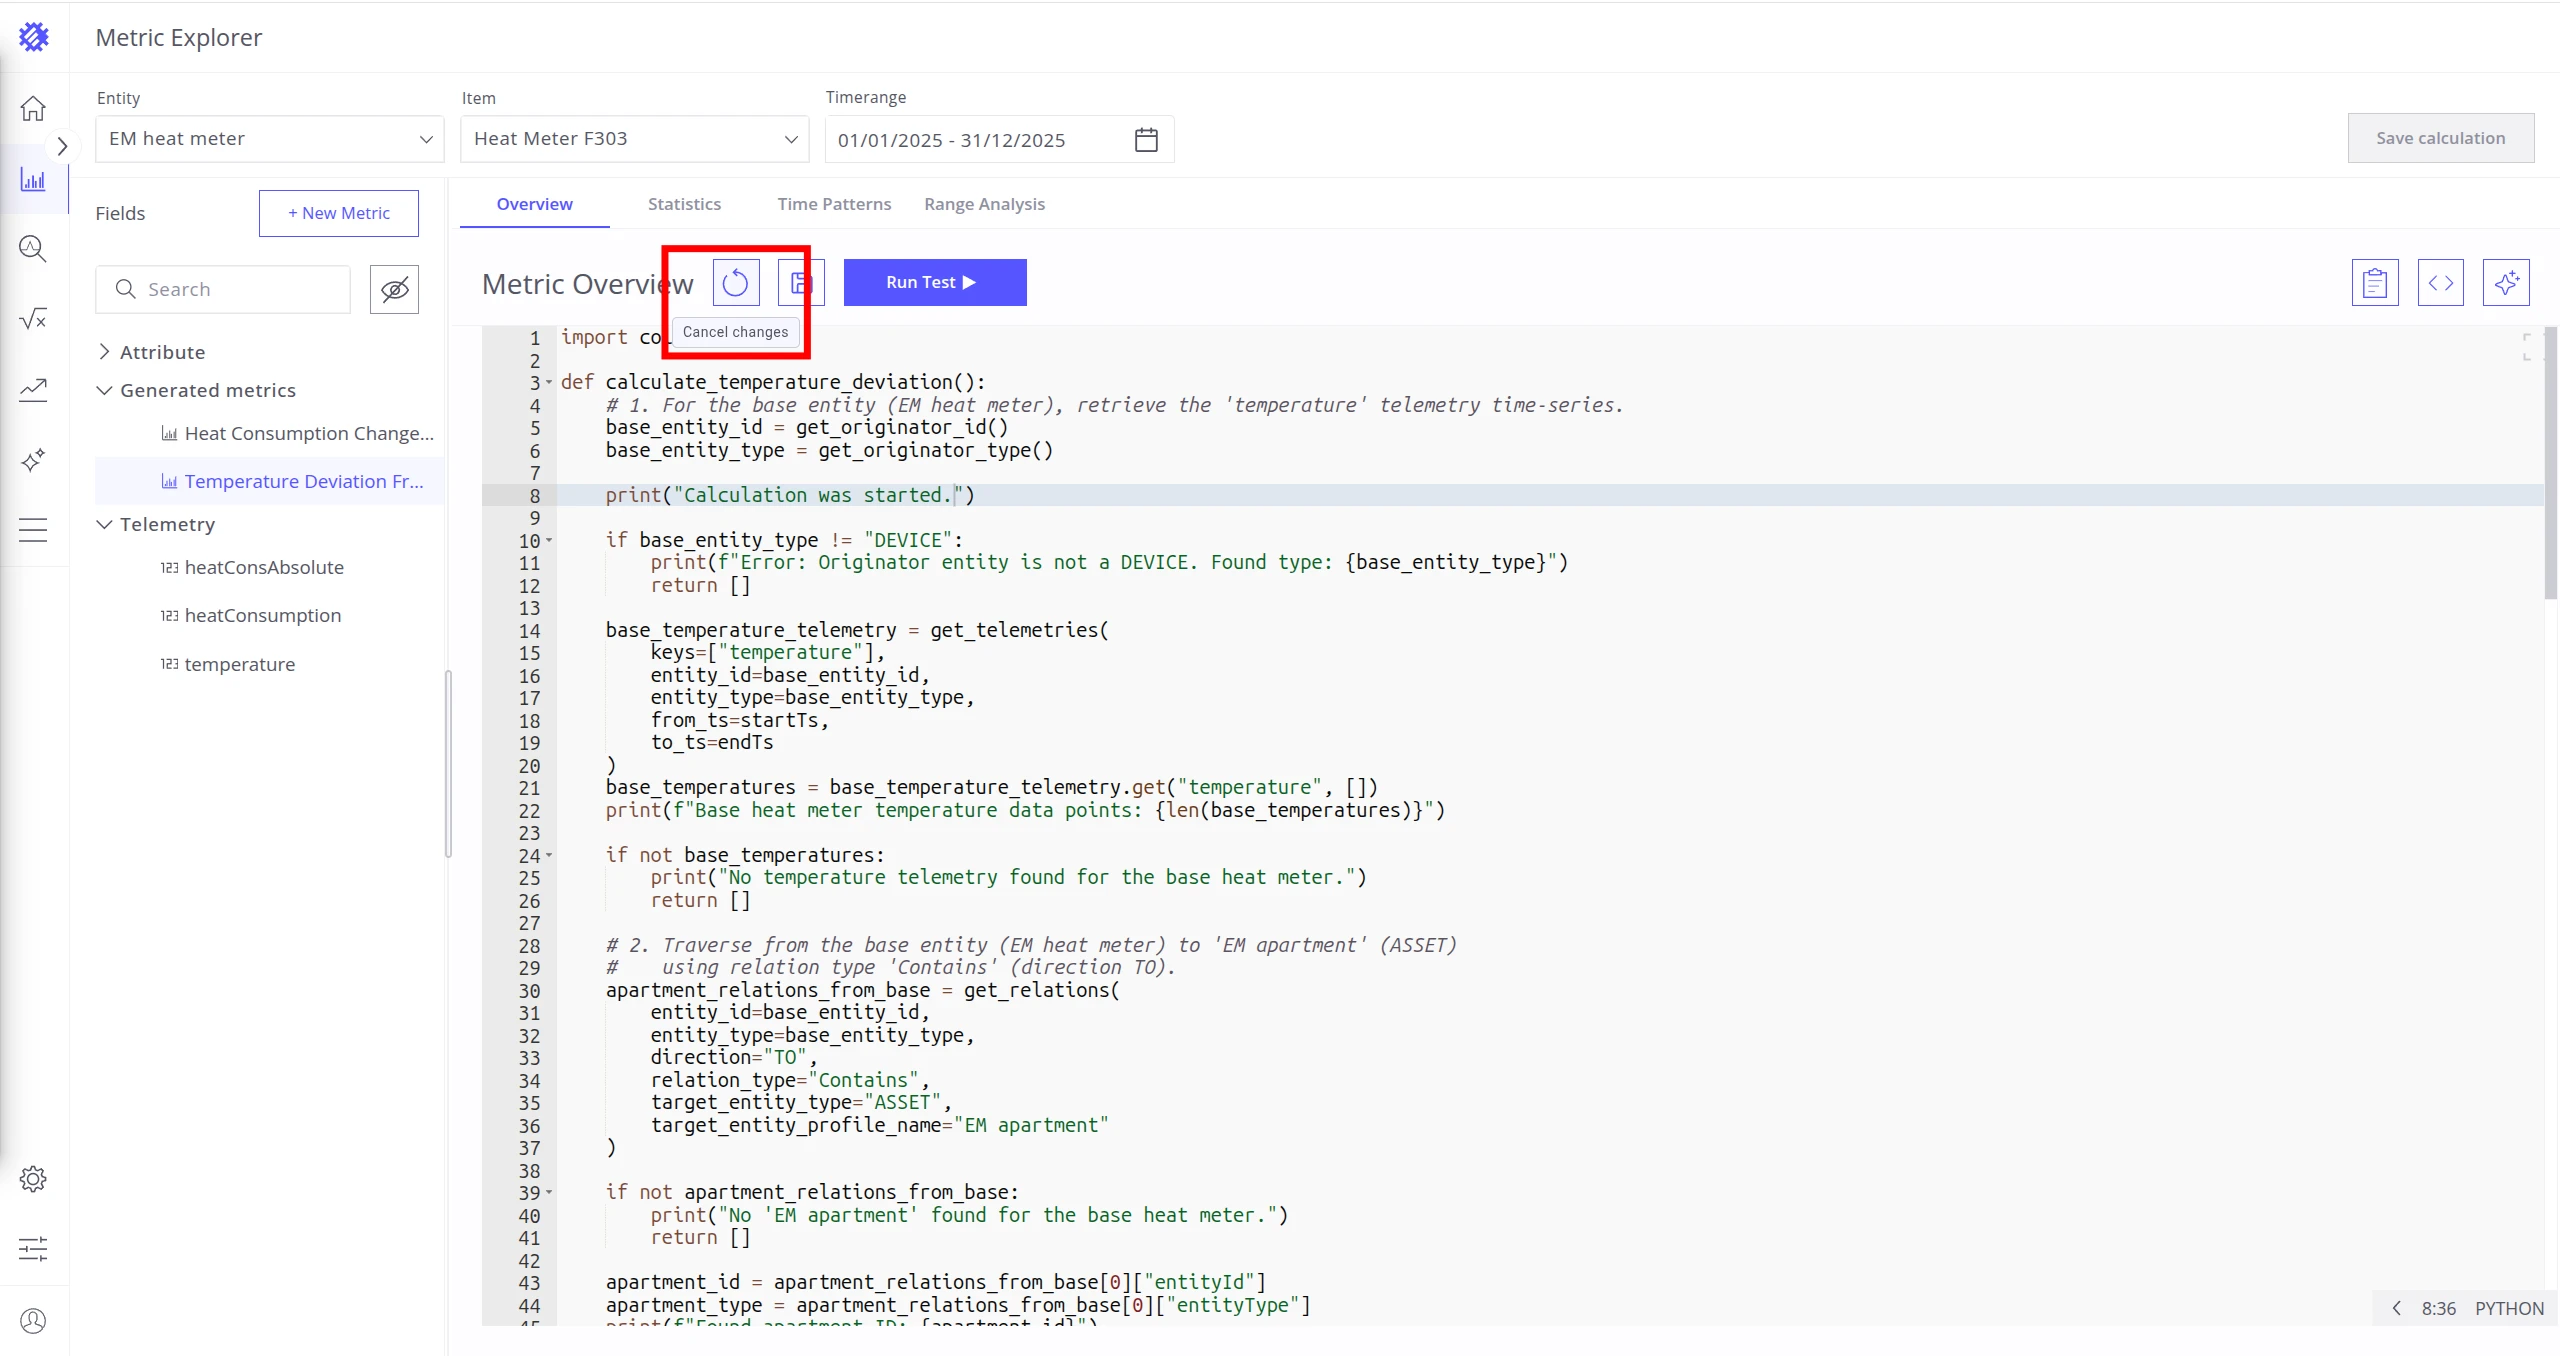
- Save Changes — persists your edits.
- Cancel Changes — reverts to the last saved version.
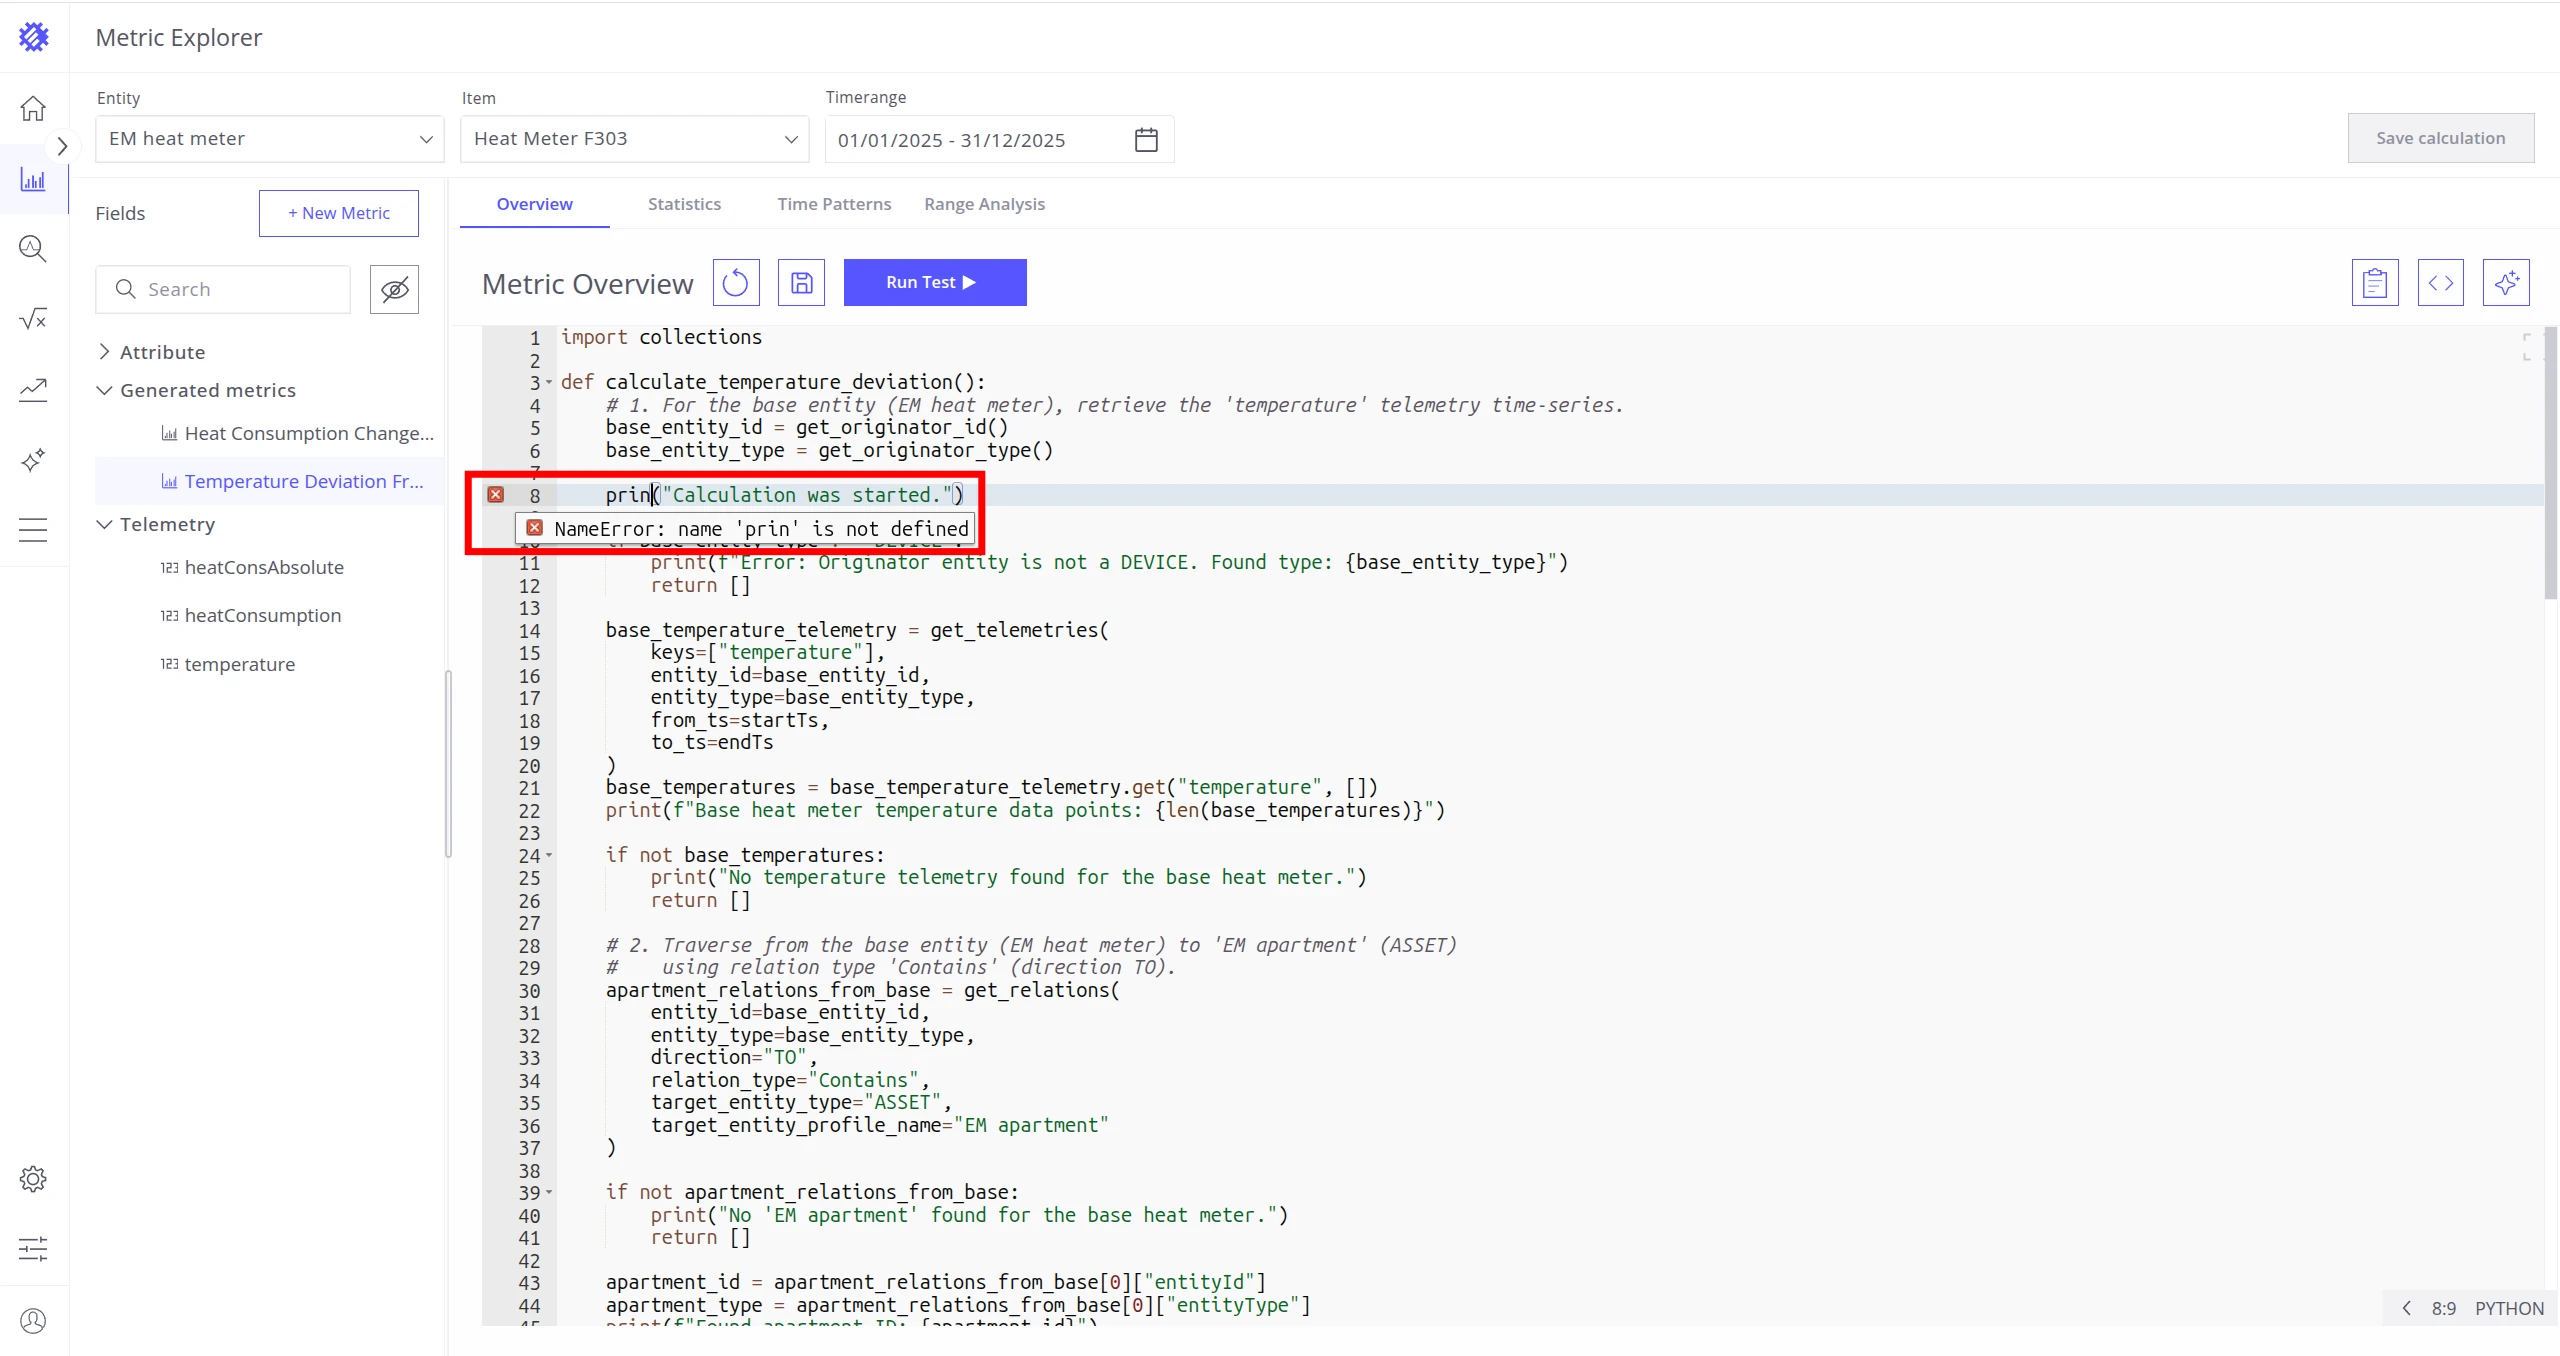
- A red cross next to a line indicates a code error.
Test Code
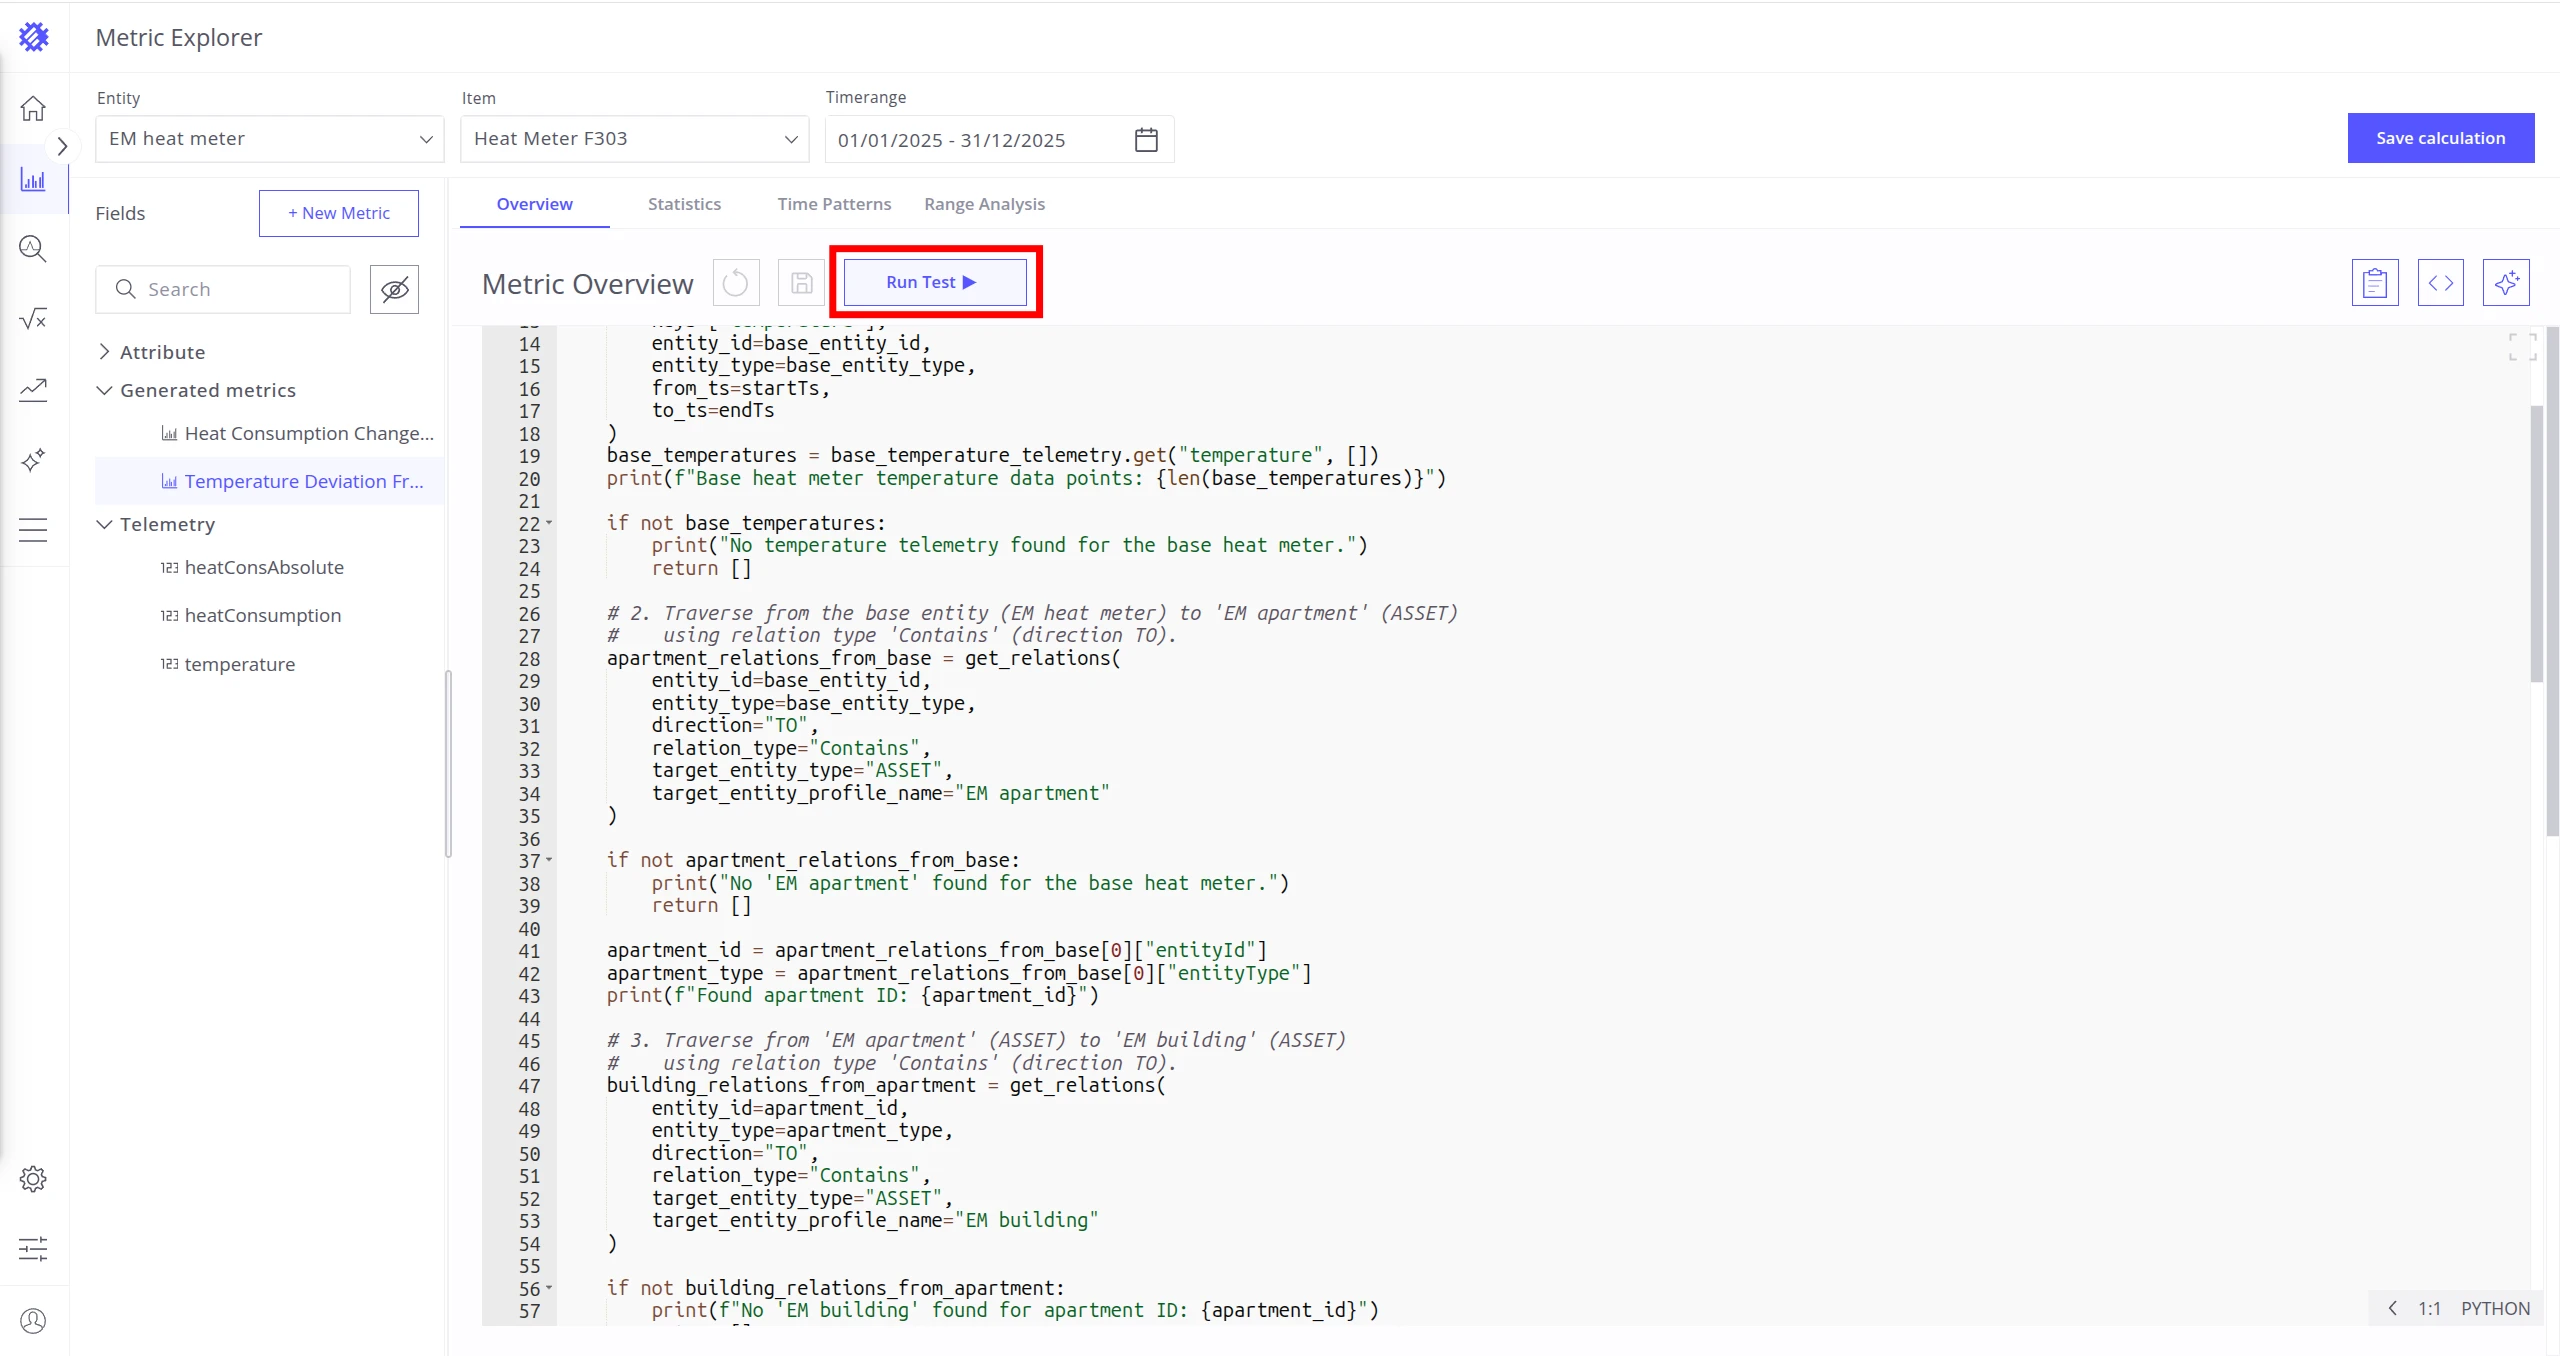
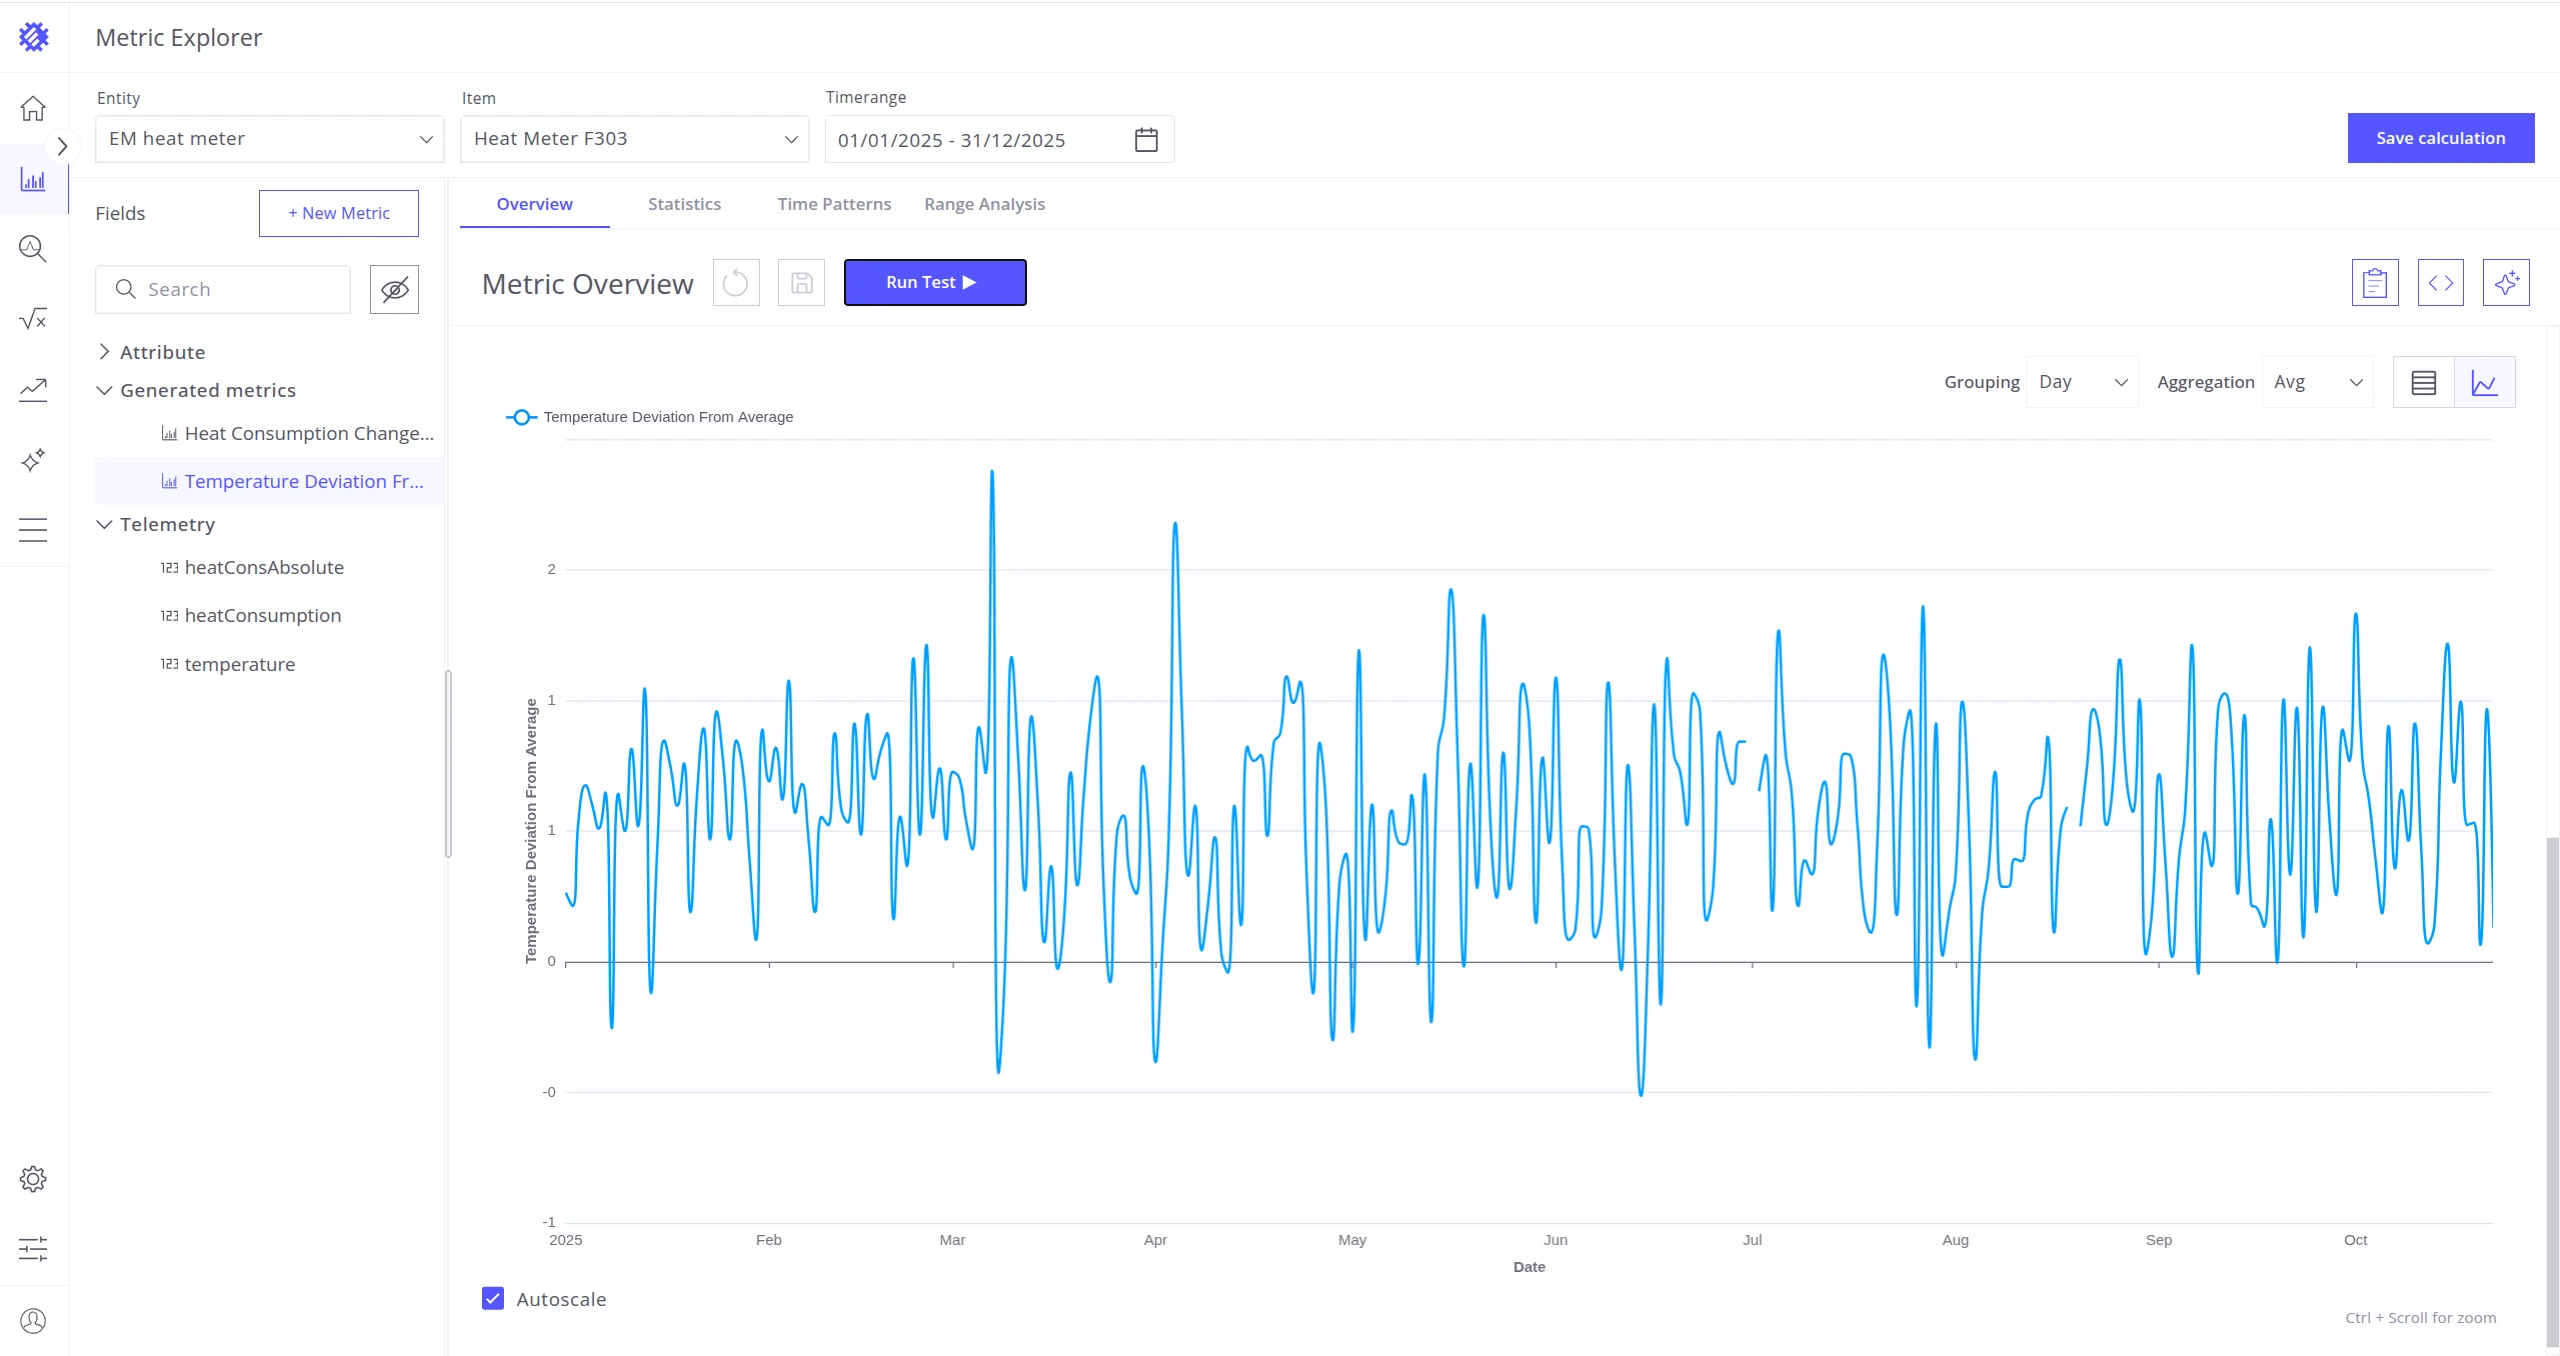
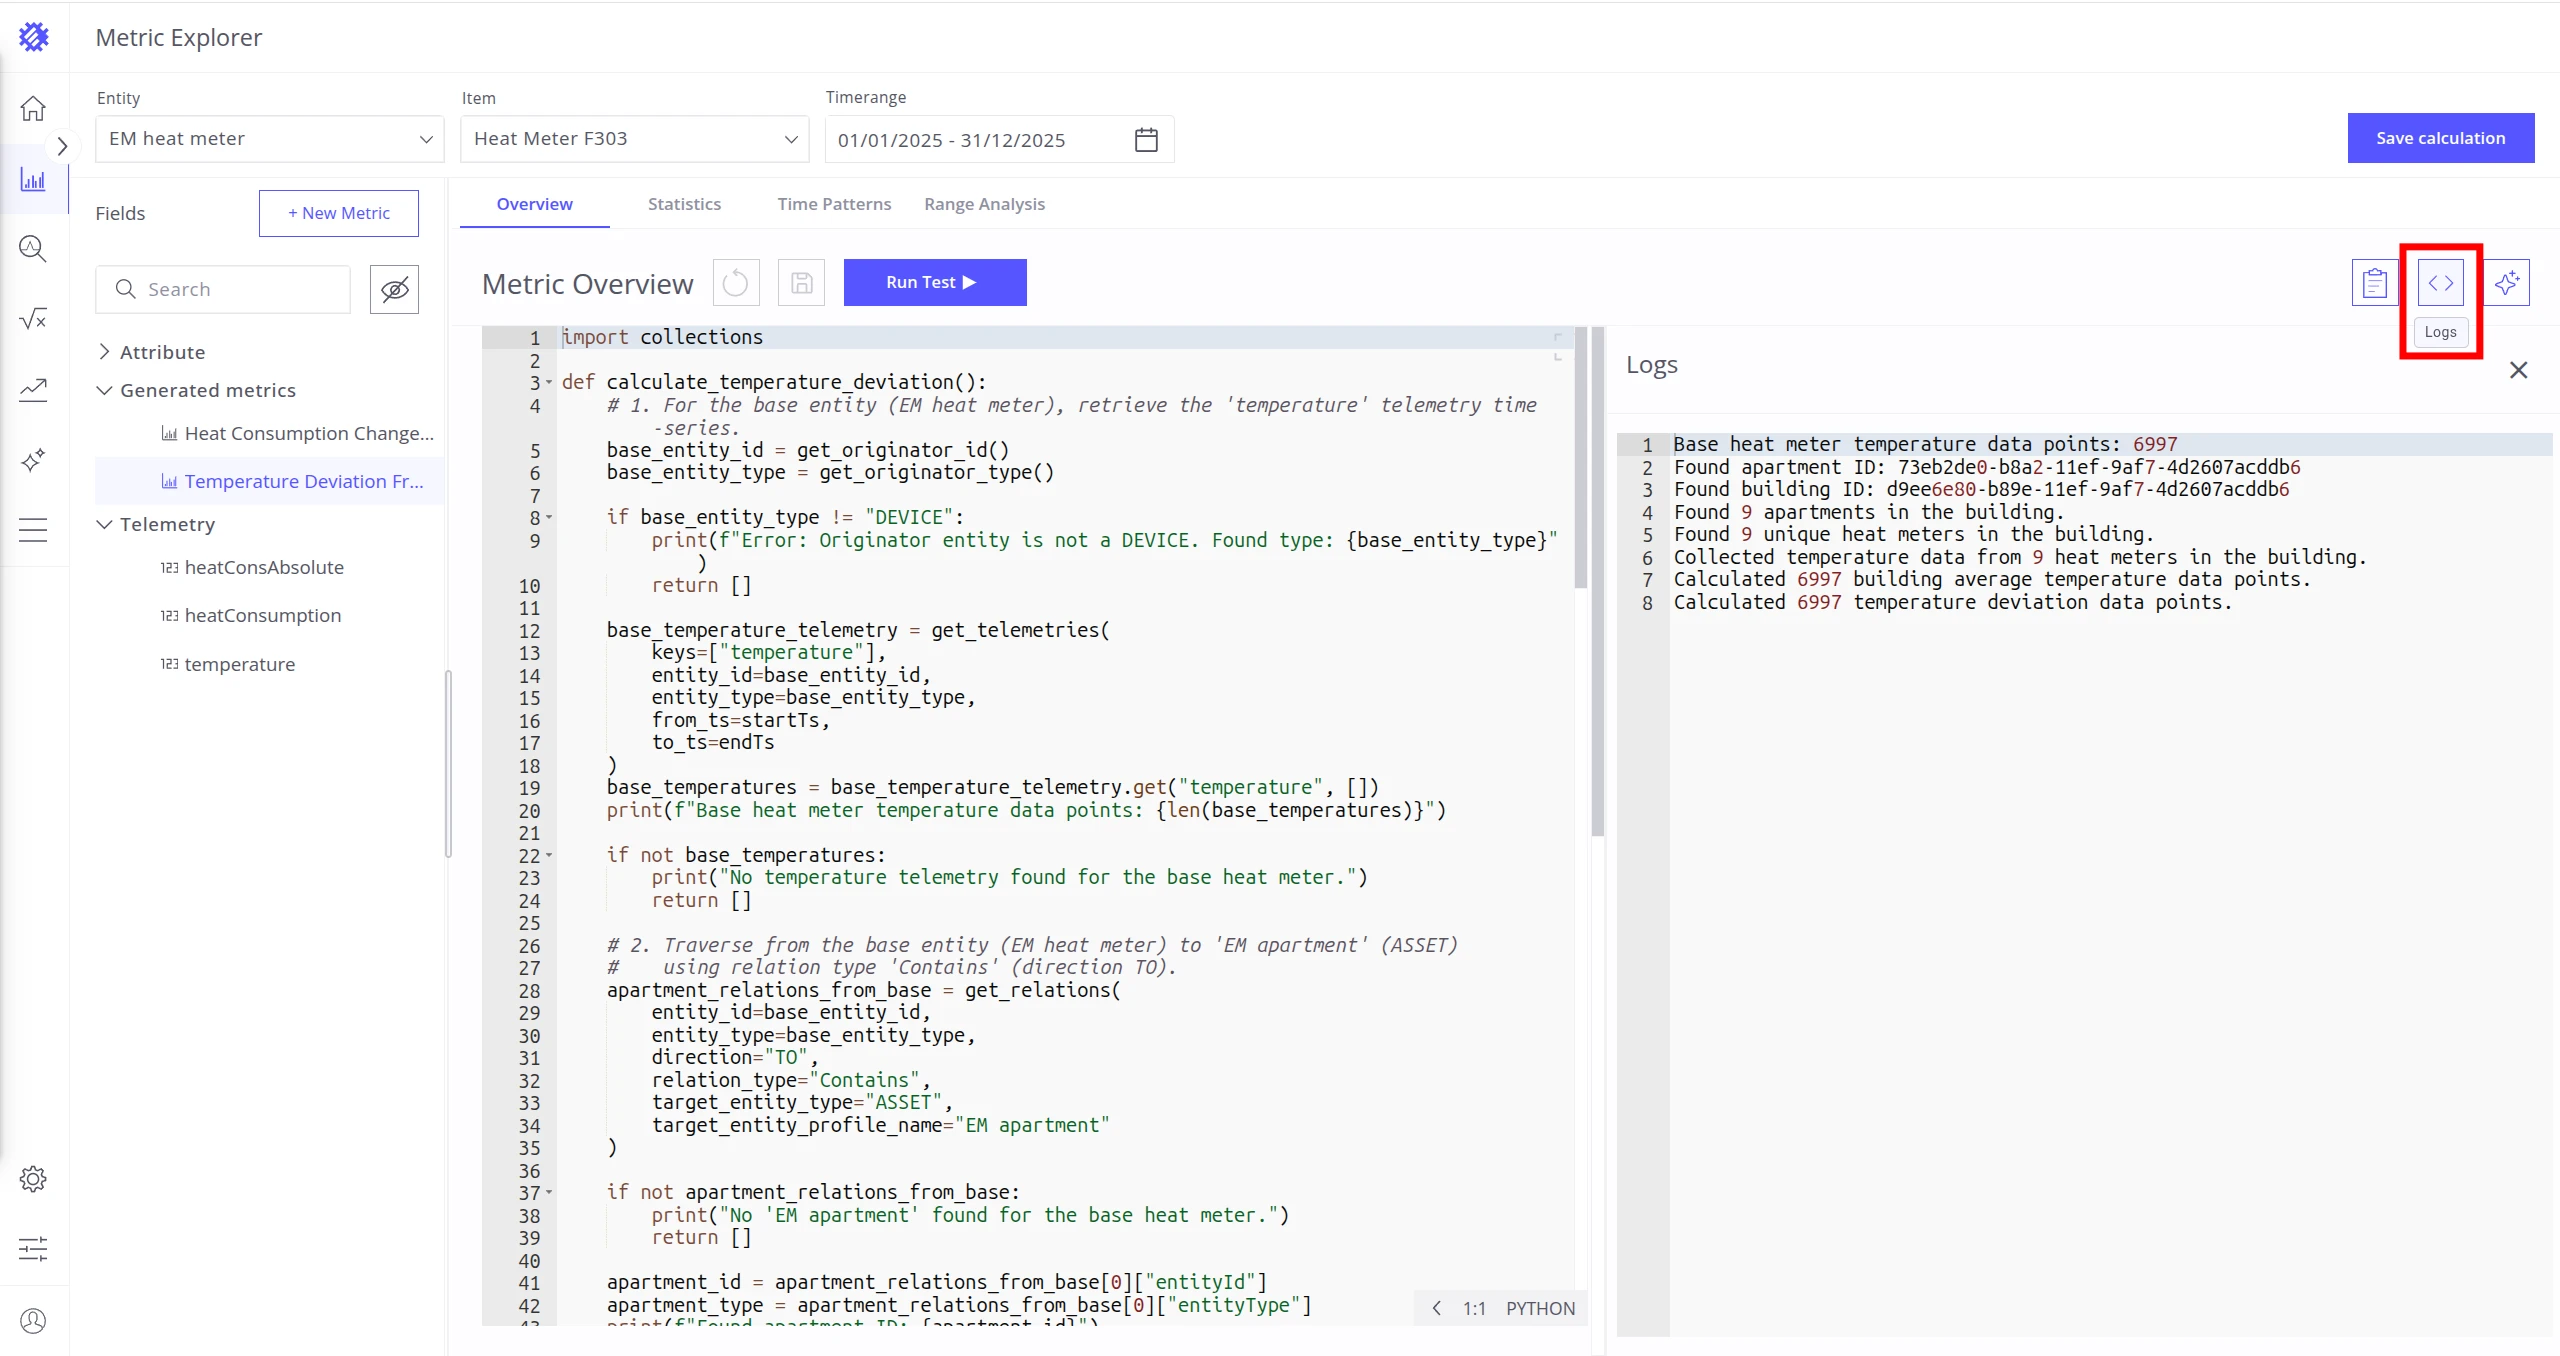
Section titled “Test Code”Click Run Test to execute the current code against the selected item and timerange. You are redirected to the Overview tab showing the generated values as a chart or table — the same view as a regular metric. See Overview Tab for details.
Click the Logs button in the upper-left corner to open the execution log section. Use this to diagnose runtime errors and trace execution.
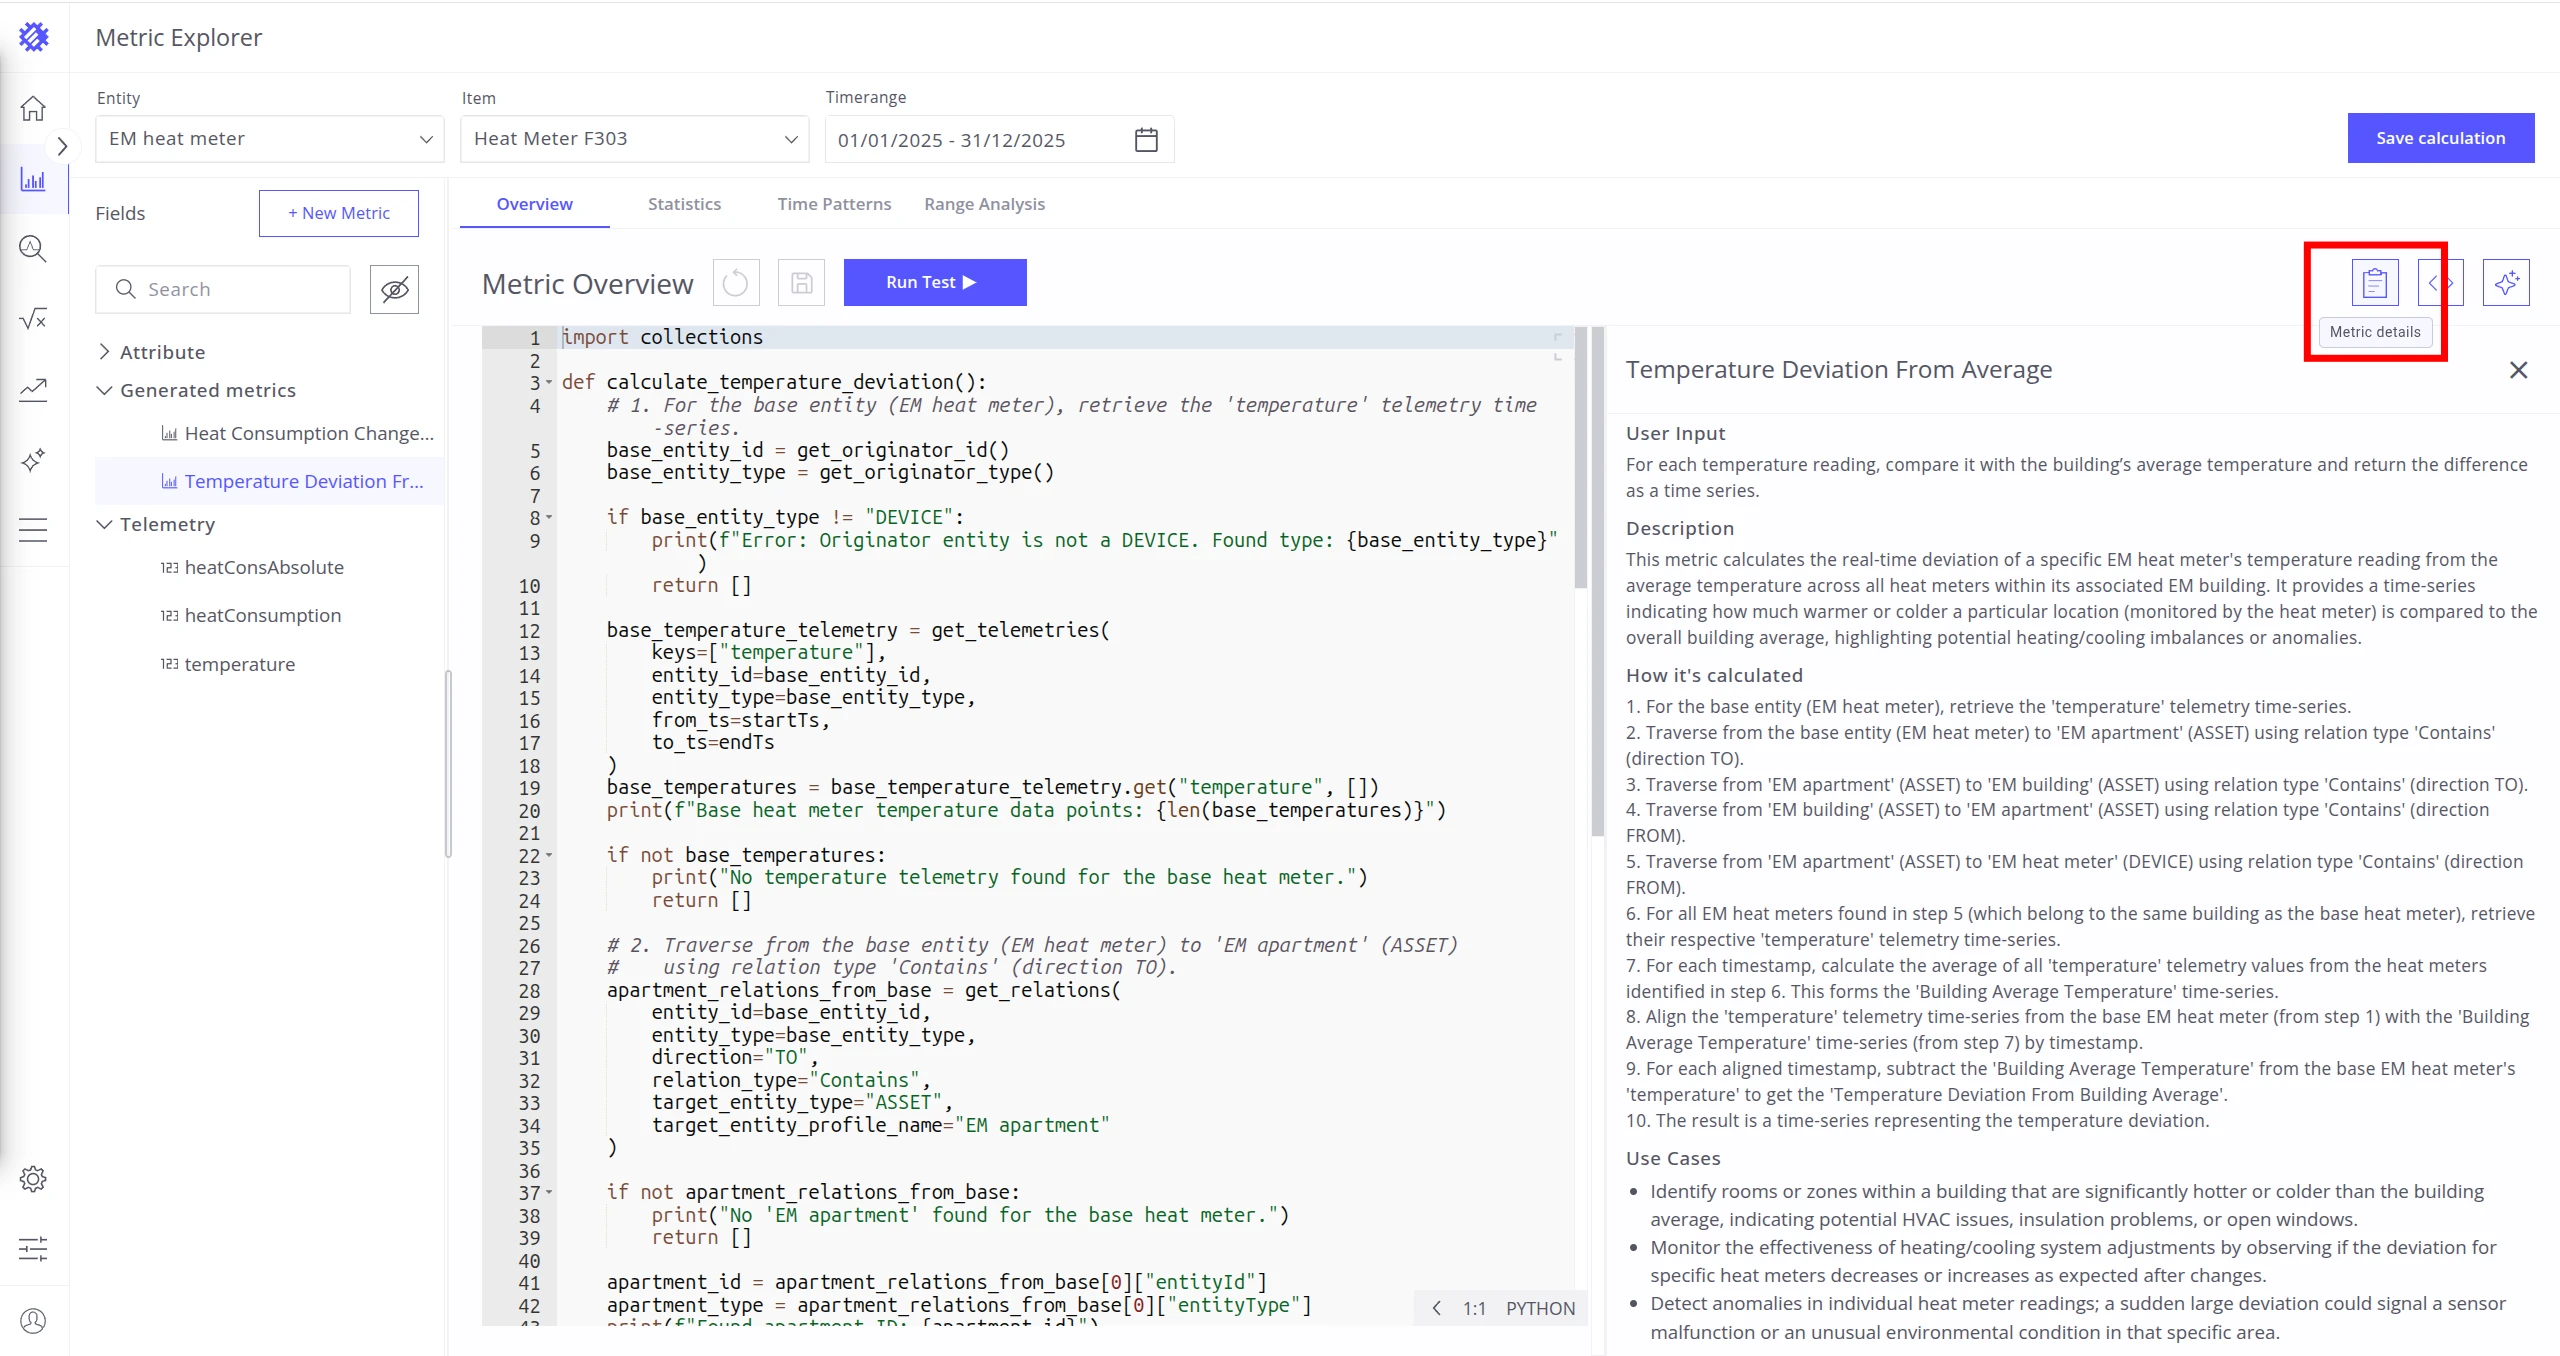
Metric Details
Section titled “Metric Details”Click Metric Details to view the Metric Definition from which this metric was created (name, description, and original calculation instructions).
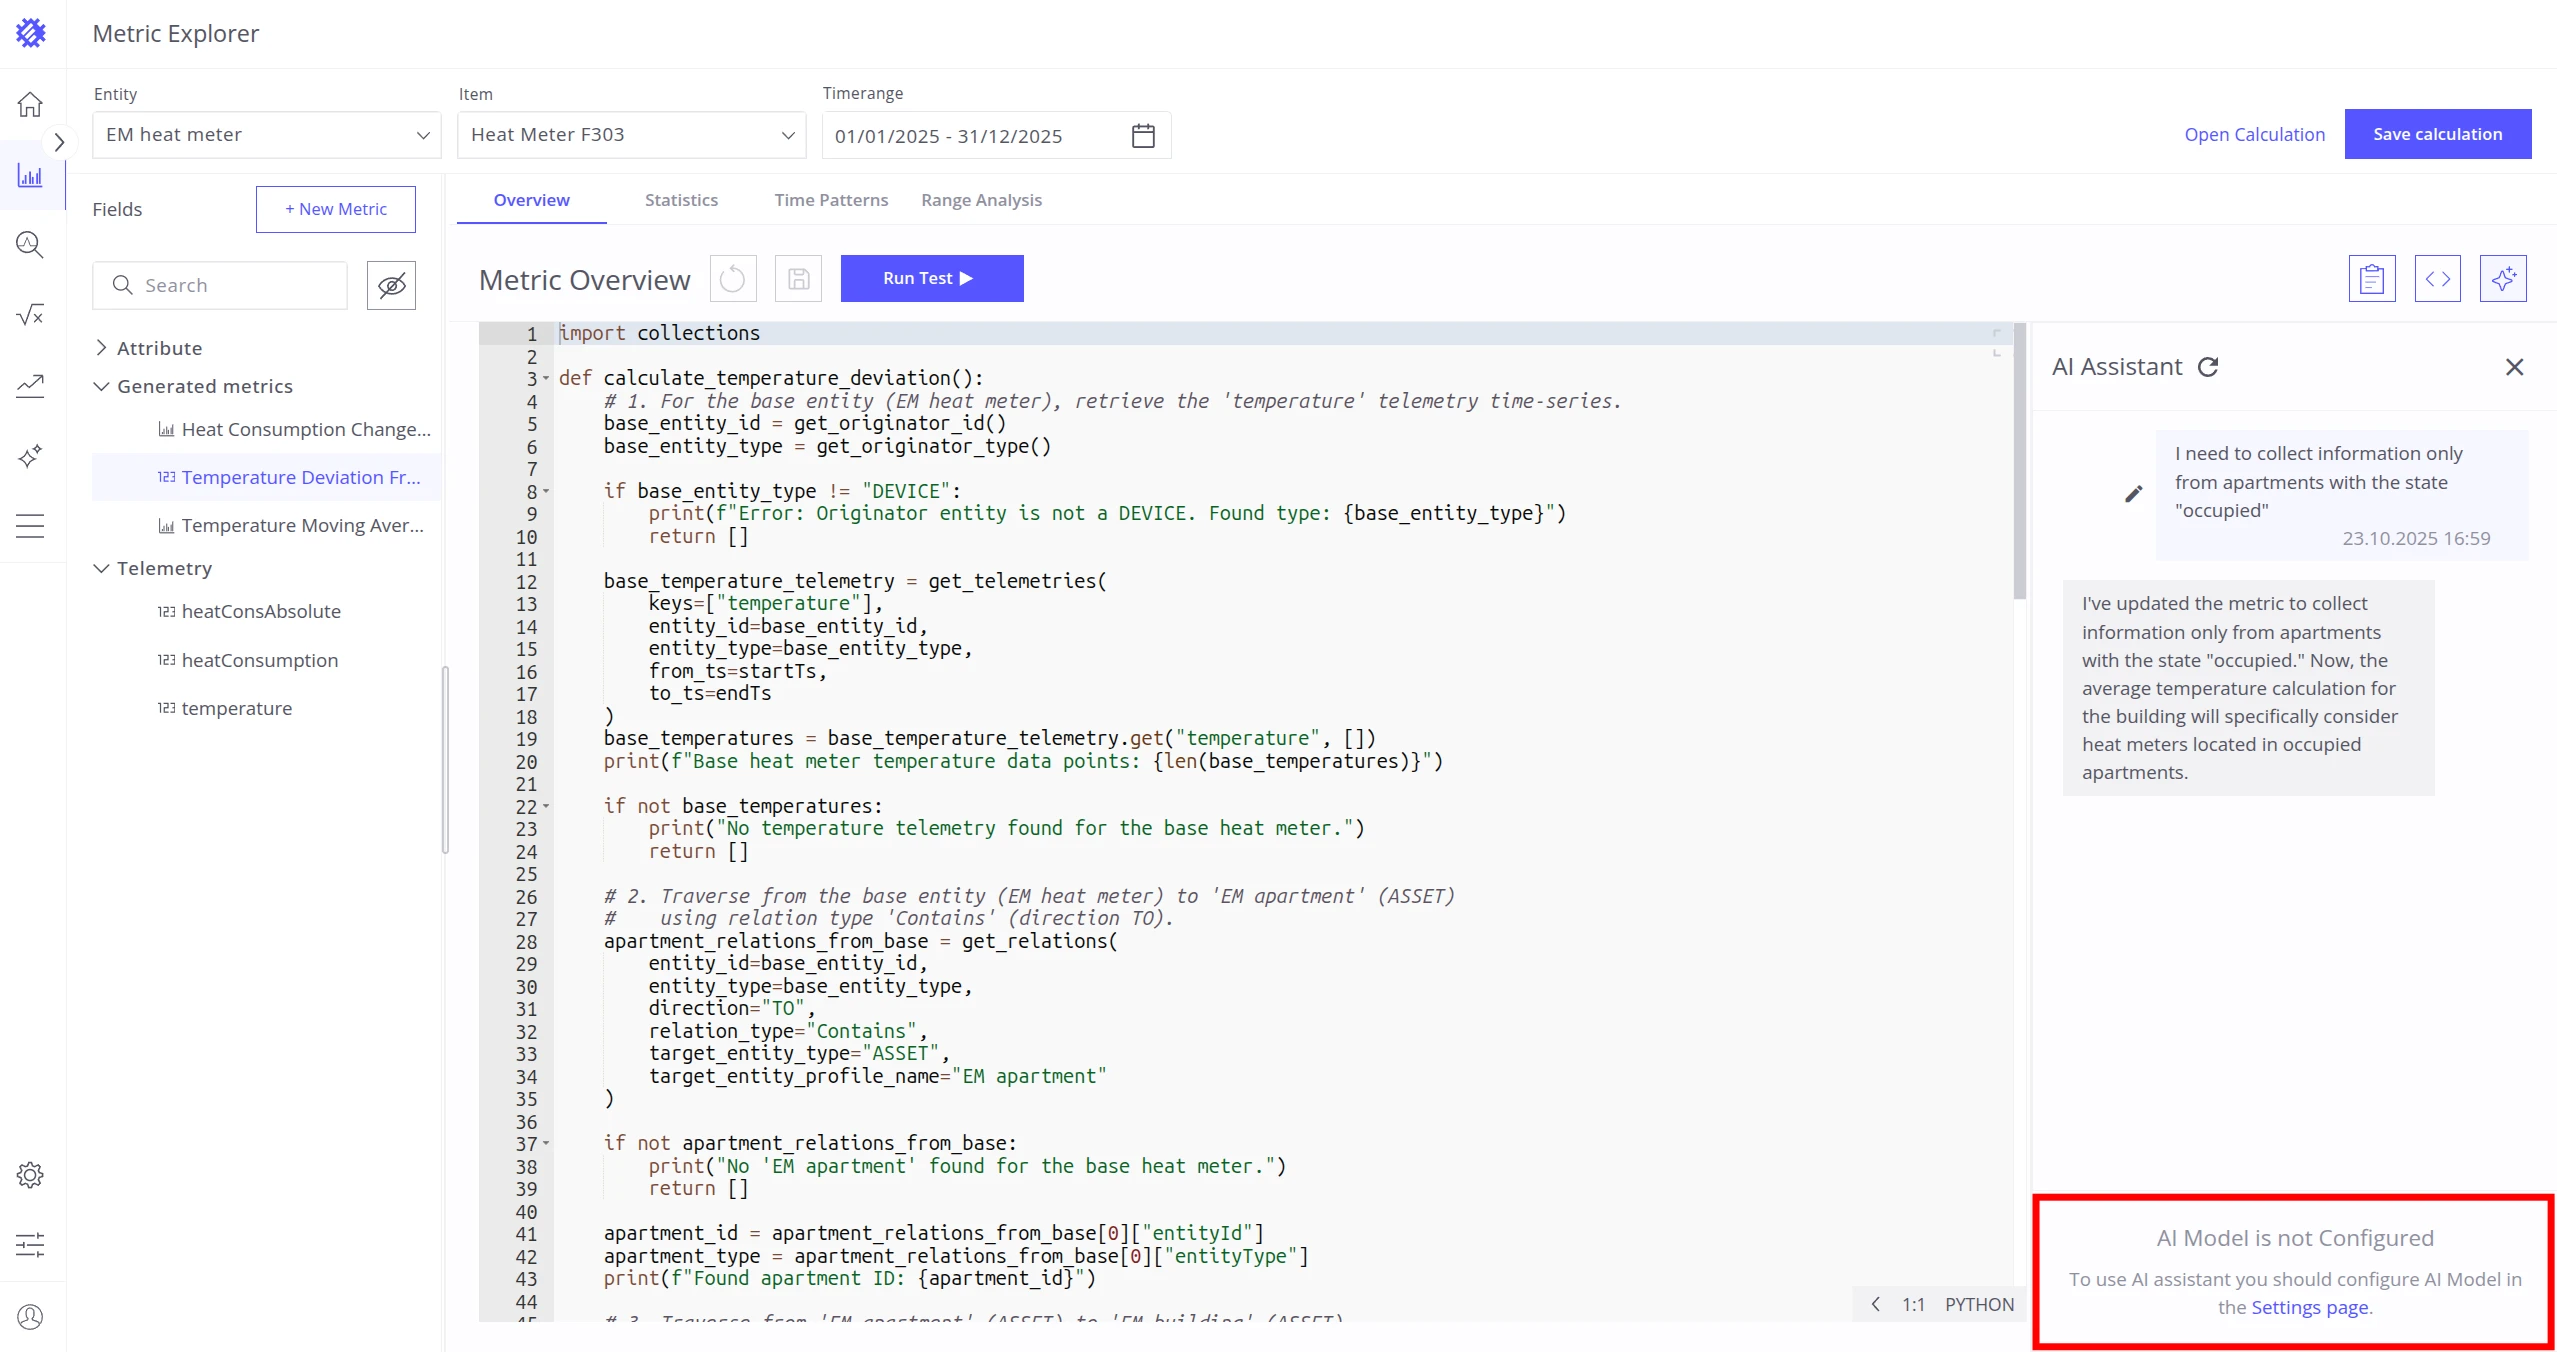
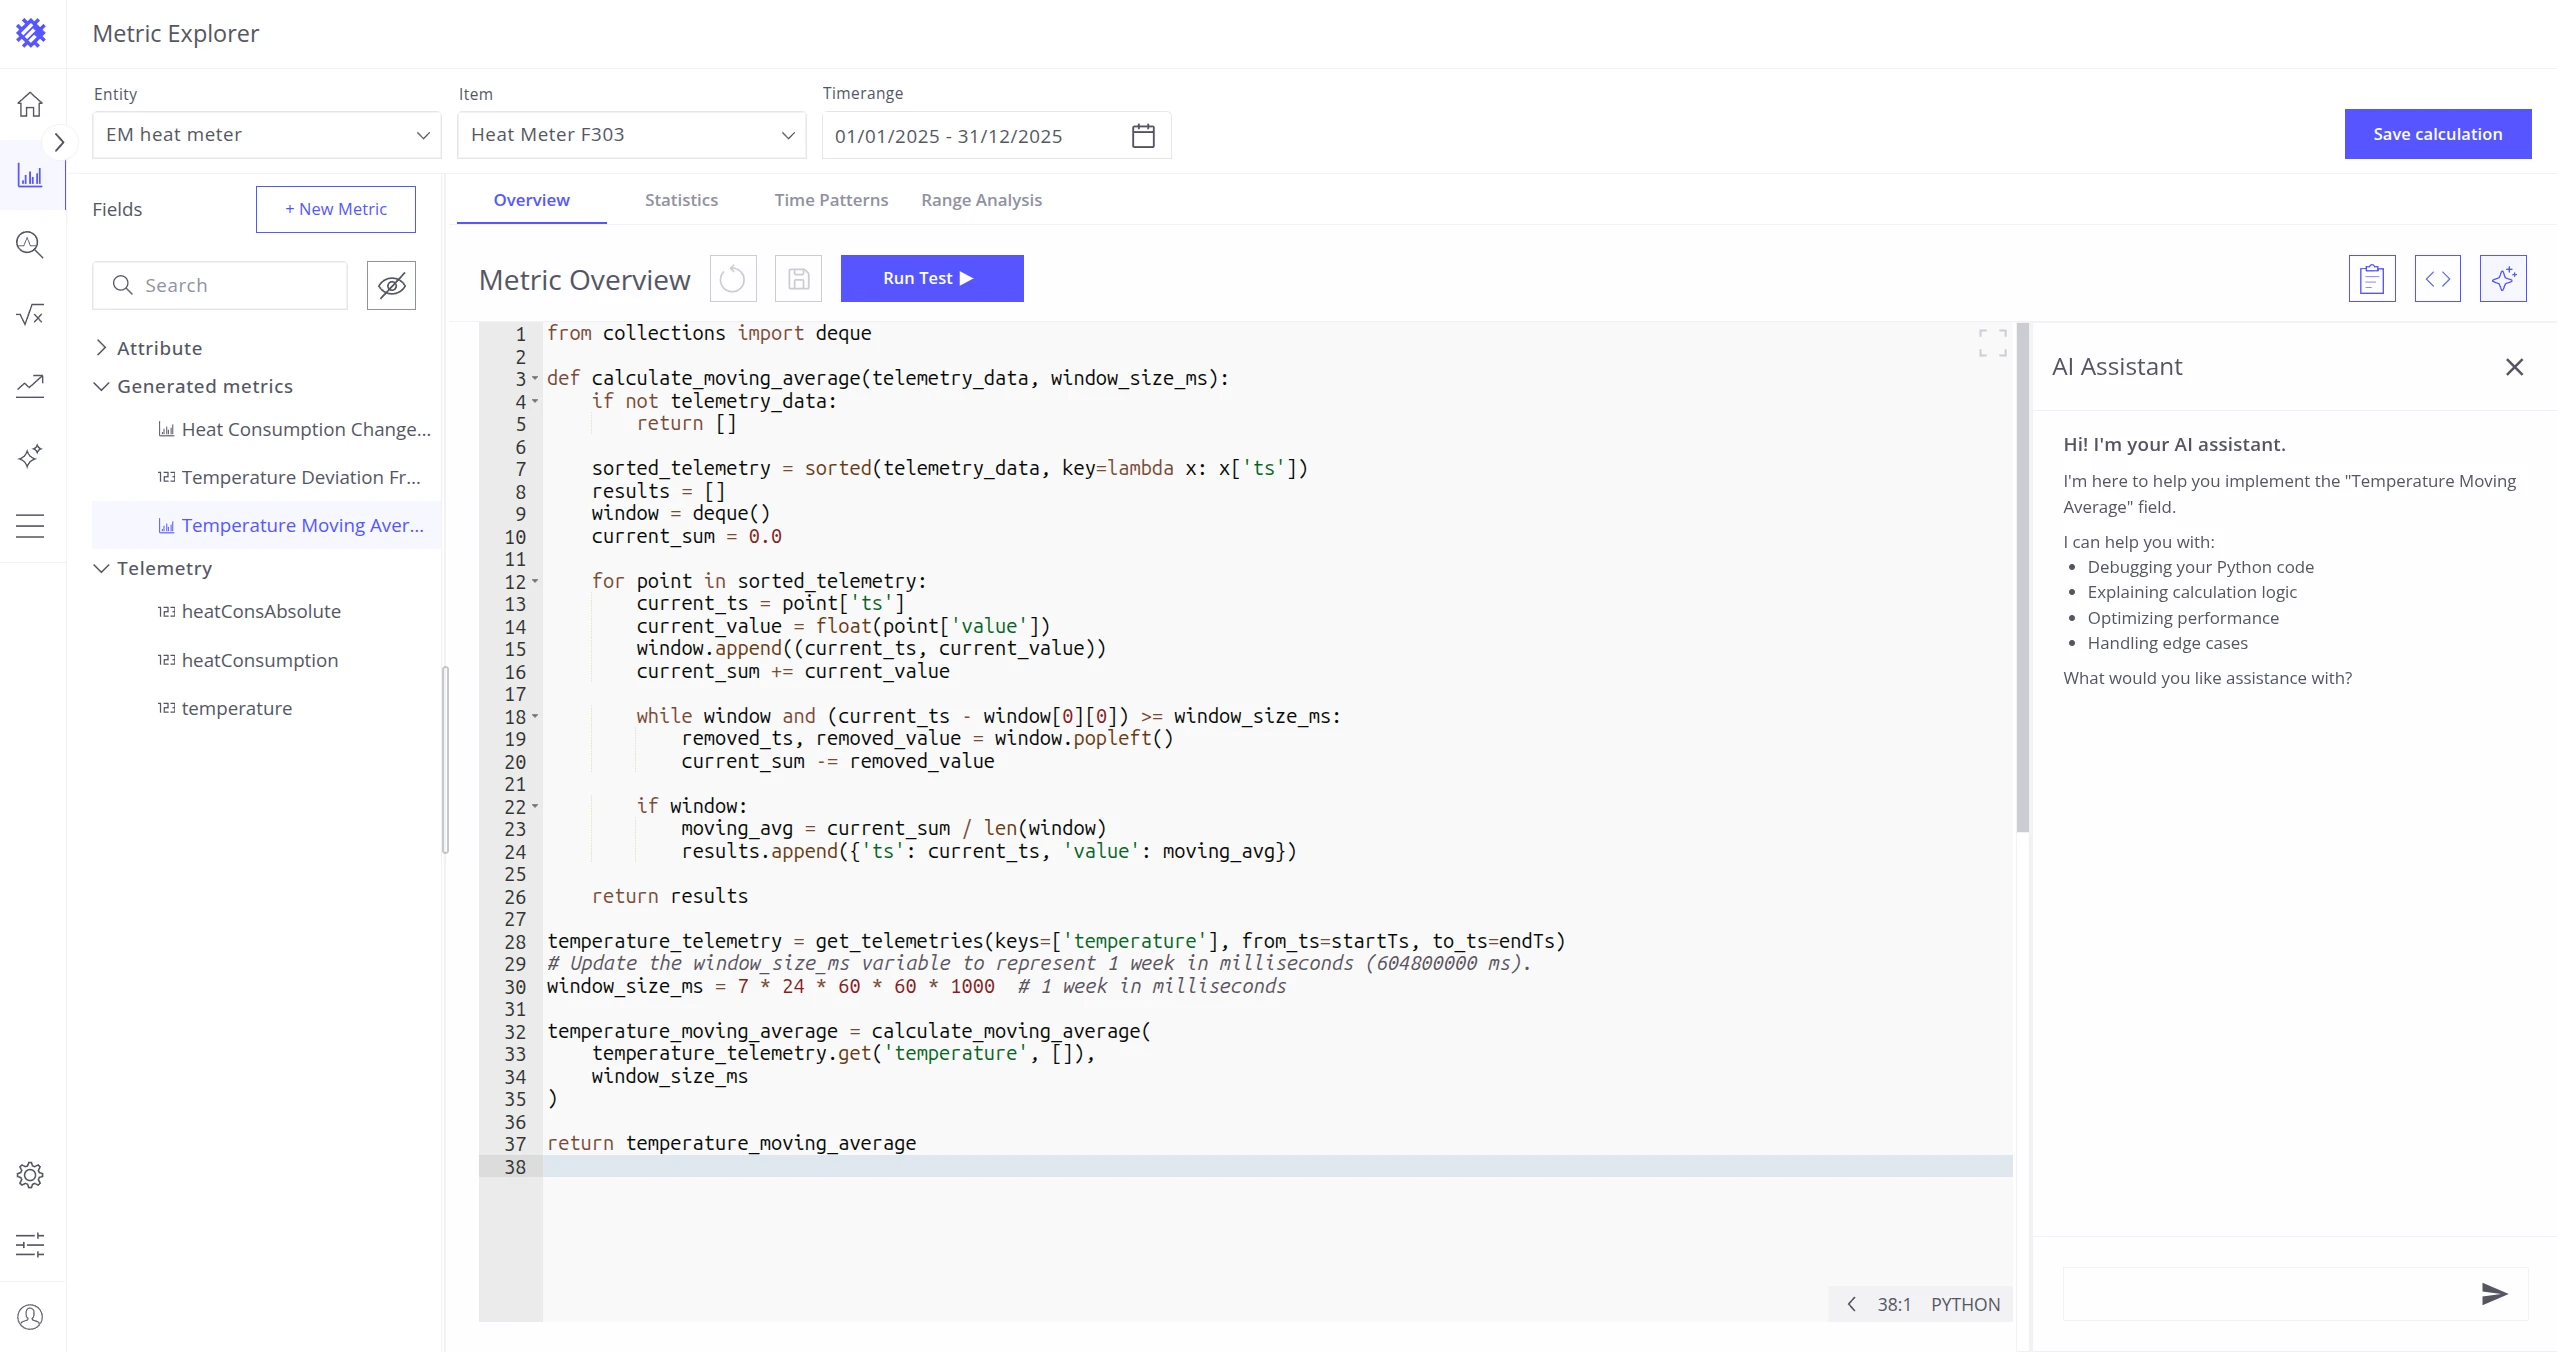
AI Assistant
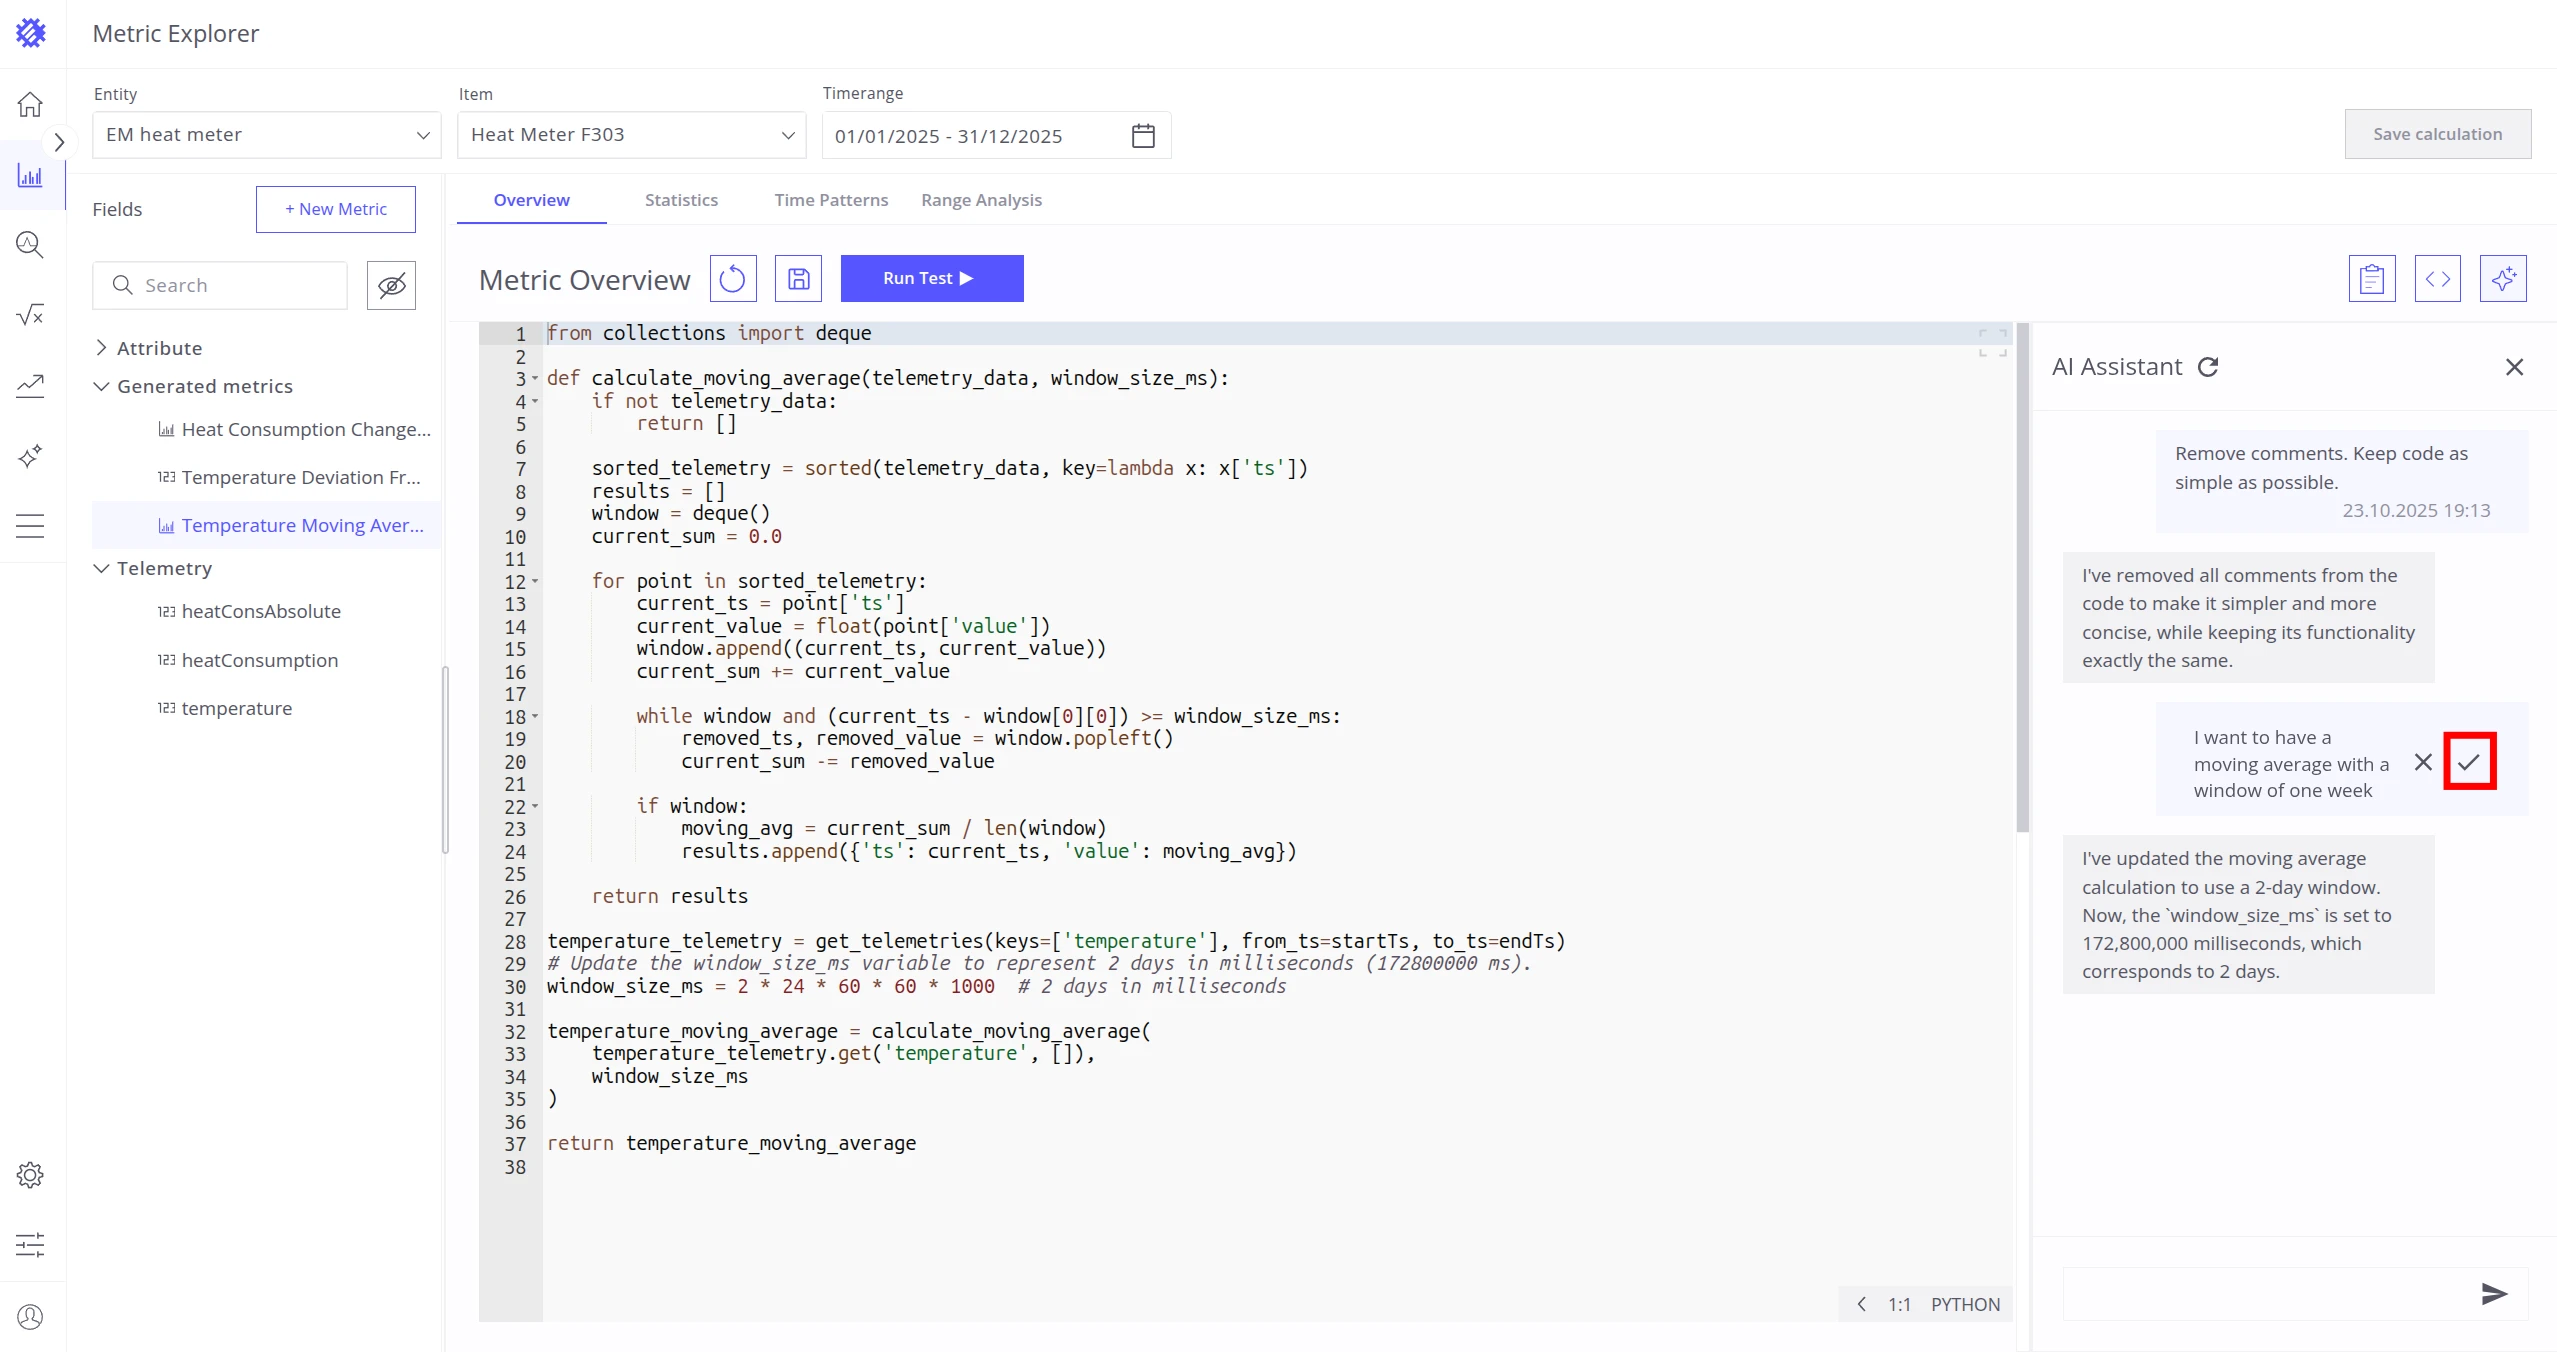
Section titled “AI Assistant”Click Ask AI to open the AI chat. Use it to:
- Ask questions about your code.
- Request rewrites or refactoring.
- Ask the AI to detect and fix bugs.
Send a new message:
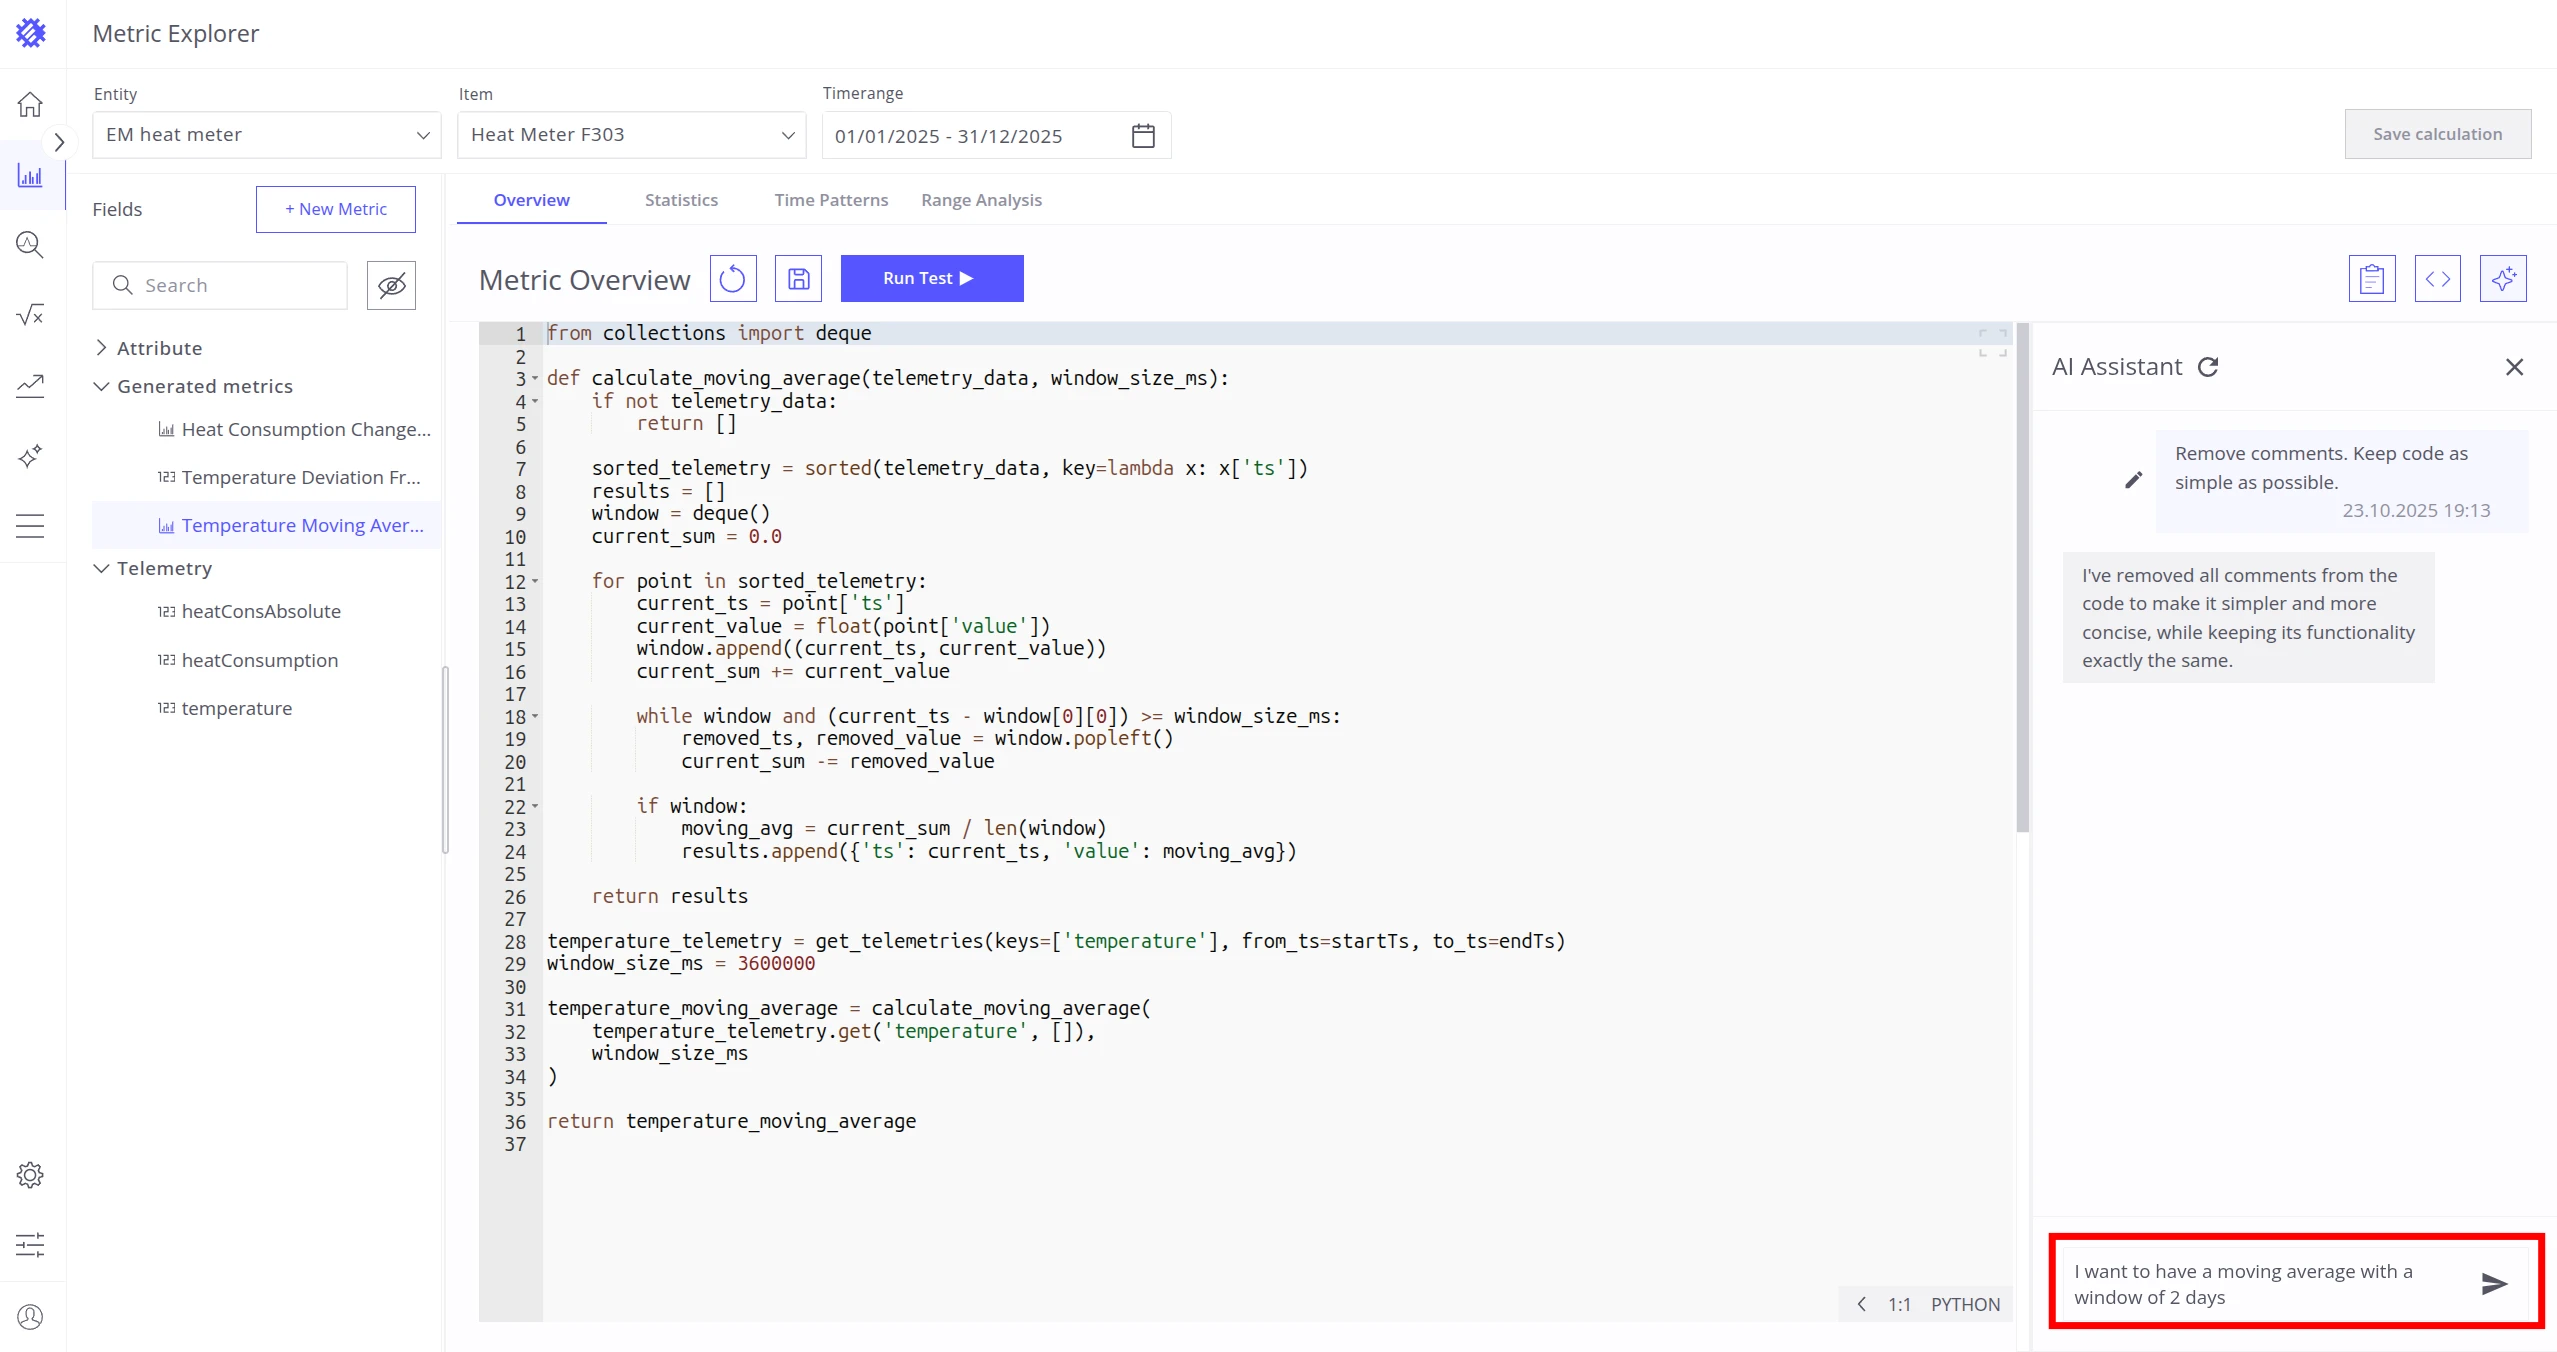
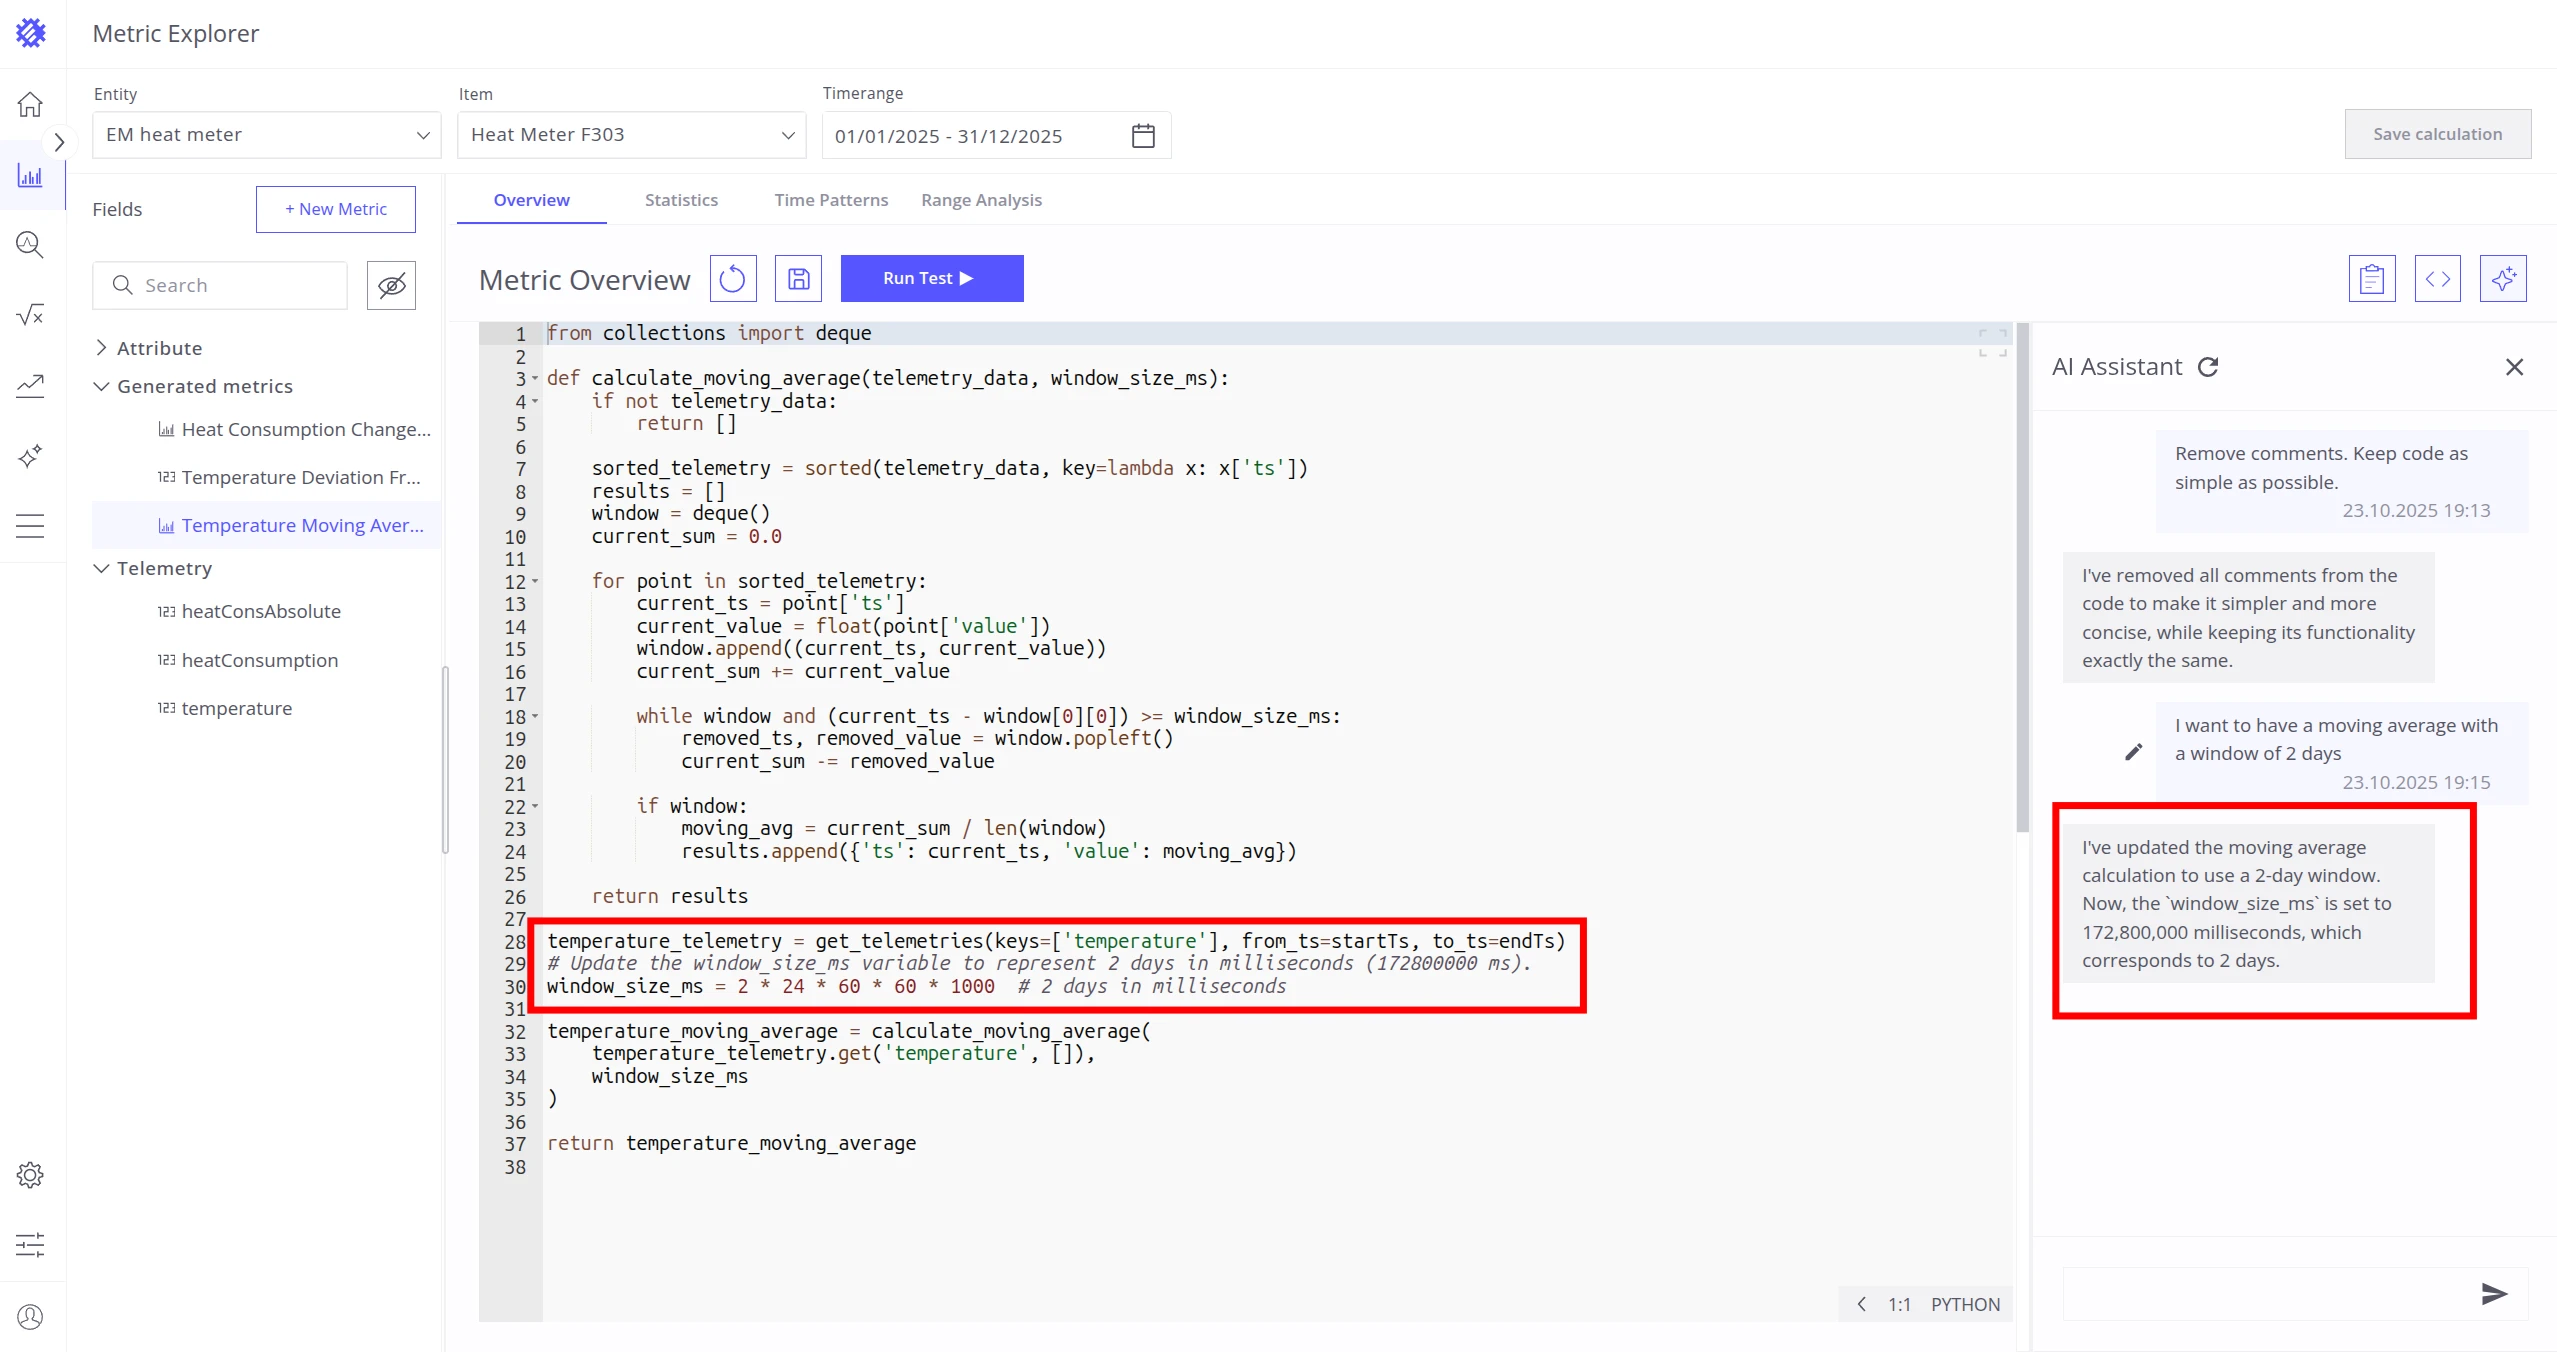
Review code generated in a previous interaction:
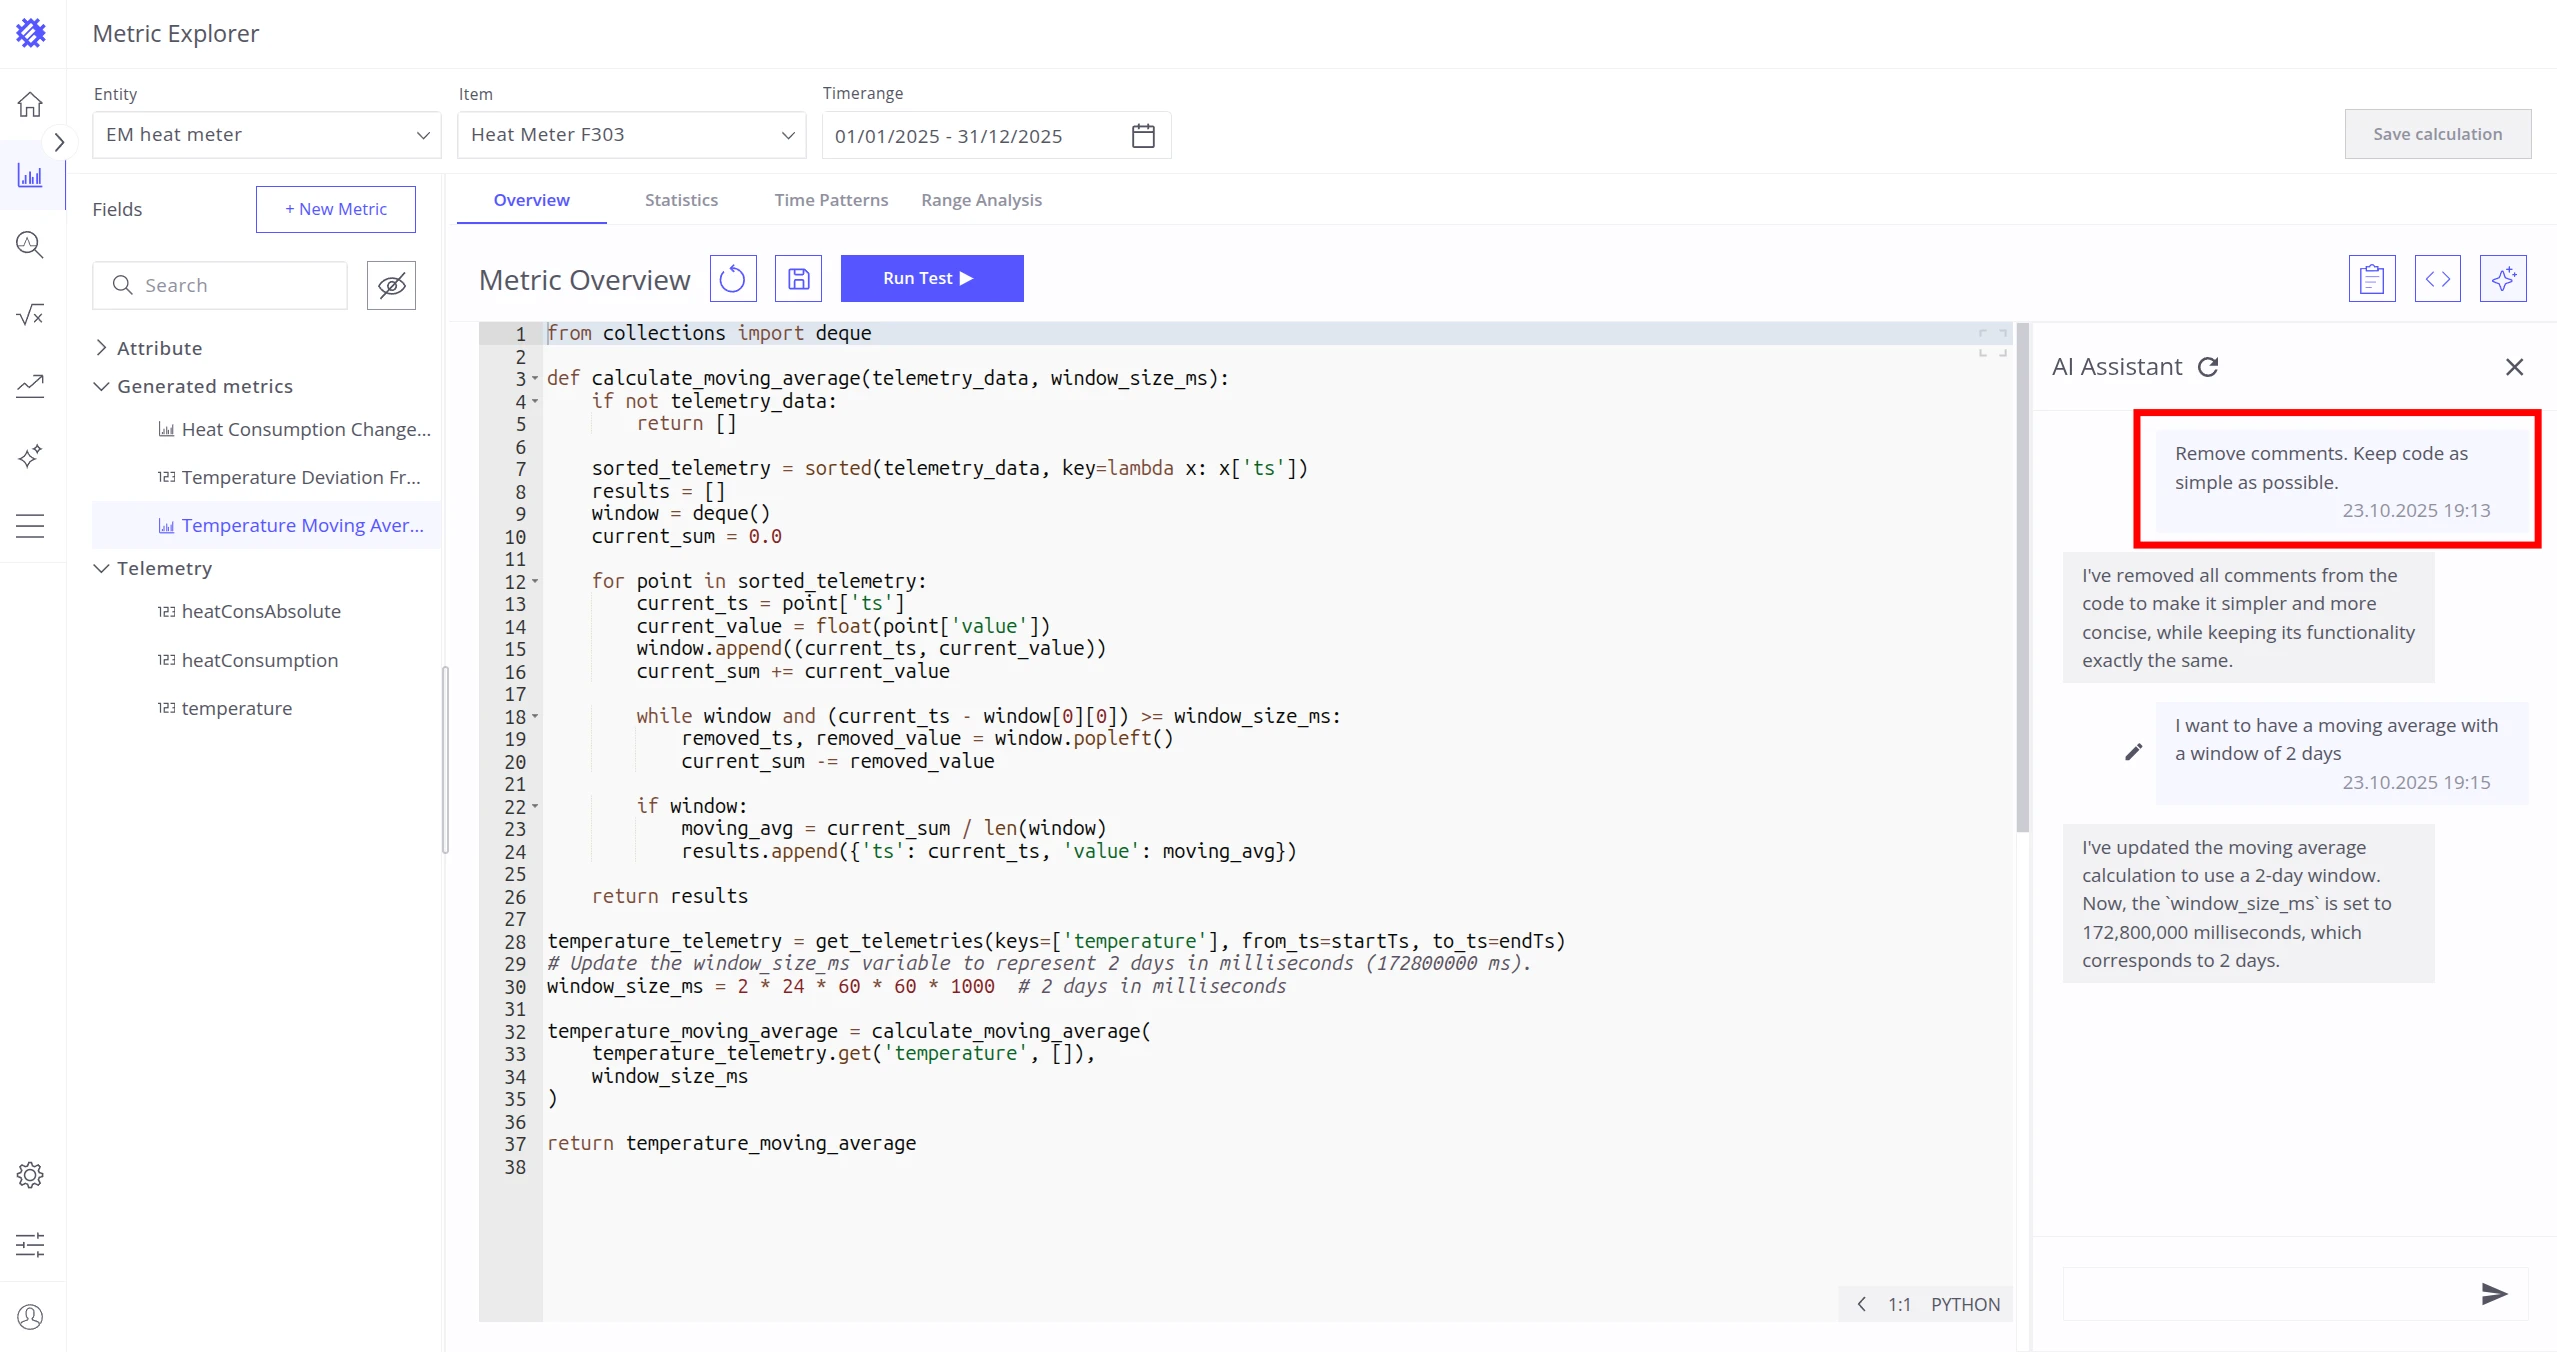
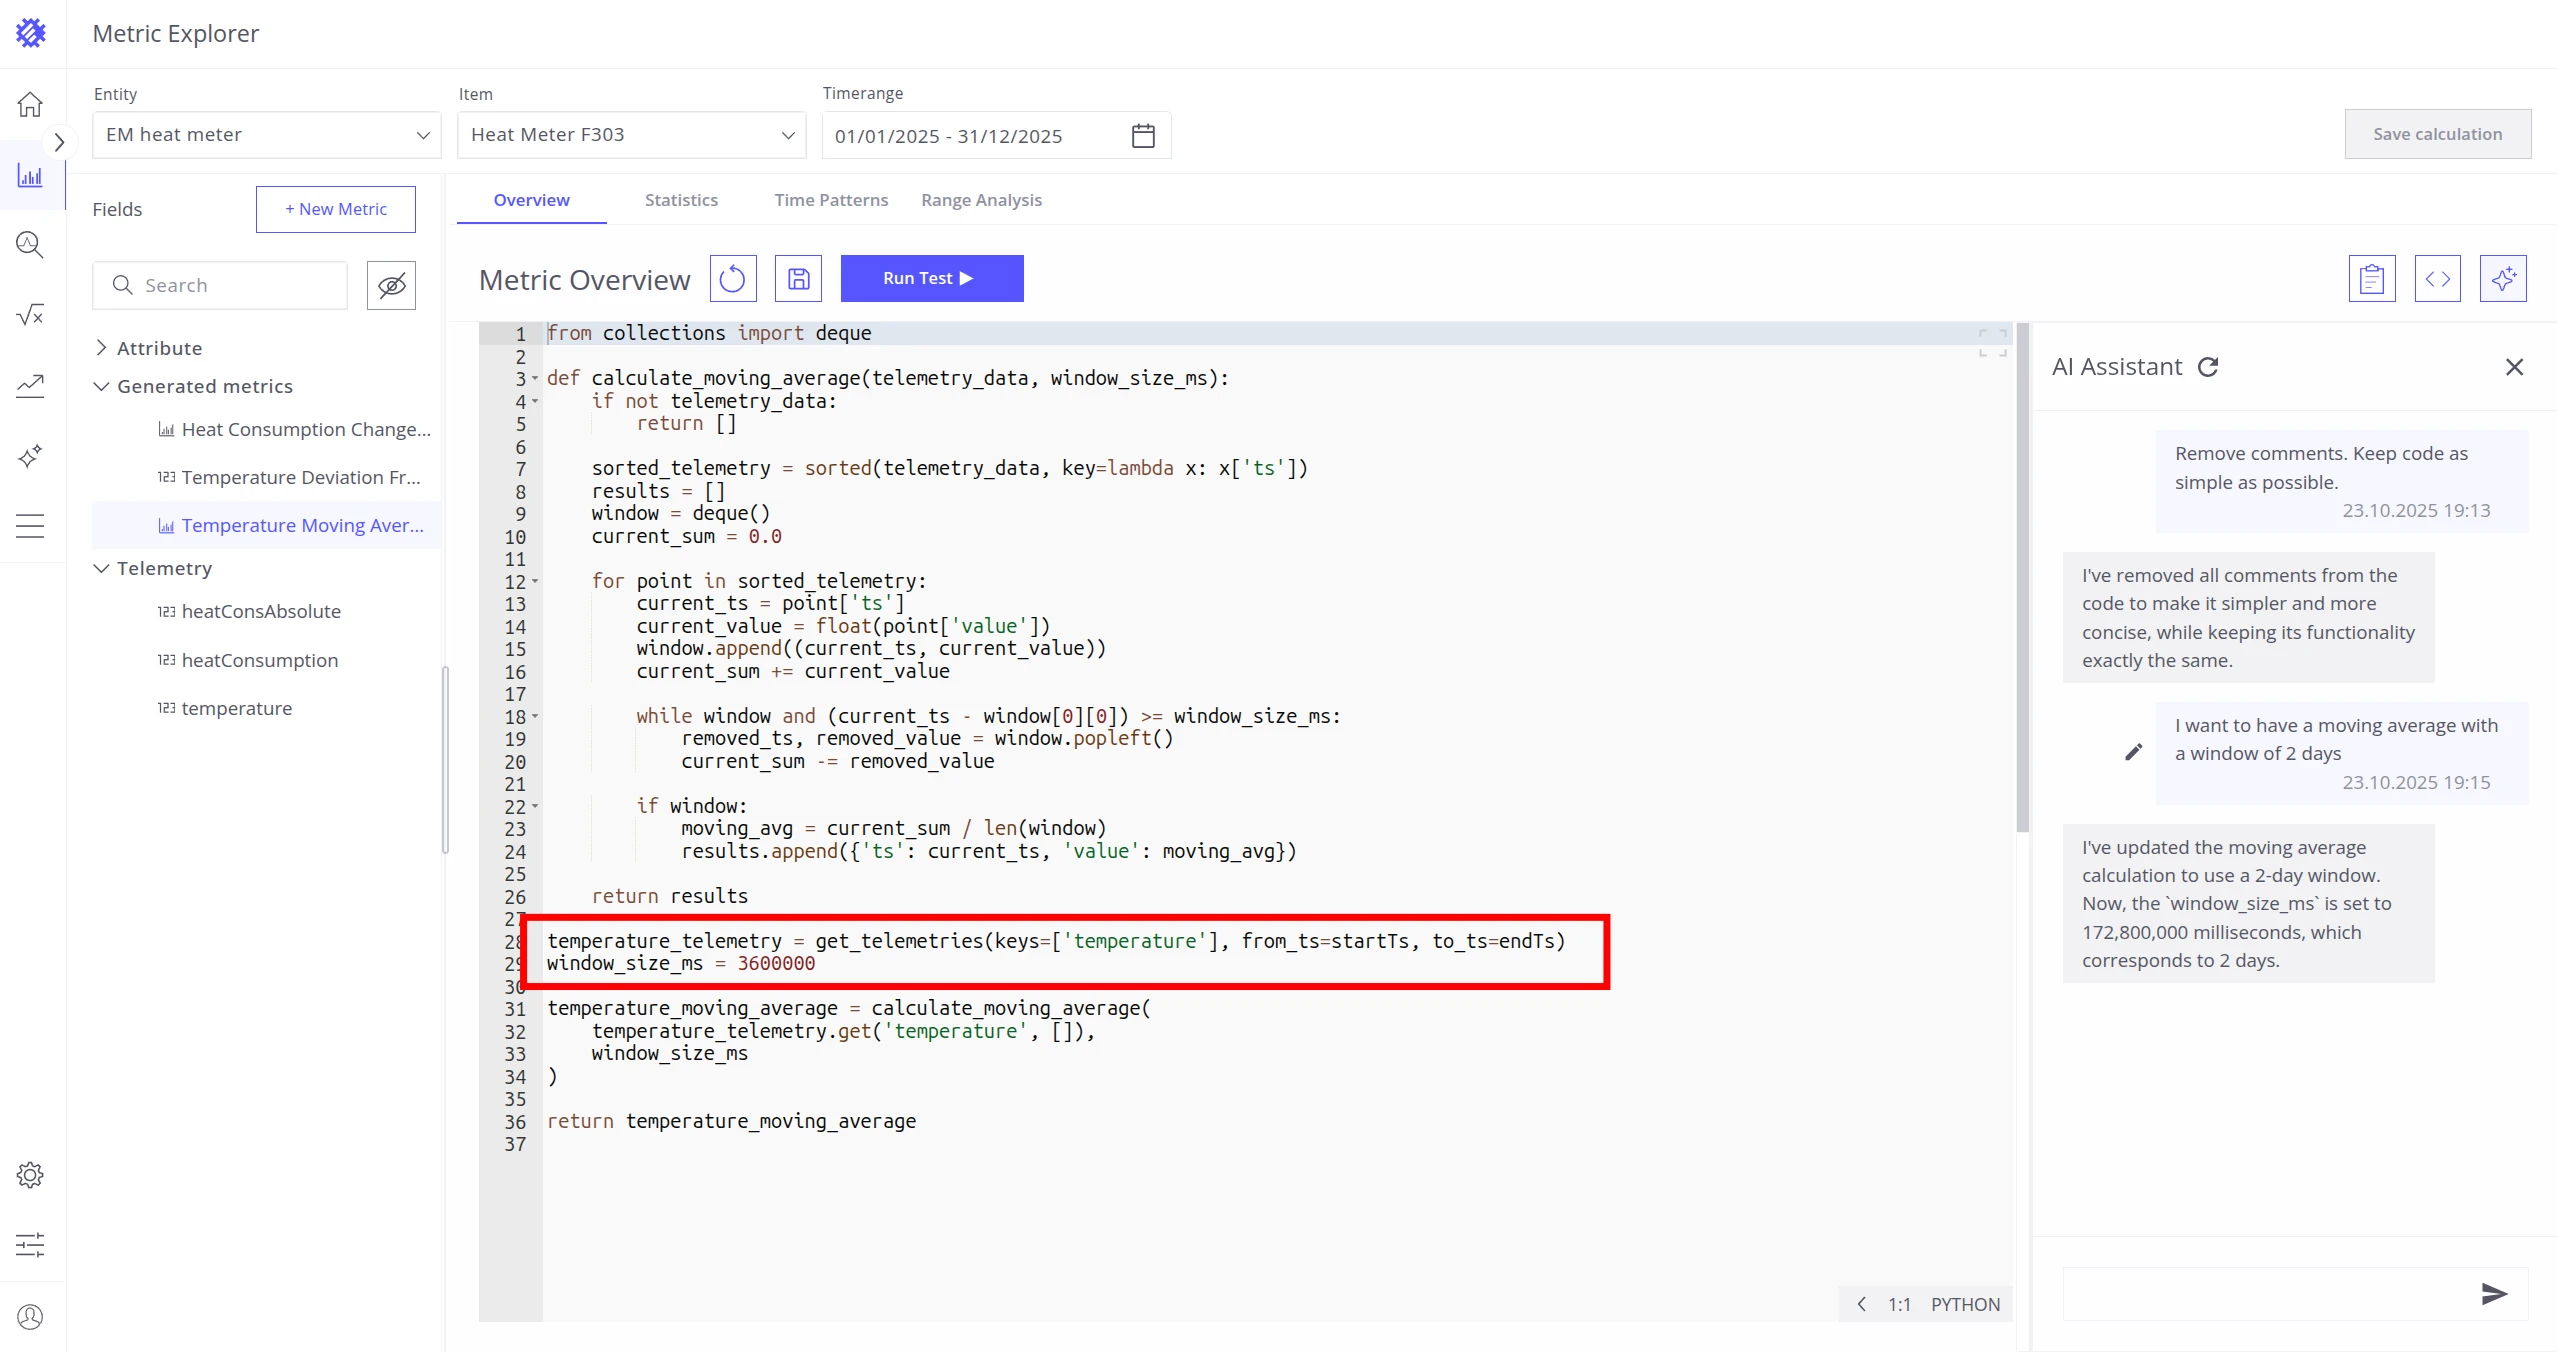
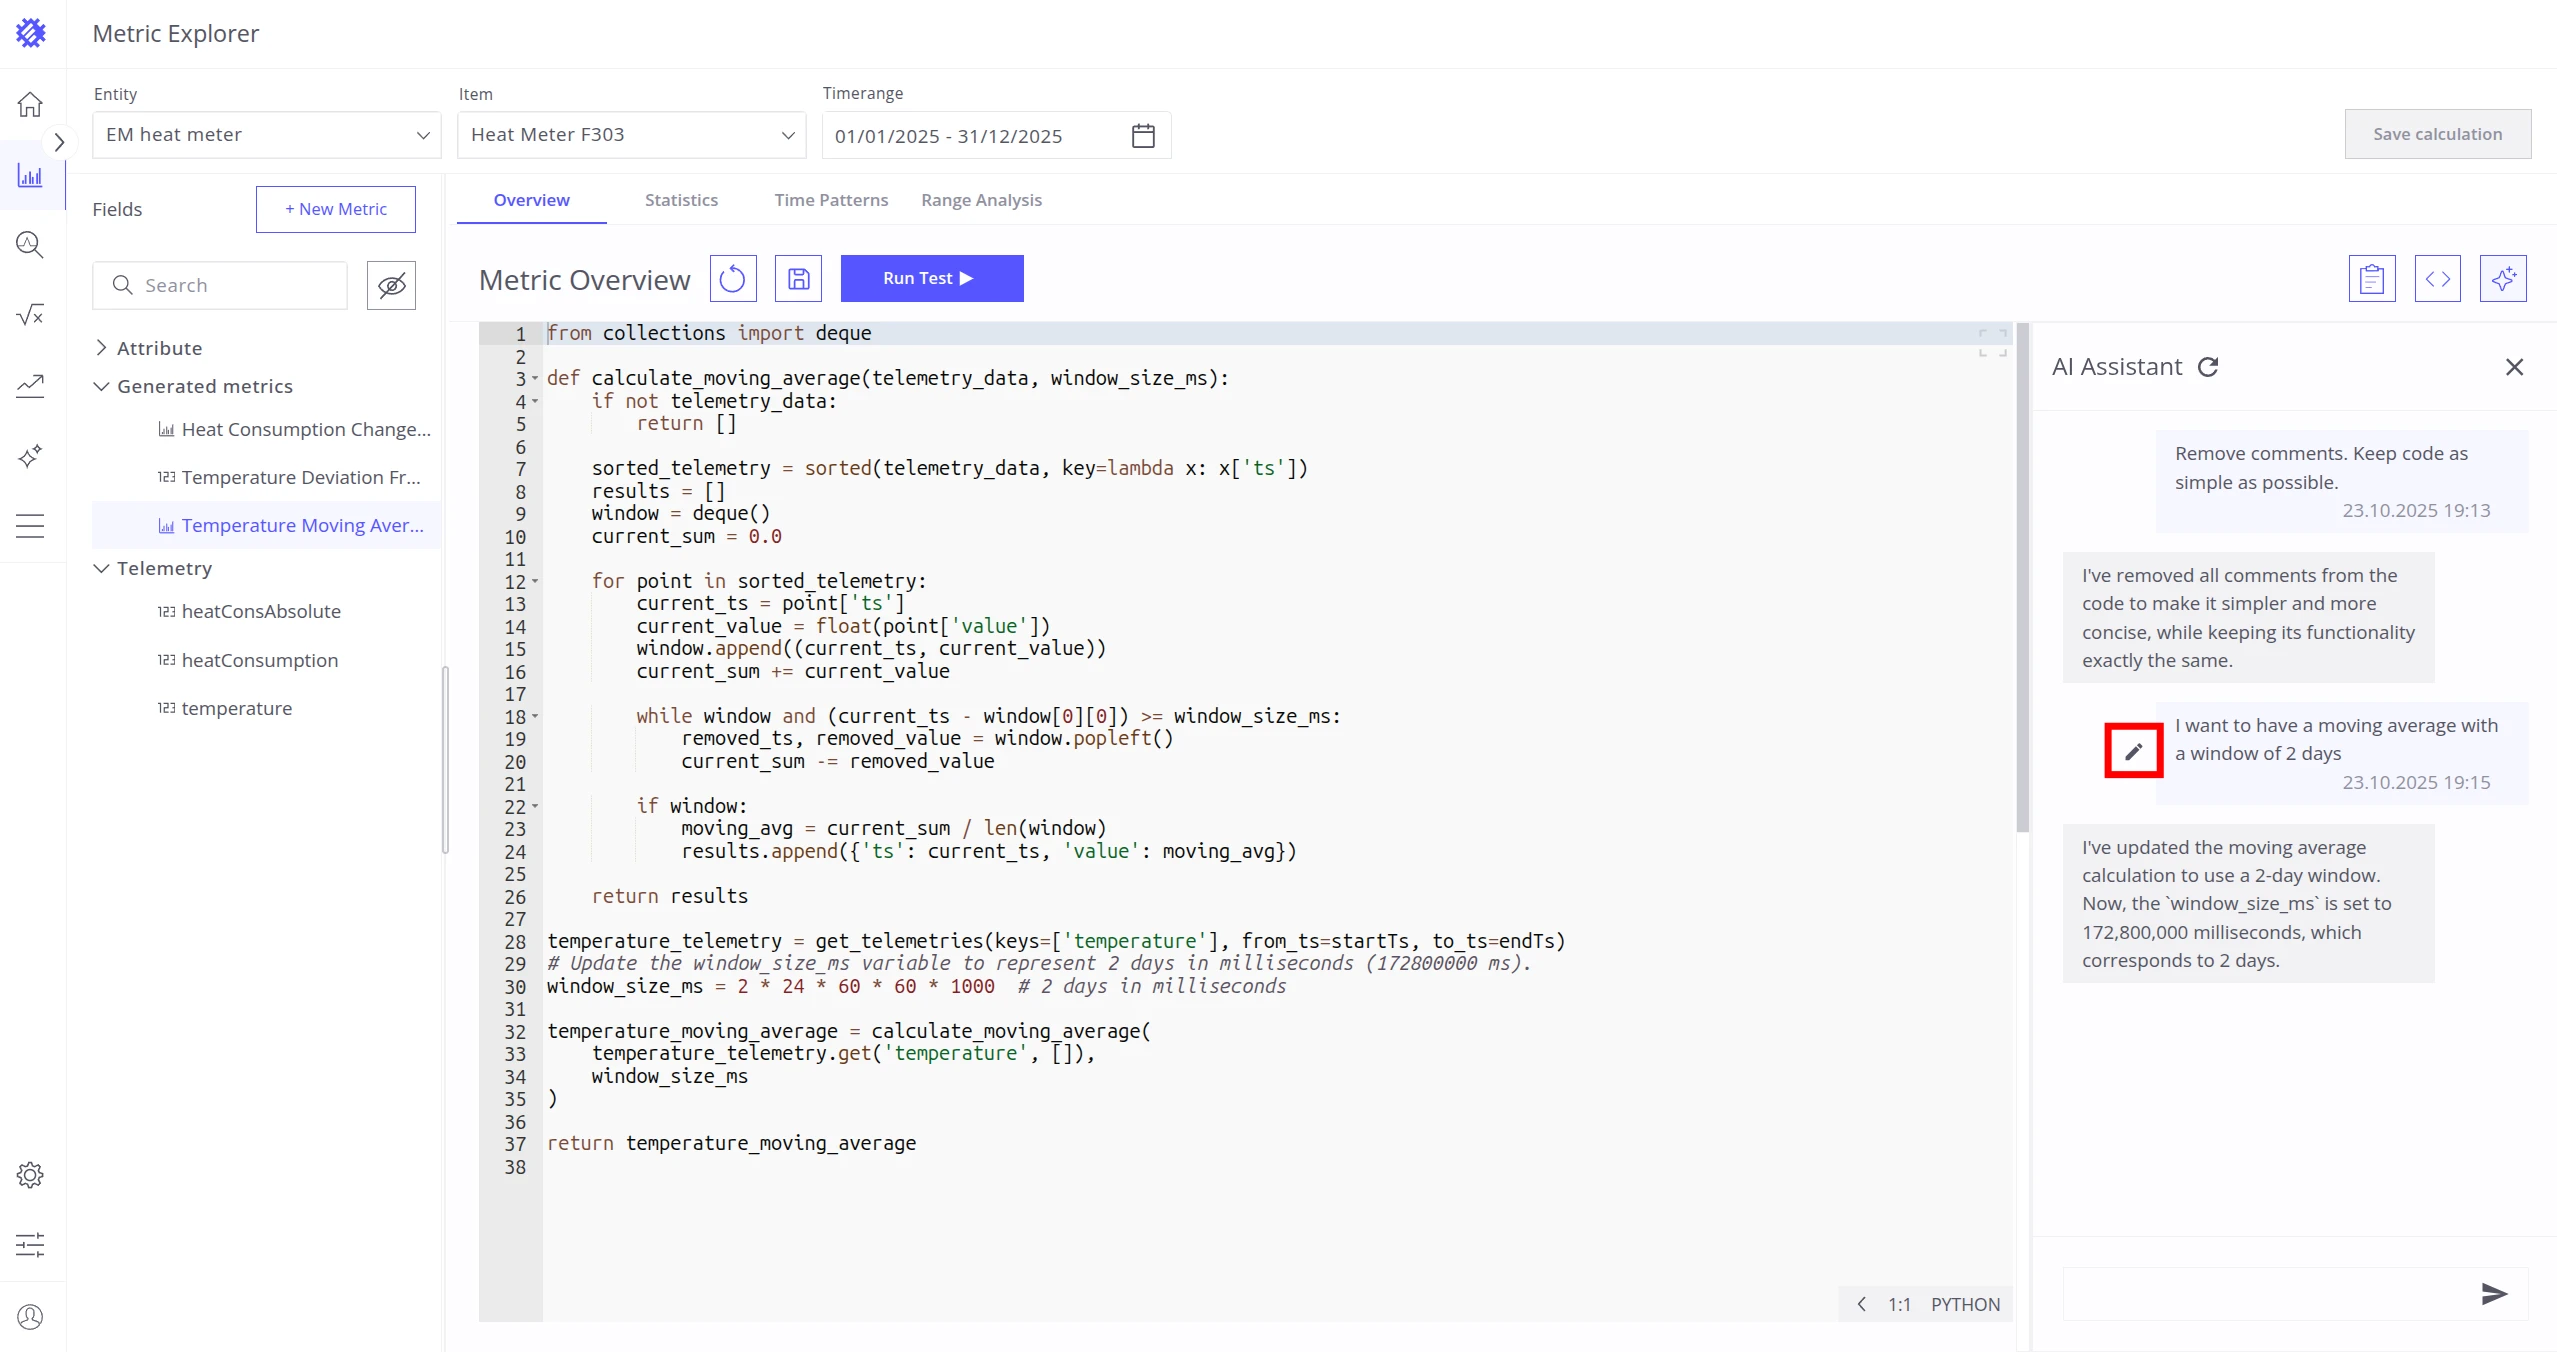
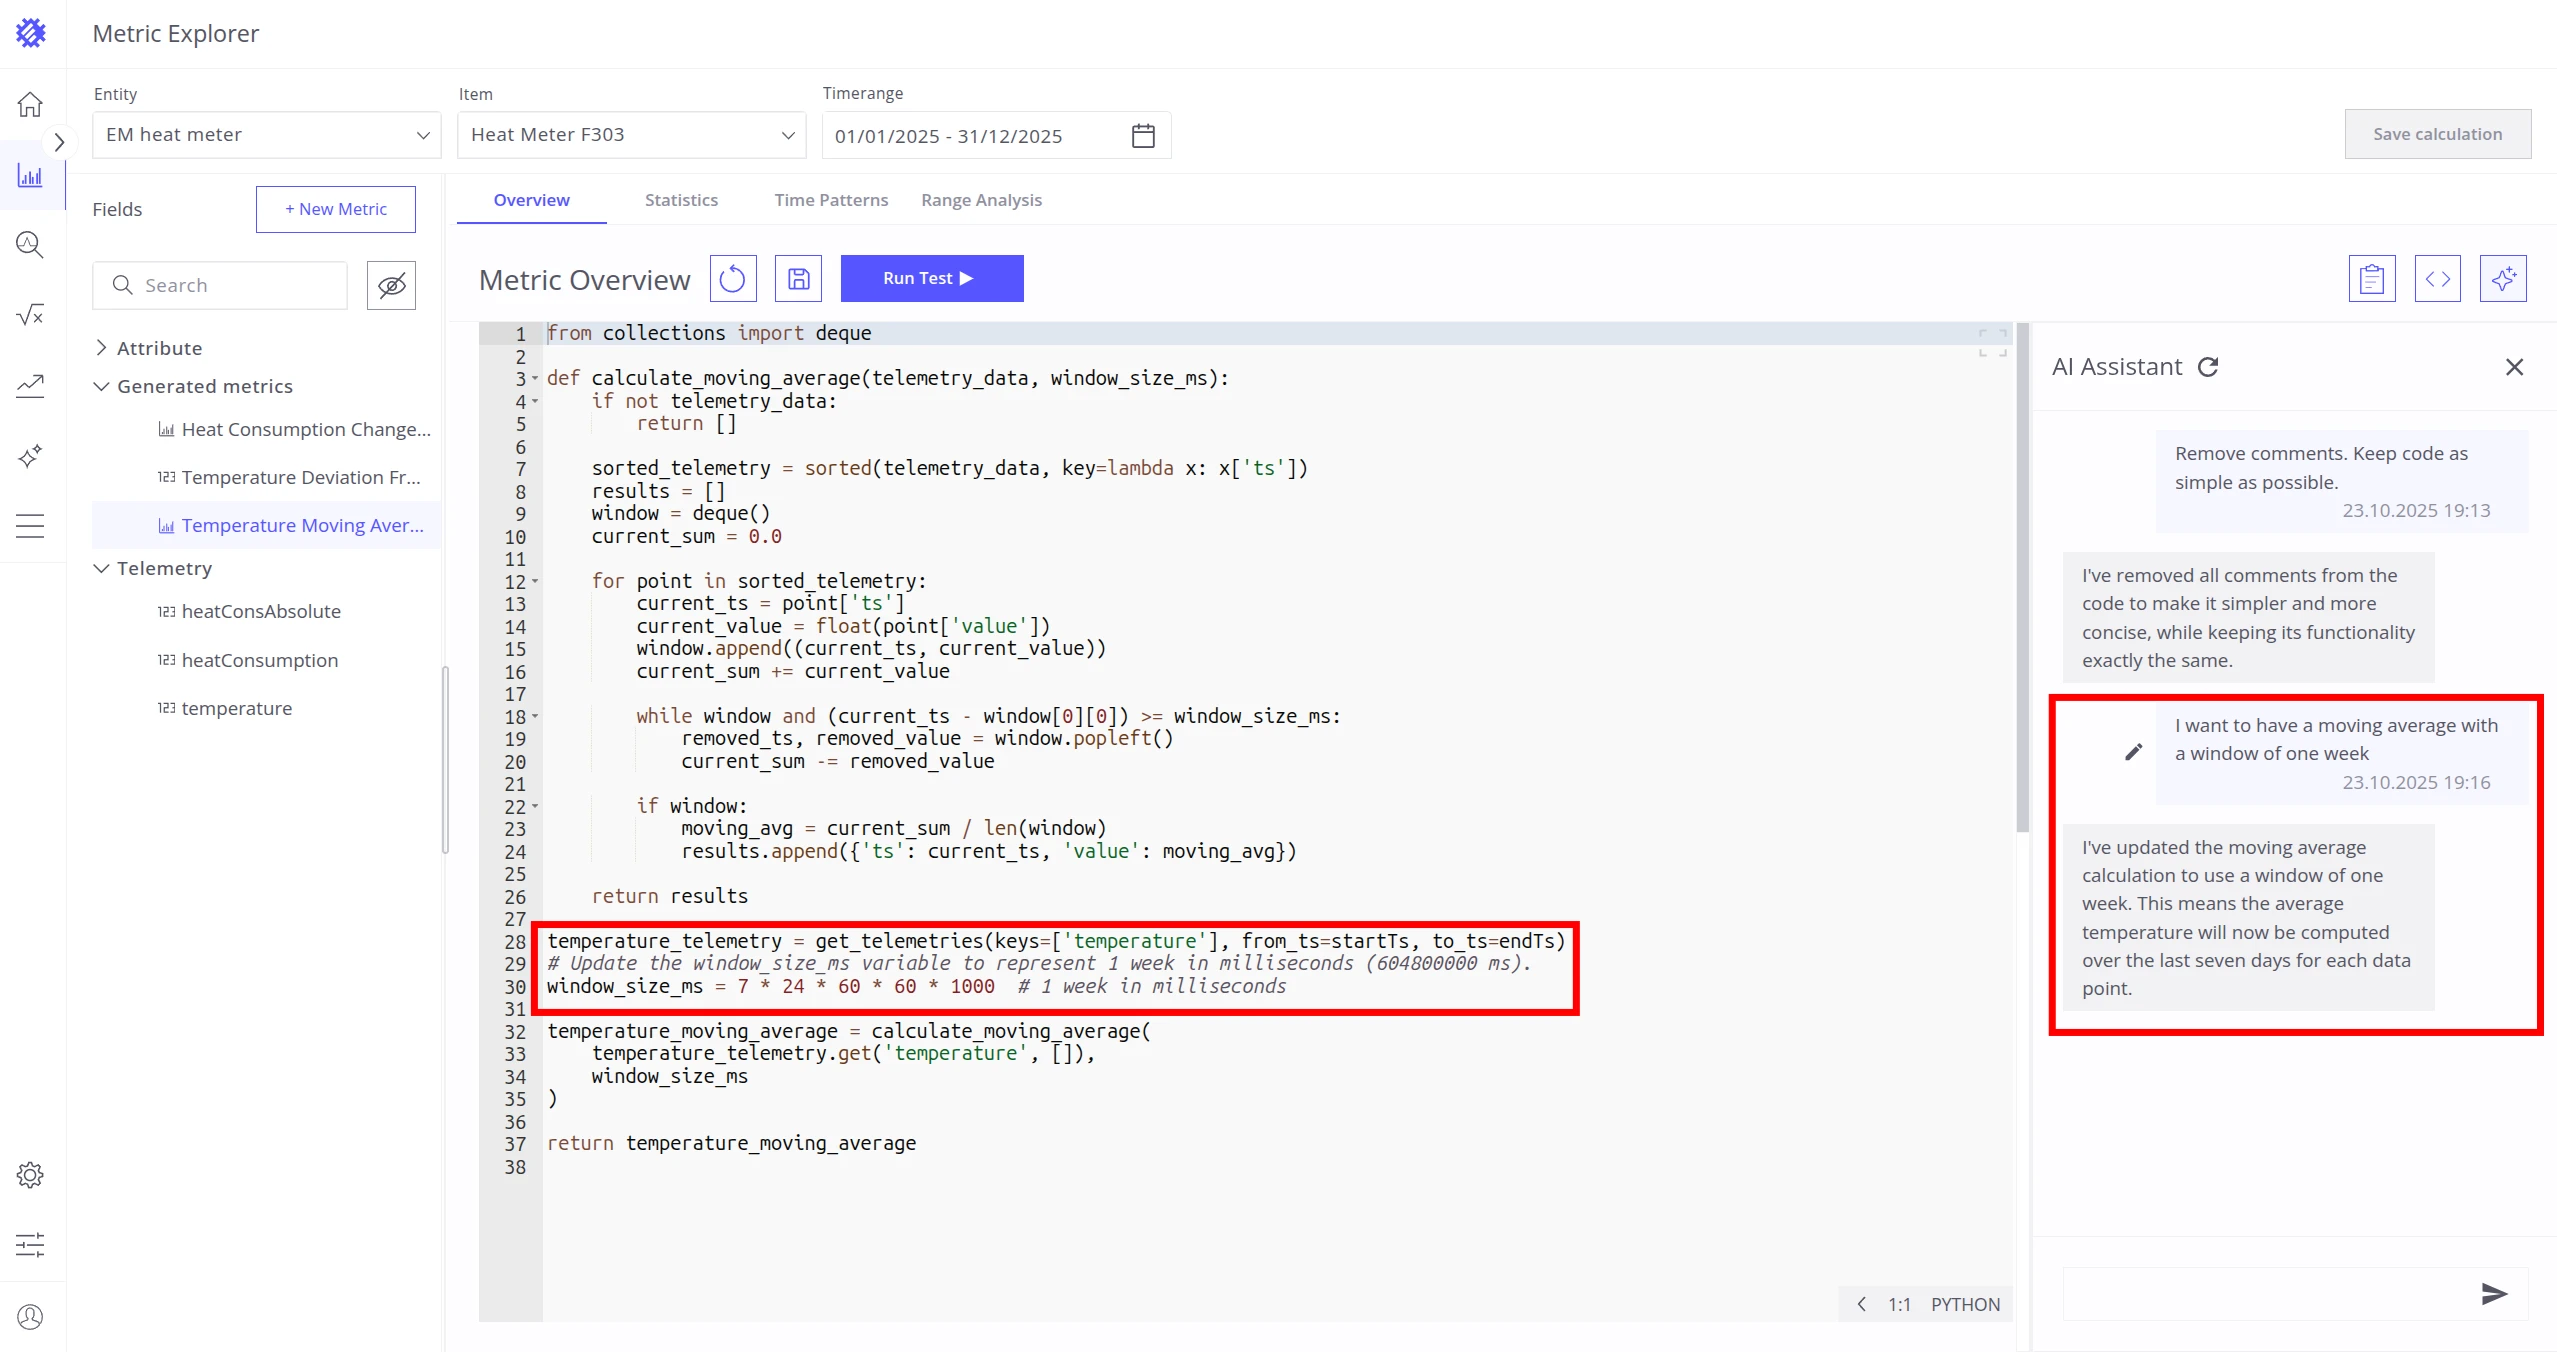
Edit a previous message to rerun it with changes:
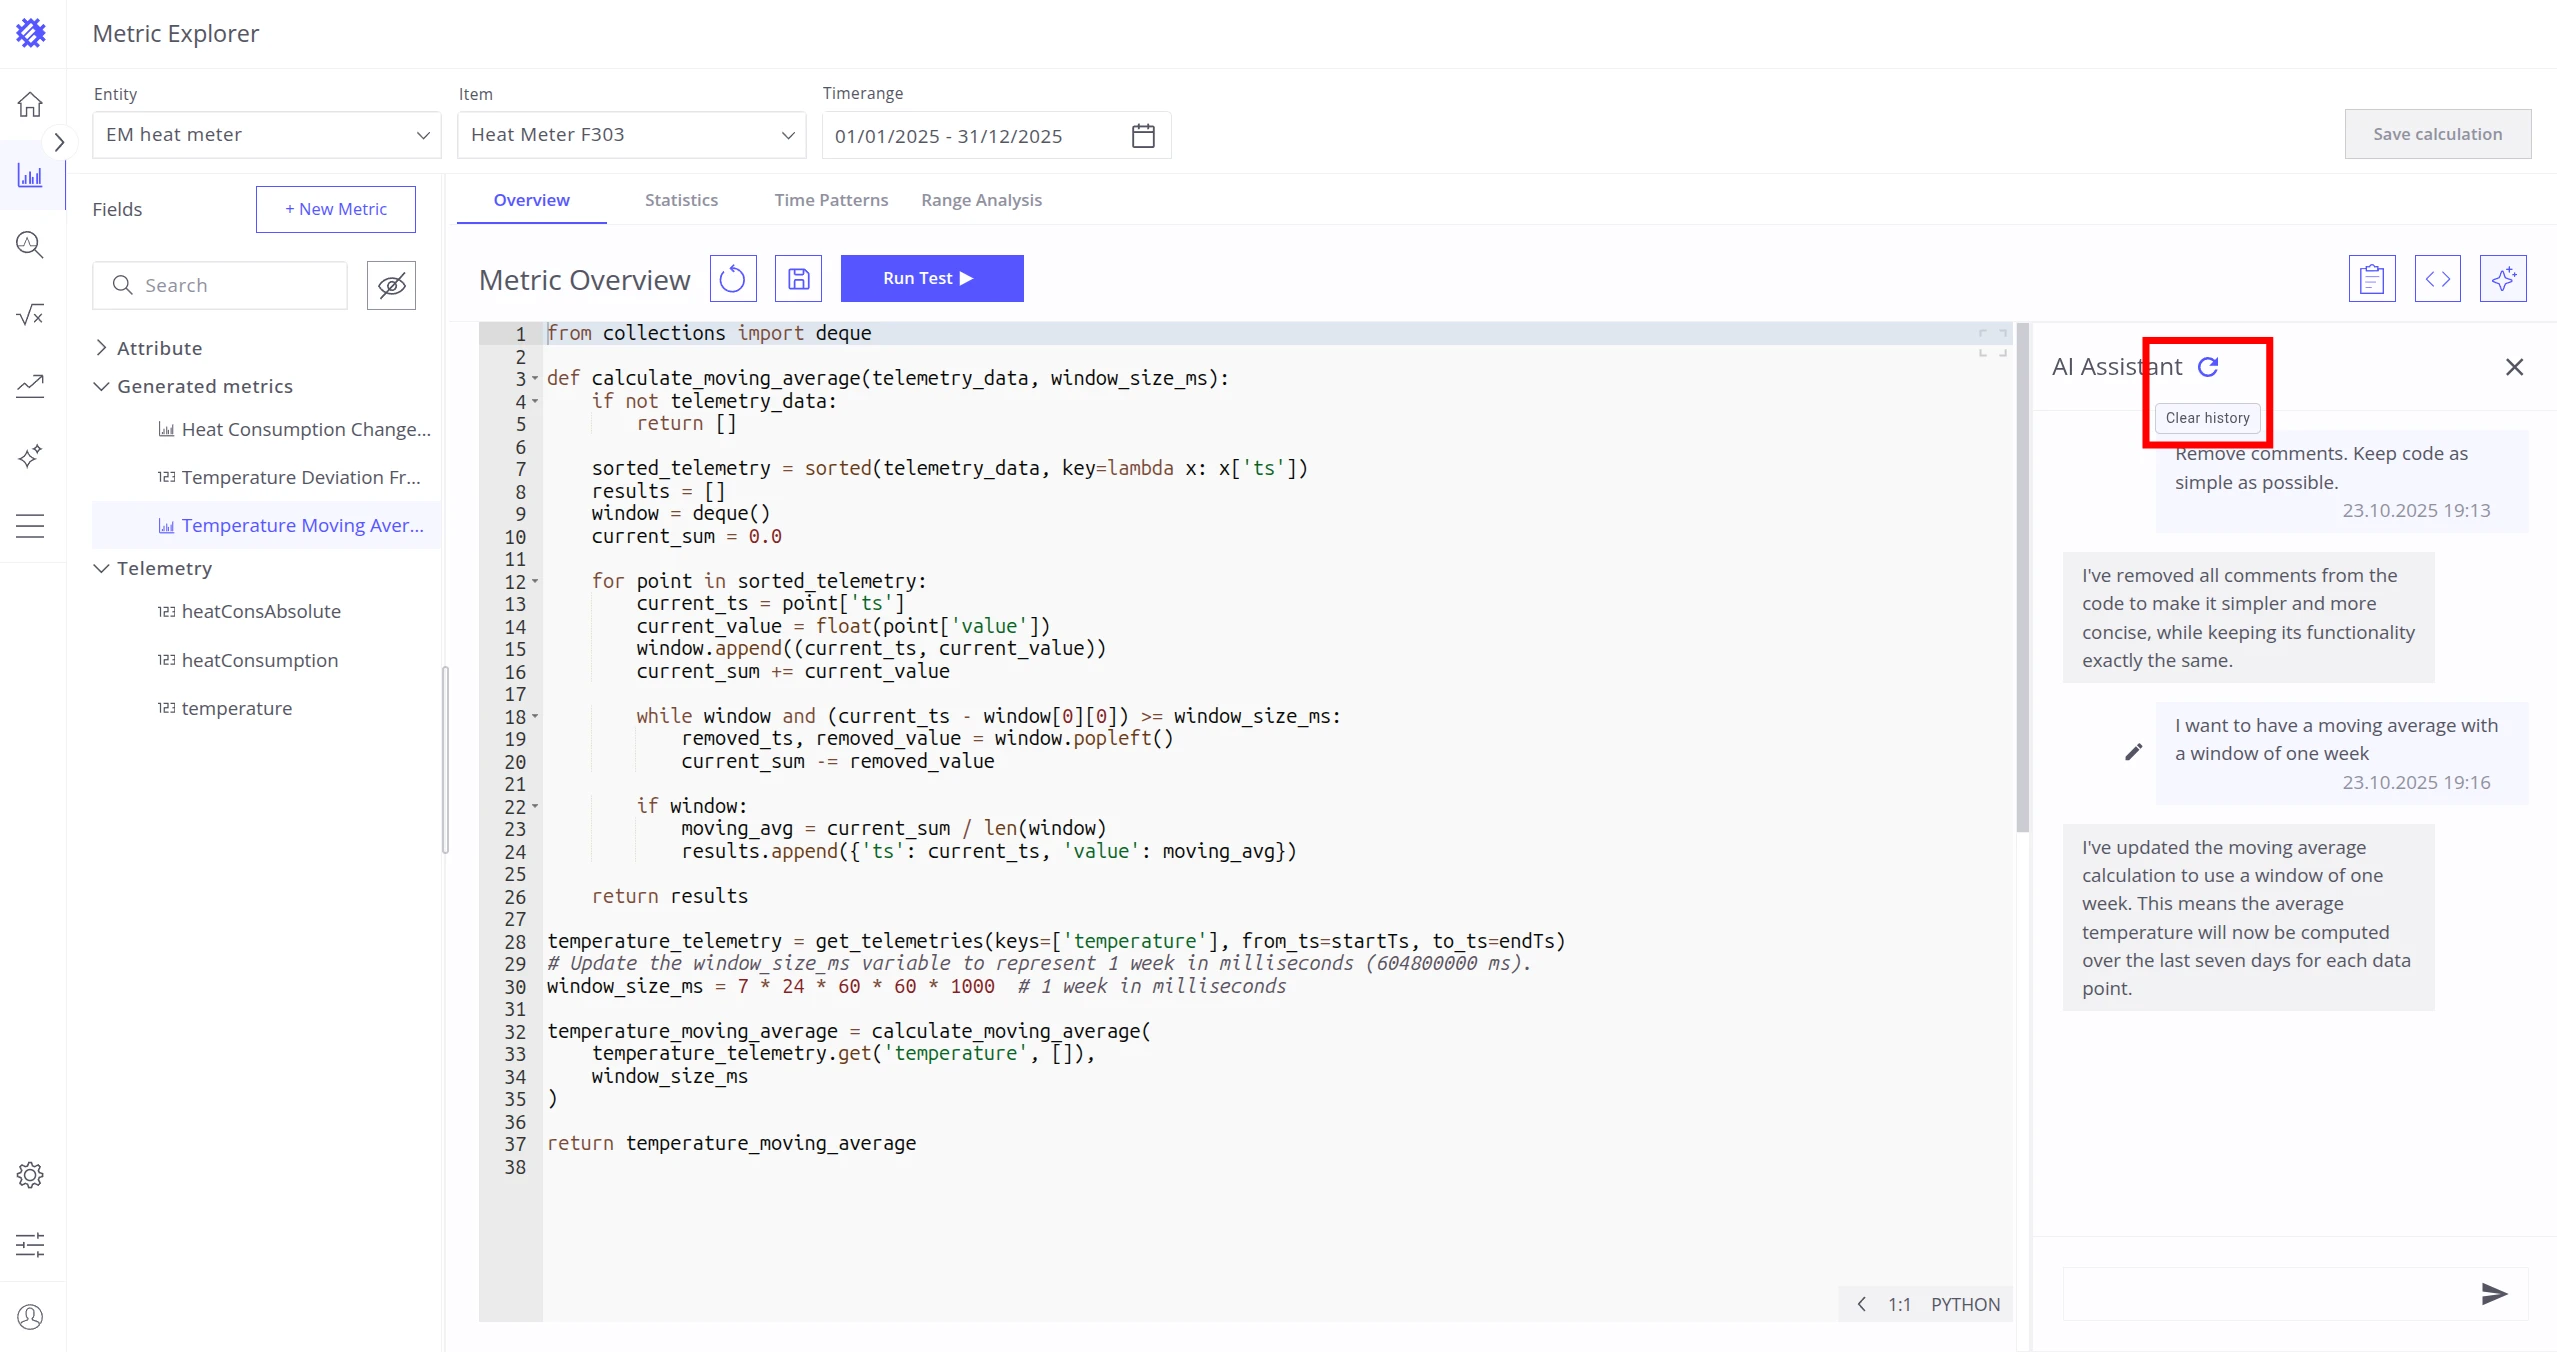
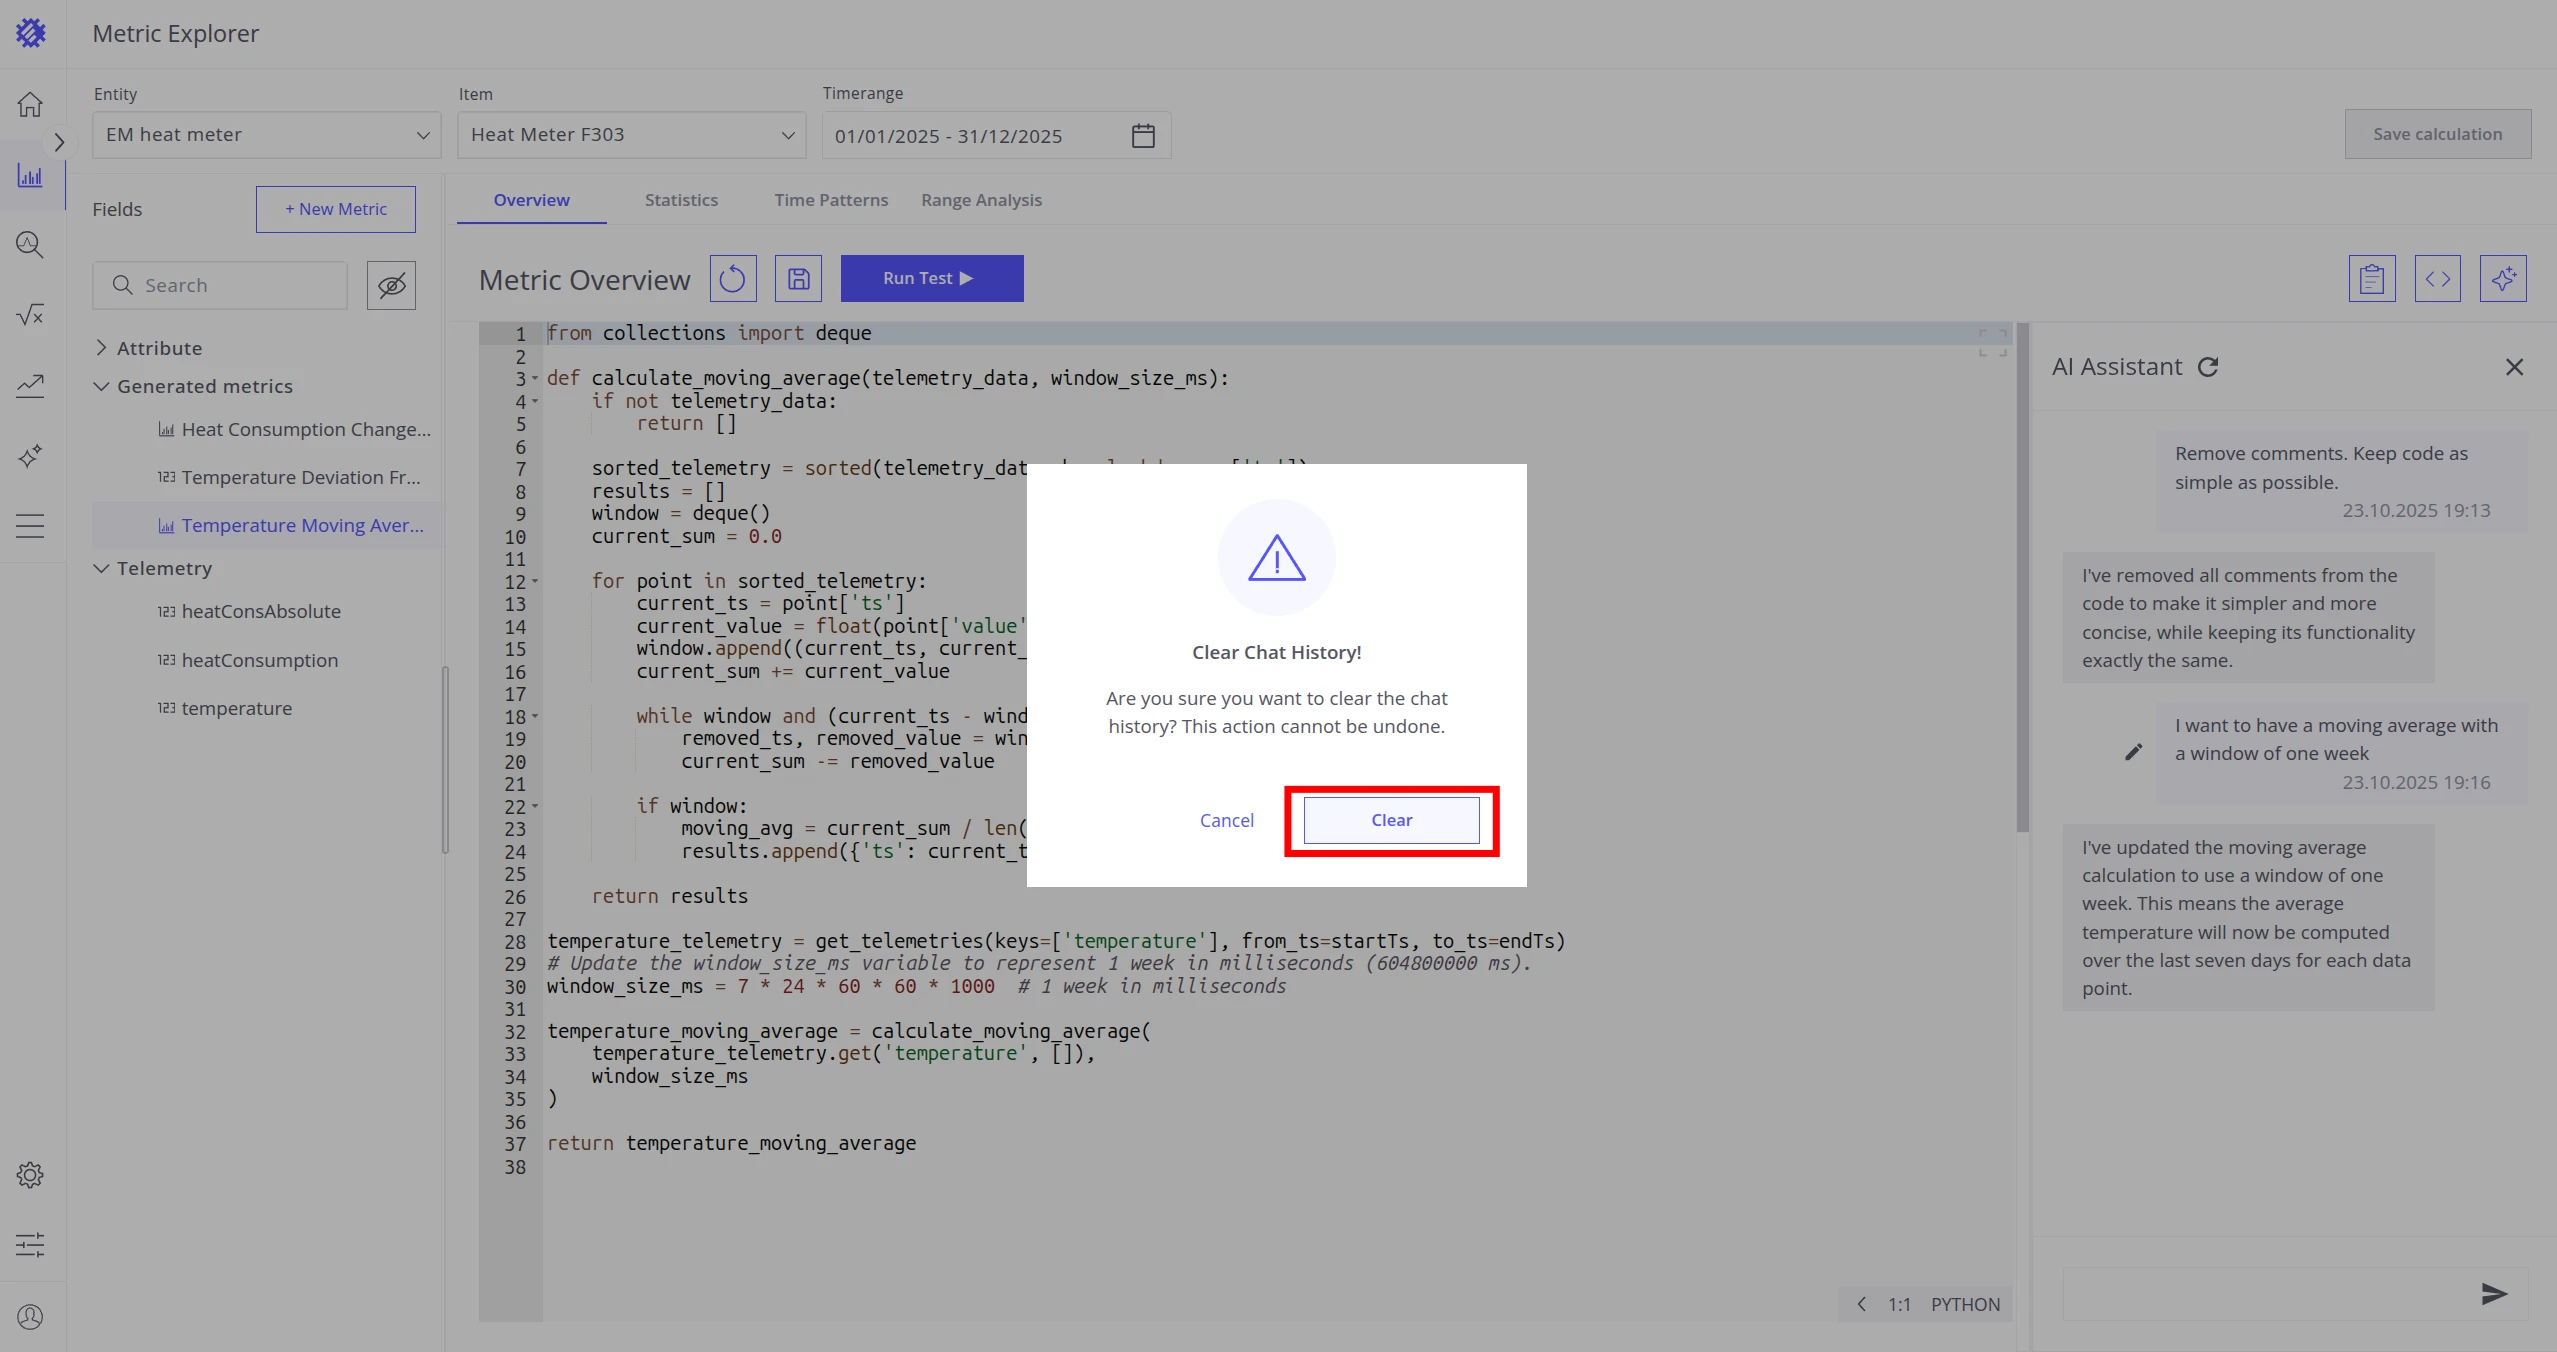
Clear chat history:
Save as Calculation Field
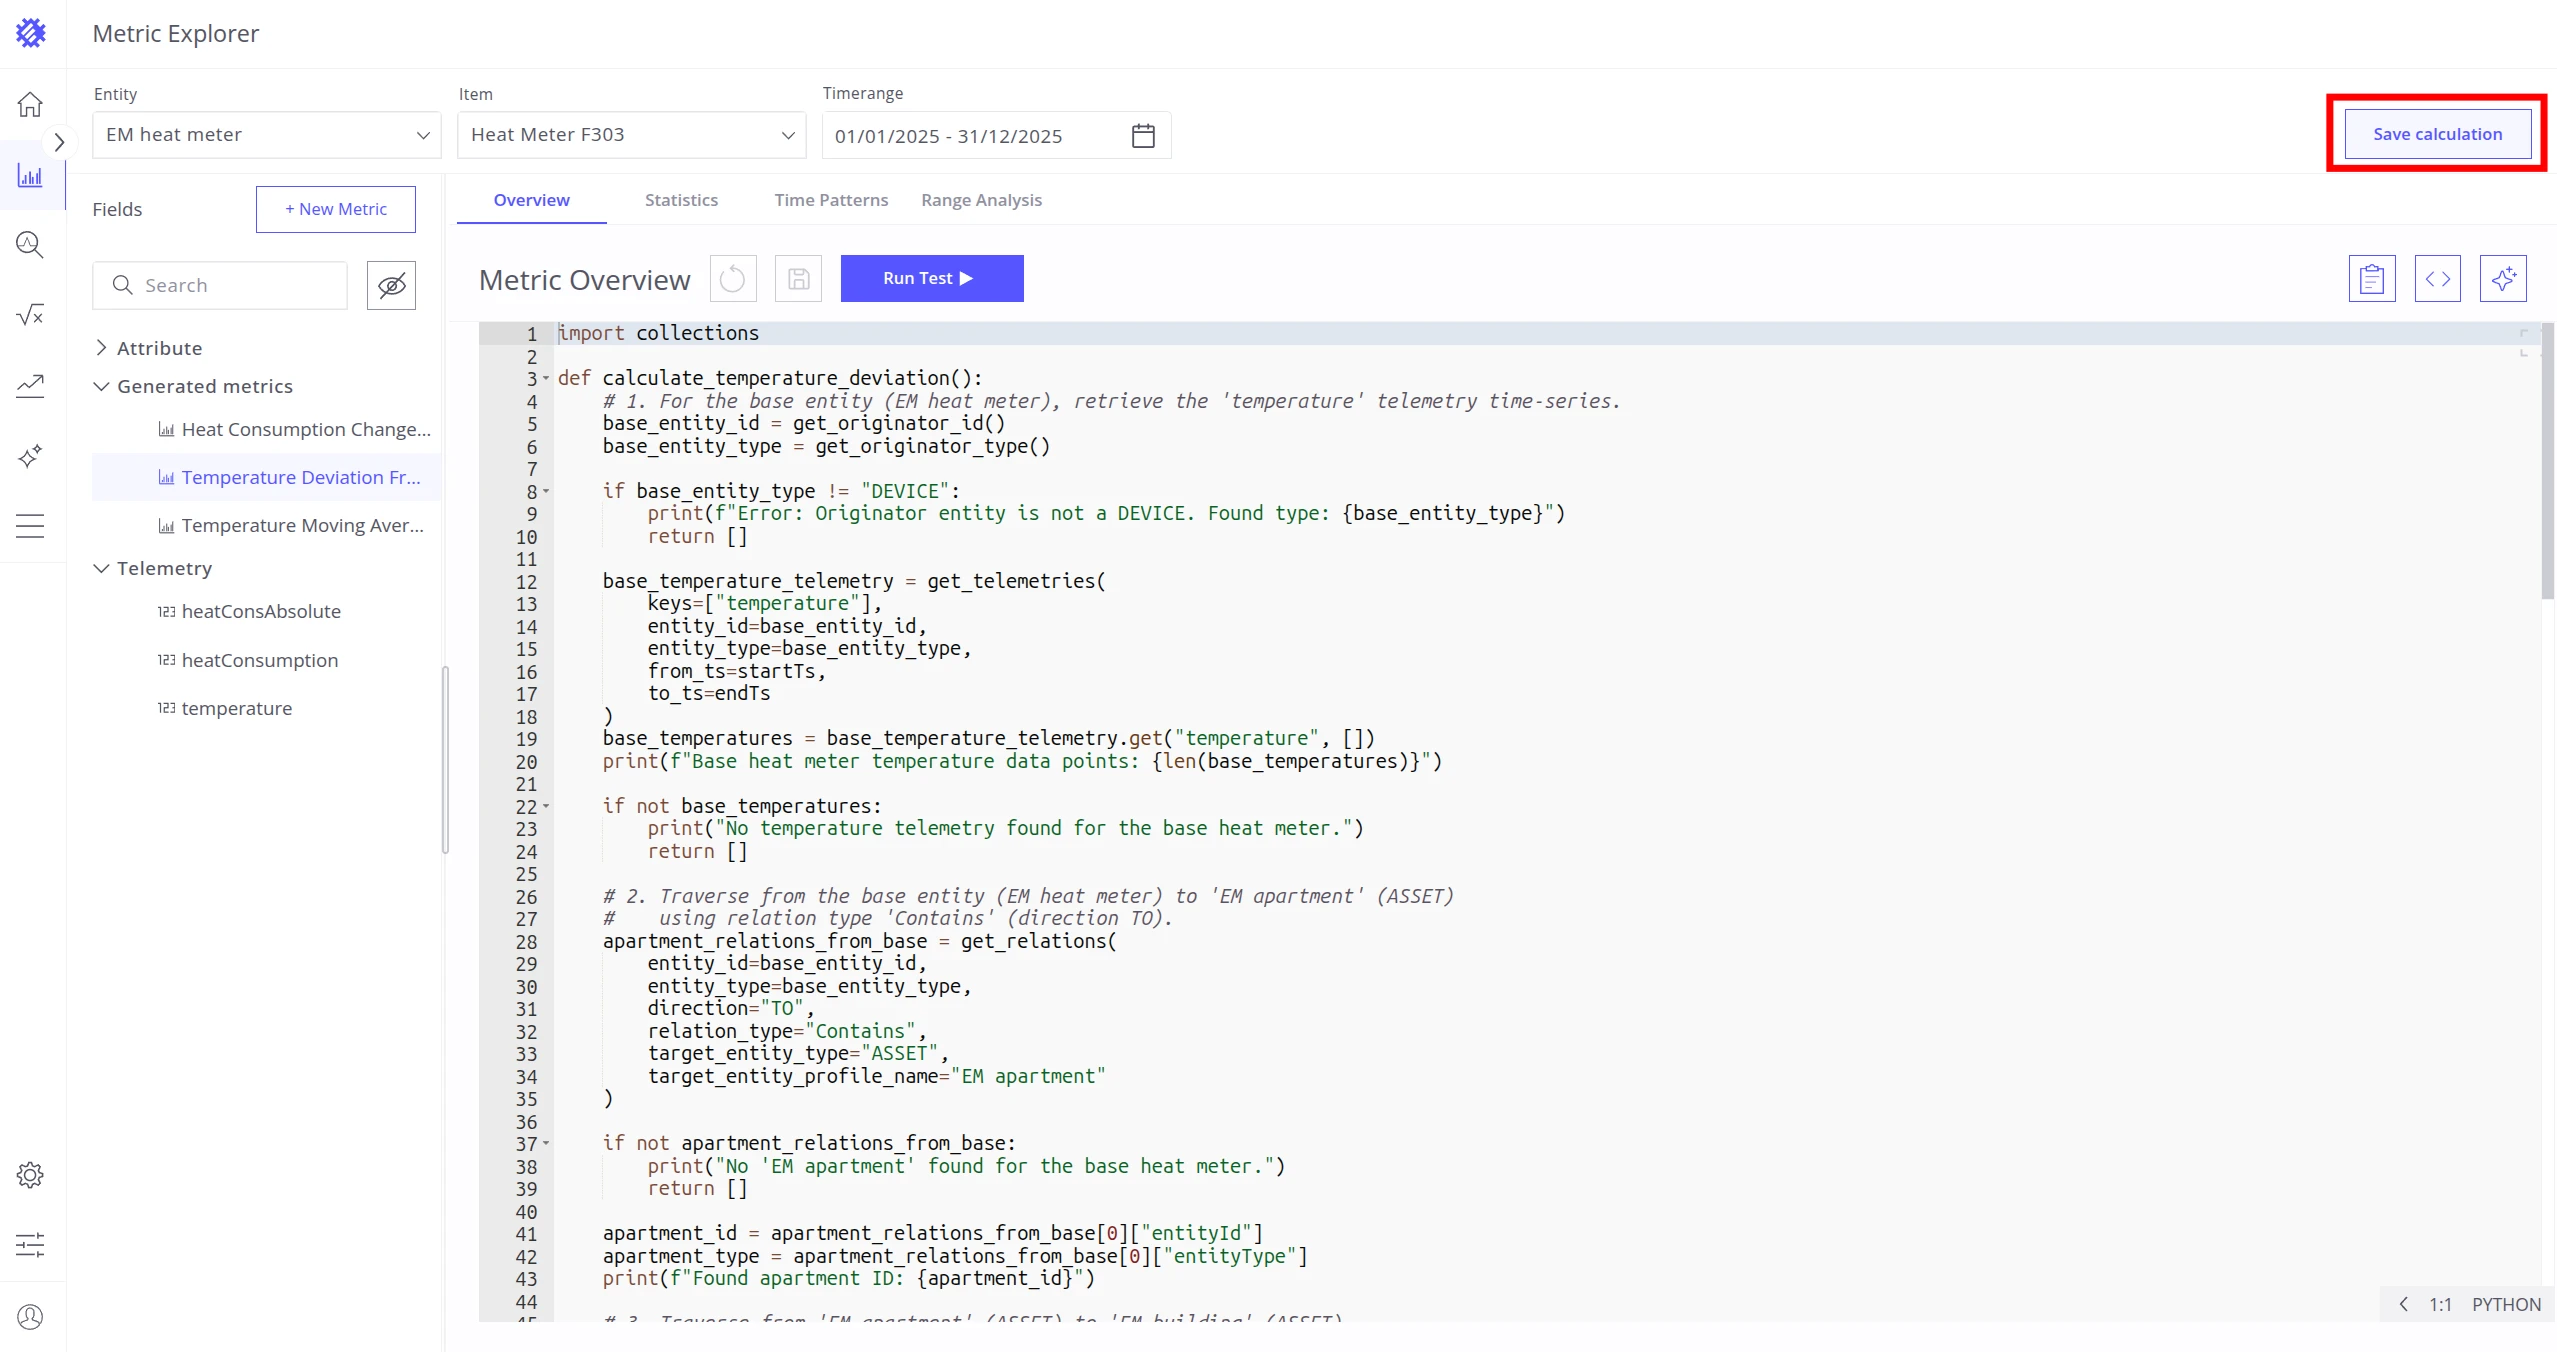
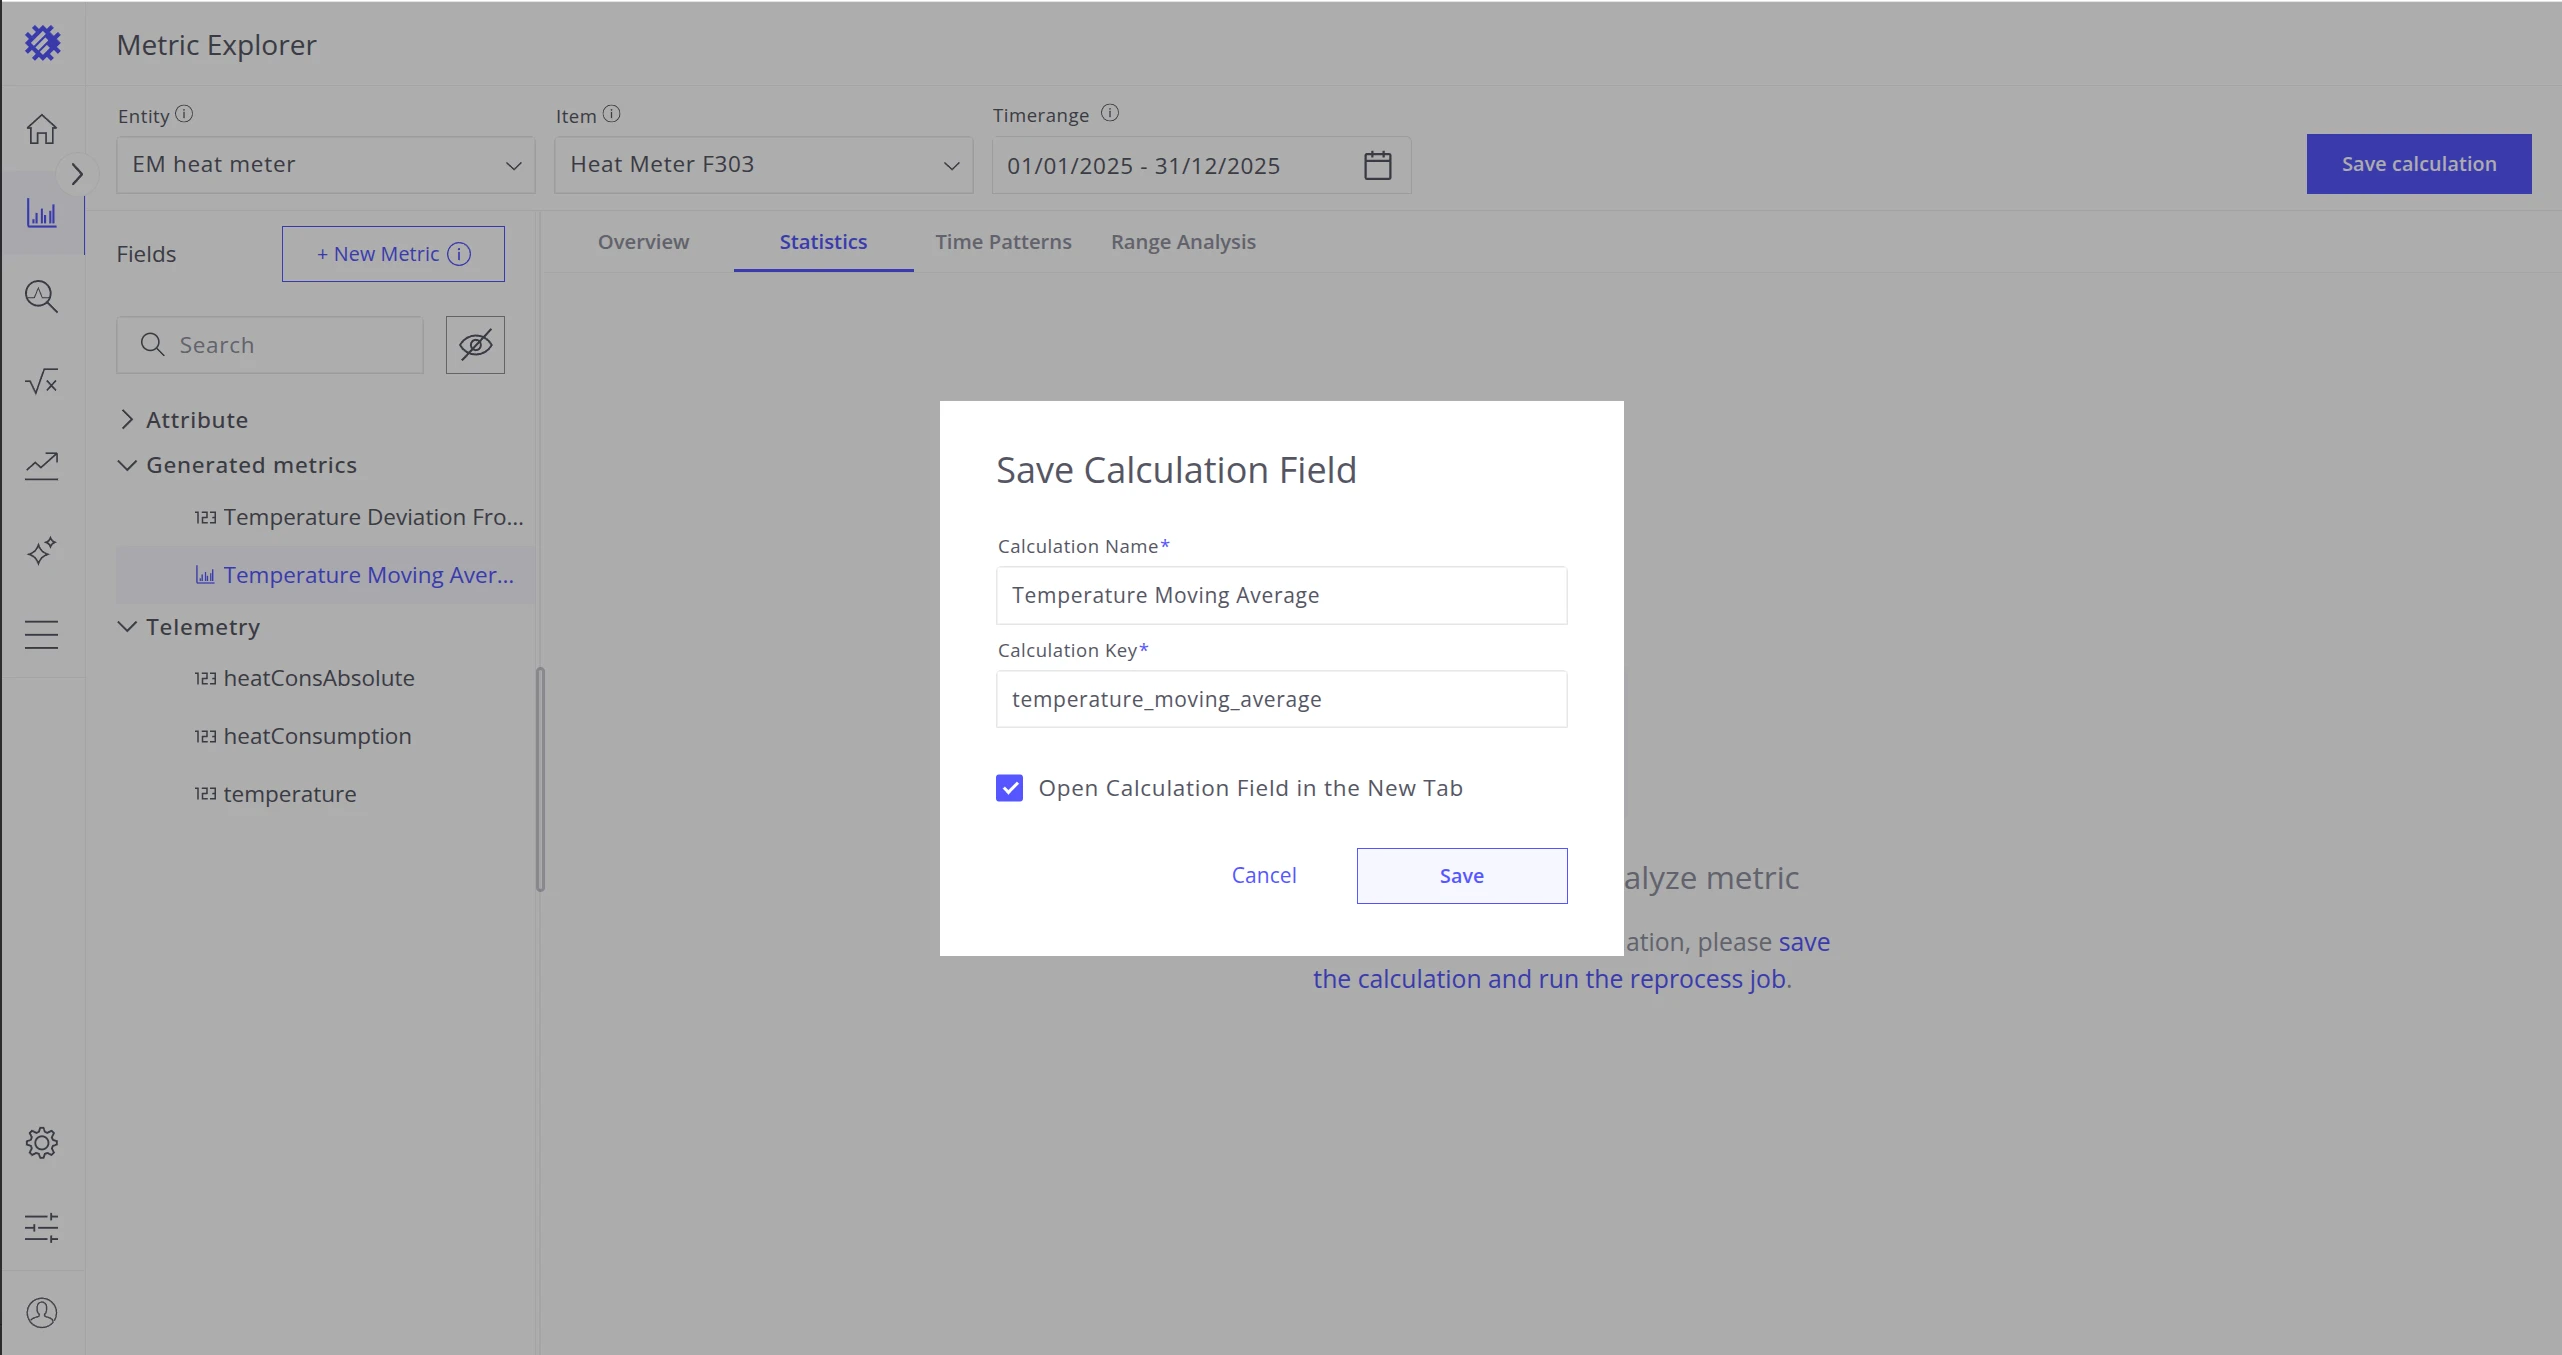
Section titled “Save as Calculation Field”To use the metric in Trendz views and ThingsBoard, save it as a Native Calculation Field:
-
Click Save Calculation.
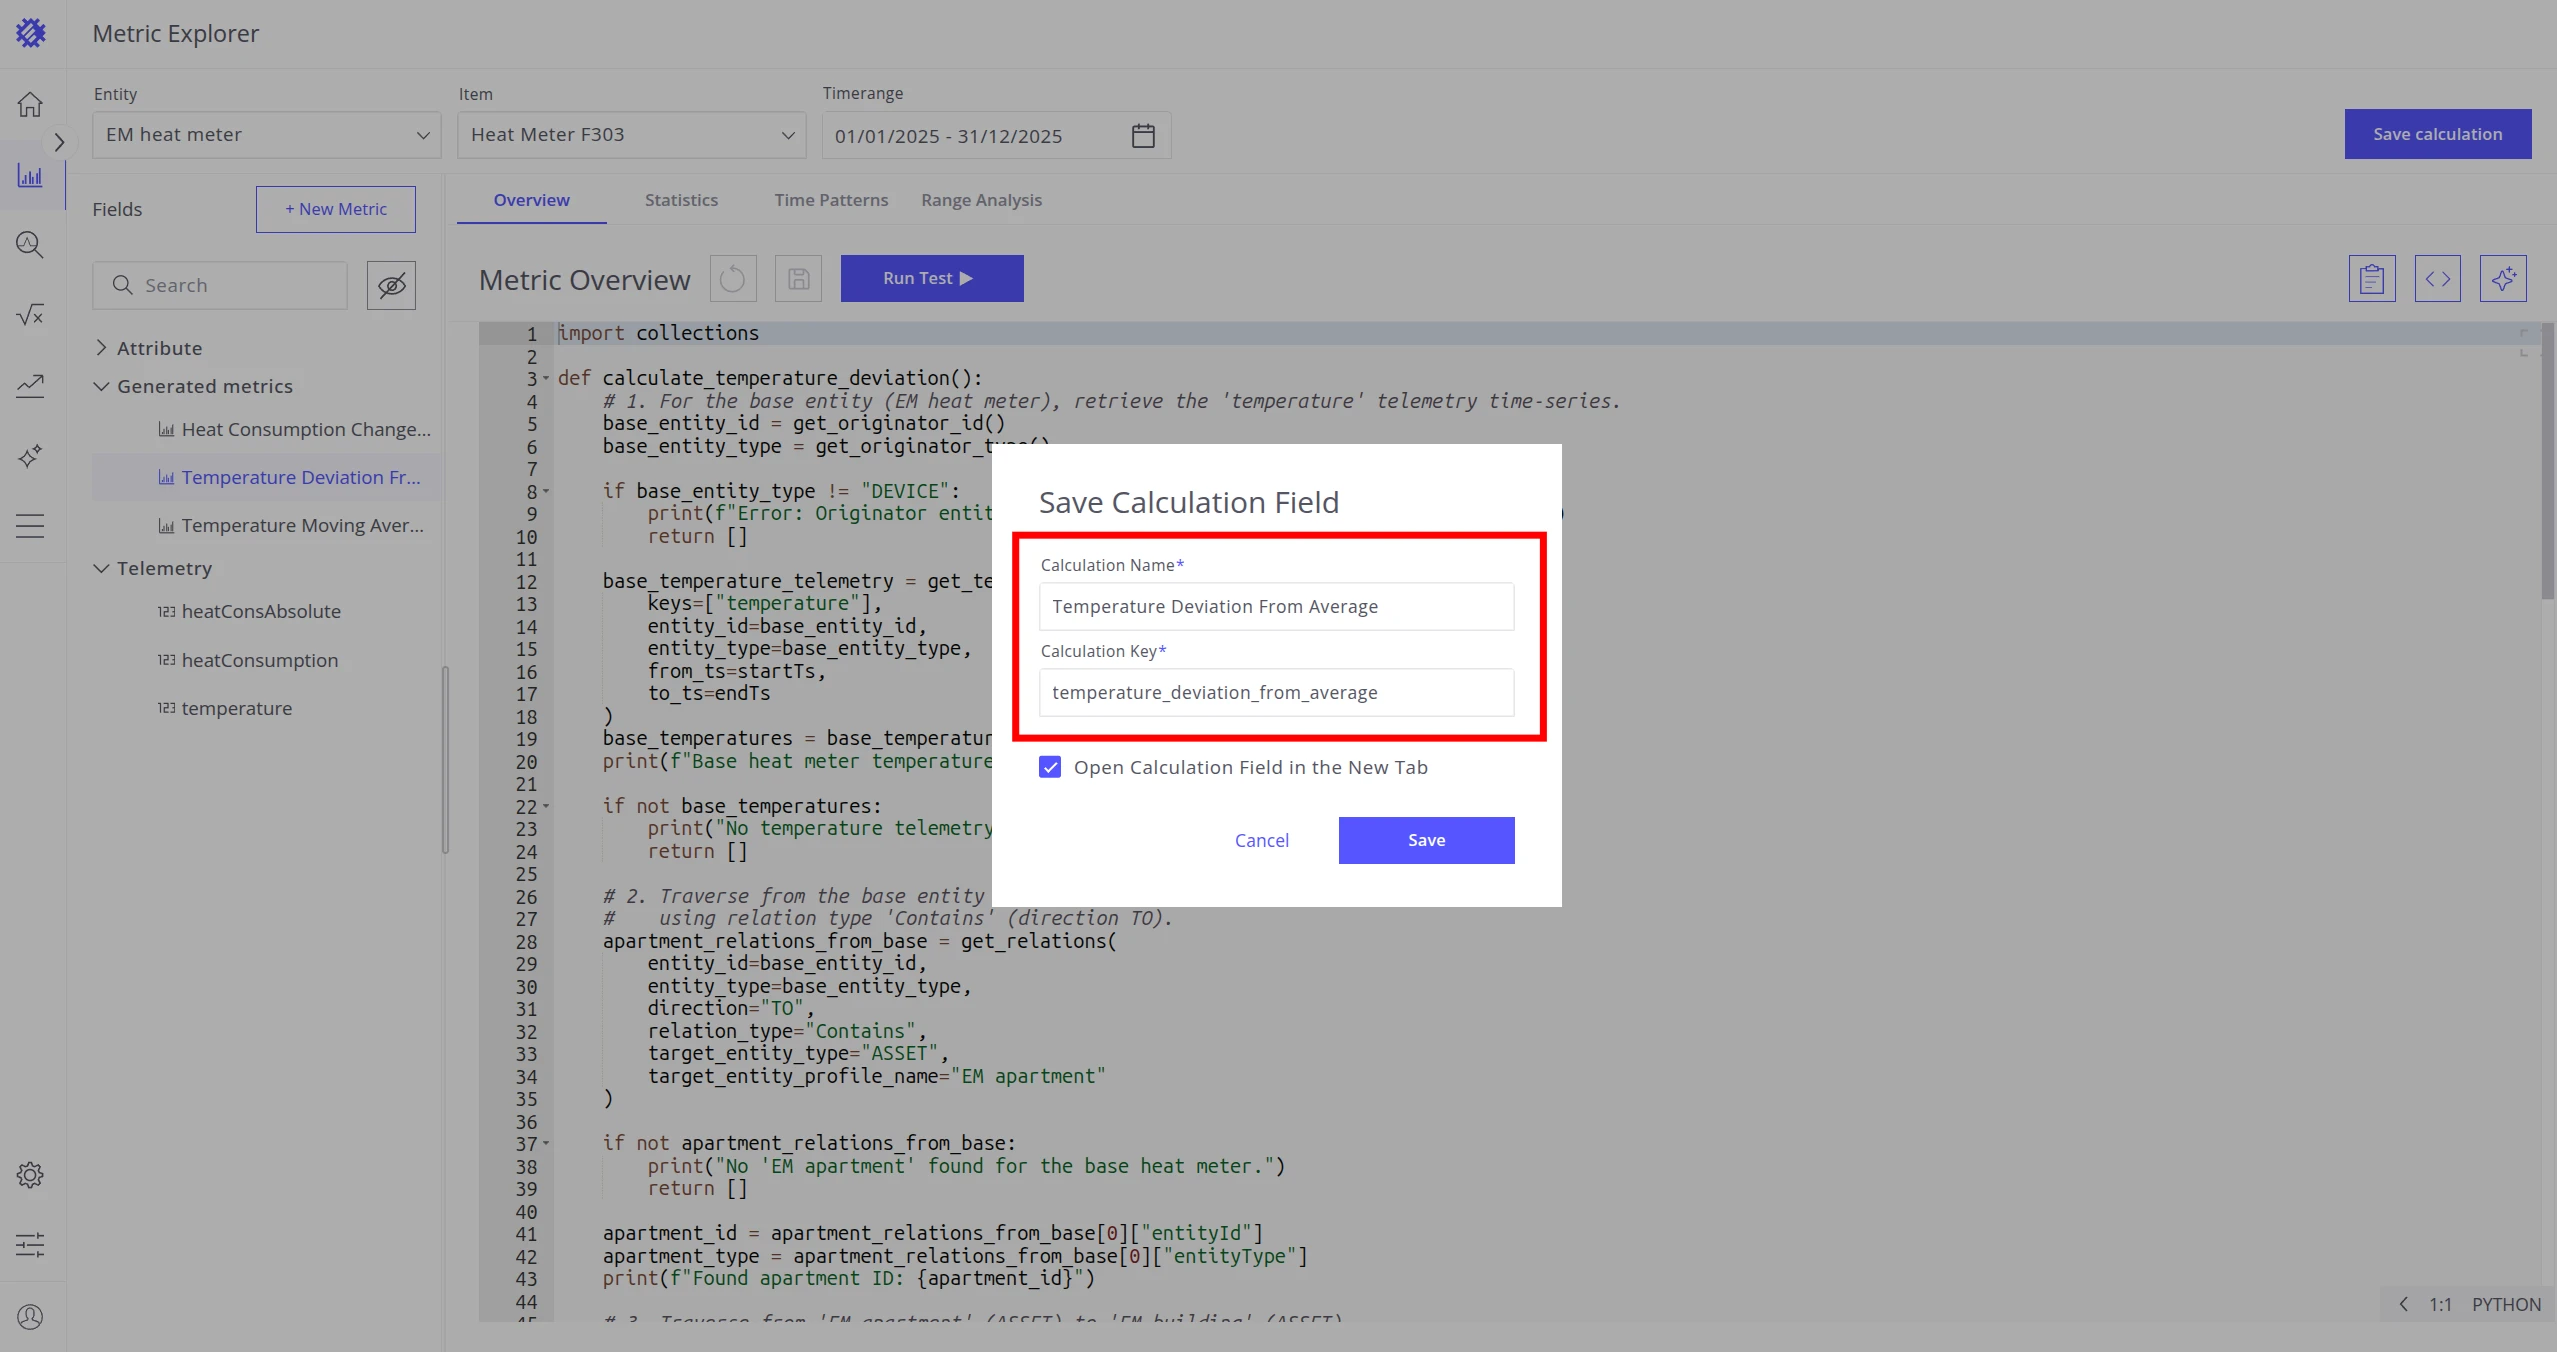
-
Enter the Calculation Name (label shown in Trendz) and Calculation Key (key used in ThingsBoard).
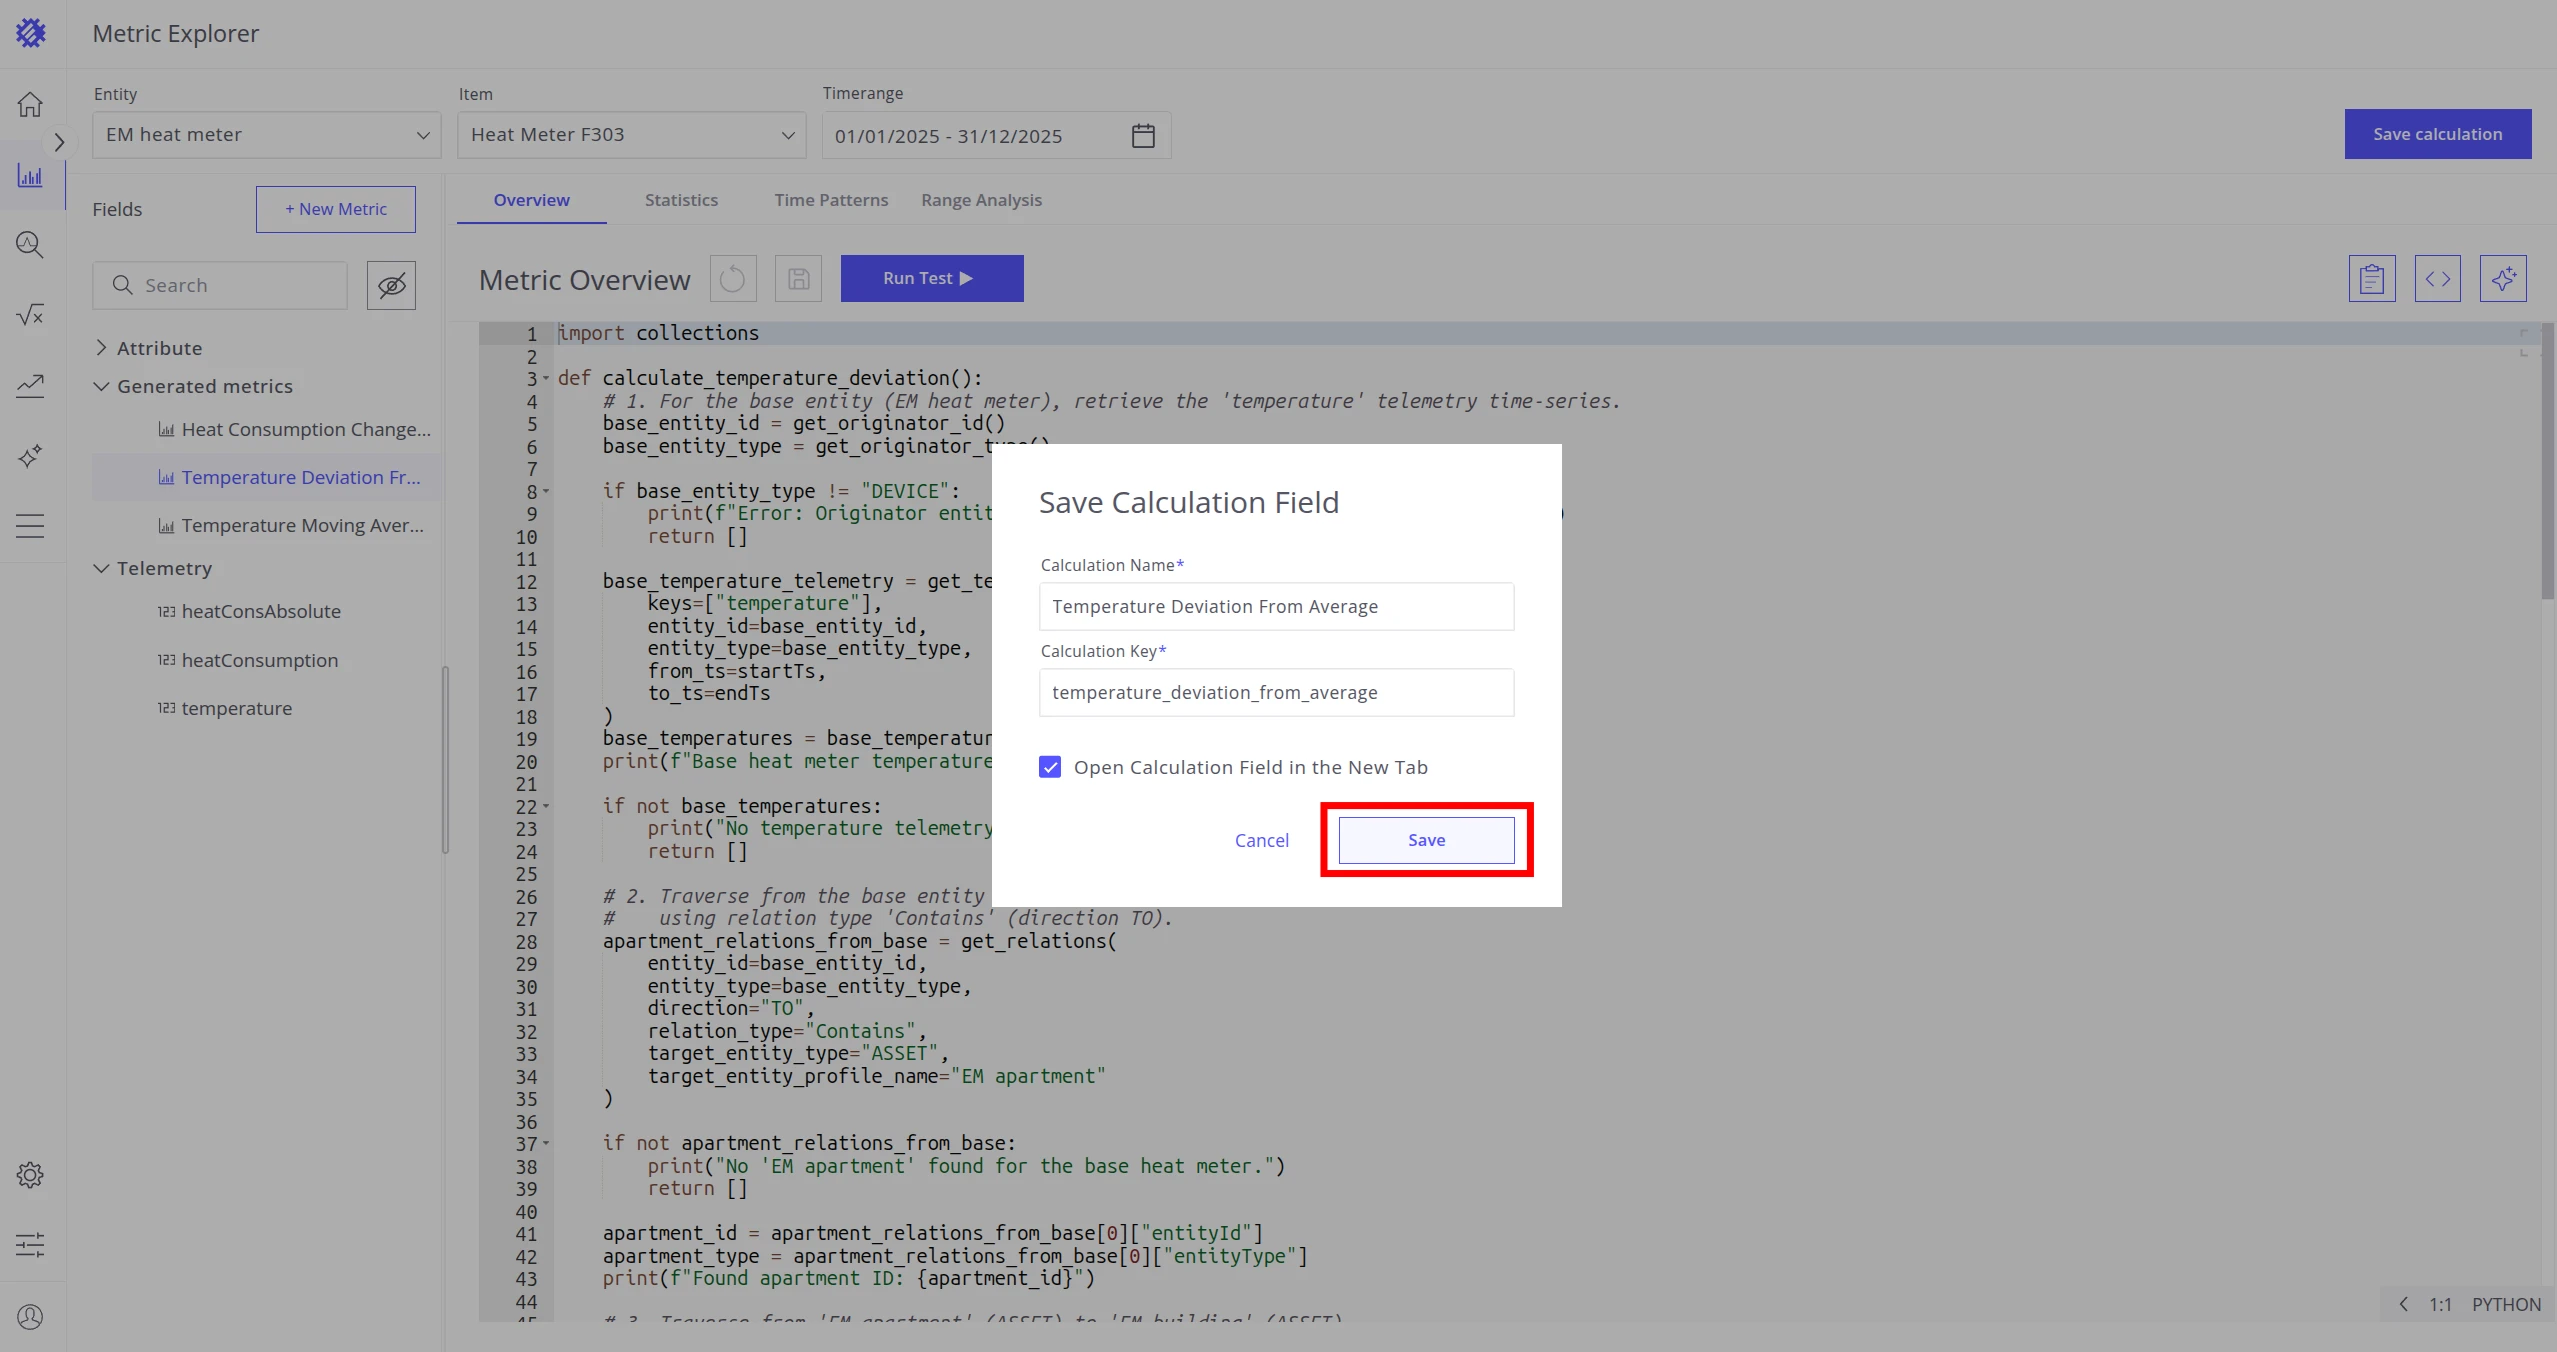
-
Click Save.
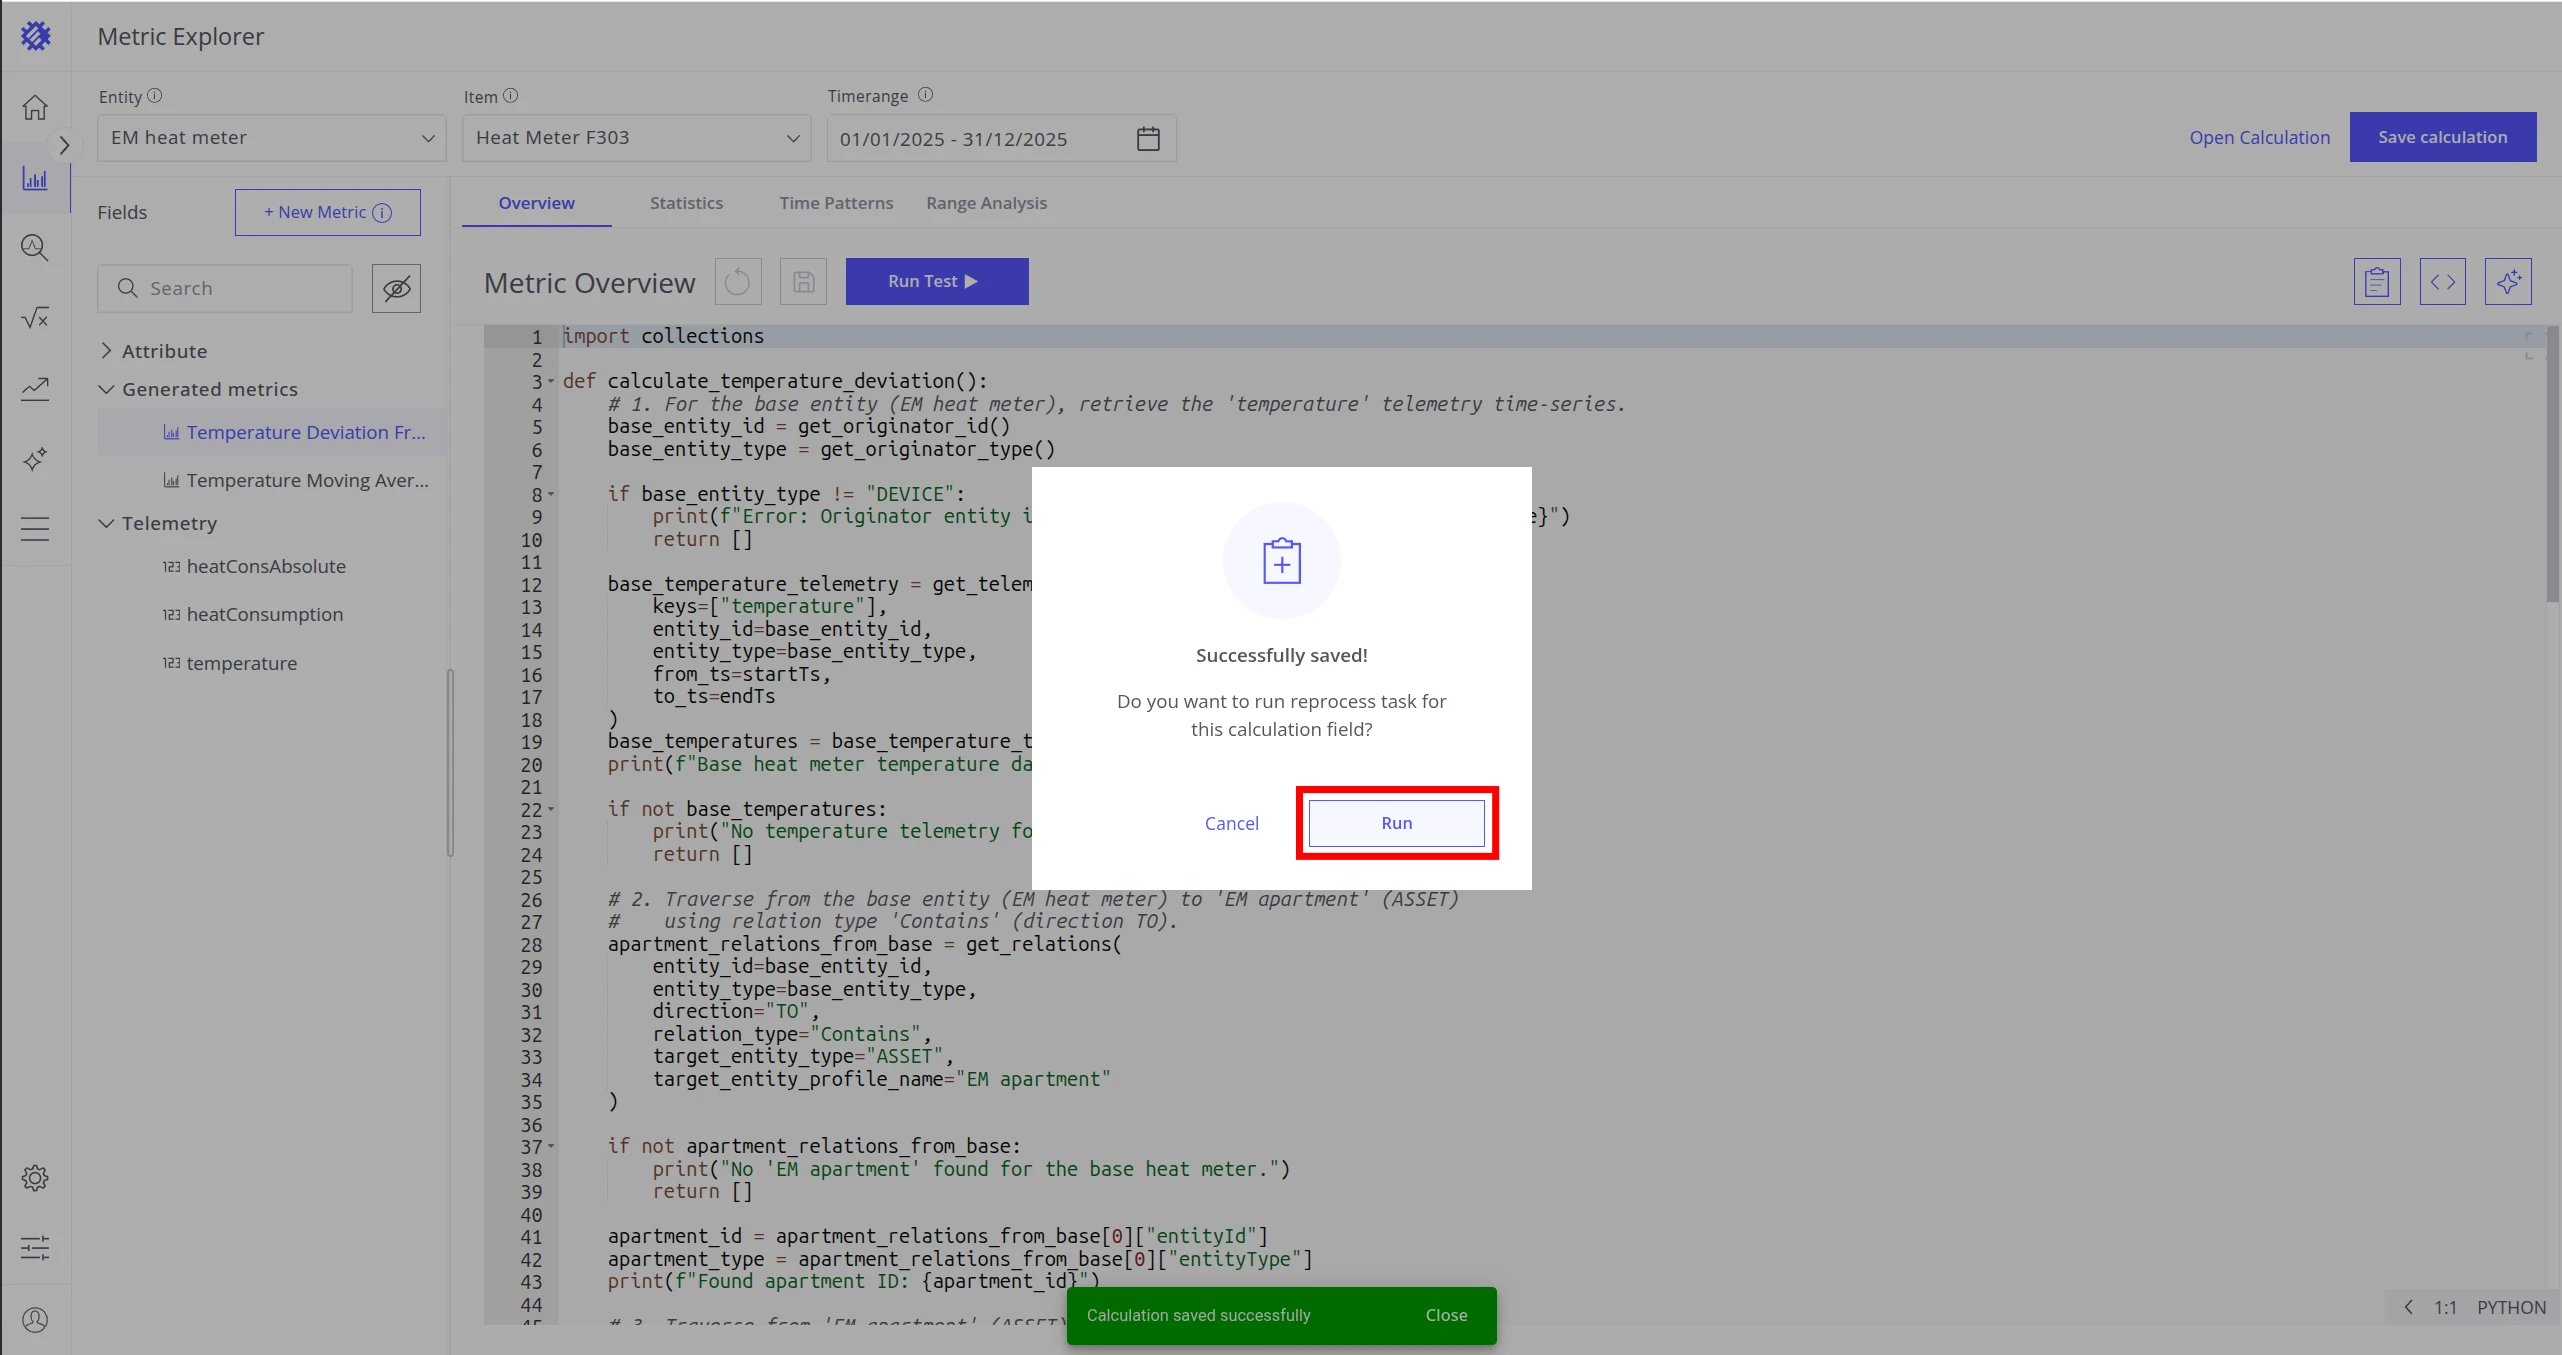
The Calculation Field is now saved in Trendz but has no telemetry points in ThingsBoard yet.
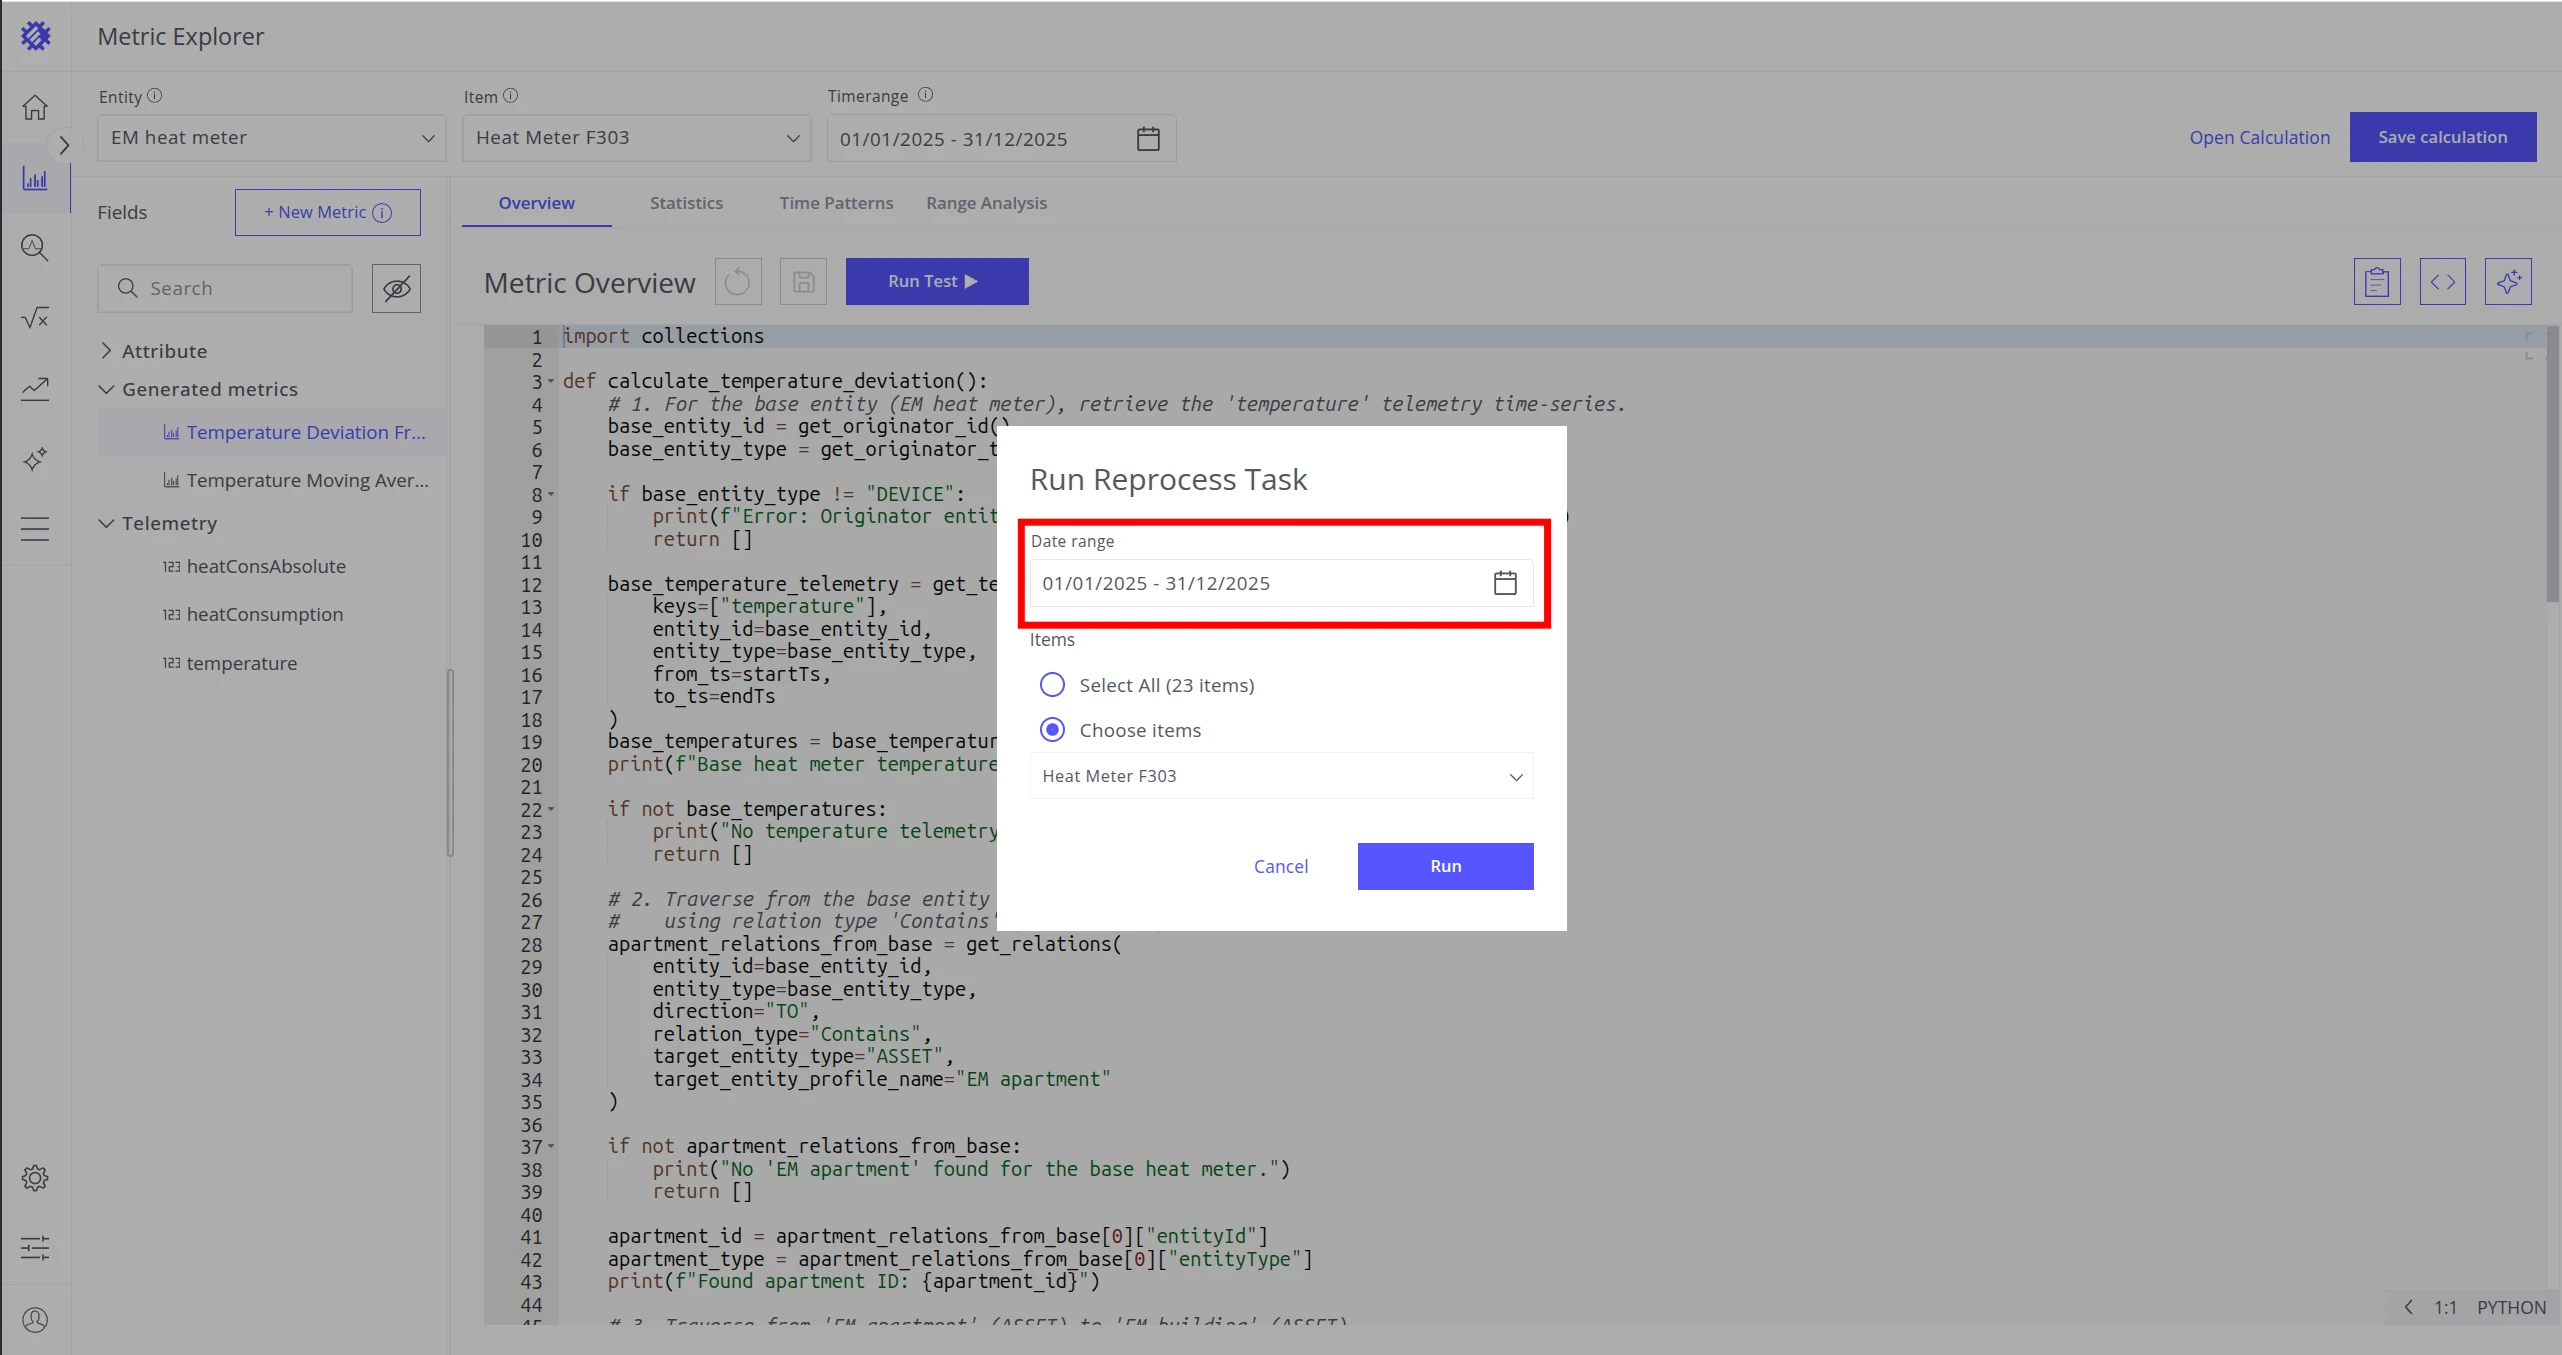
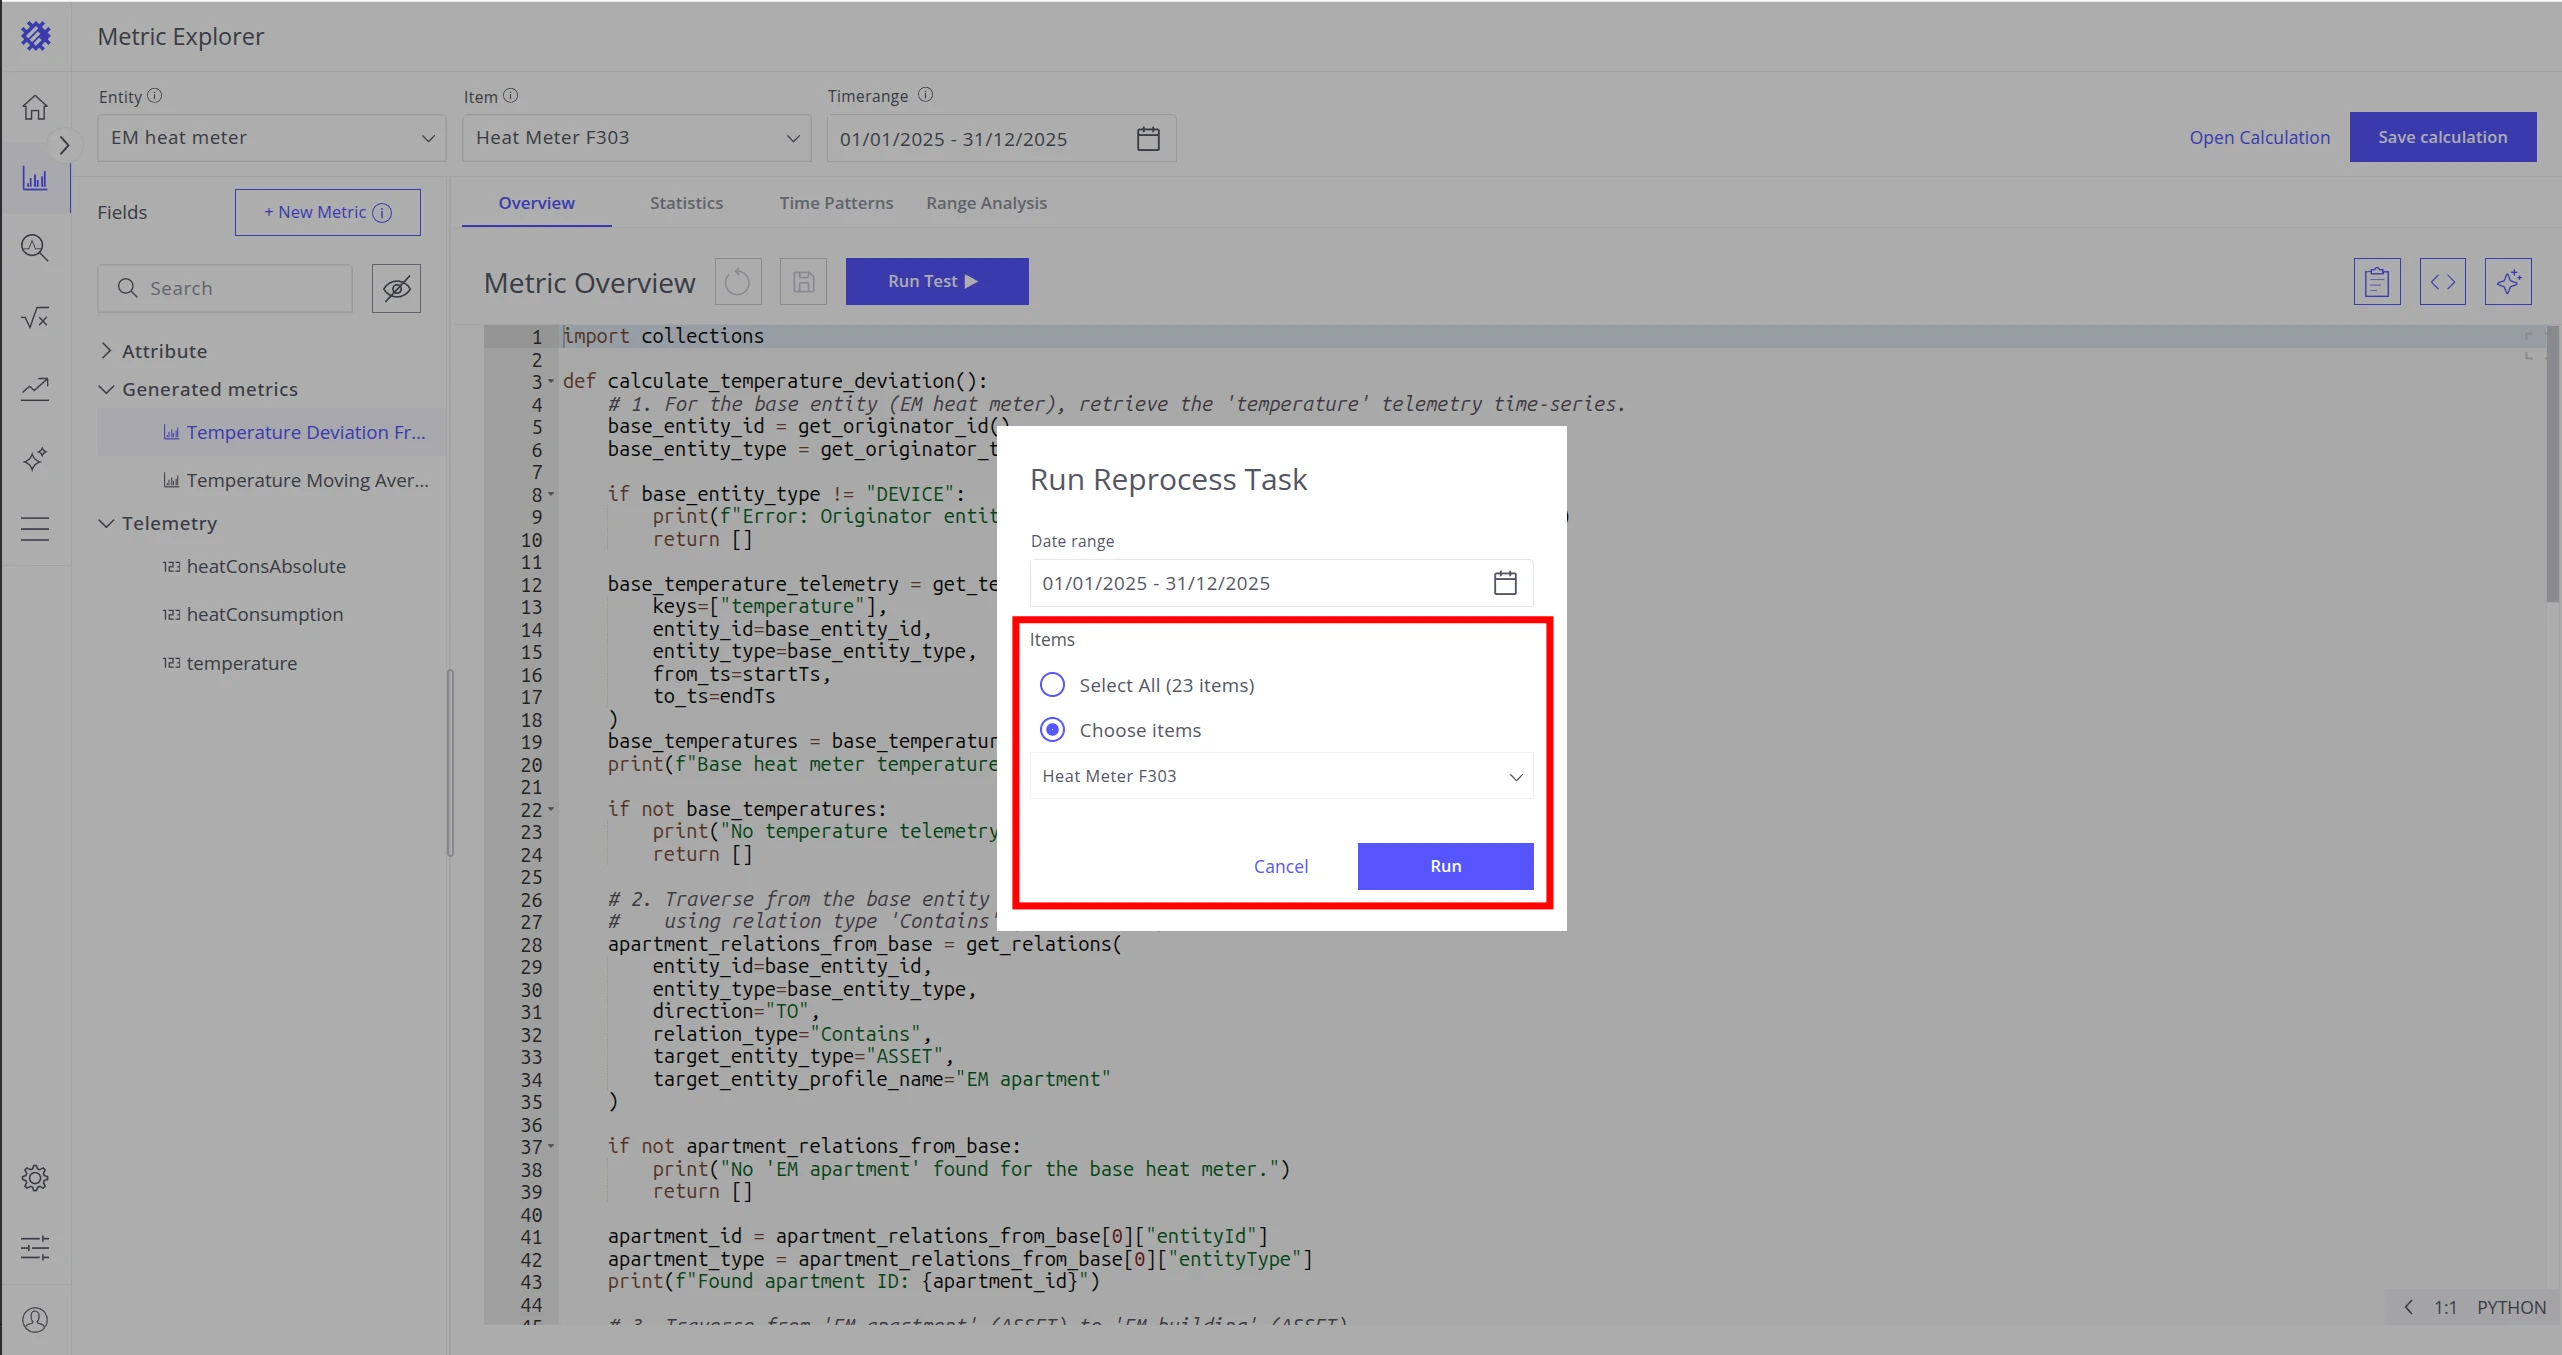
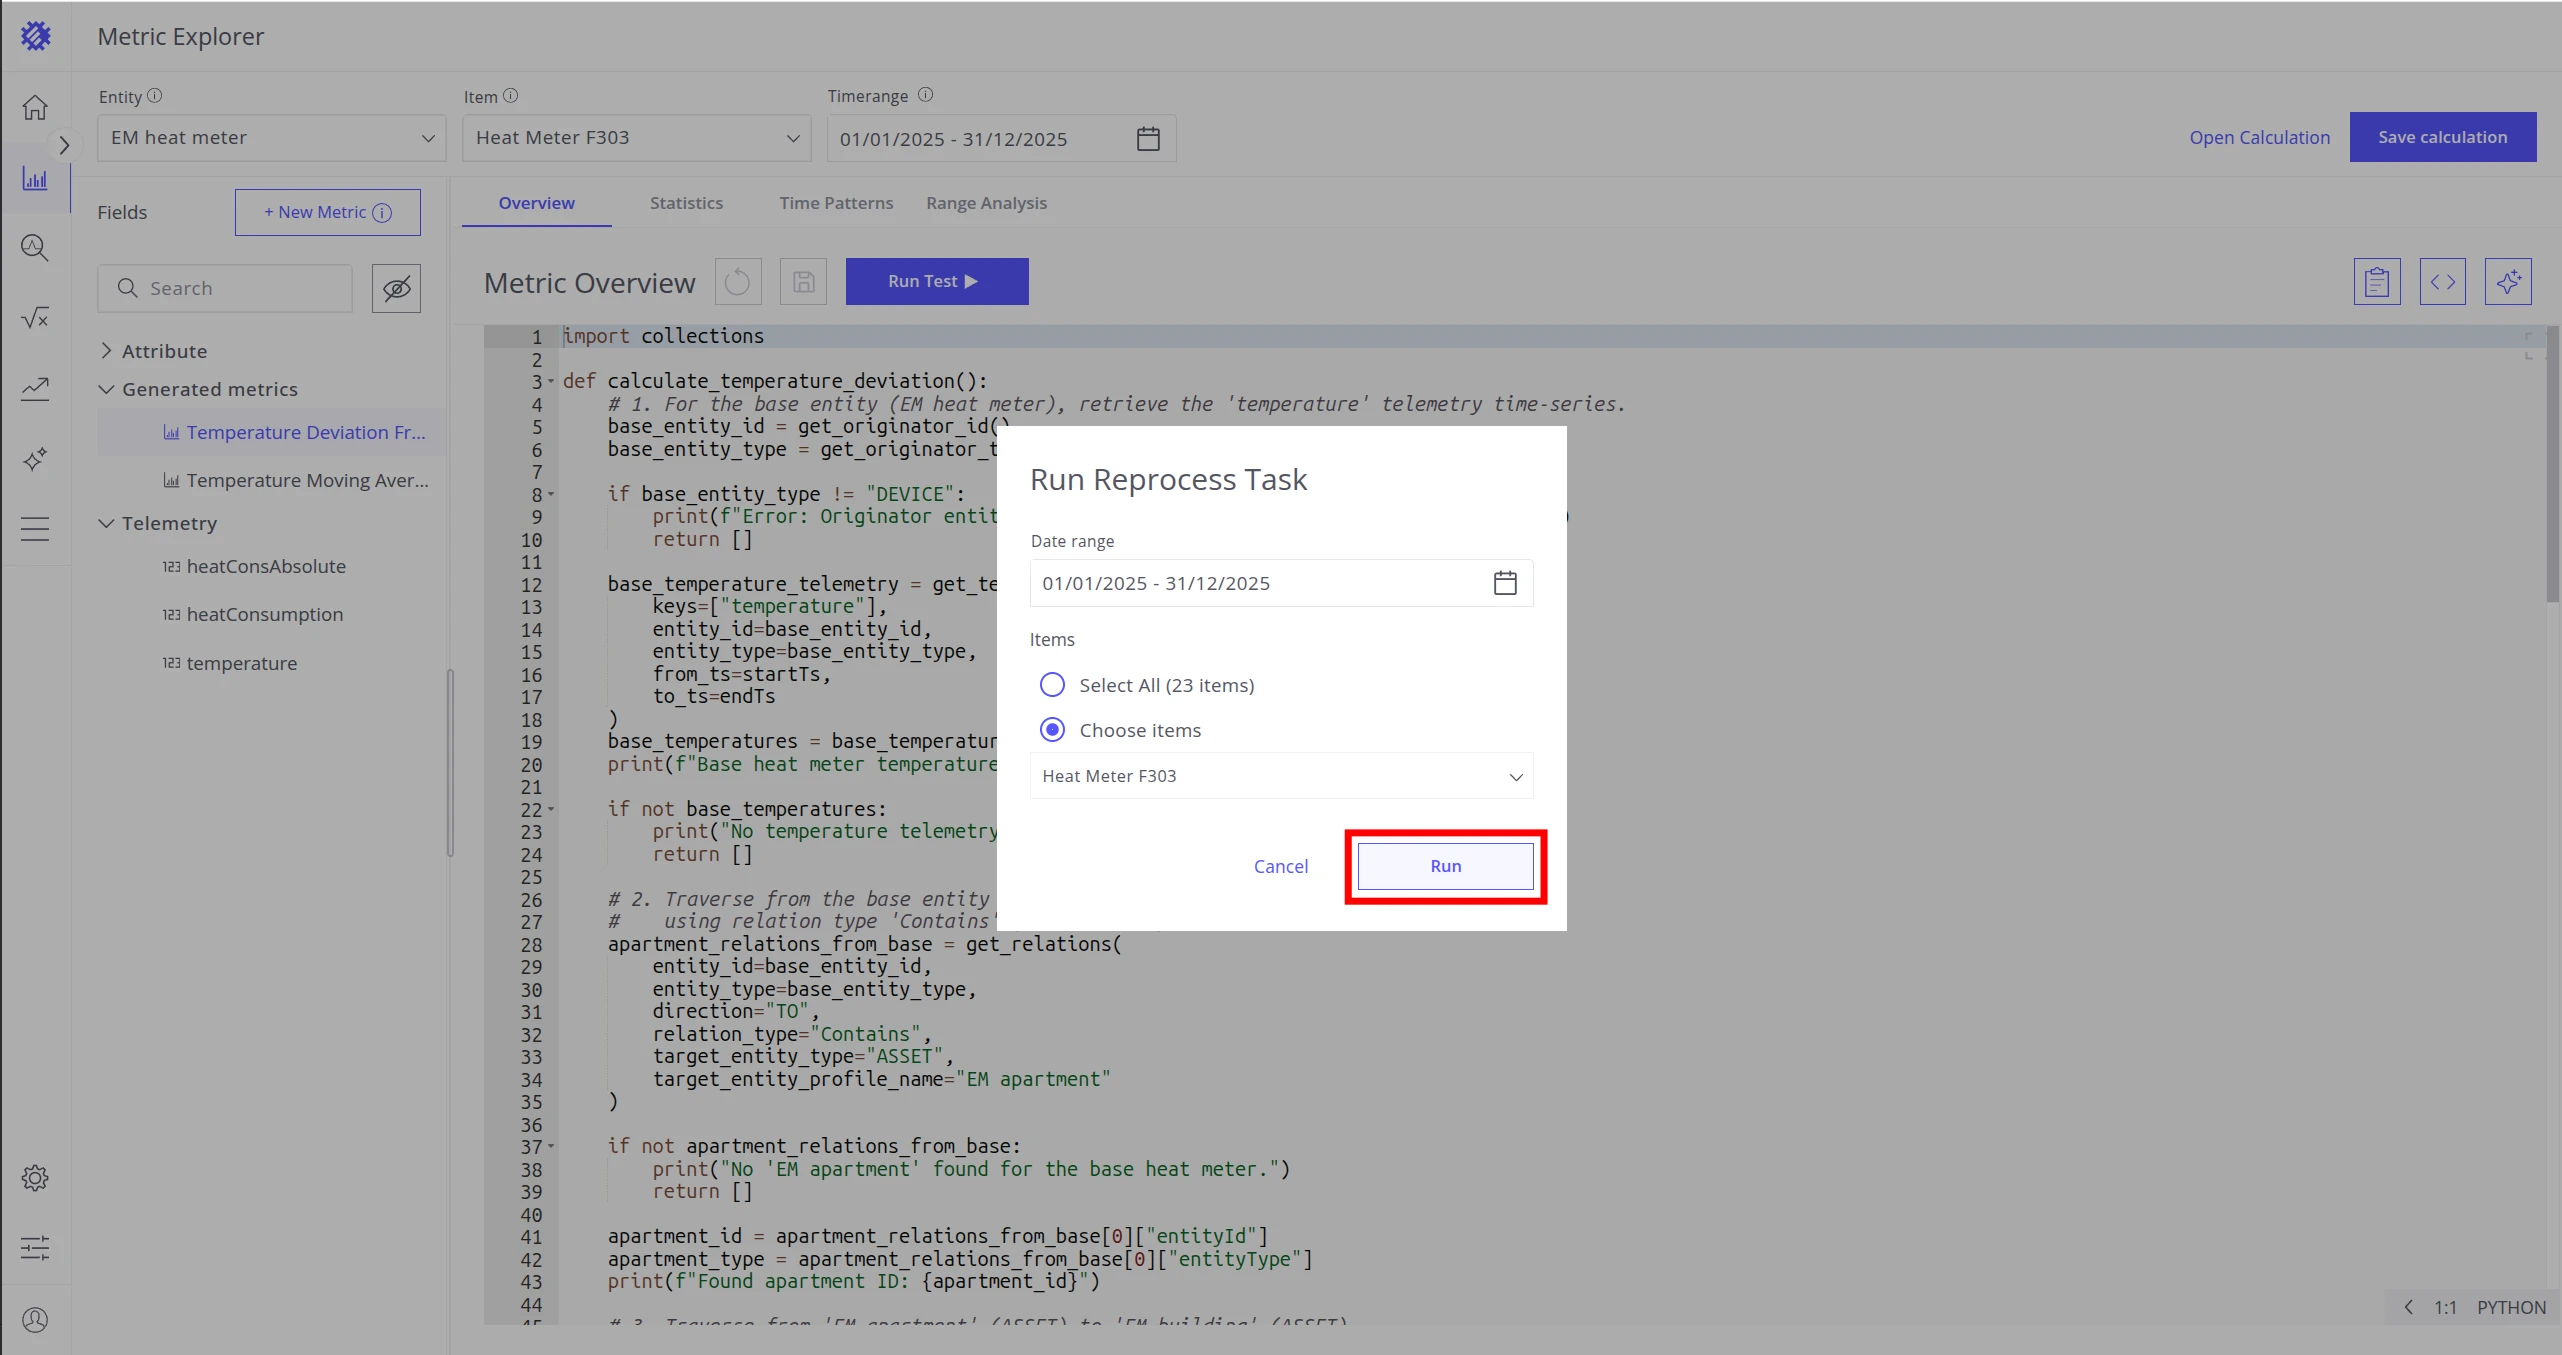
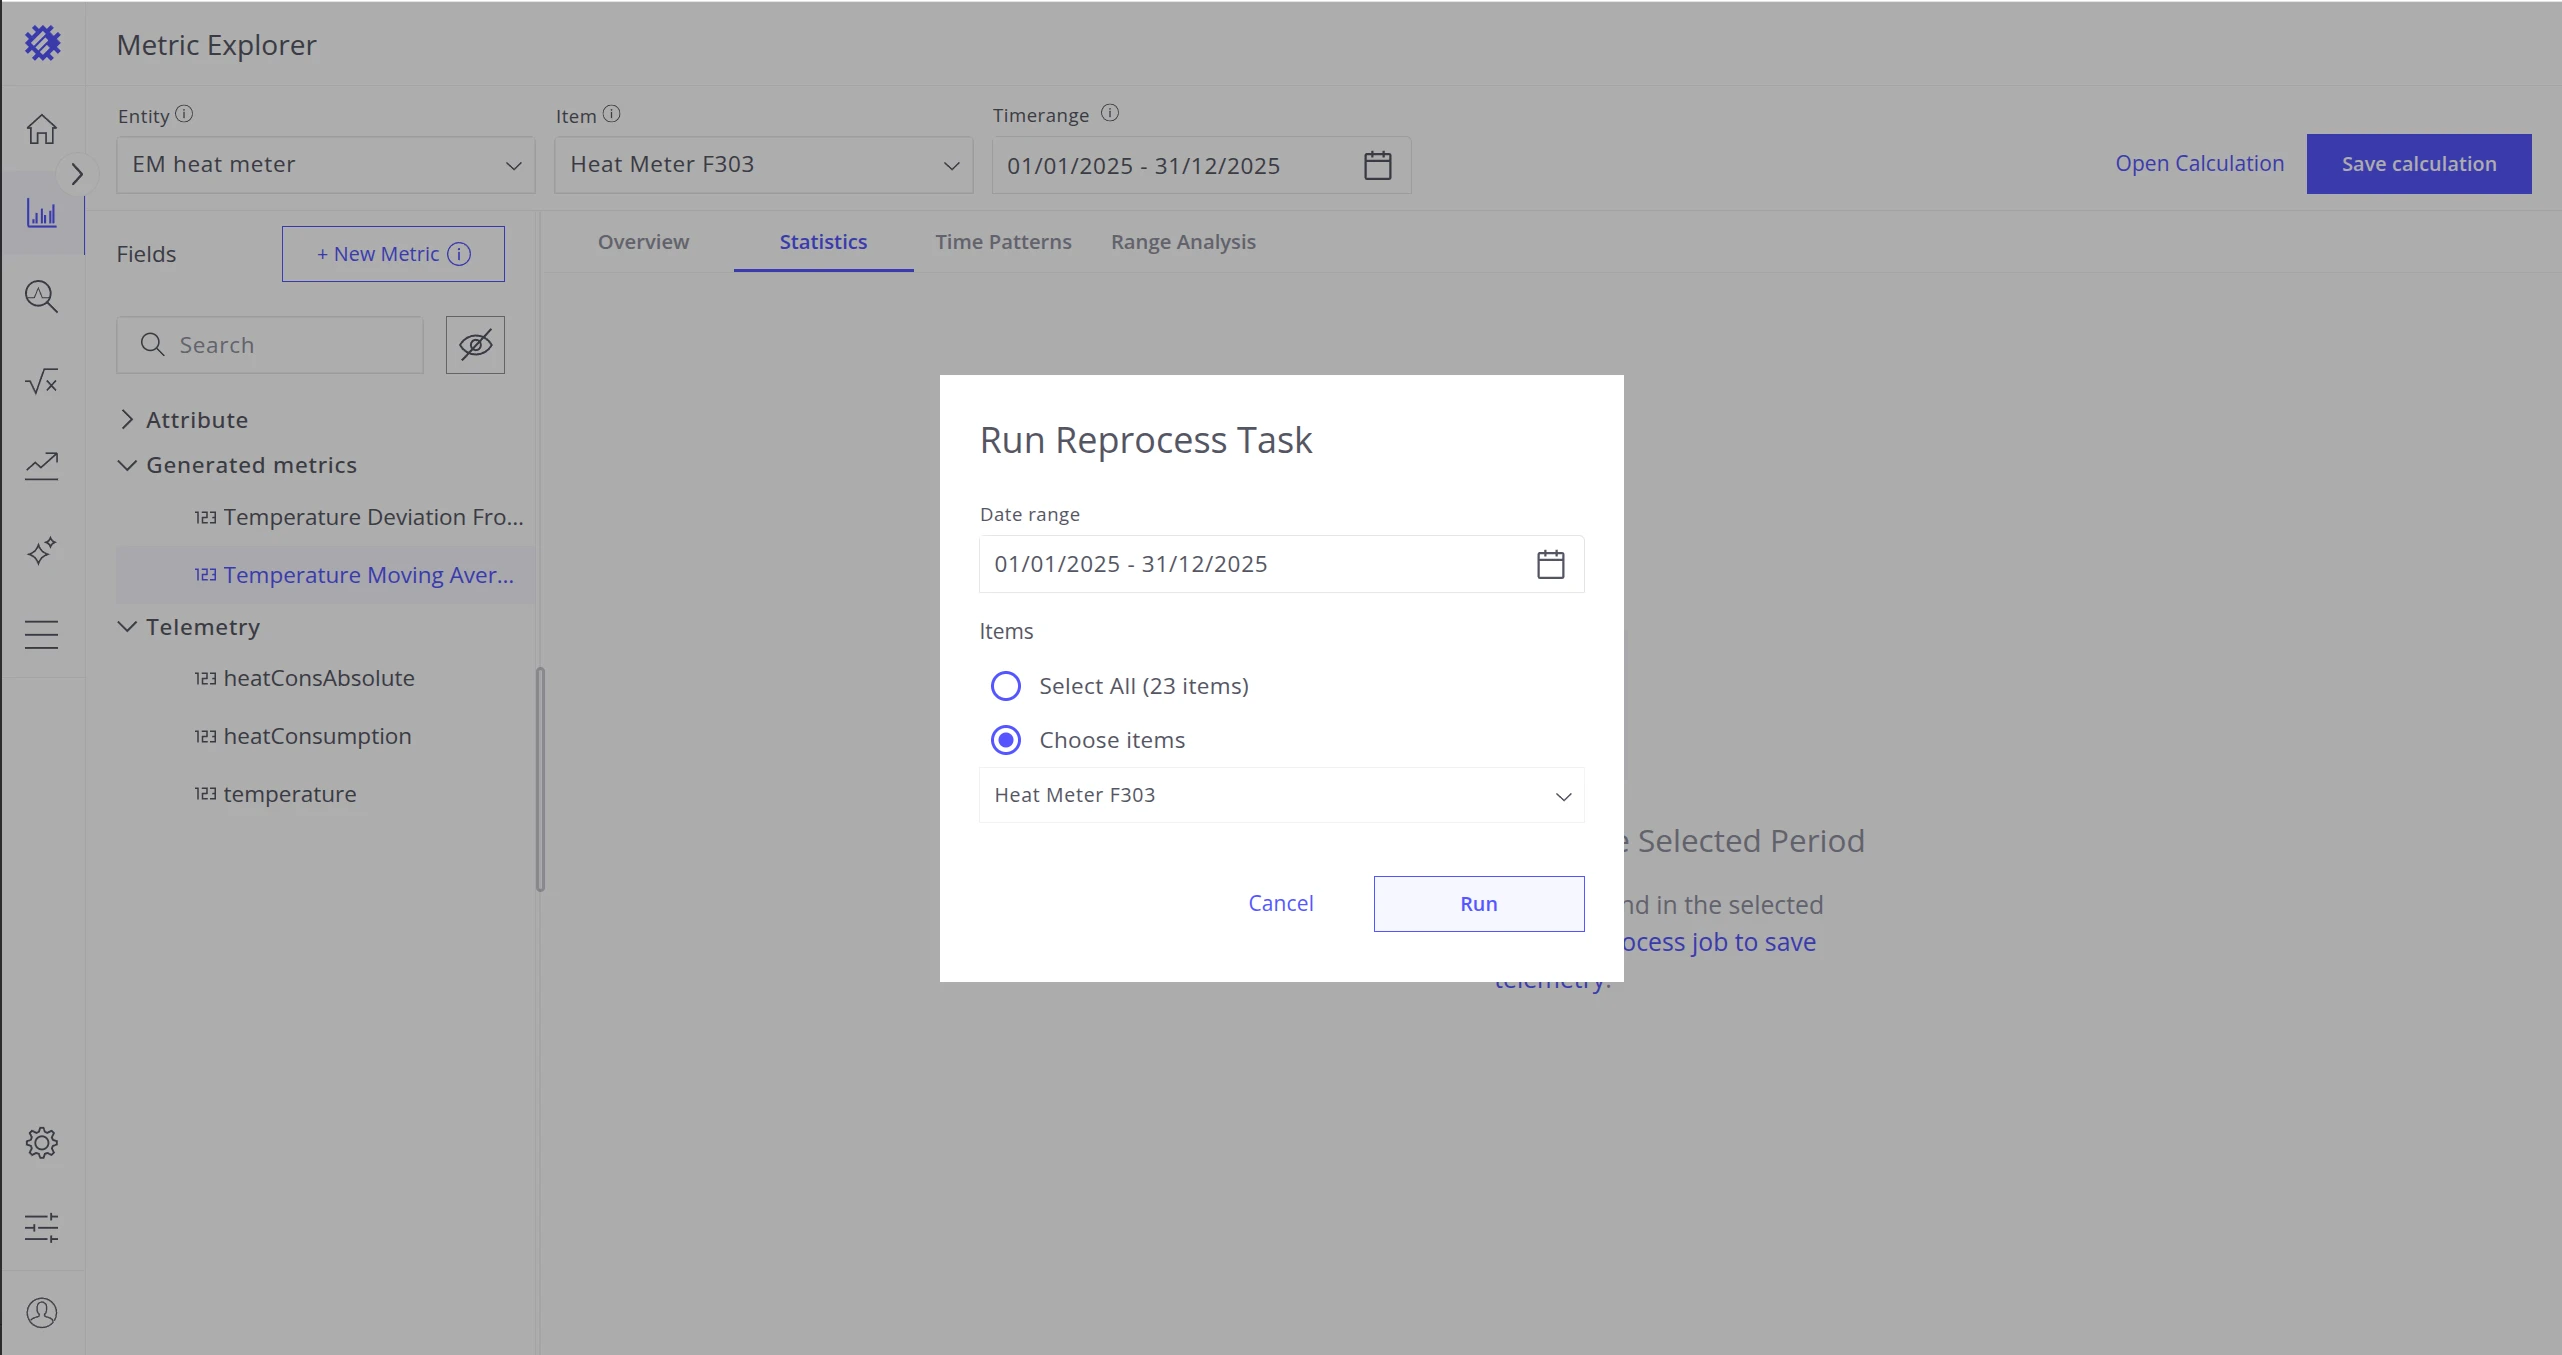
To save historical data to ThingsBoard, run a Reprocess Task:
-
Click Run to start the process.
-
Select the time range — defines which period of data is saved to ThingsBoard.
-
Choose the items — select the current item, all items, or a specific subset.
-
Click Run to begin.
-
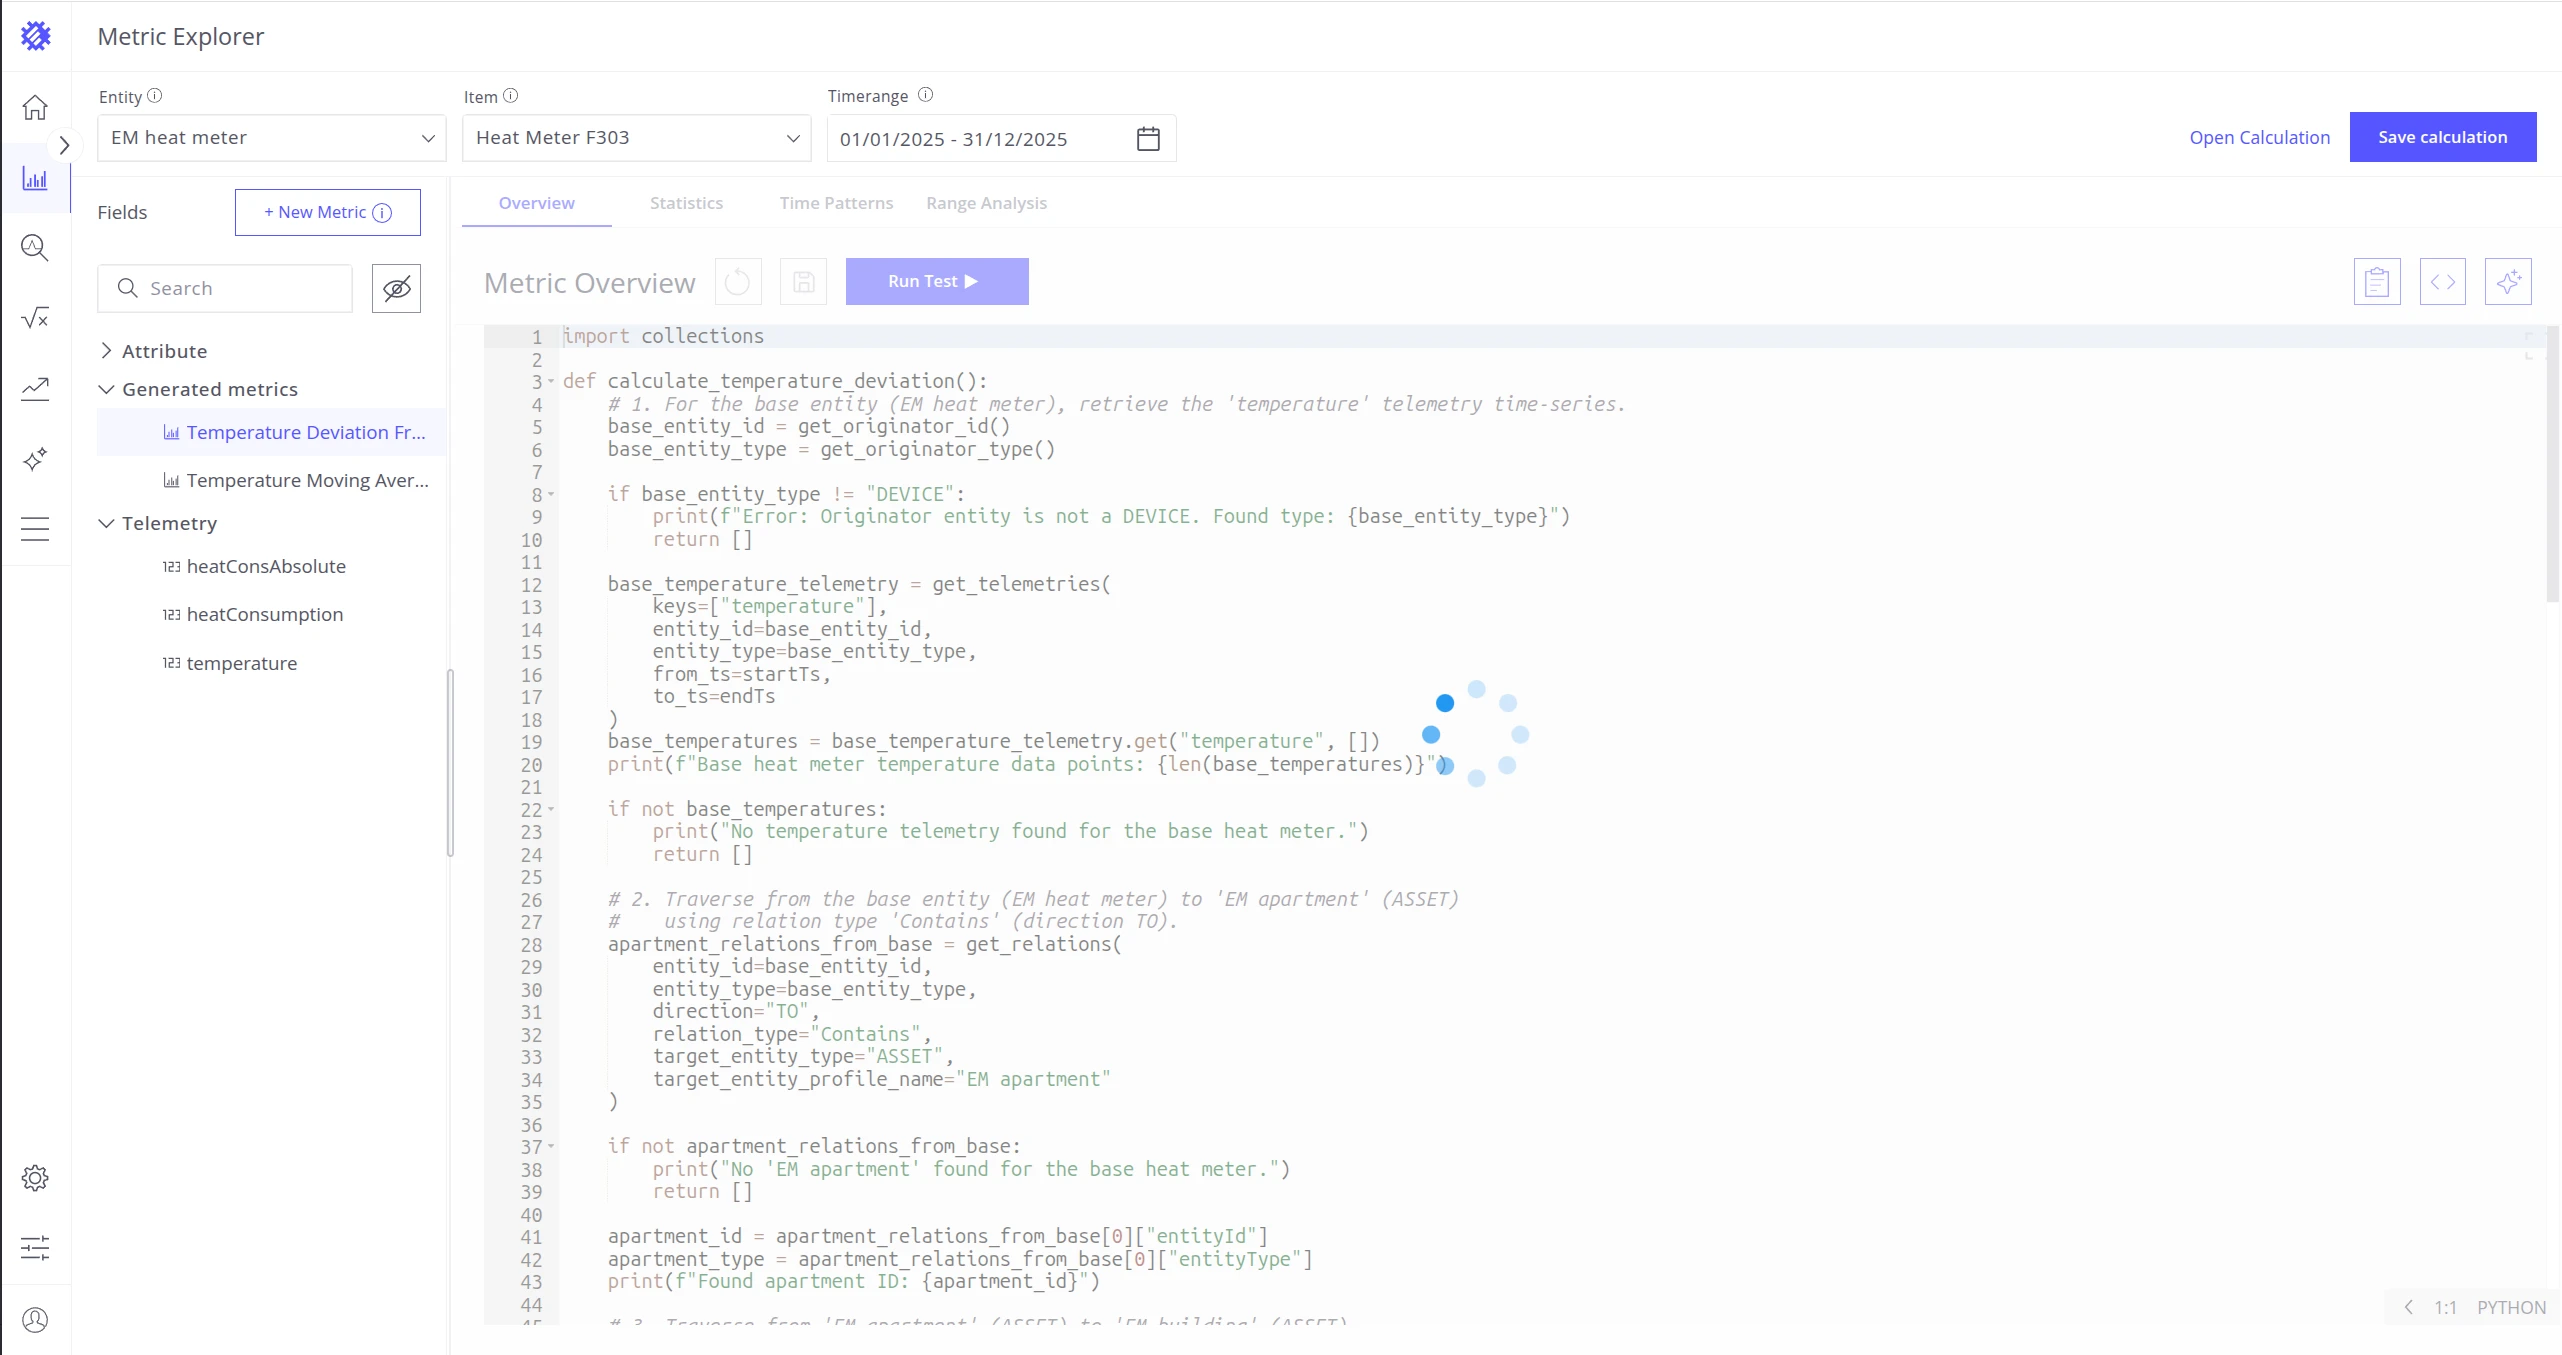
Wait for the task to complete. You can navigate to other metrics while it is running.
Manage Associated Calculation Field
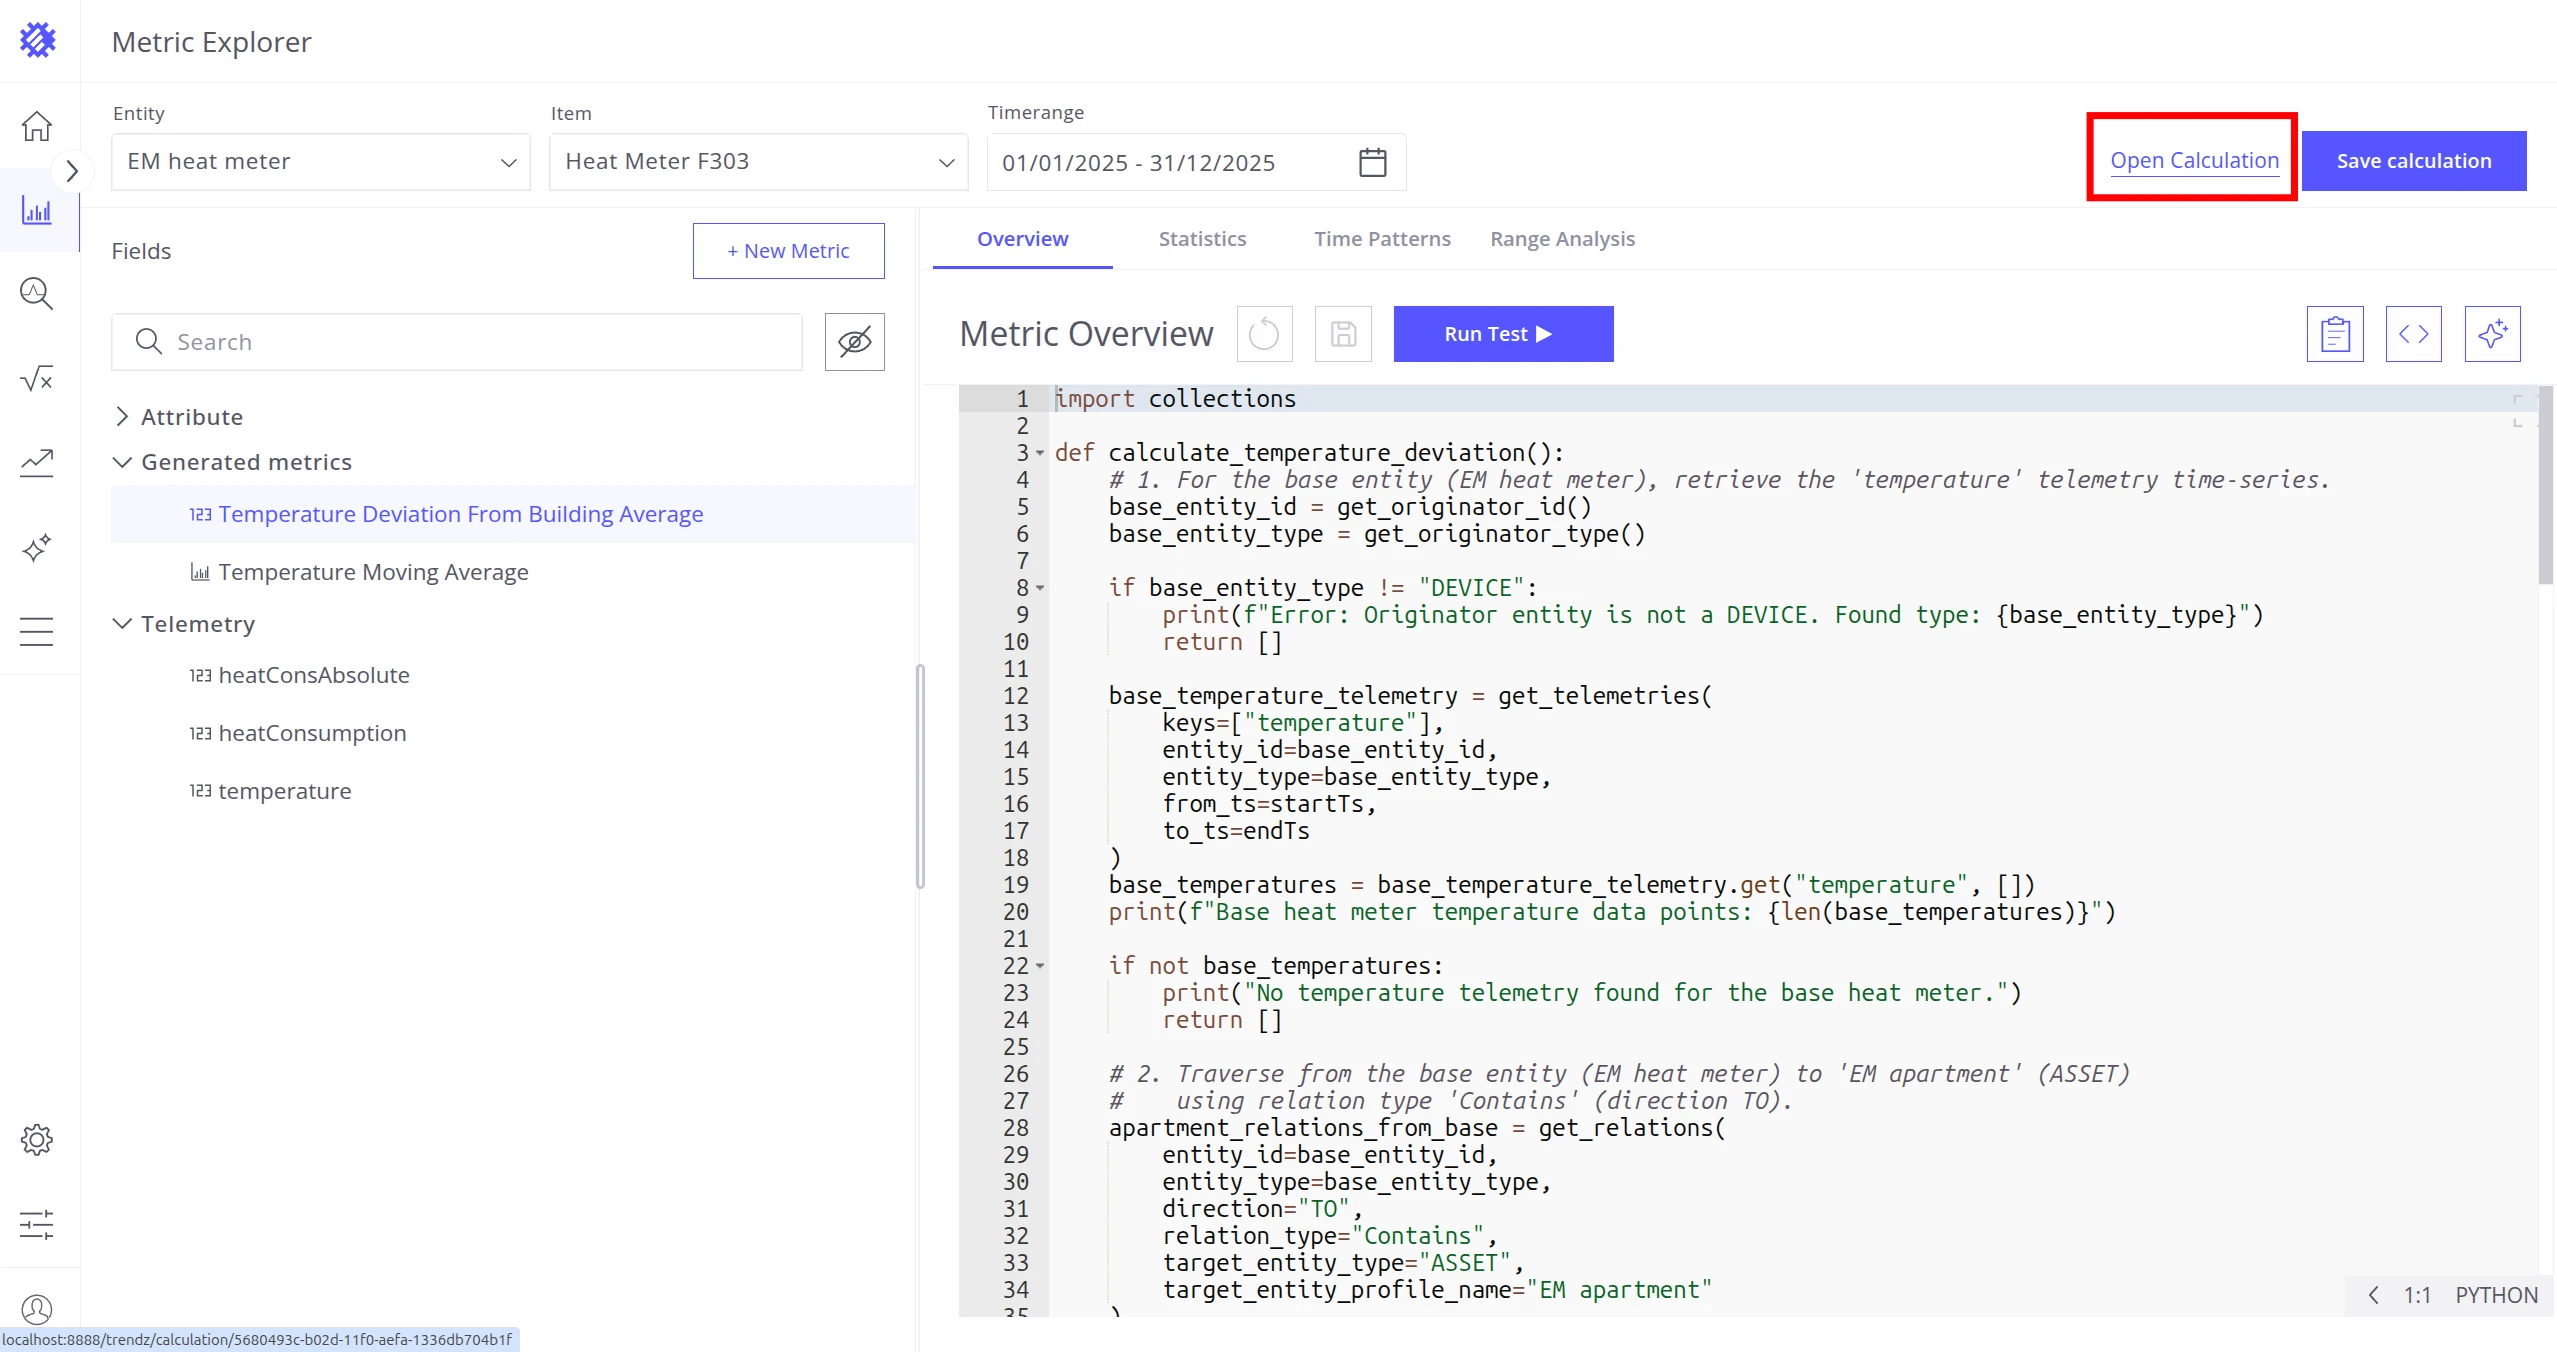
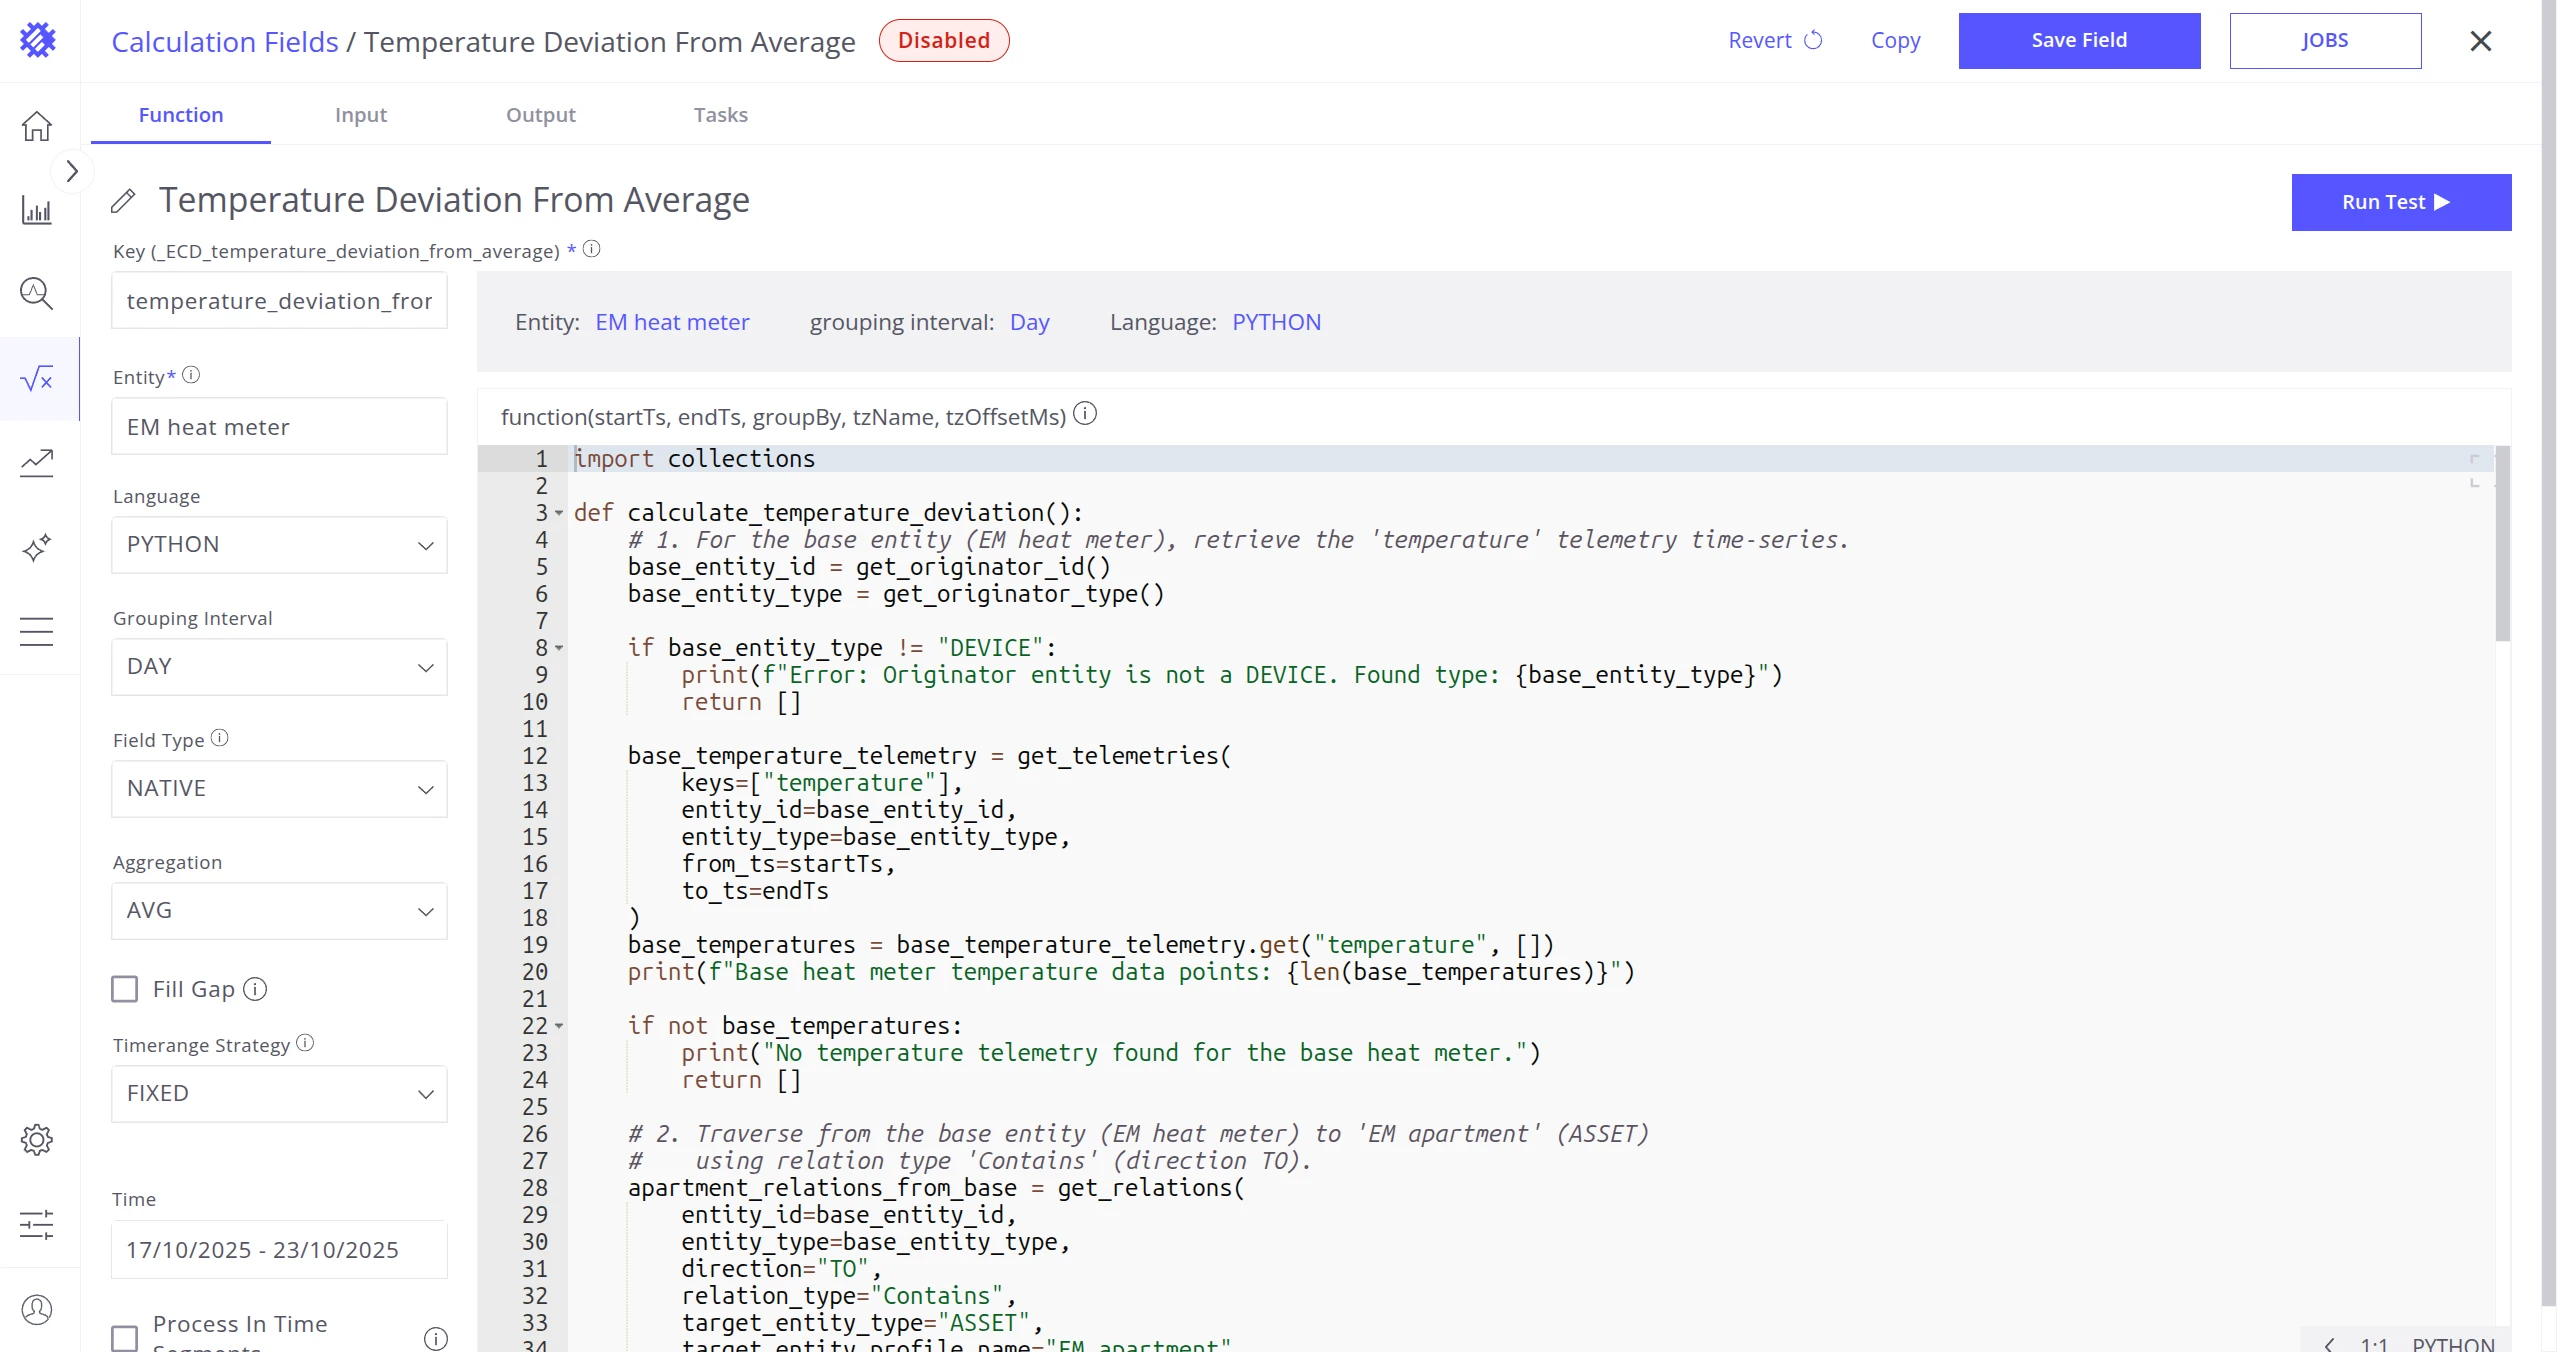
Section titled “Manage Associated Calculation Field”If the metric has an associated Calculation Field, click Open Calculation to open it directly.
When the metric and its Calculation Field diverge, a warning banner appears:
- “Calculation field is not synced with the metric” — the Calculation Field code was modified directly.
- “Calculation field is outdated and needs to be updated” — the metric itself was changed after the Calculation Field was created.
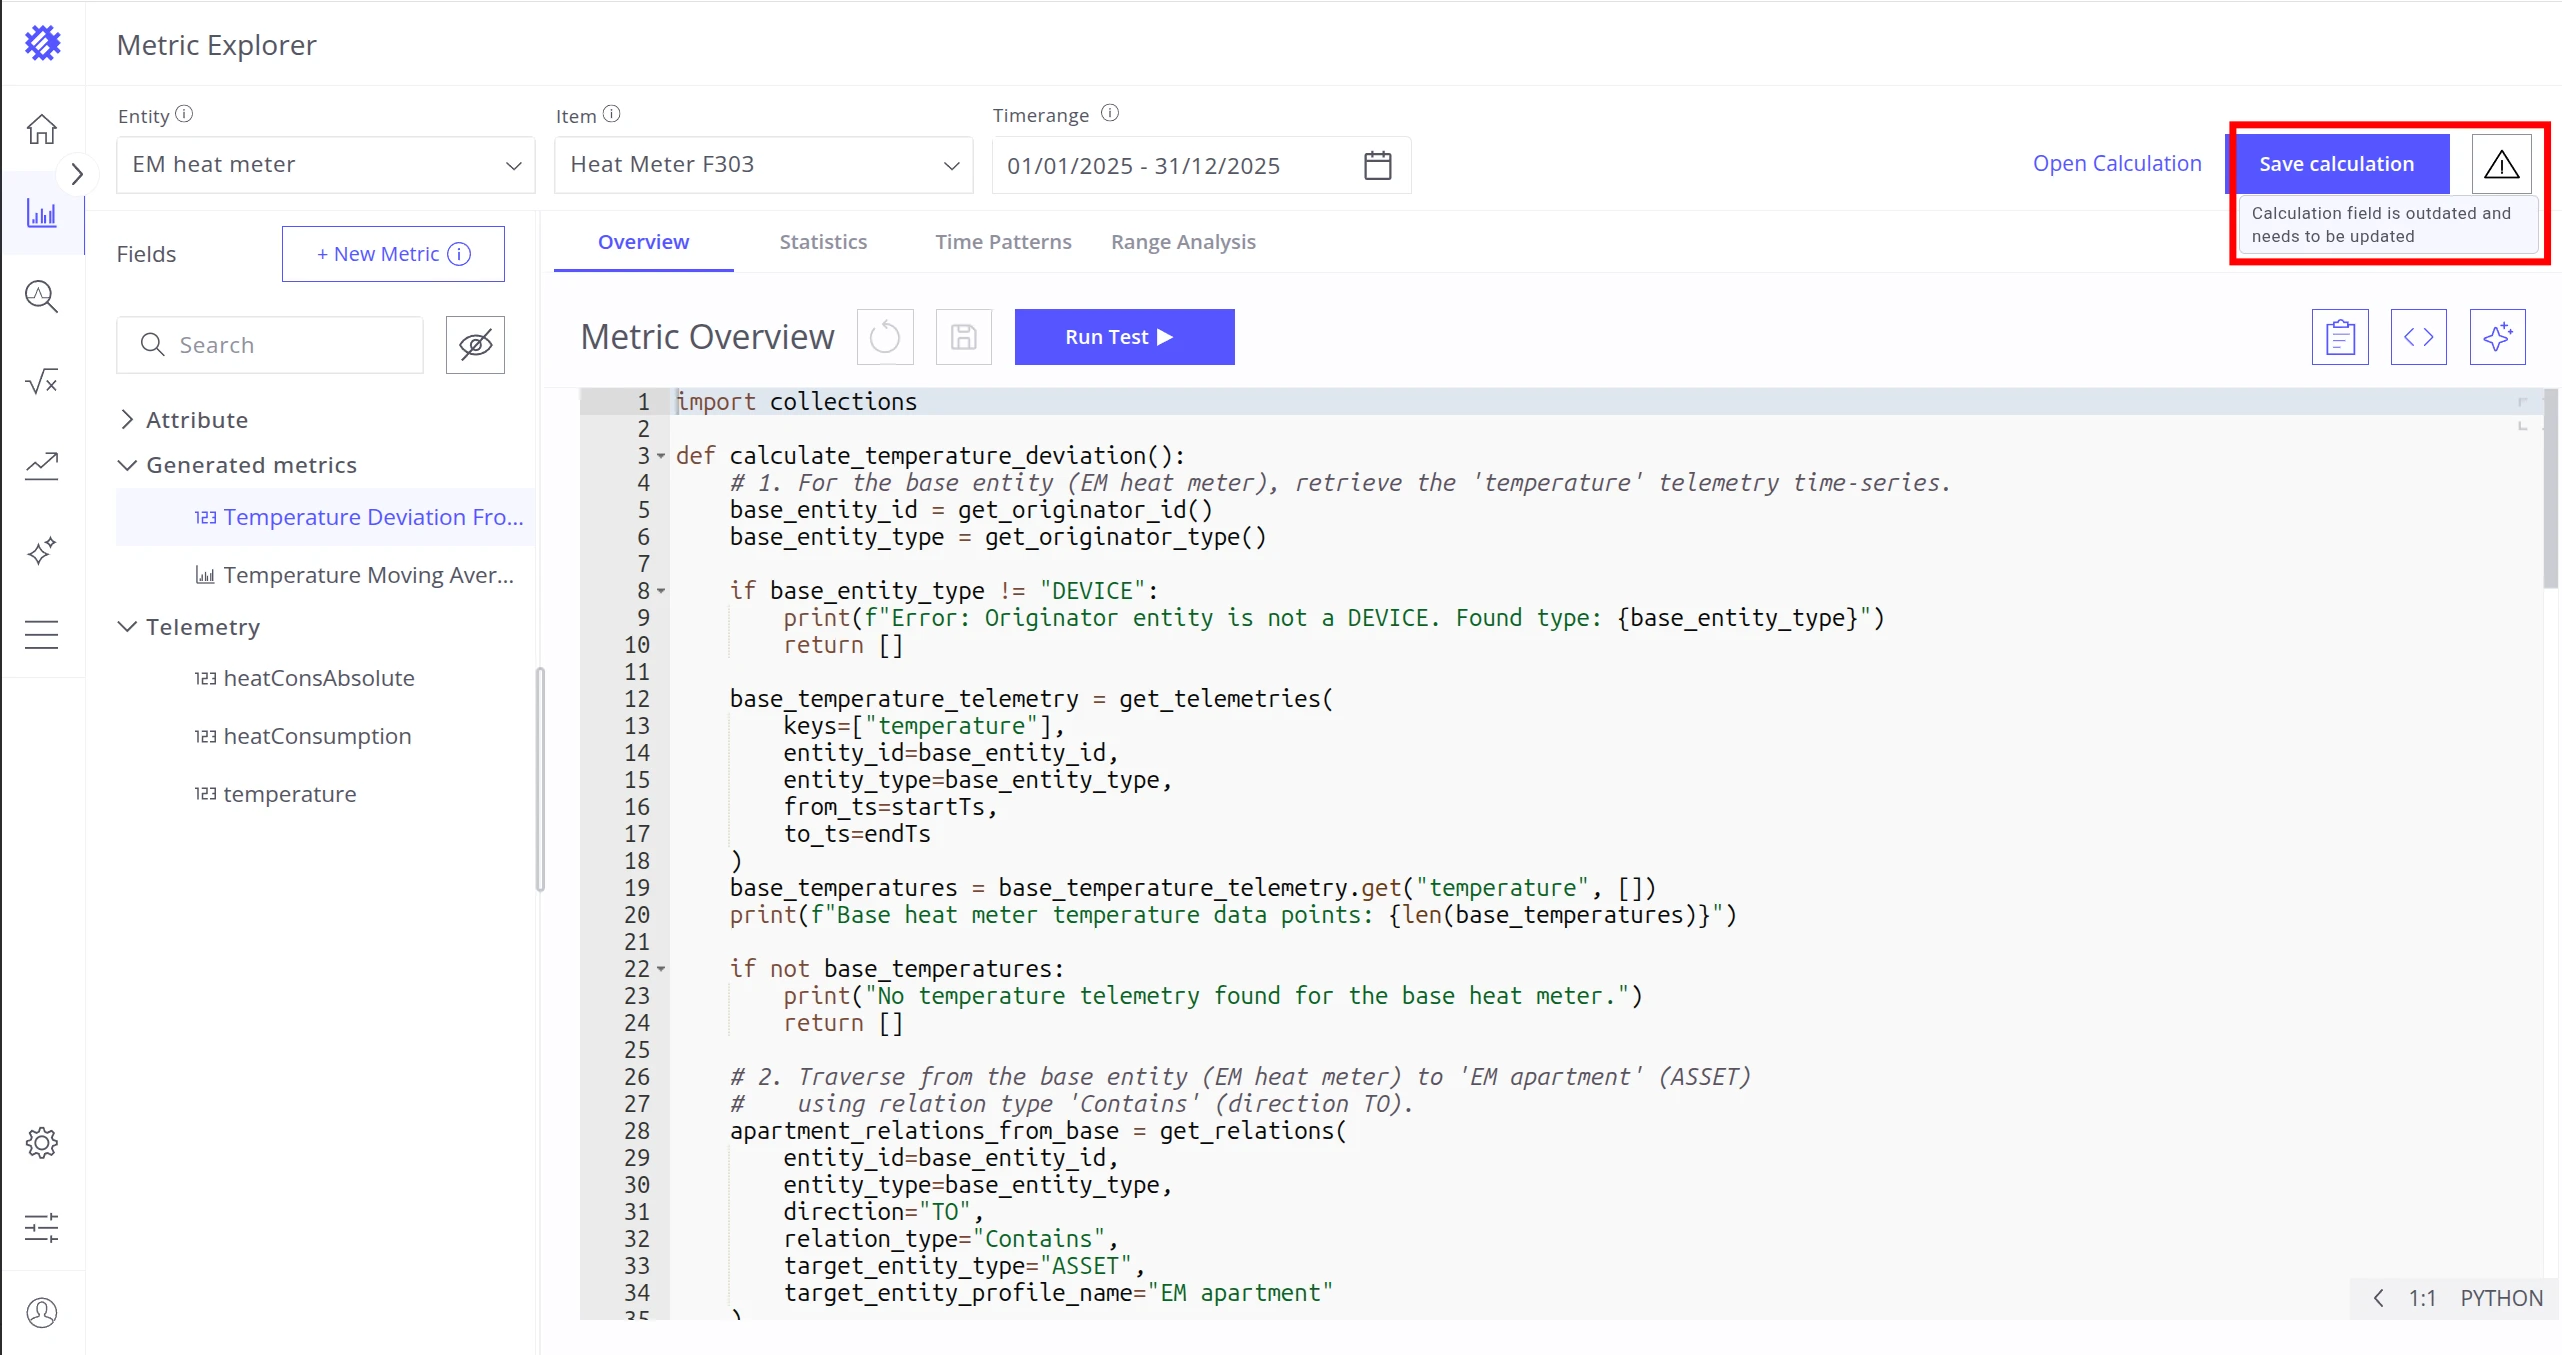
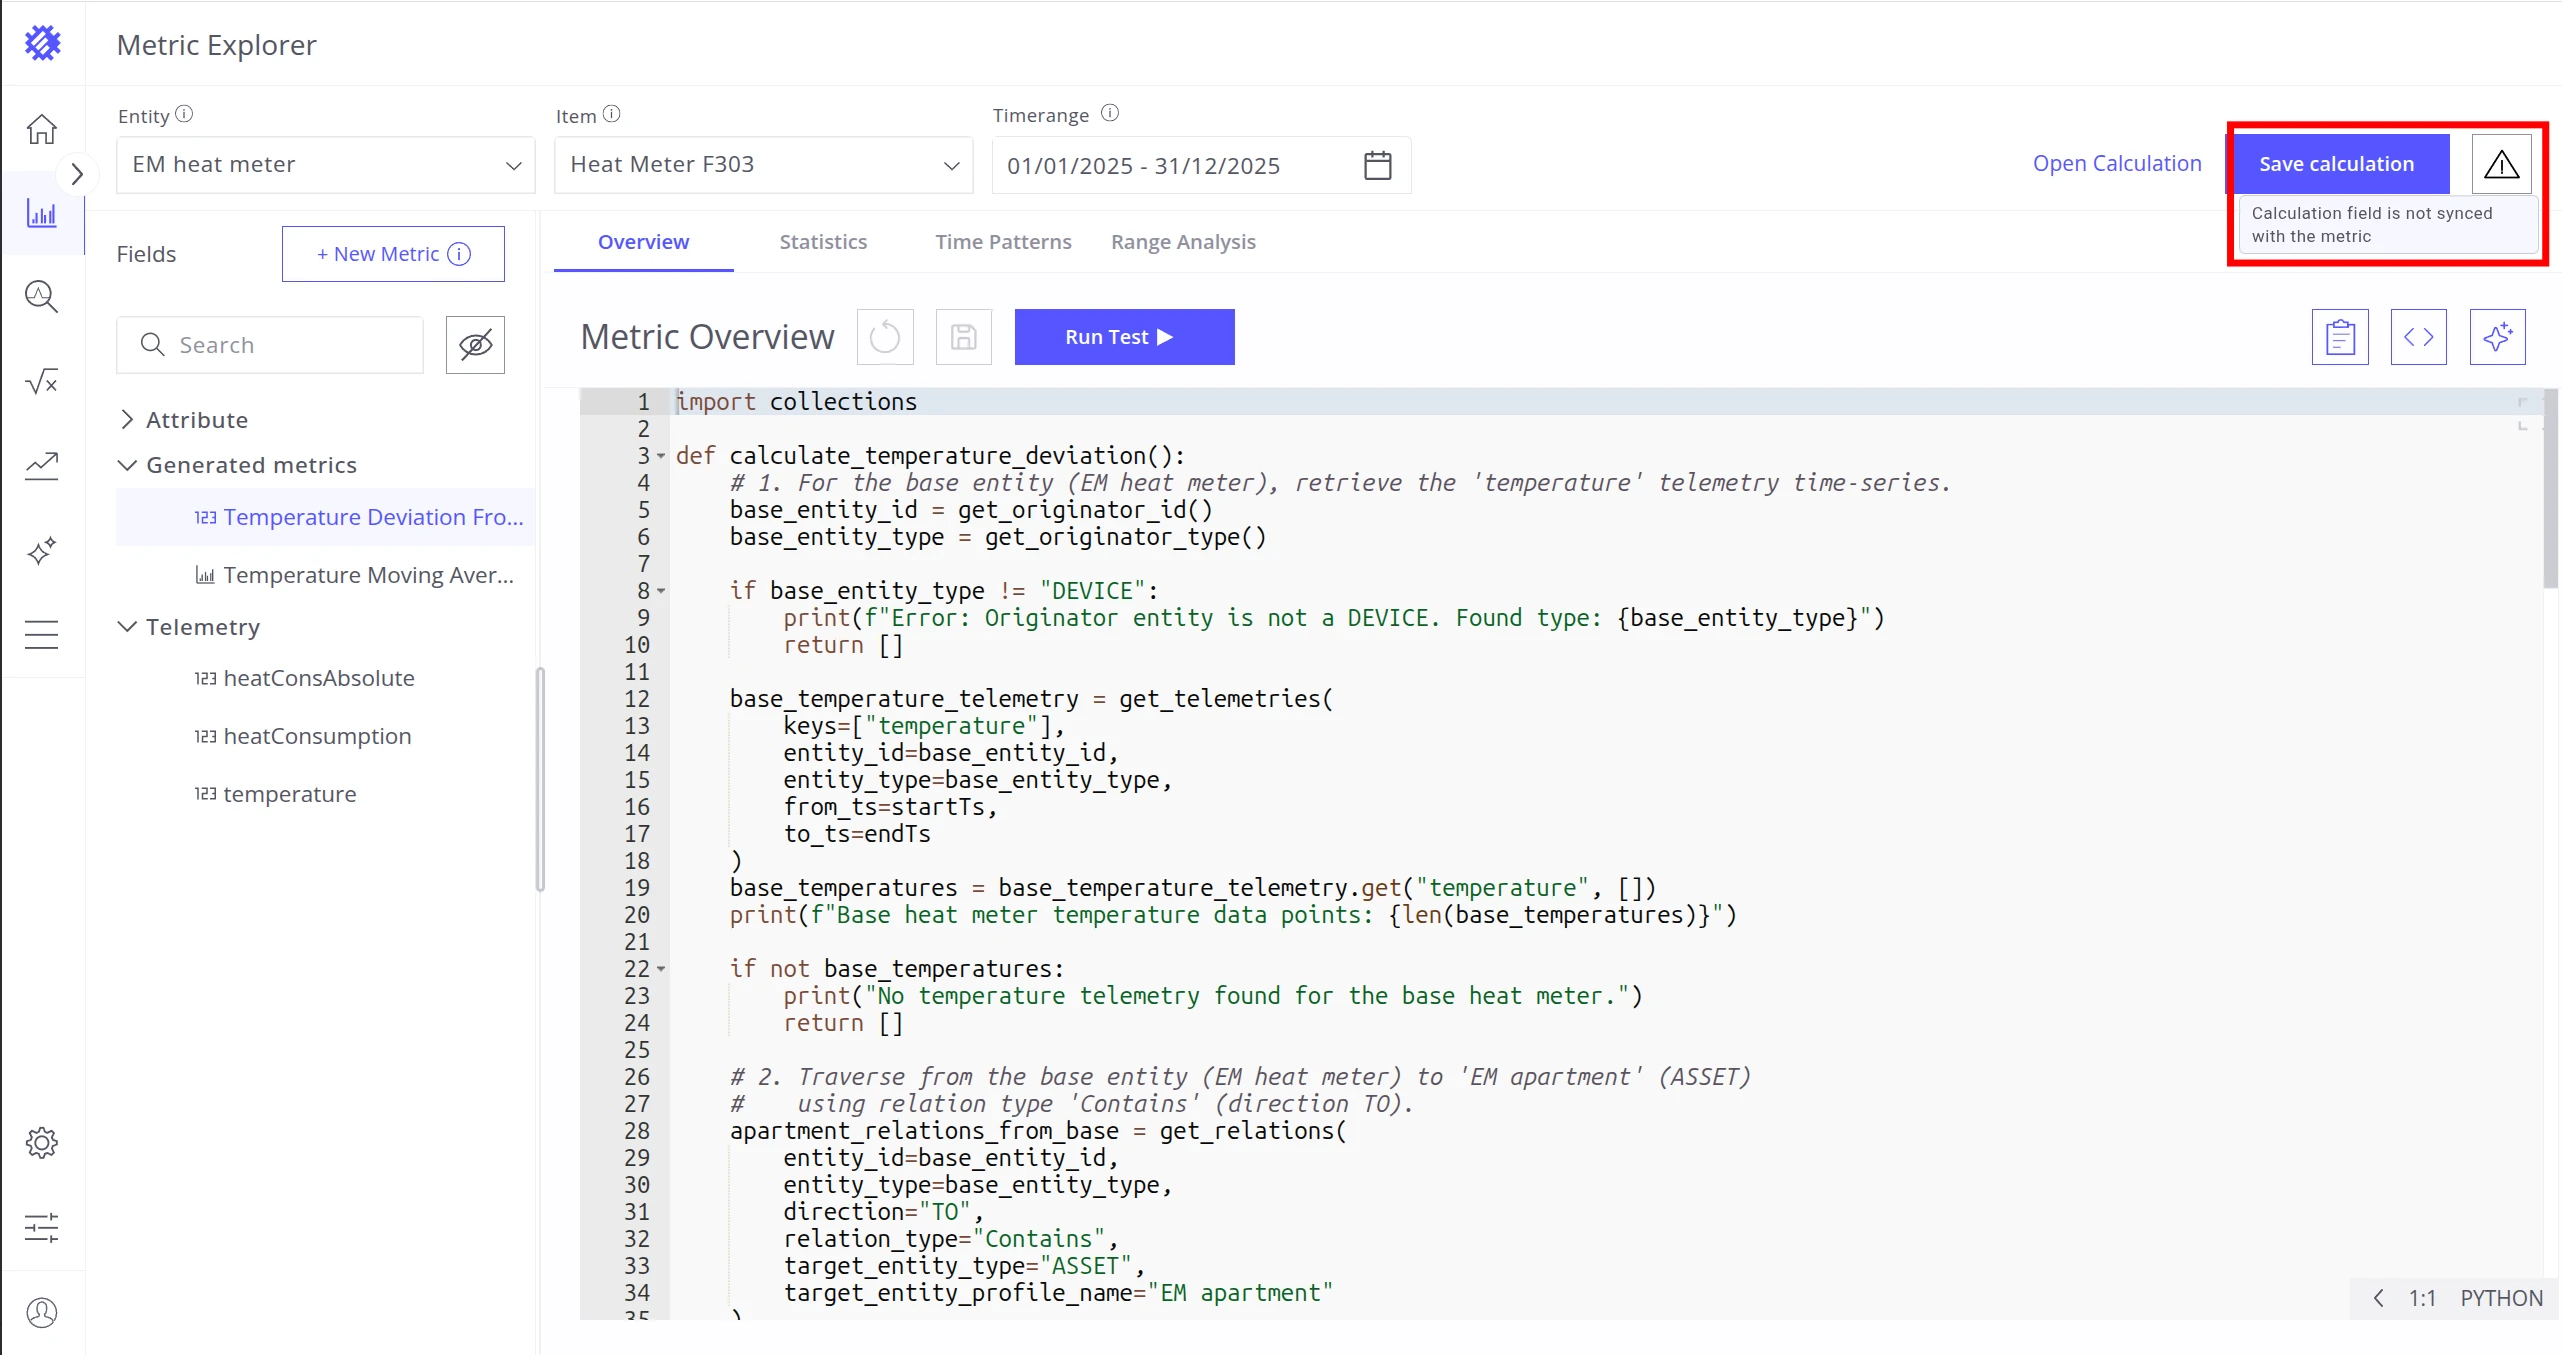
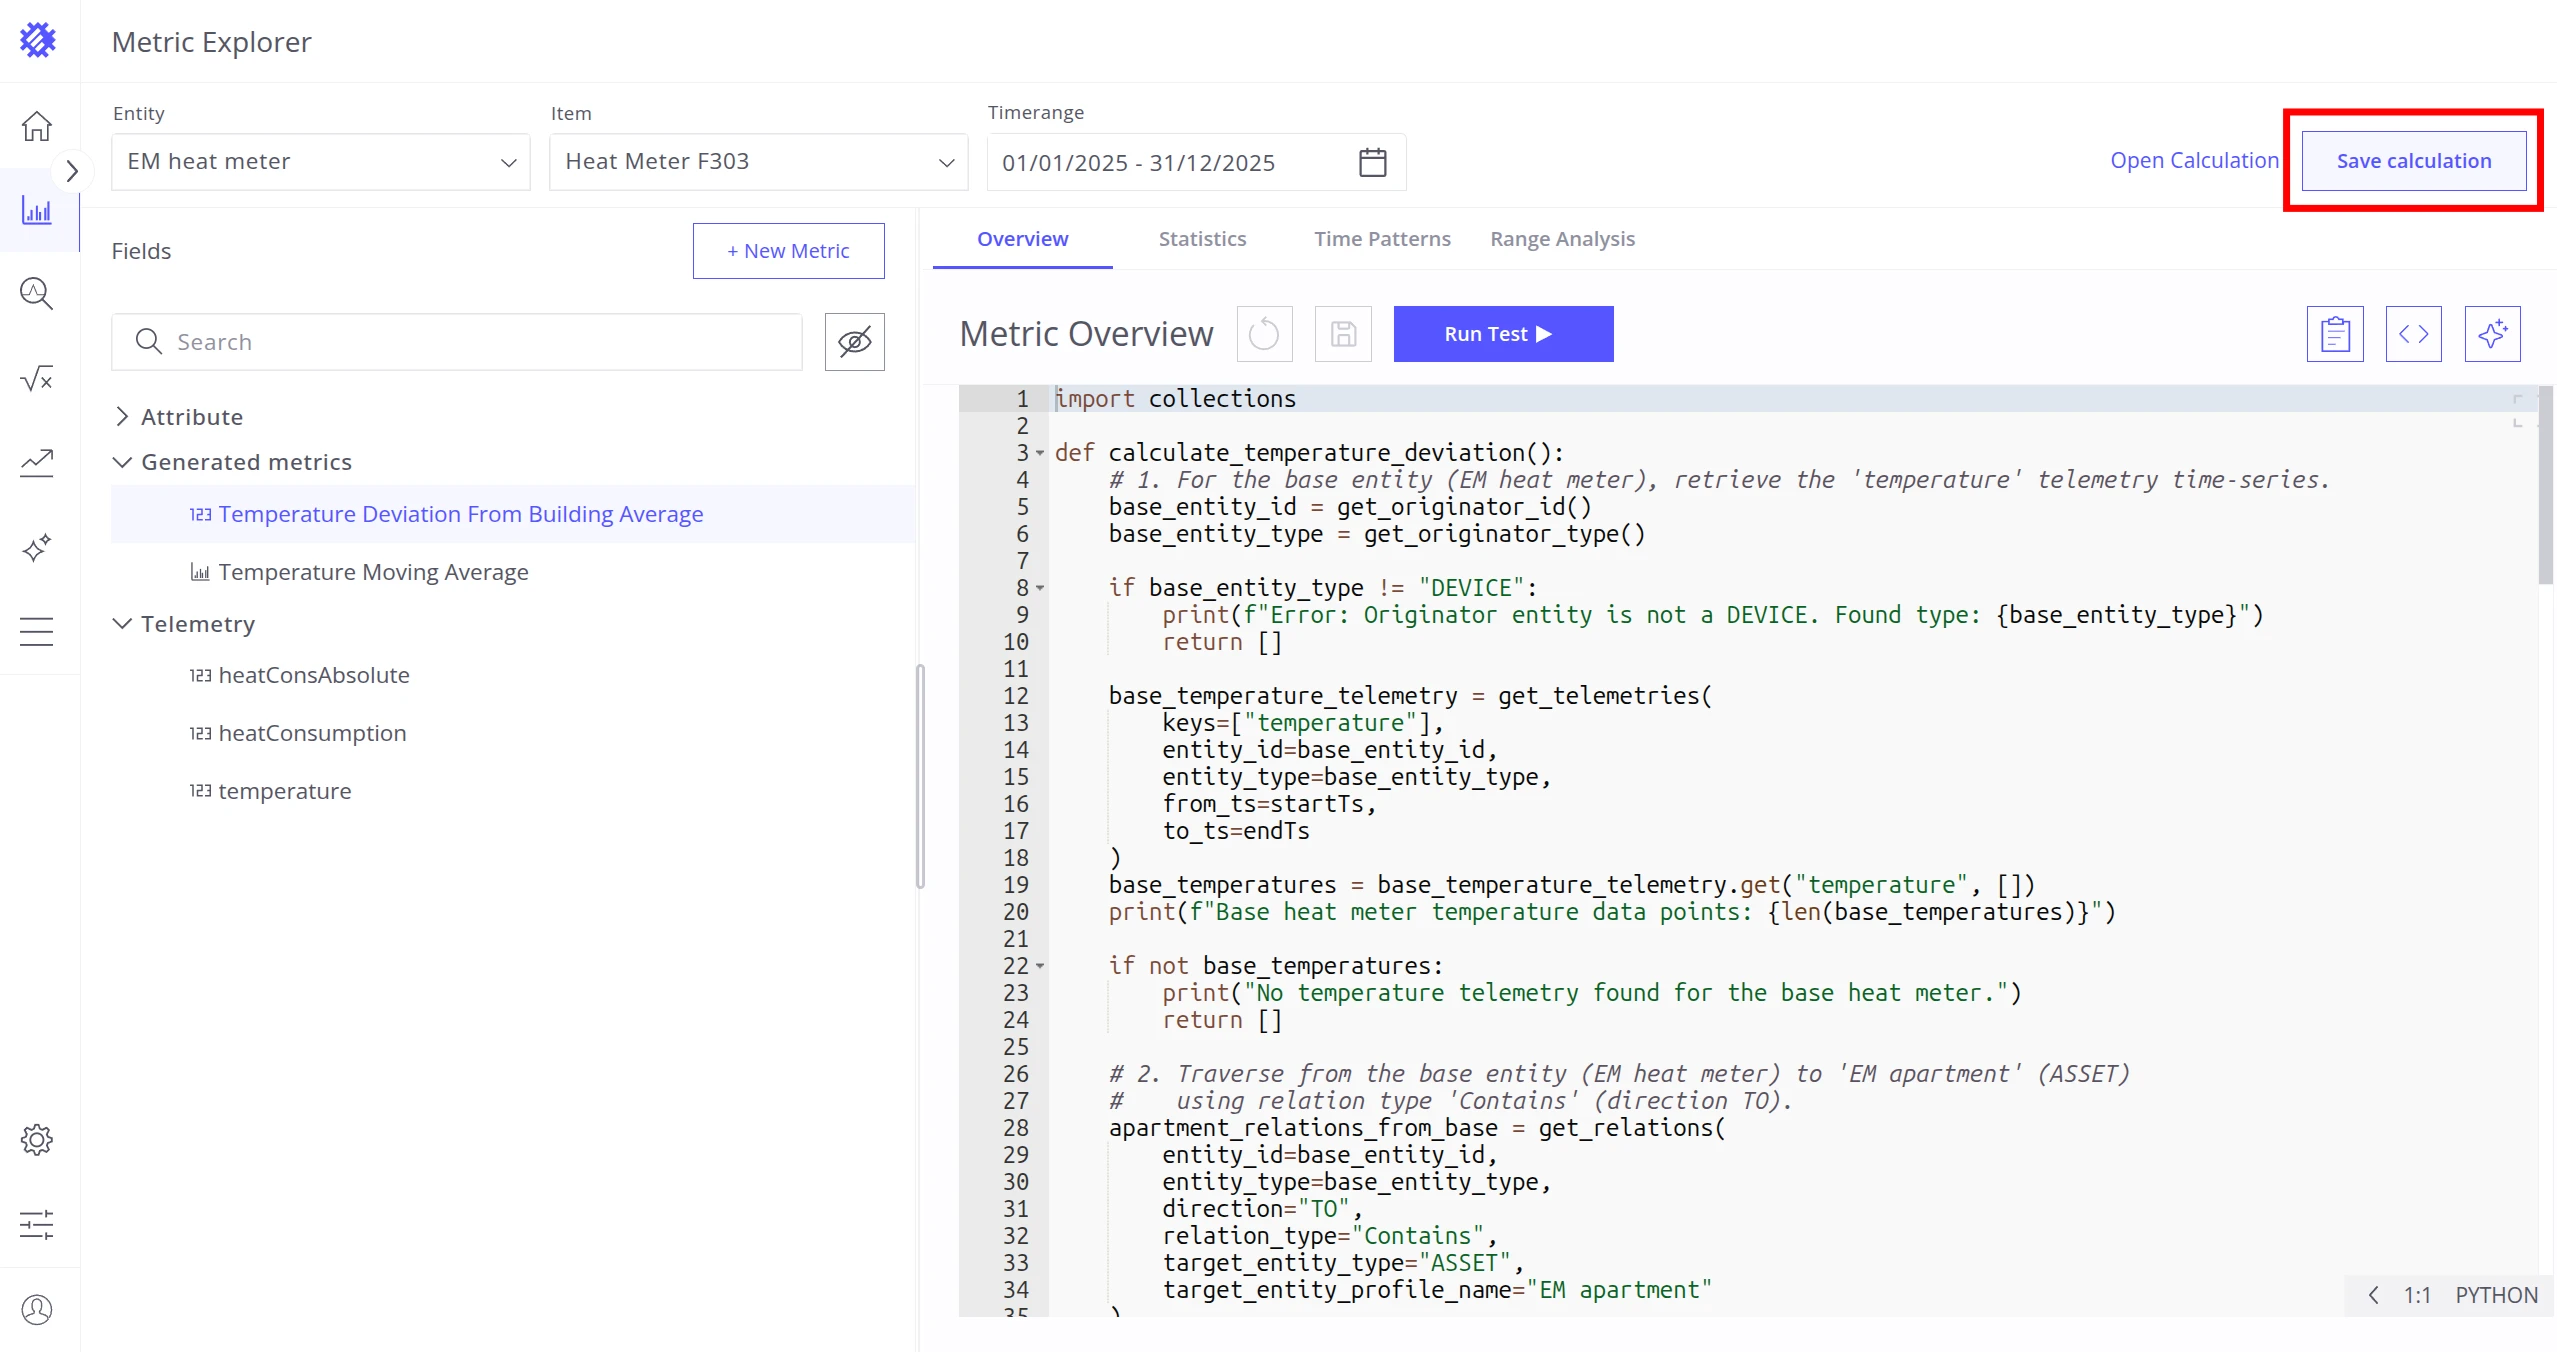
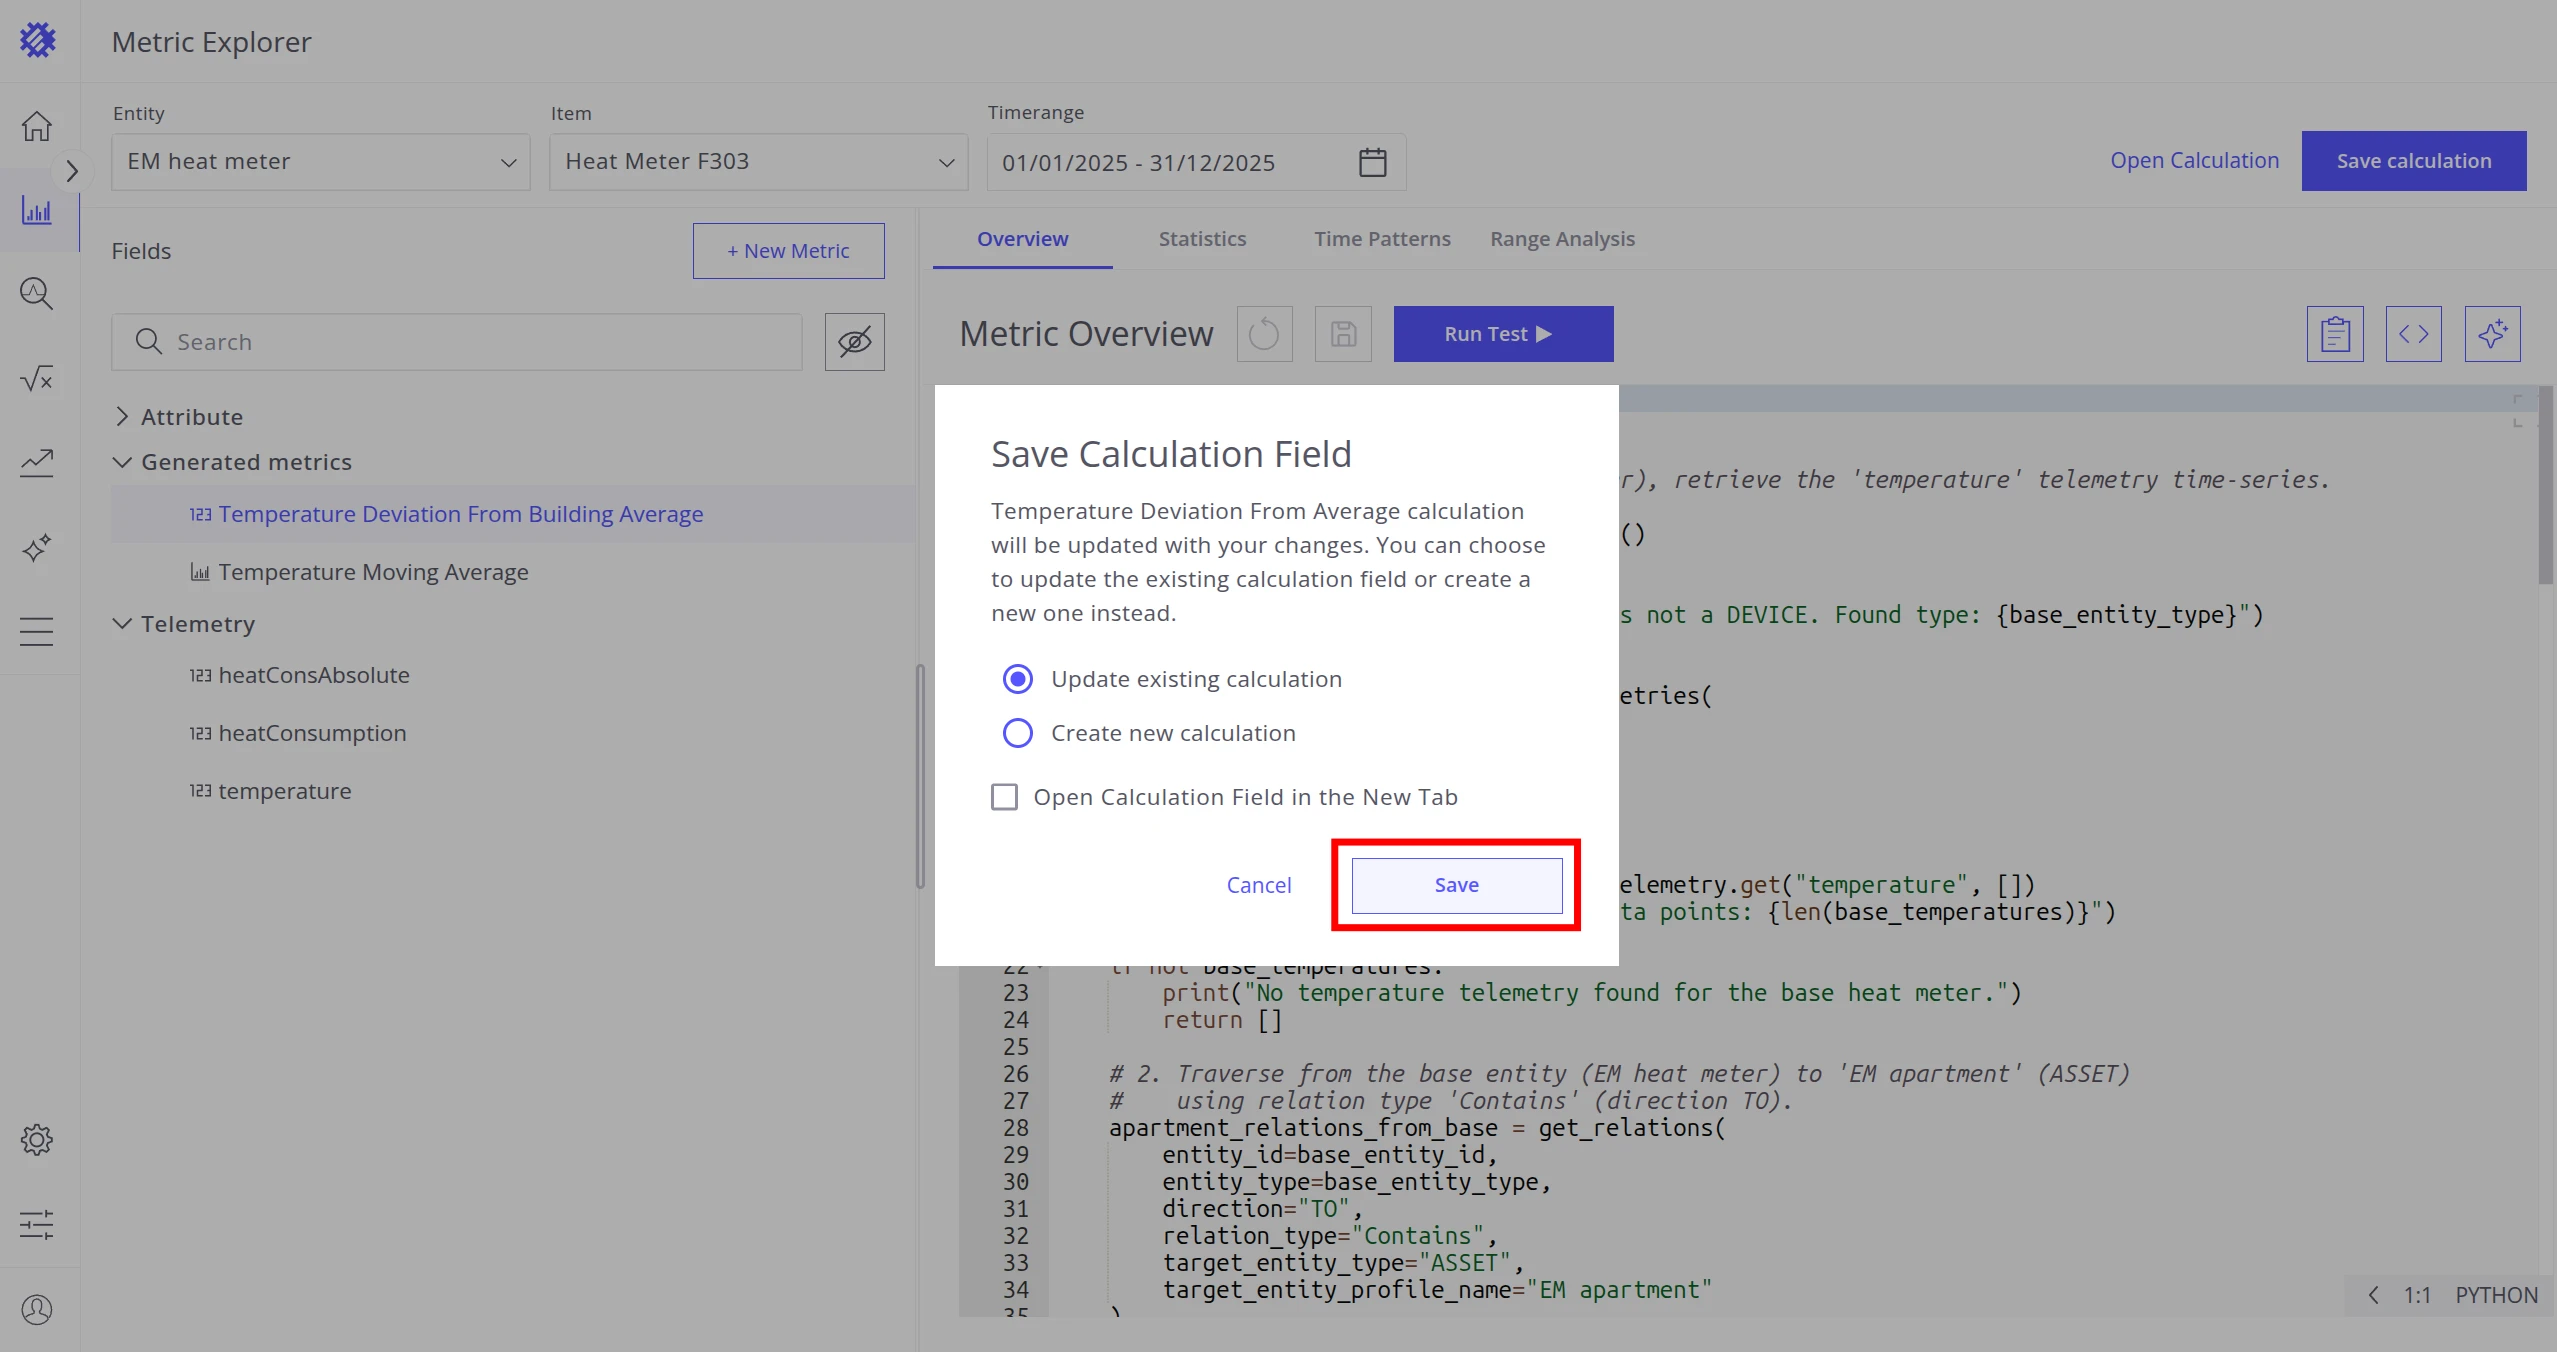
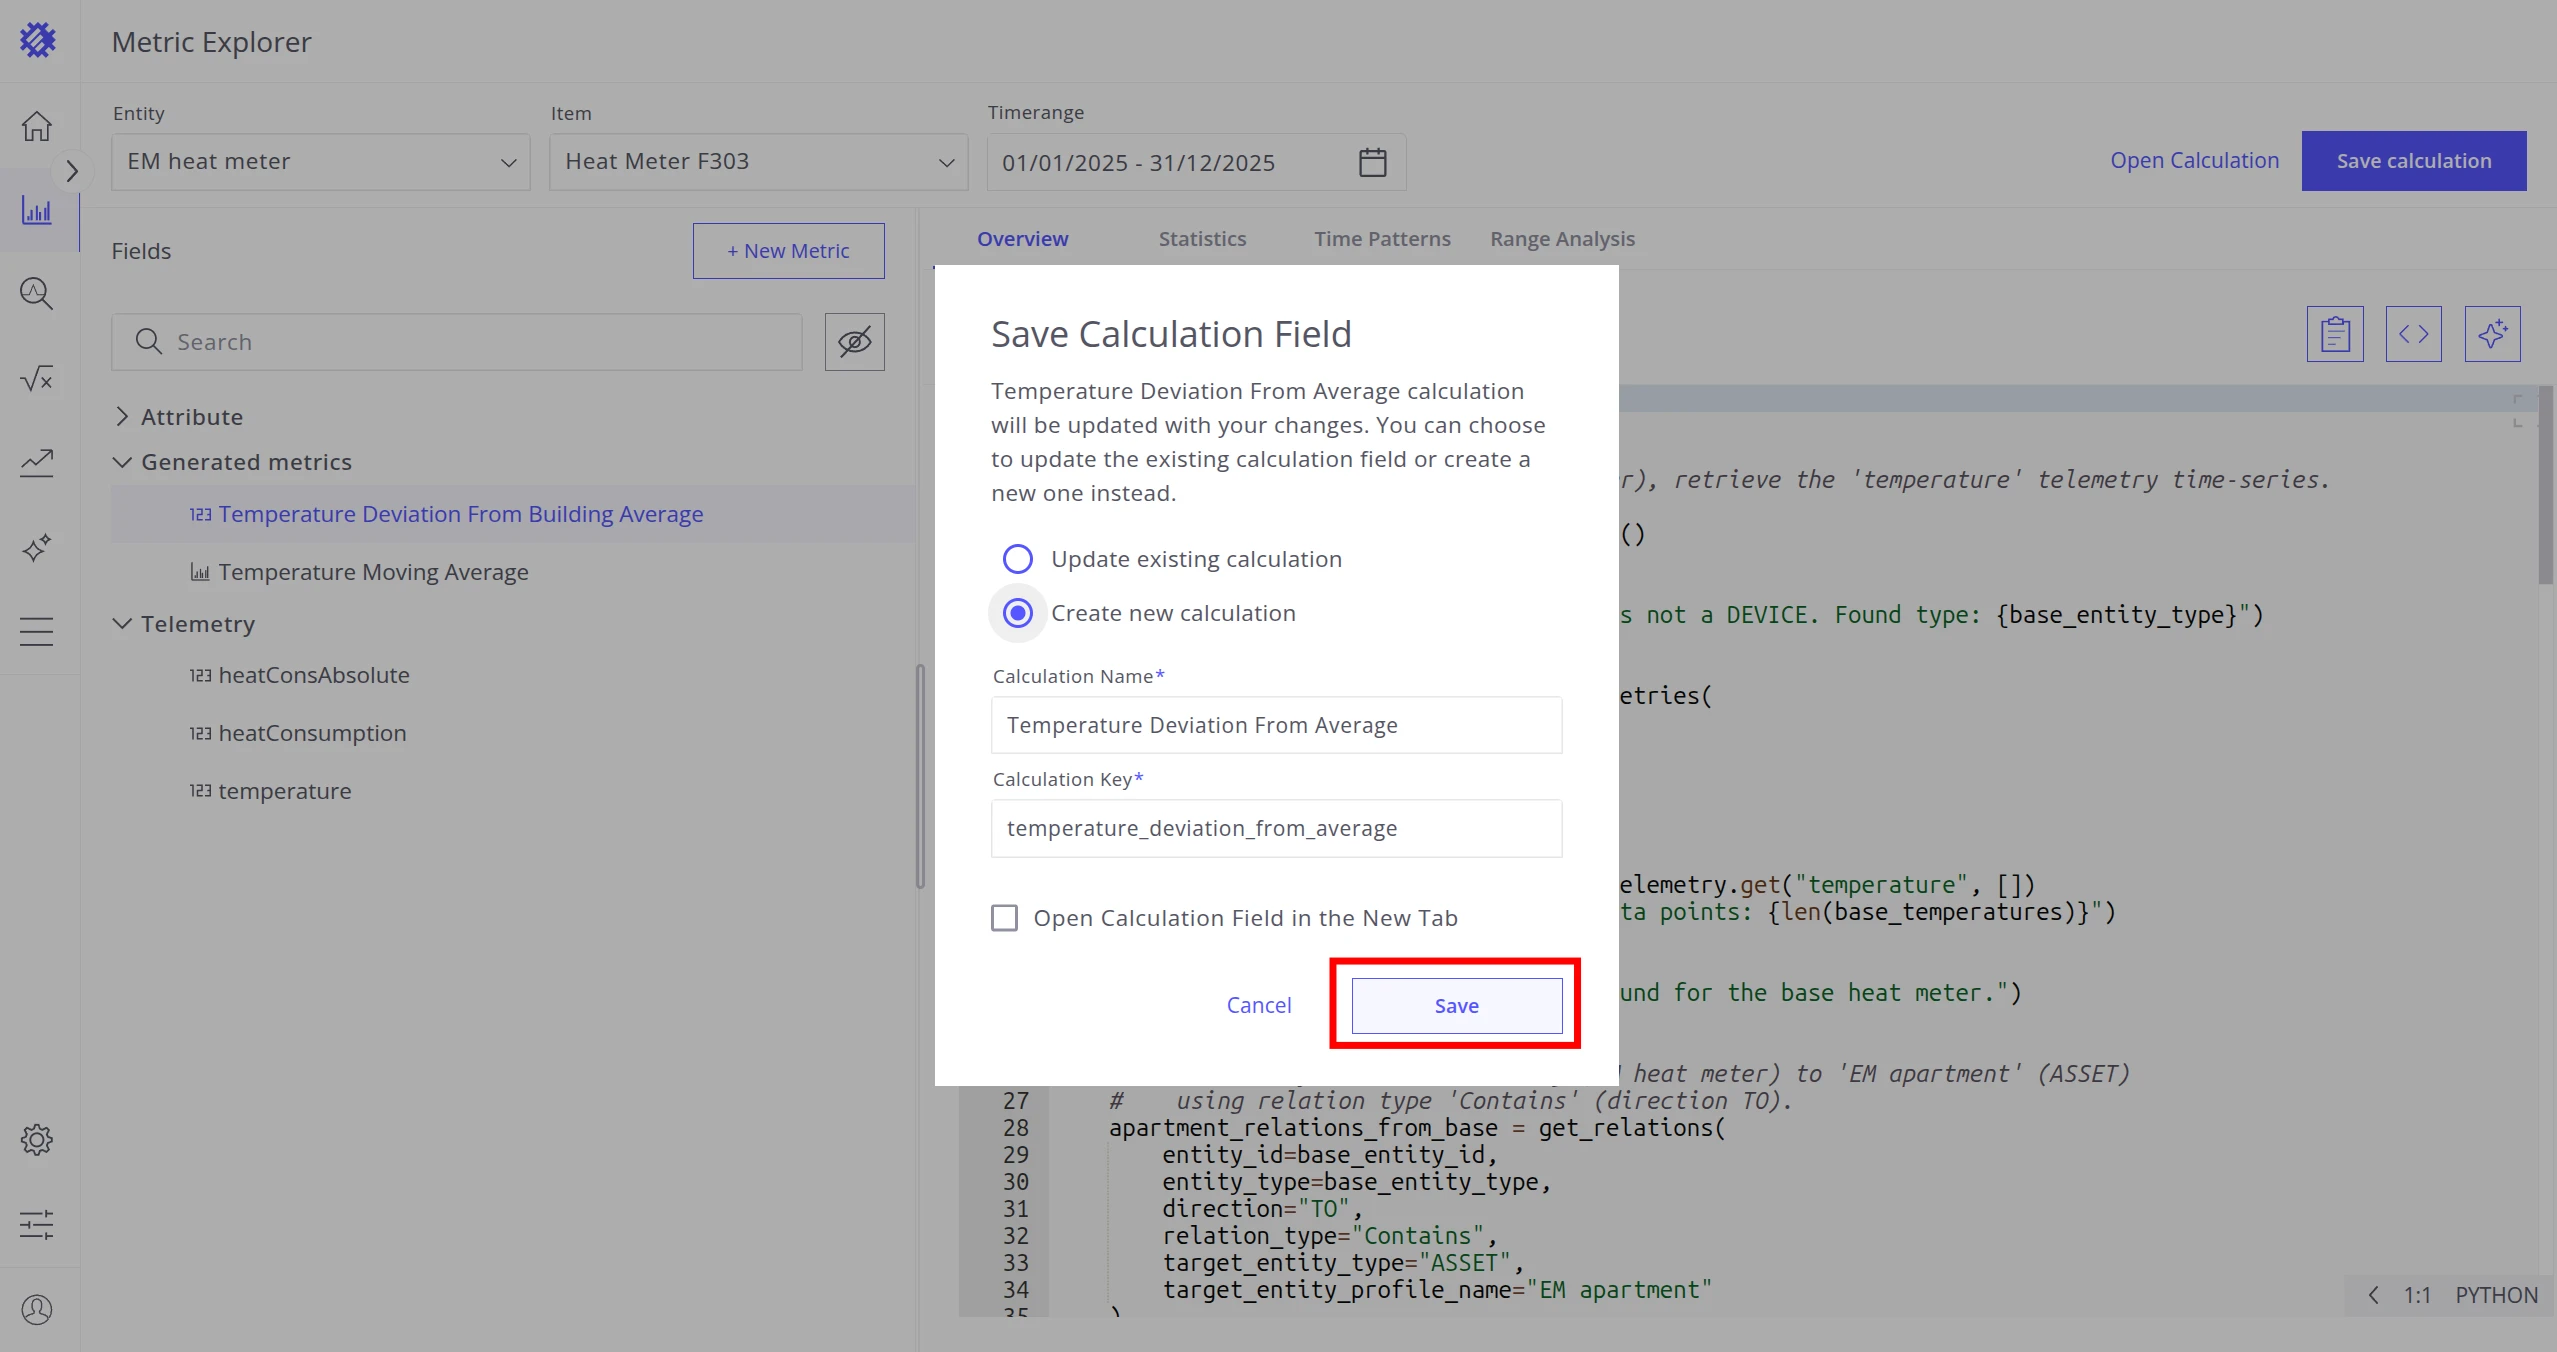
To resolve the divergence, click Save calculation and choose:
- Update existing calculation — overwrites the current Calculation Field with the metric code.
- Create new calculation — creates a new Calculation Field; the metric becomes associated with the new one.
Rename a Metric
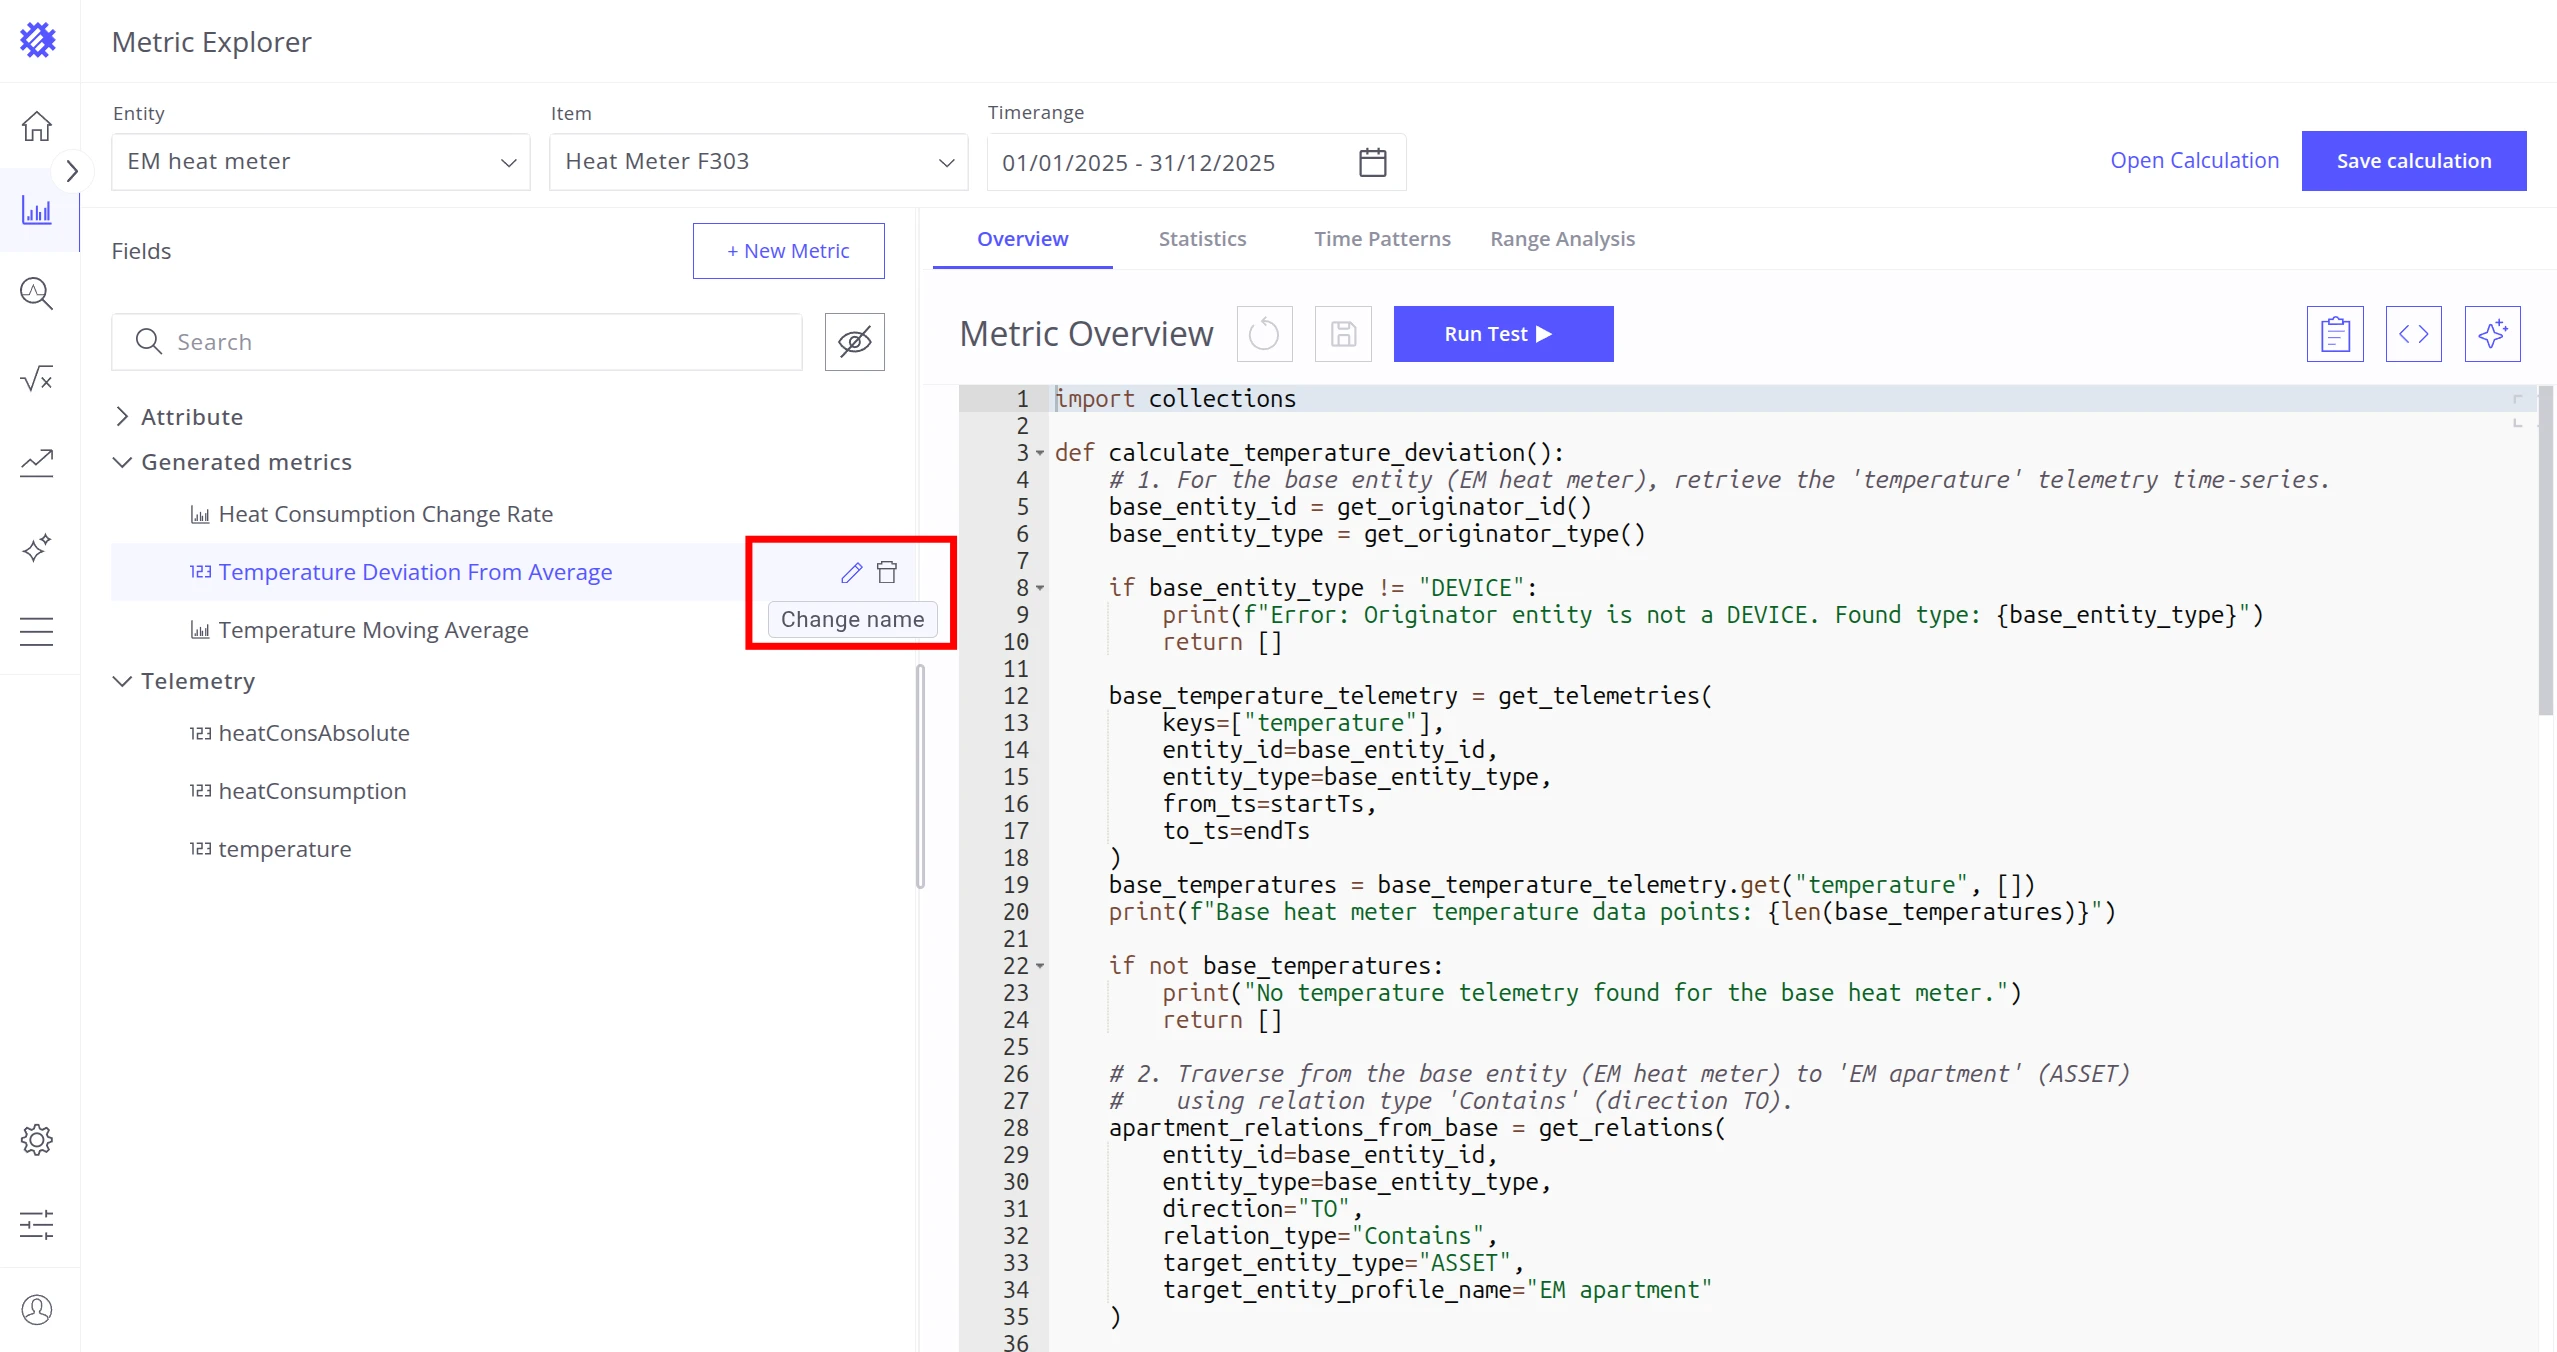
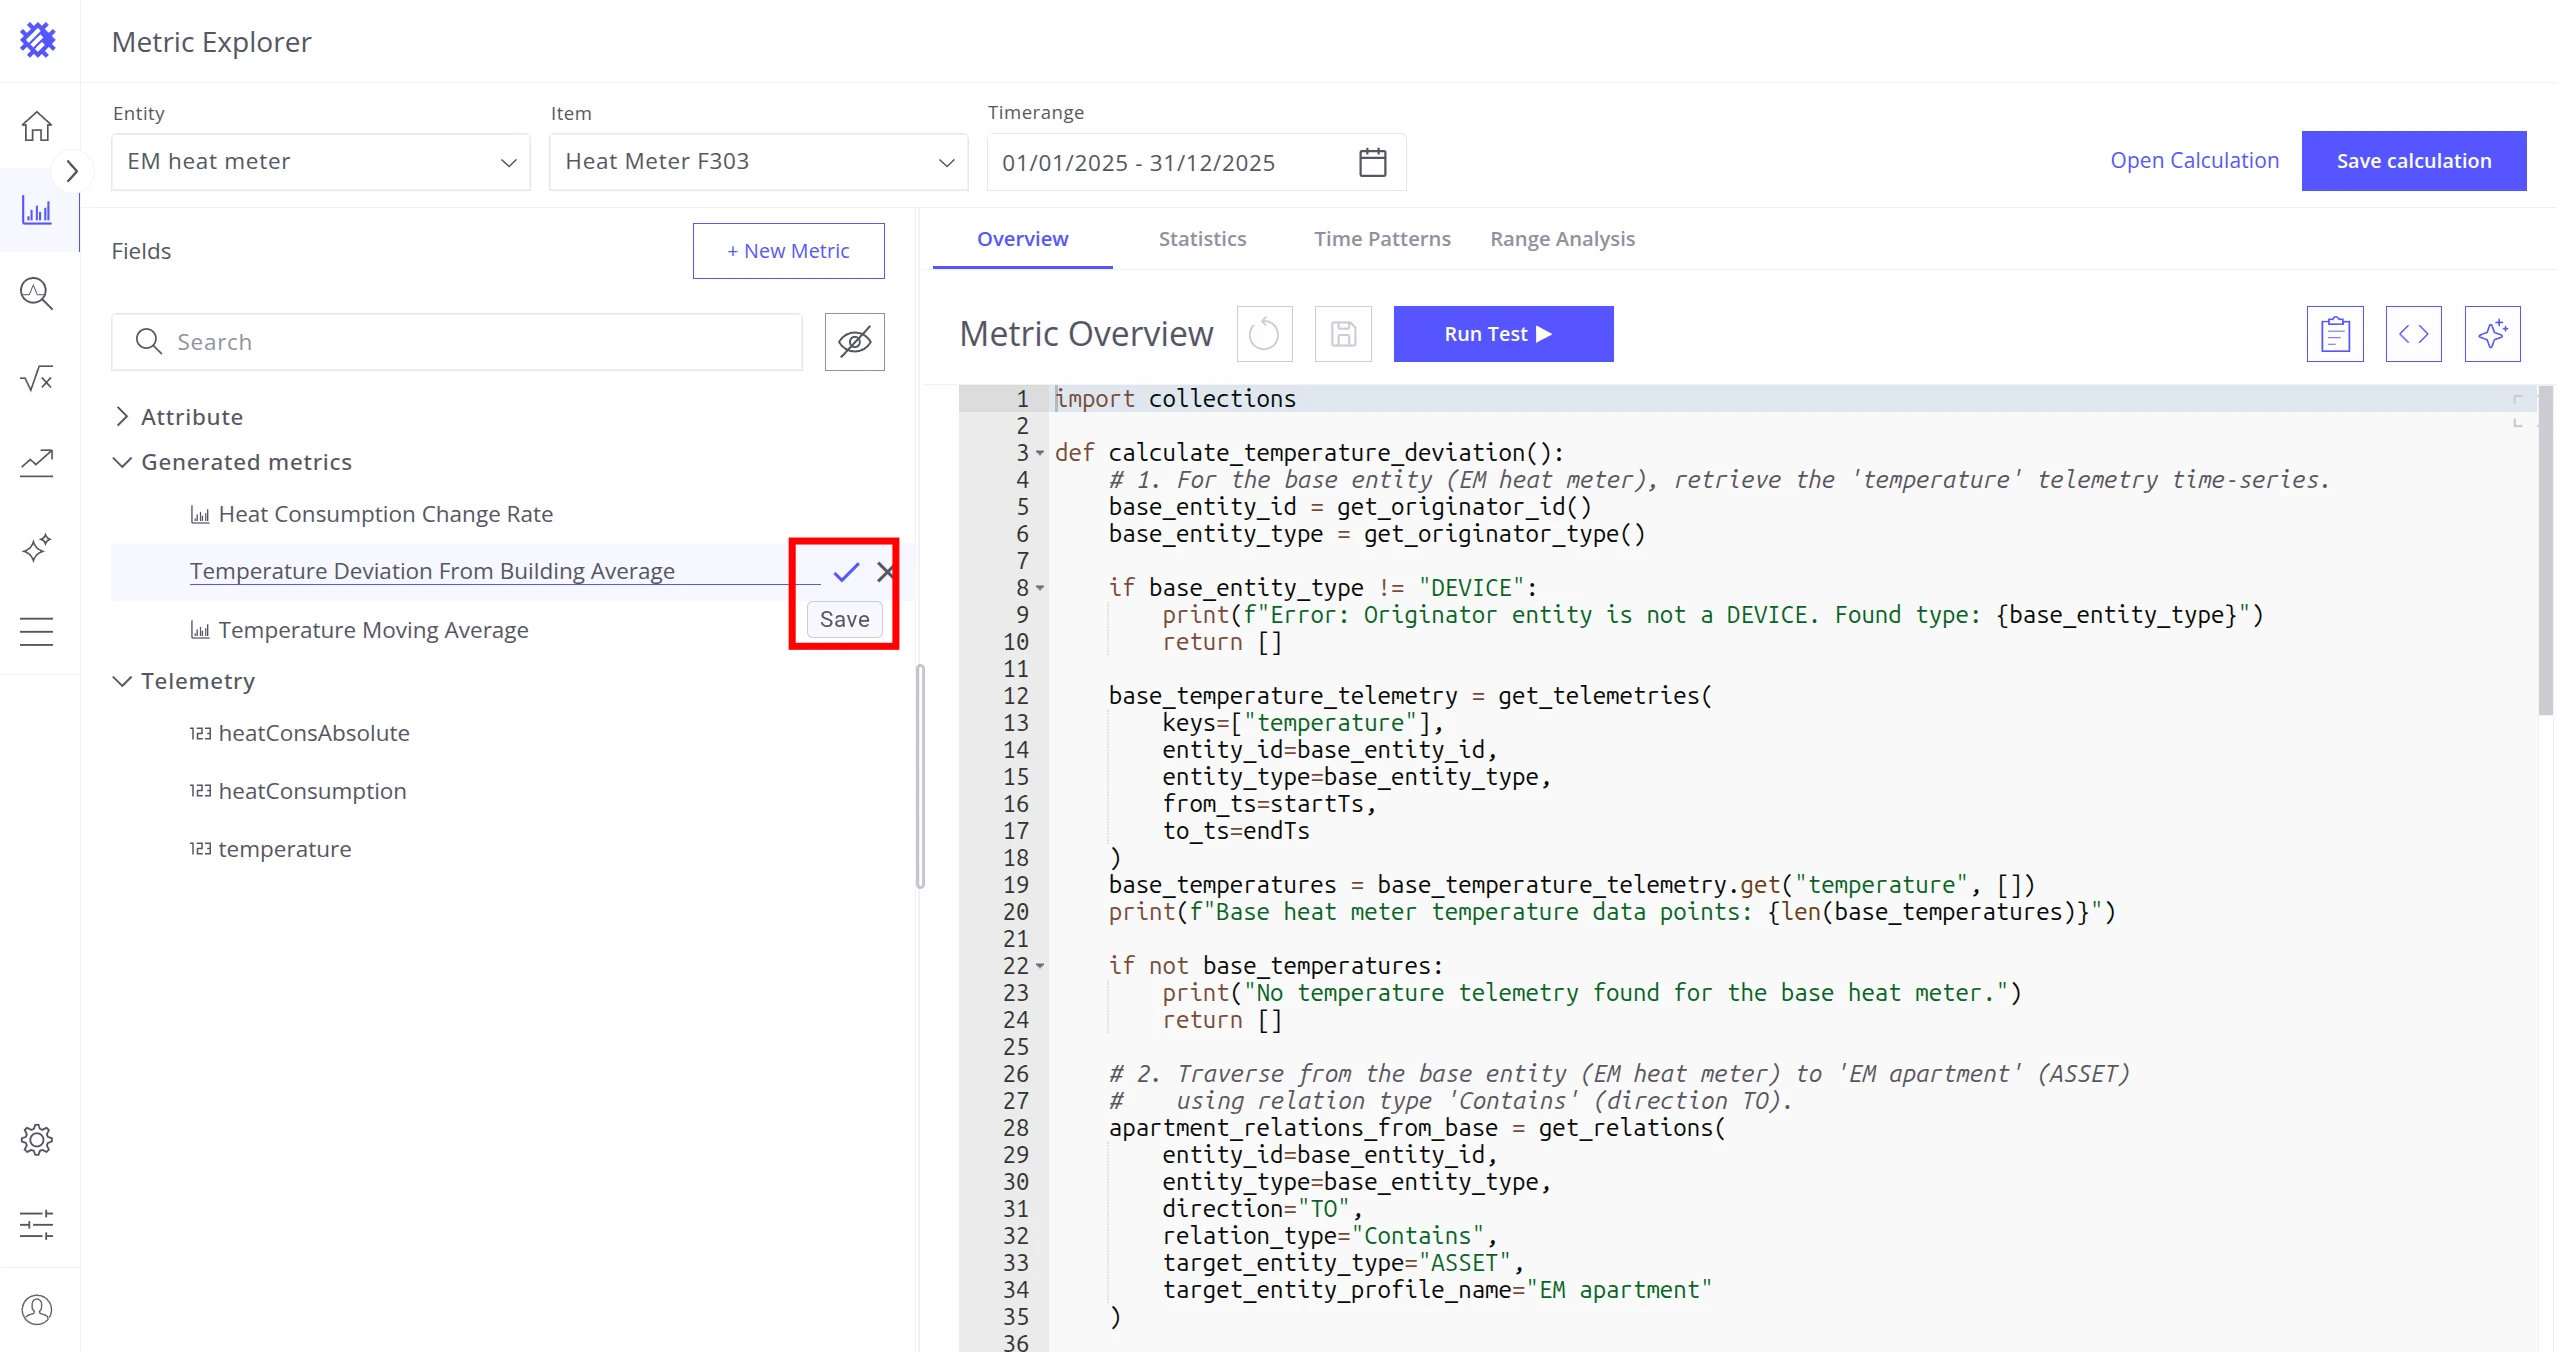
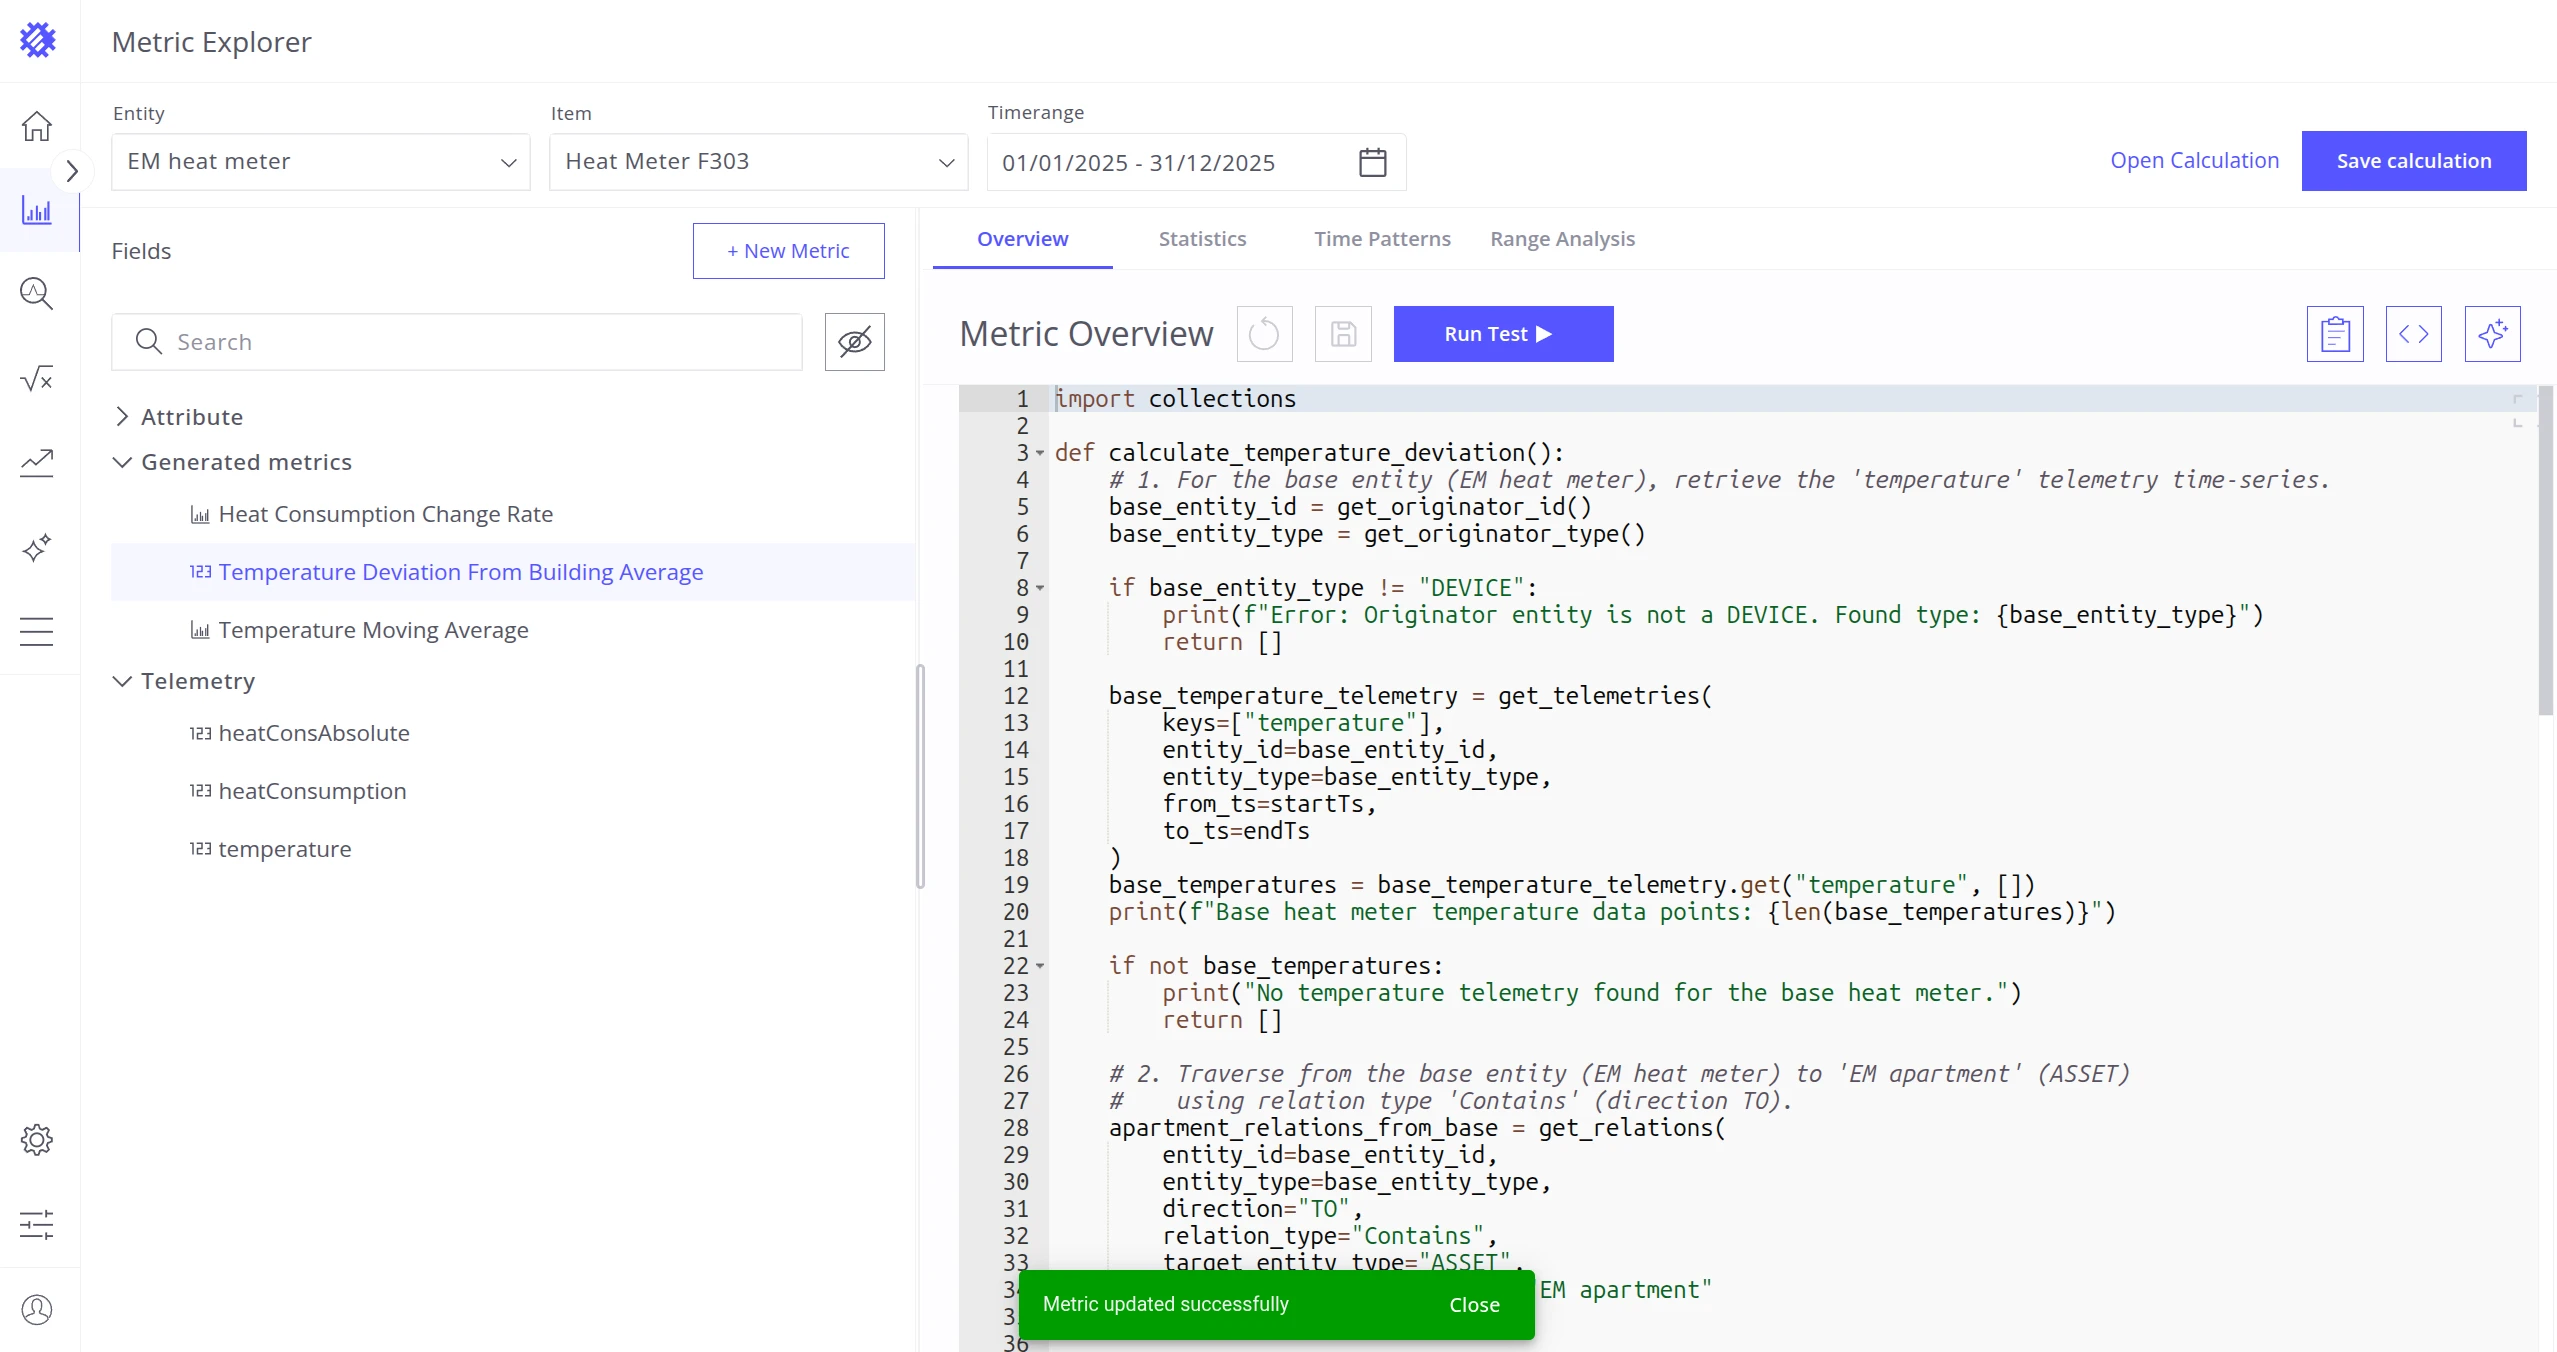
Section titled “Rename a Metric”- Click Change Name next to the metric name.
- Enter the new name.
- Click Save.
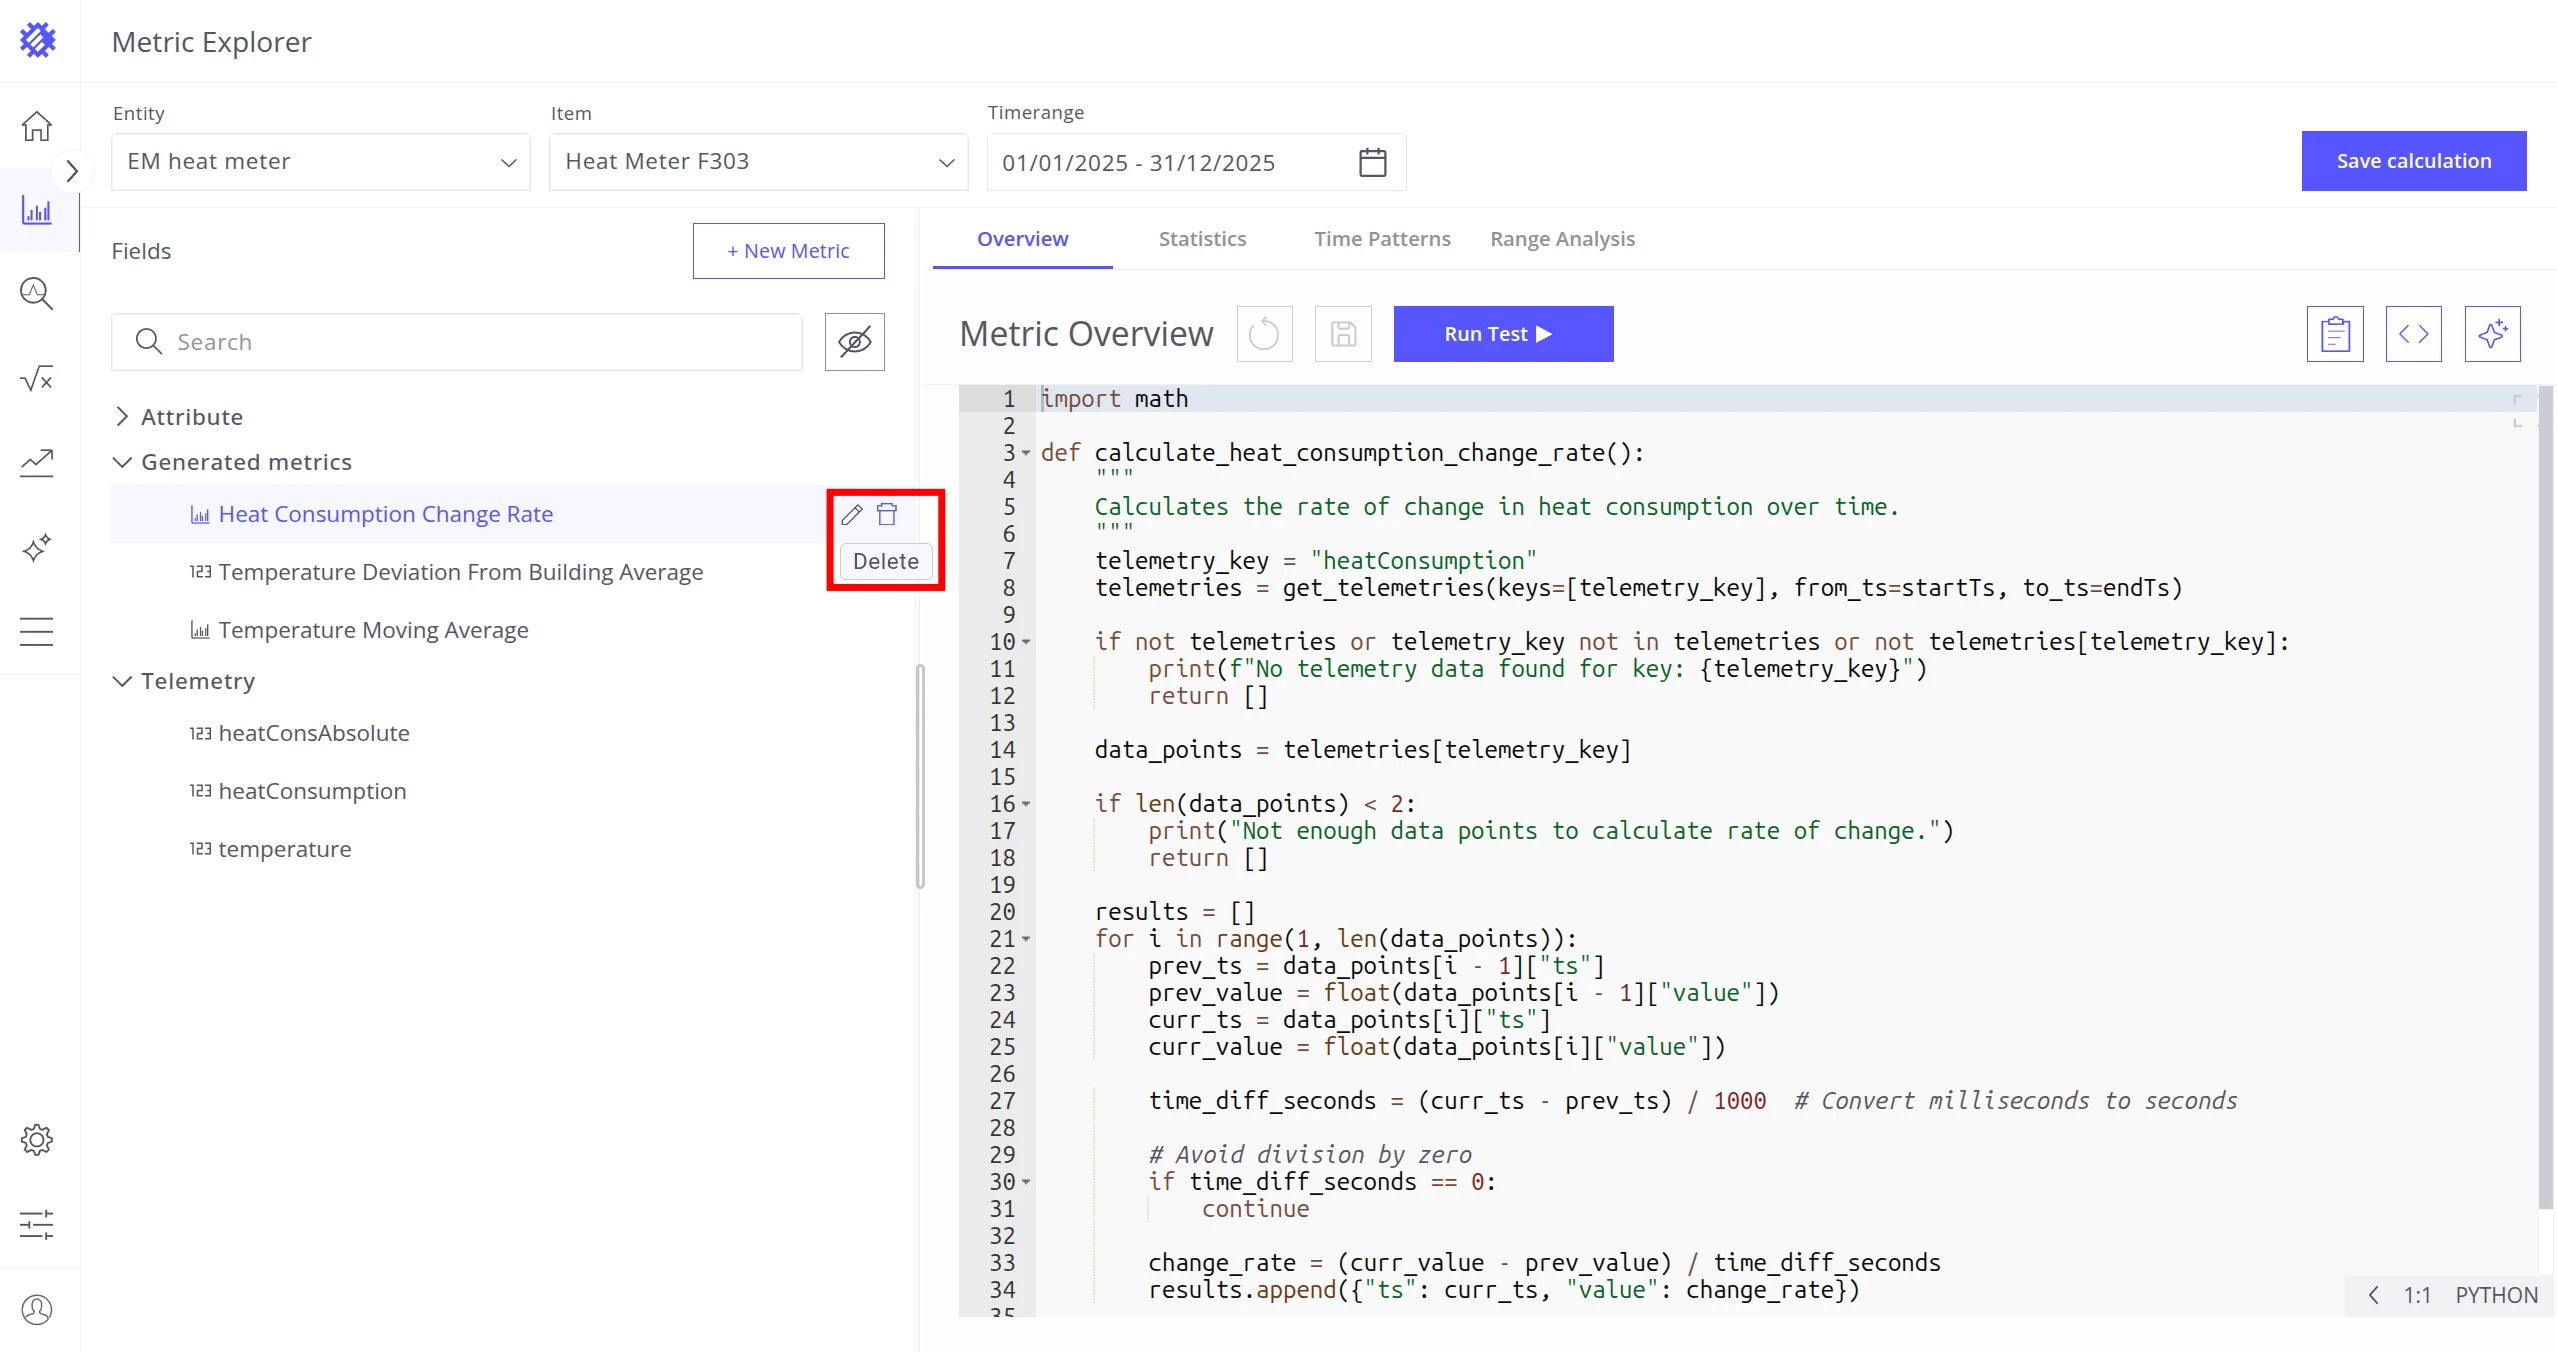
Delete a Metric
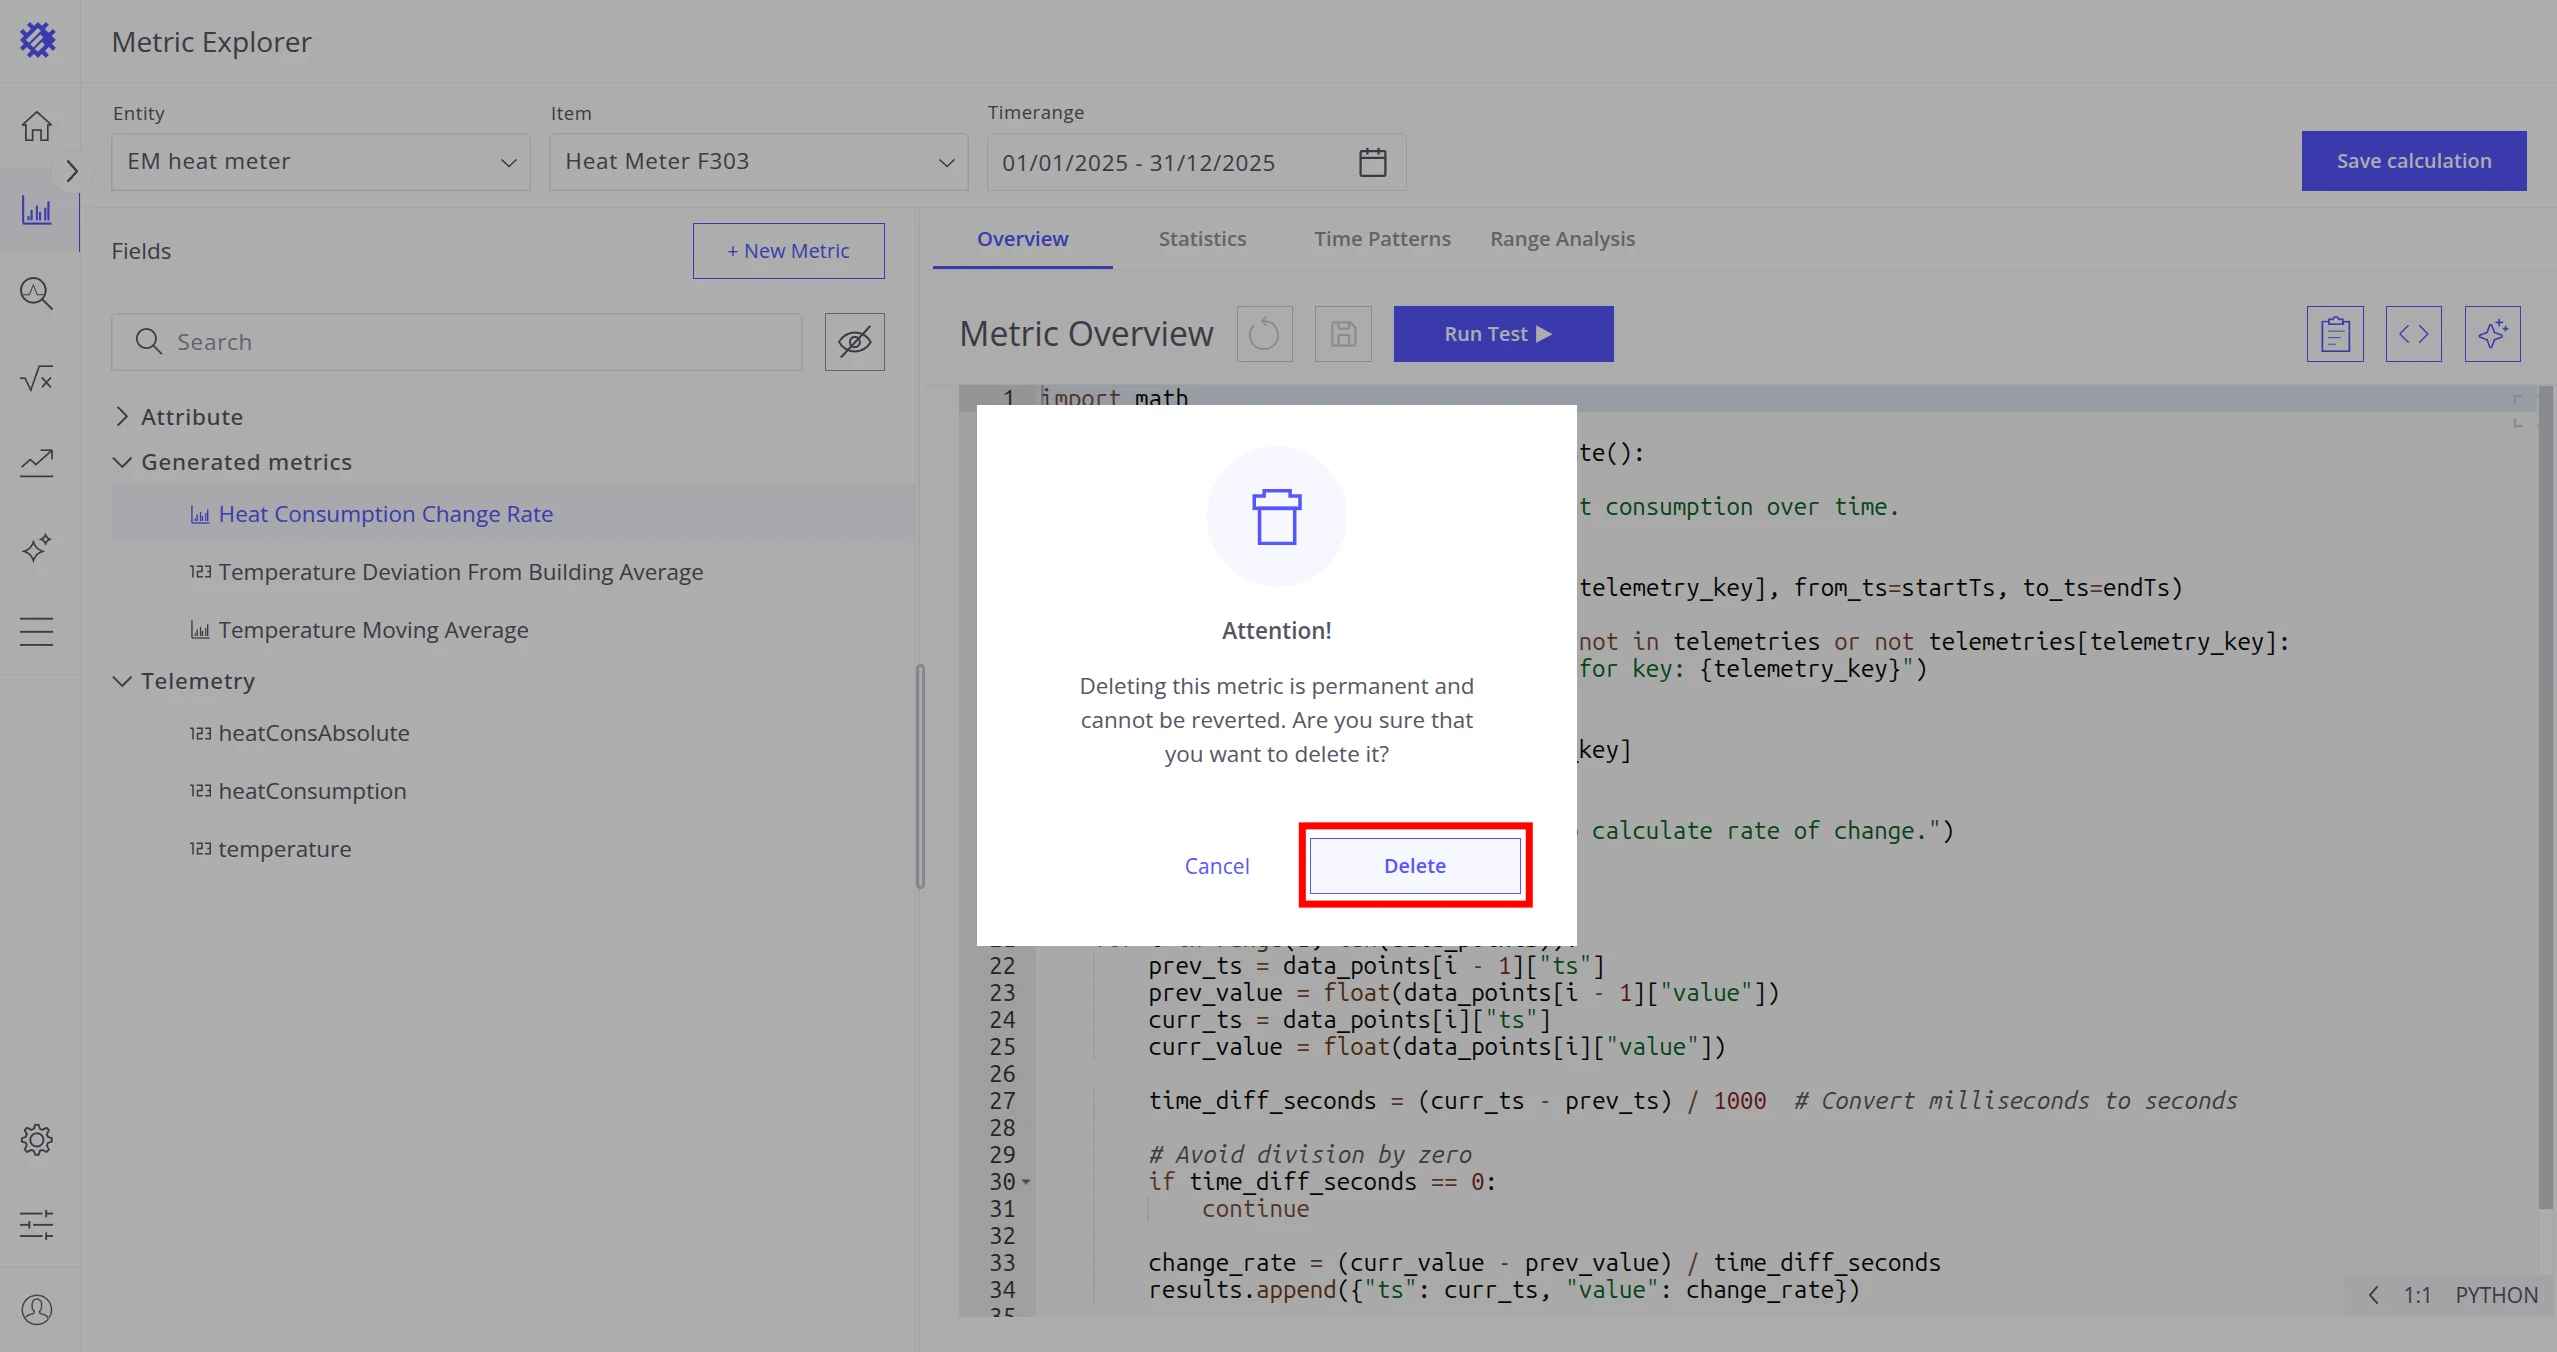
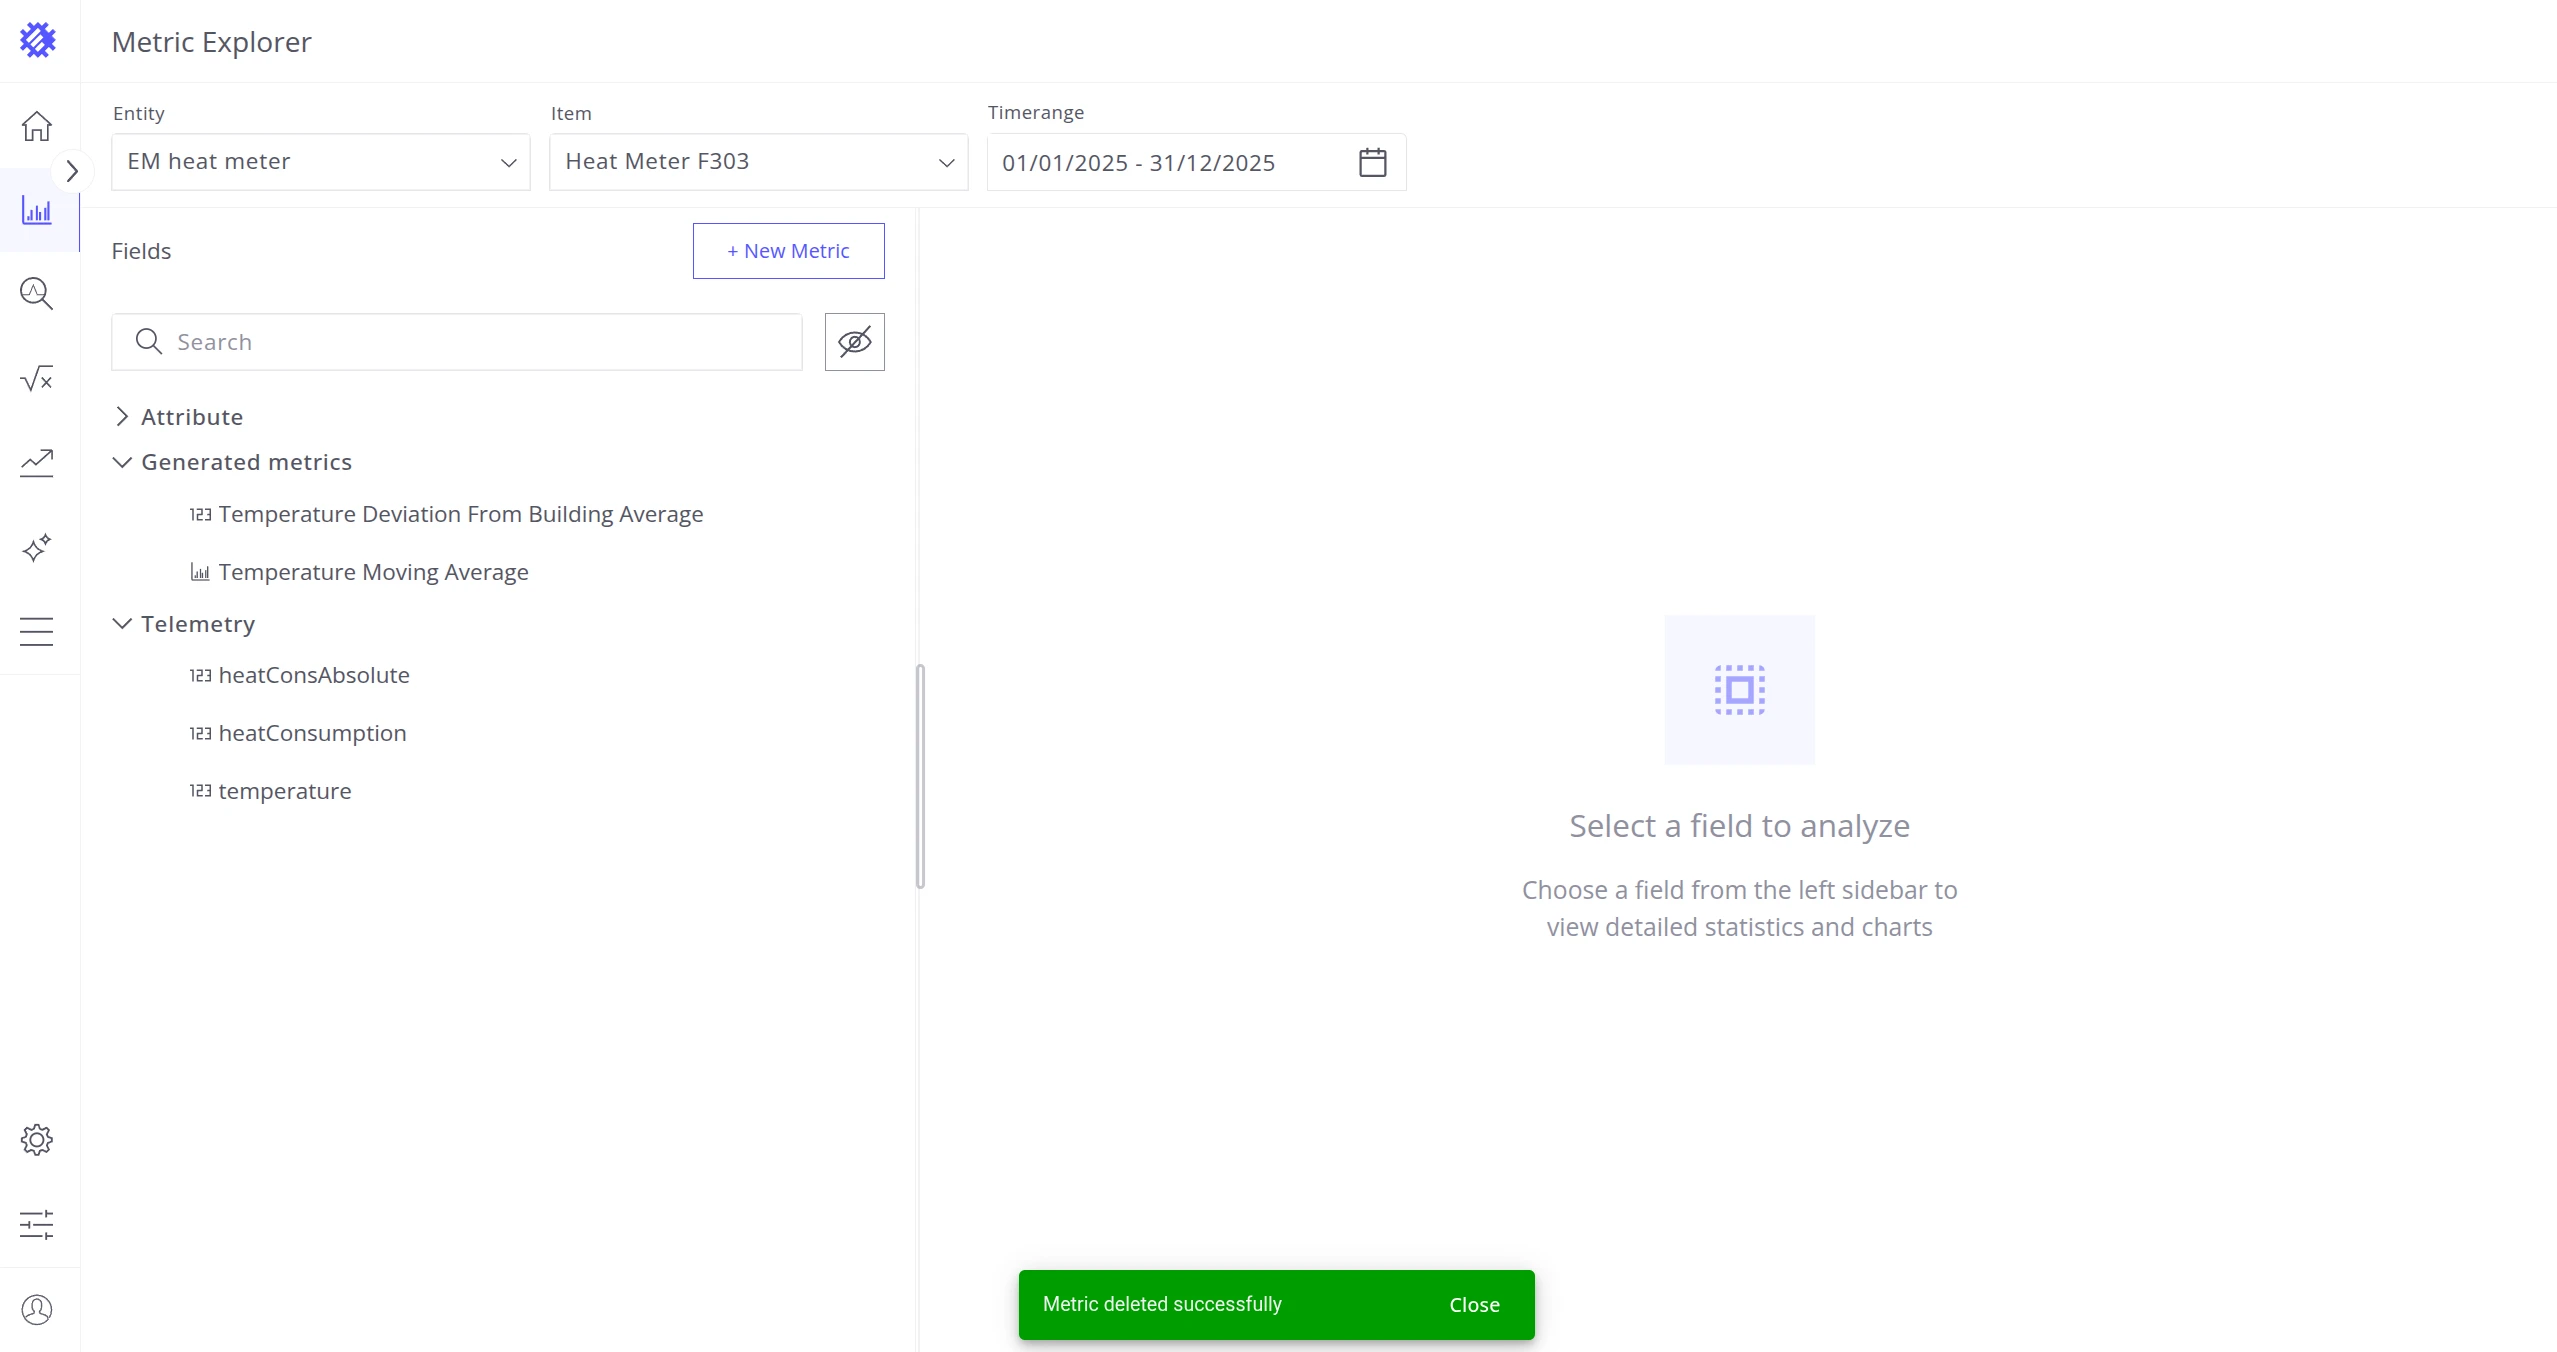
Section titled “Delete a Metric”- Click Delete next to the metric name.
- Click Delete again to confirm.
Tabs Section
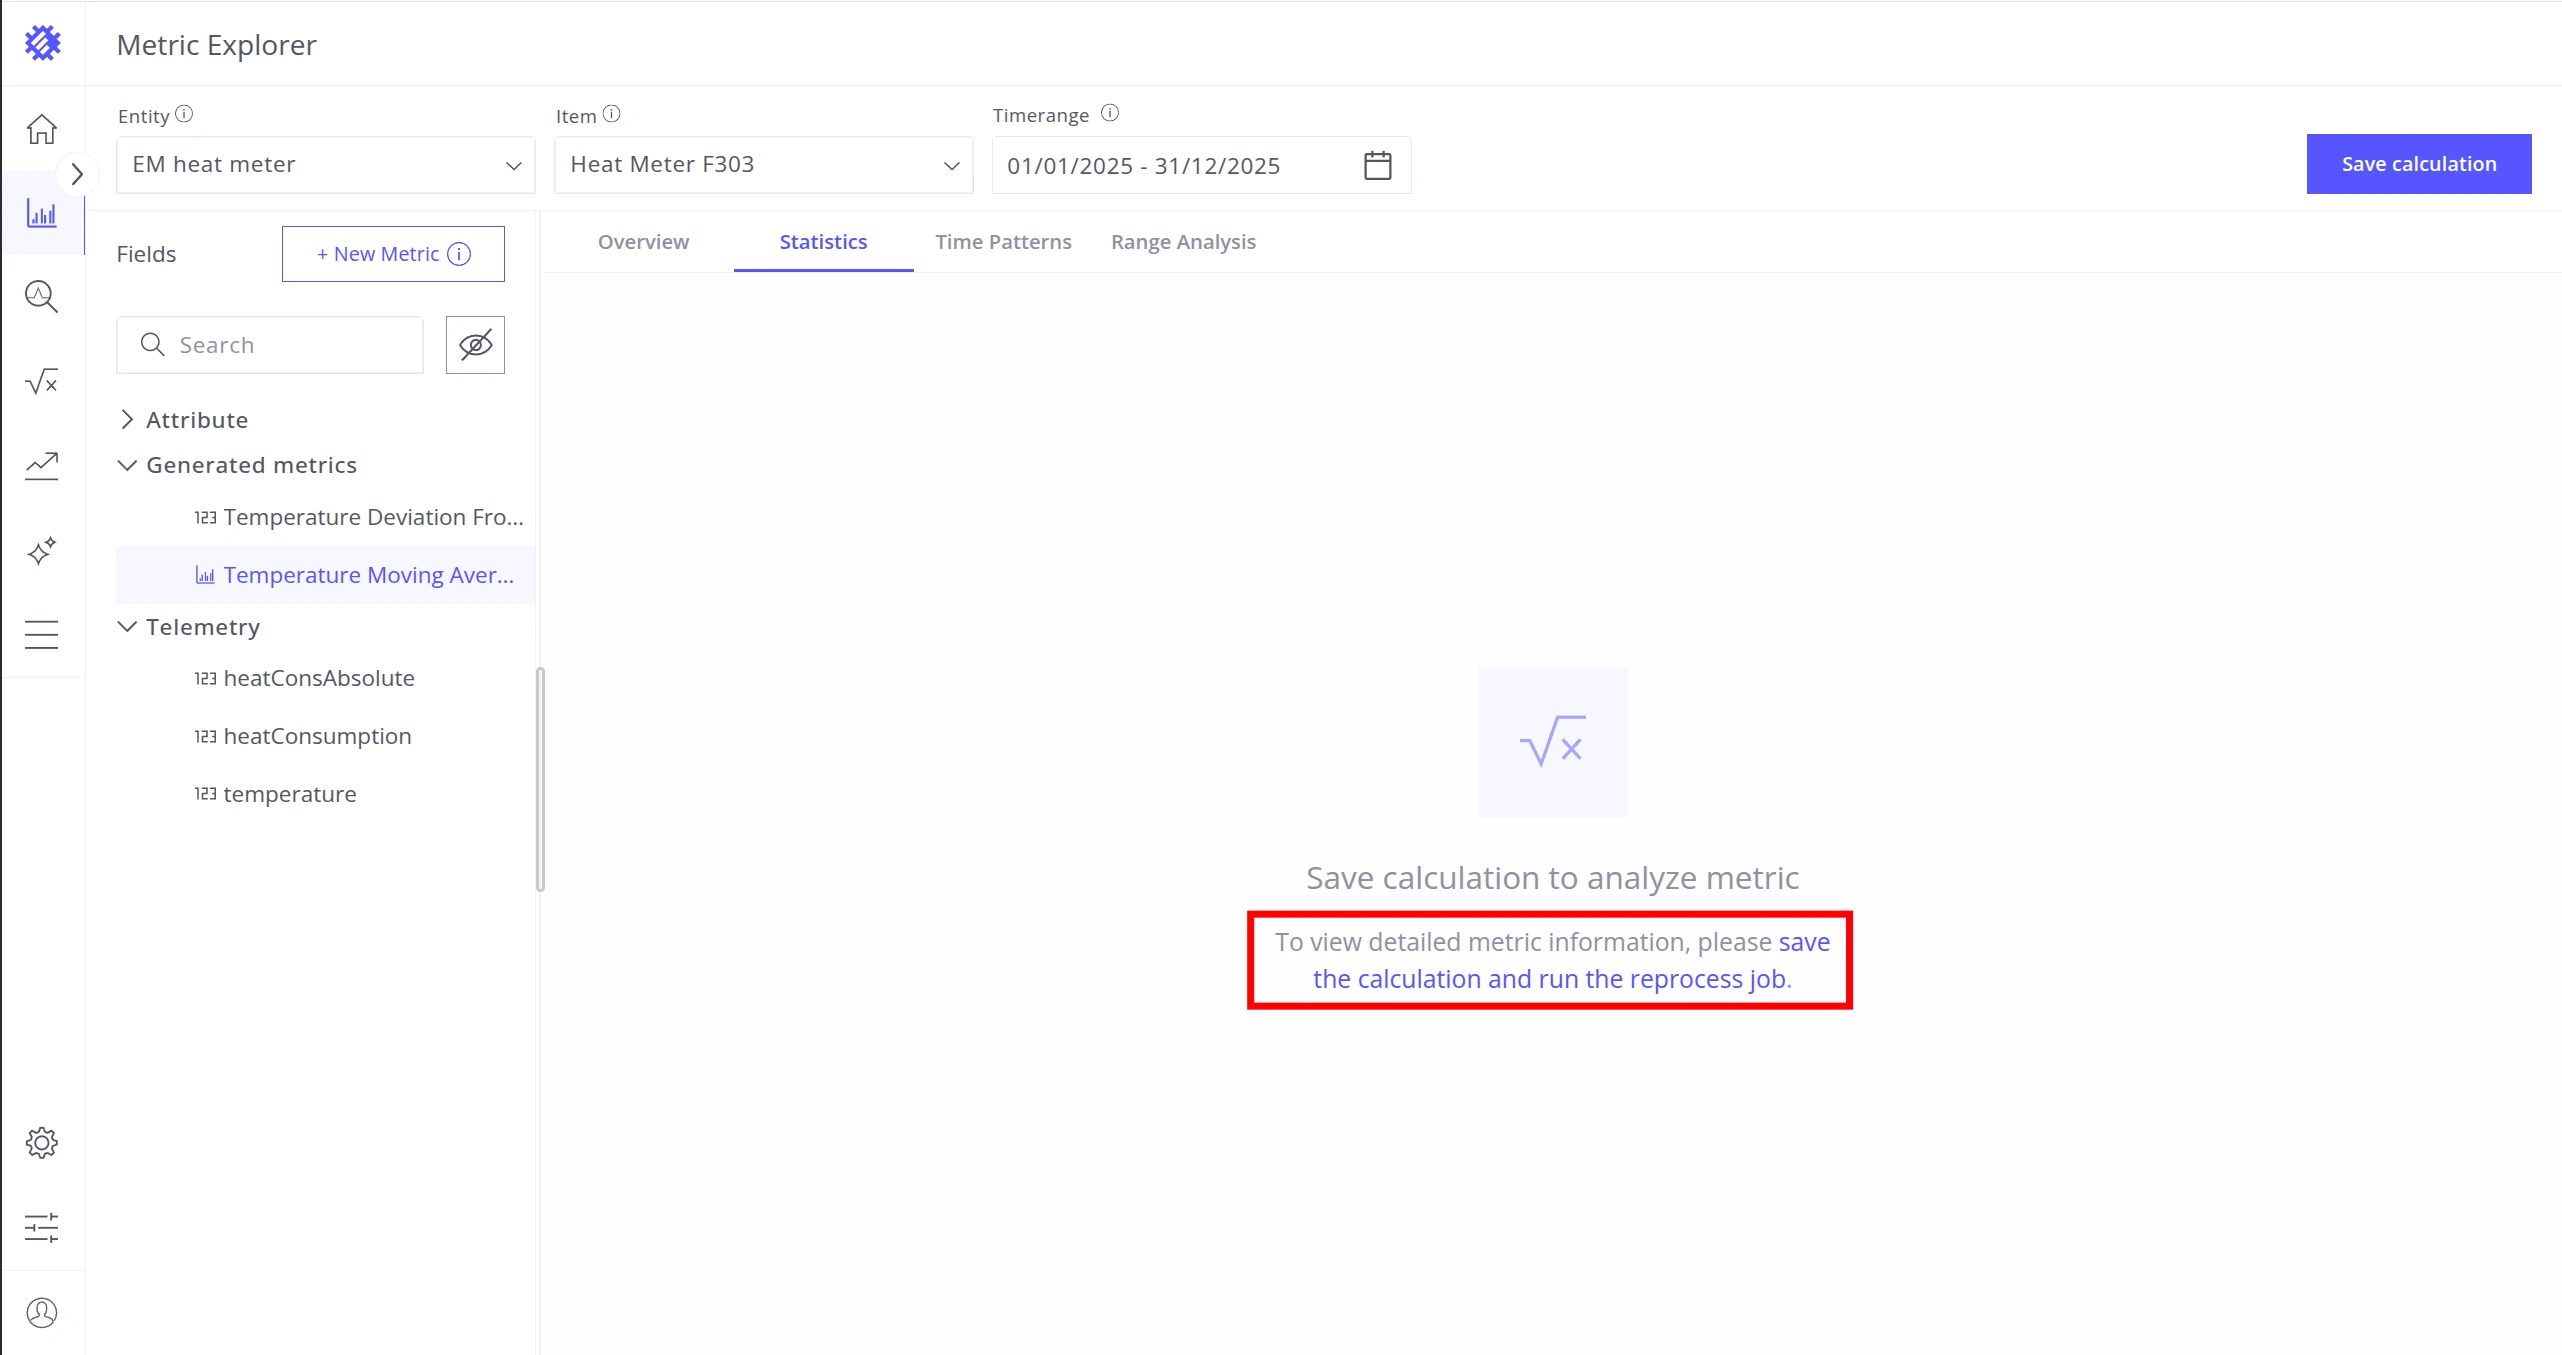
Section titled “Tabs Section”The Statistics, Time Patterns, and Range Analysis tabs are available for a generated metric only if:
- The metric has an associated Native Calculation Field, and
- That Calculation Field has telemetry data in ThingsBoard for the selected timerange.
If no Calculation Field exists yet, you will be prompted to create one:
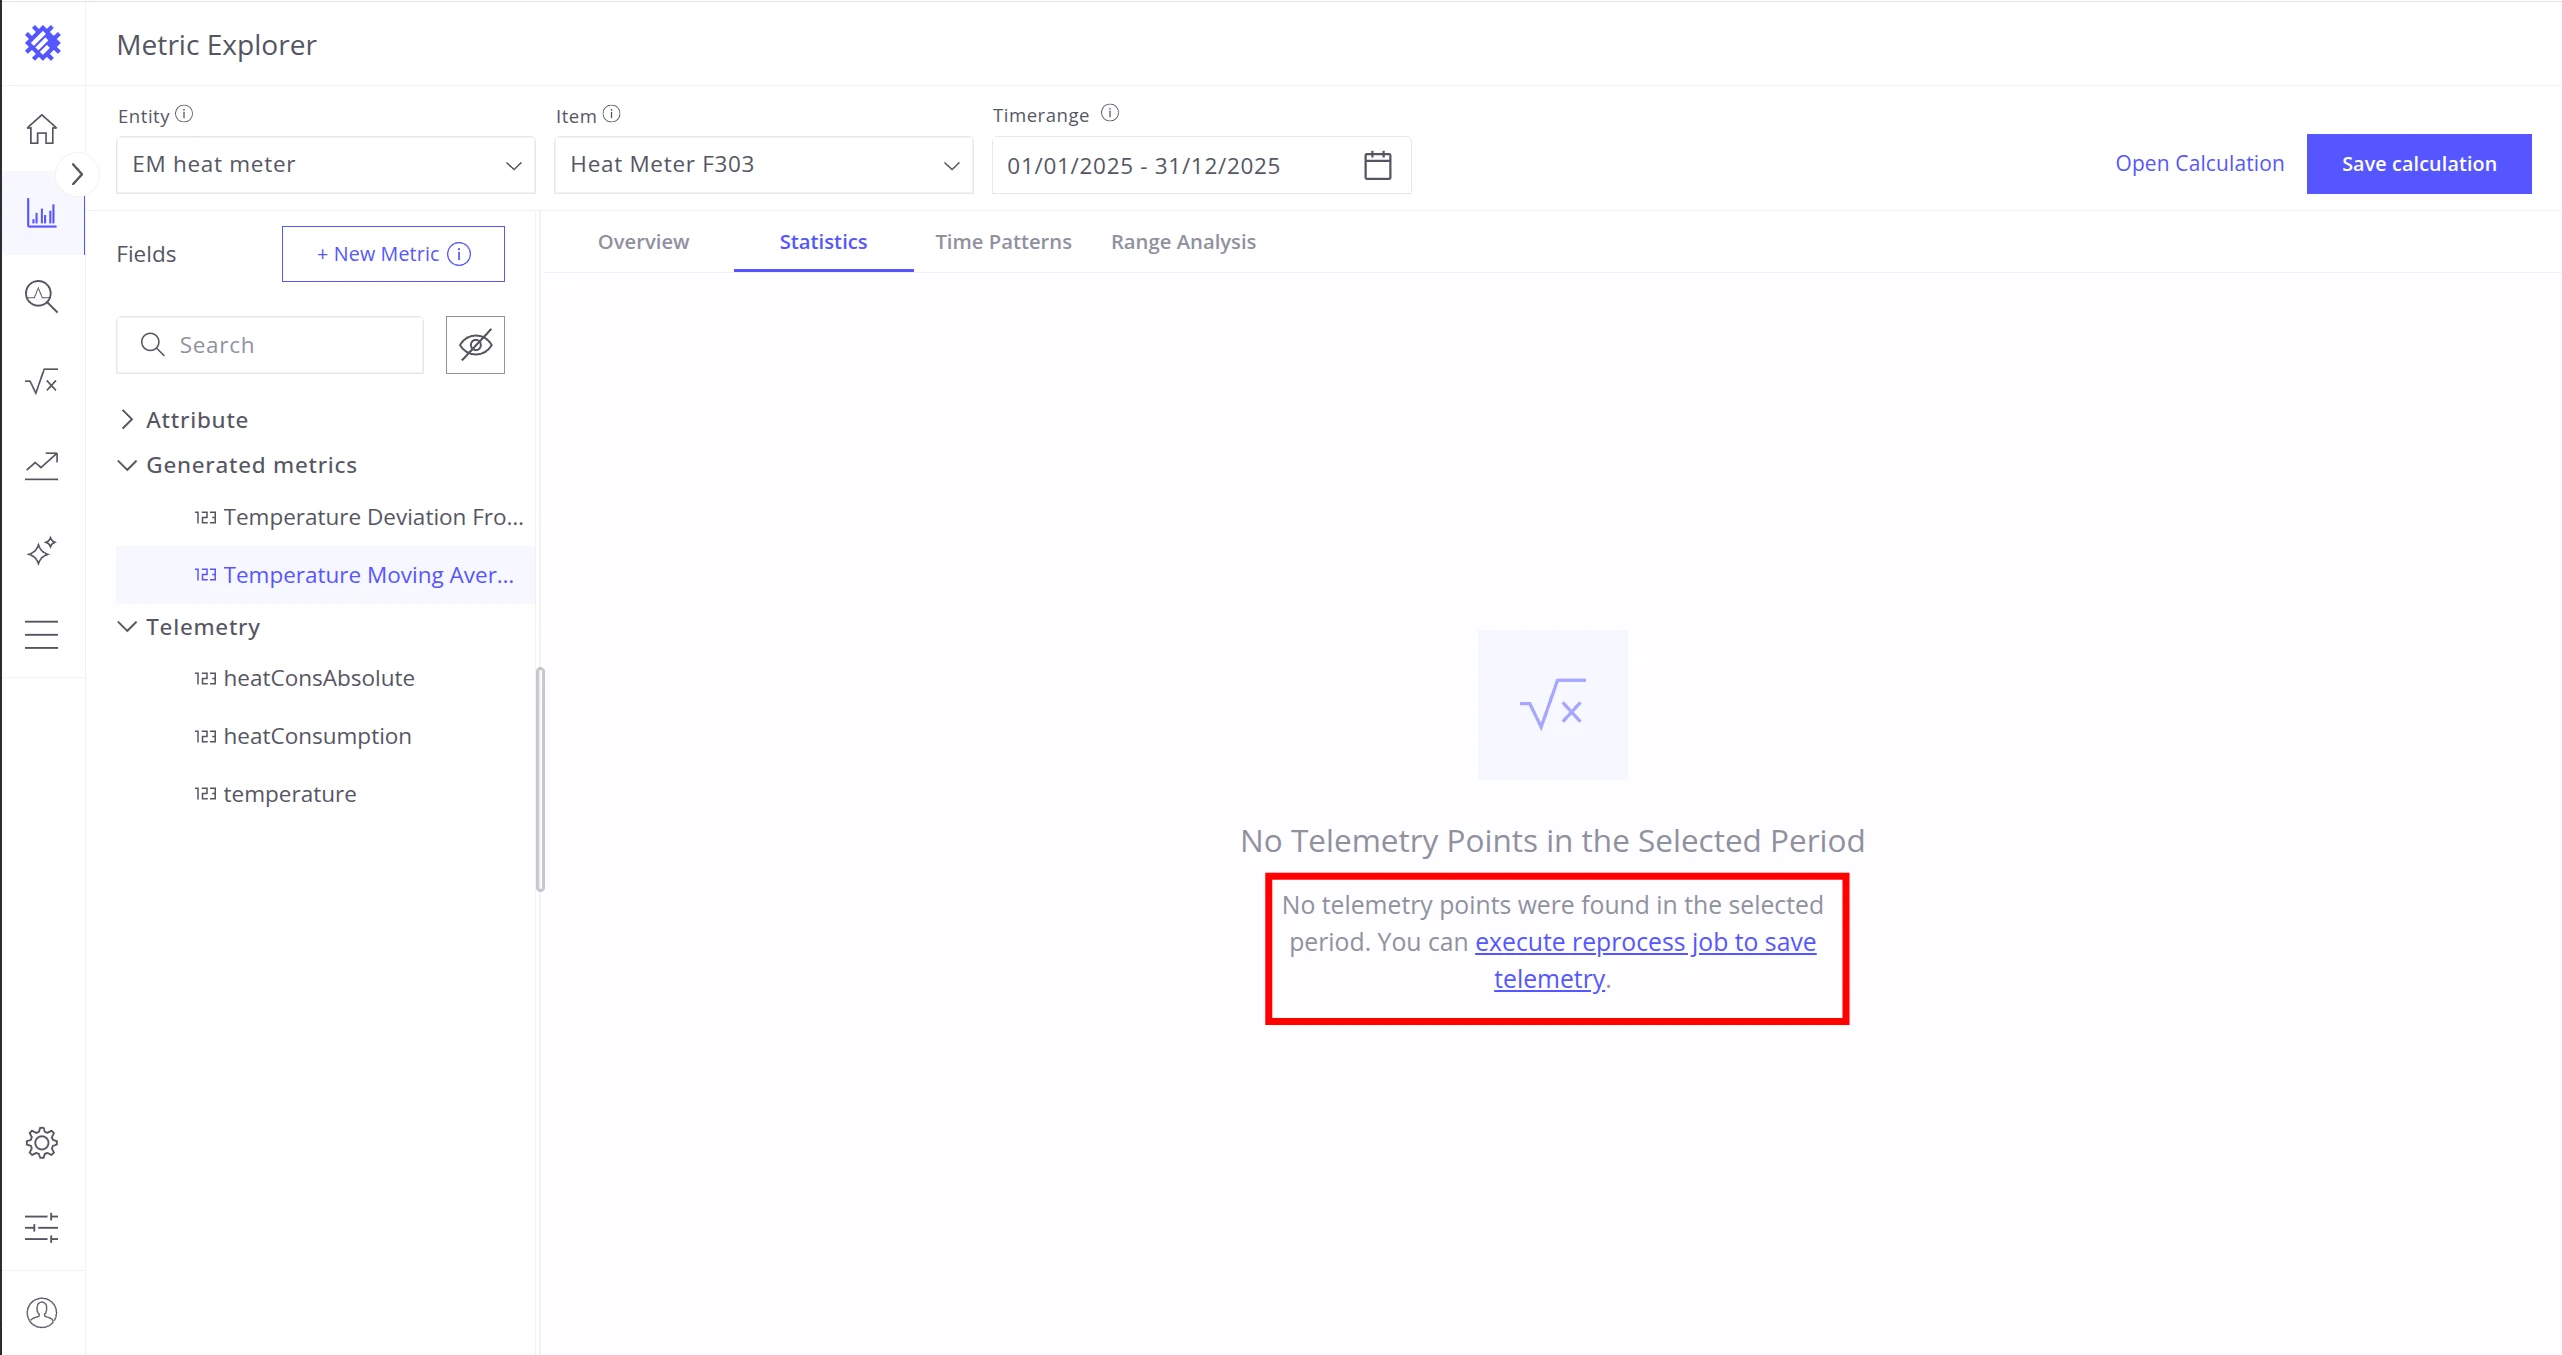
If a Calculation Field exists but has no data for the selected timerange, you will be prompted to run a reprocess job:
Once telemetry is saved, all tabs show the generated data:
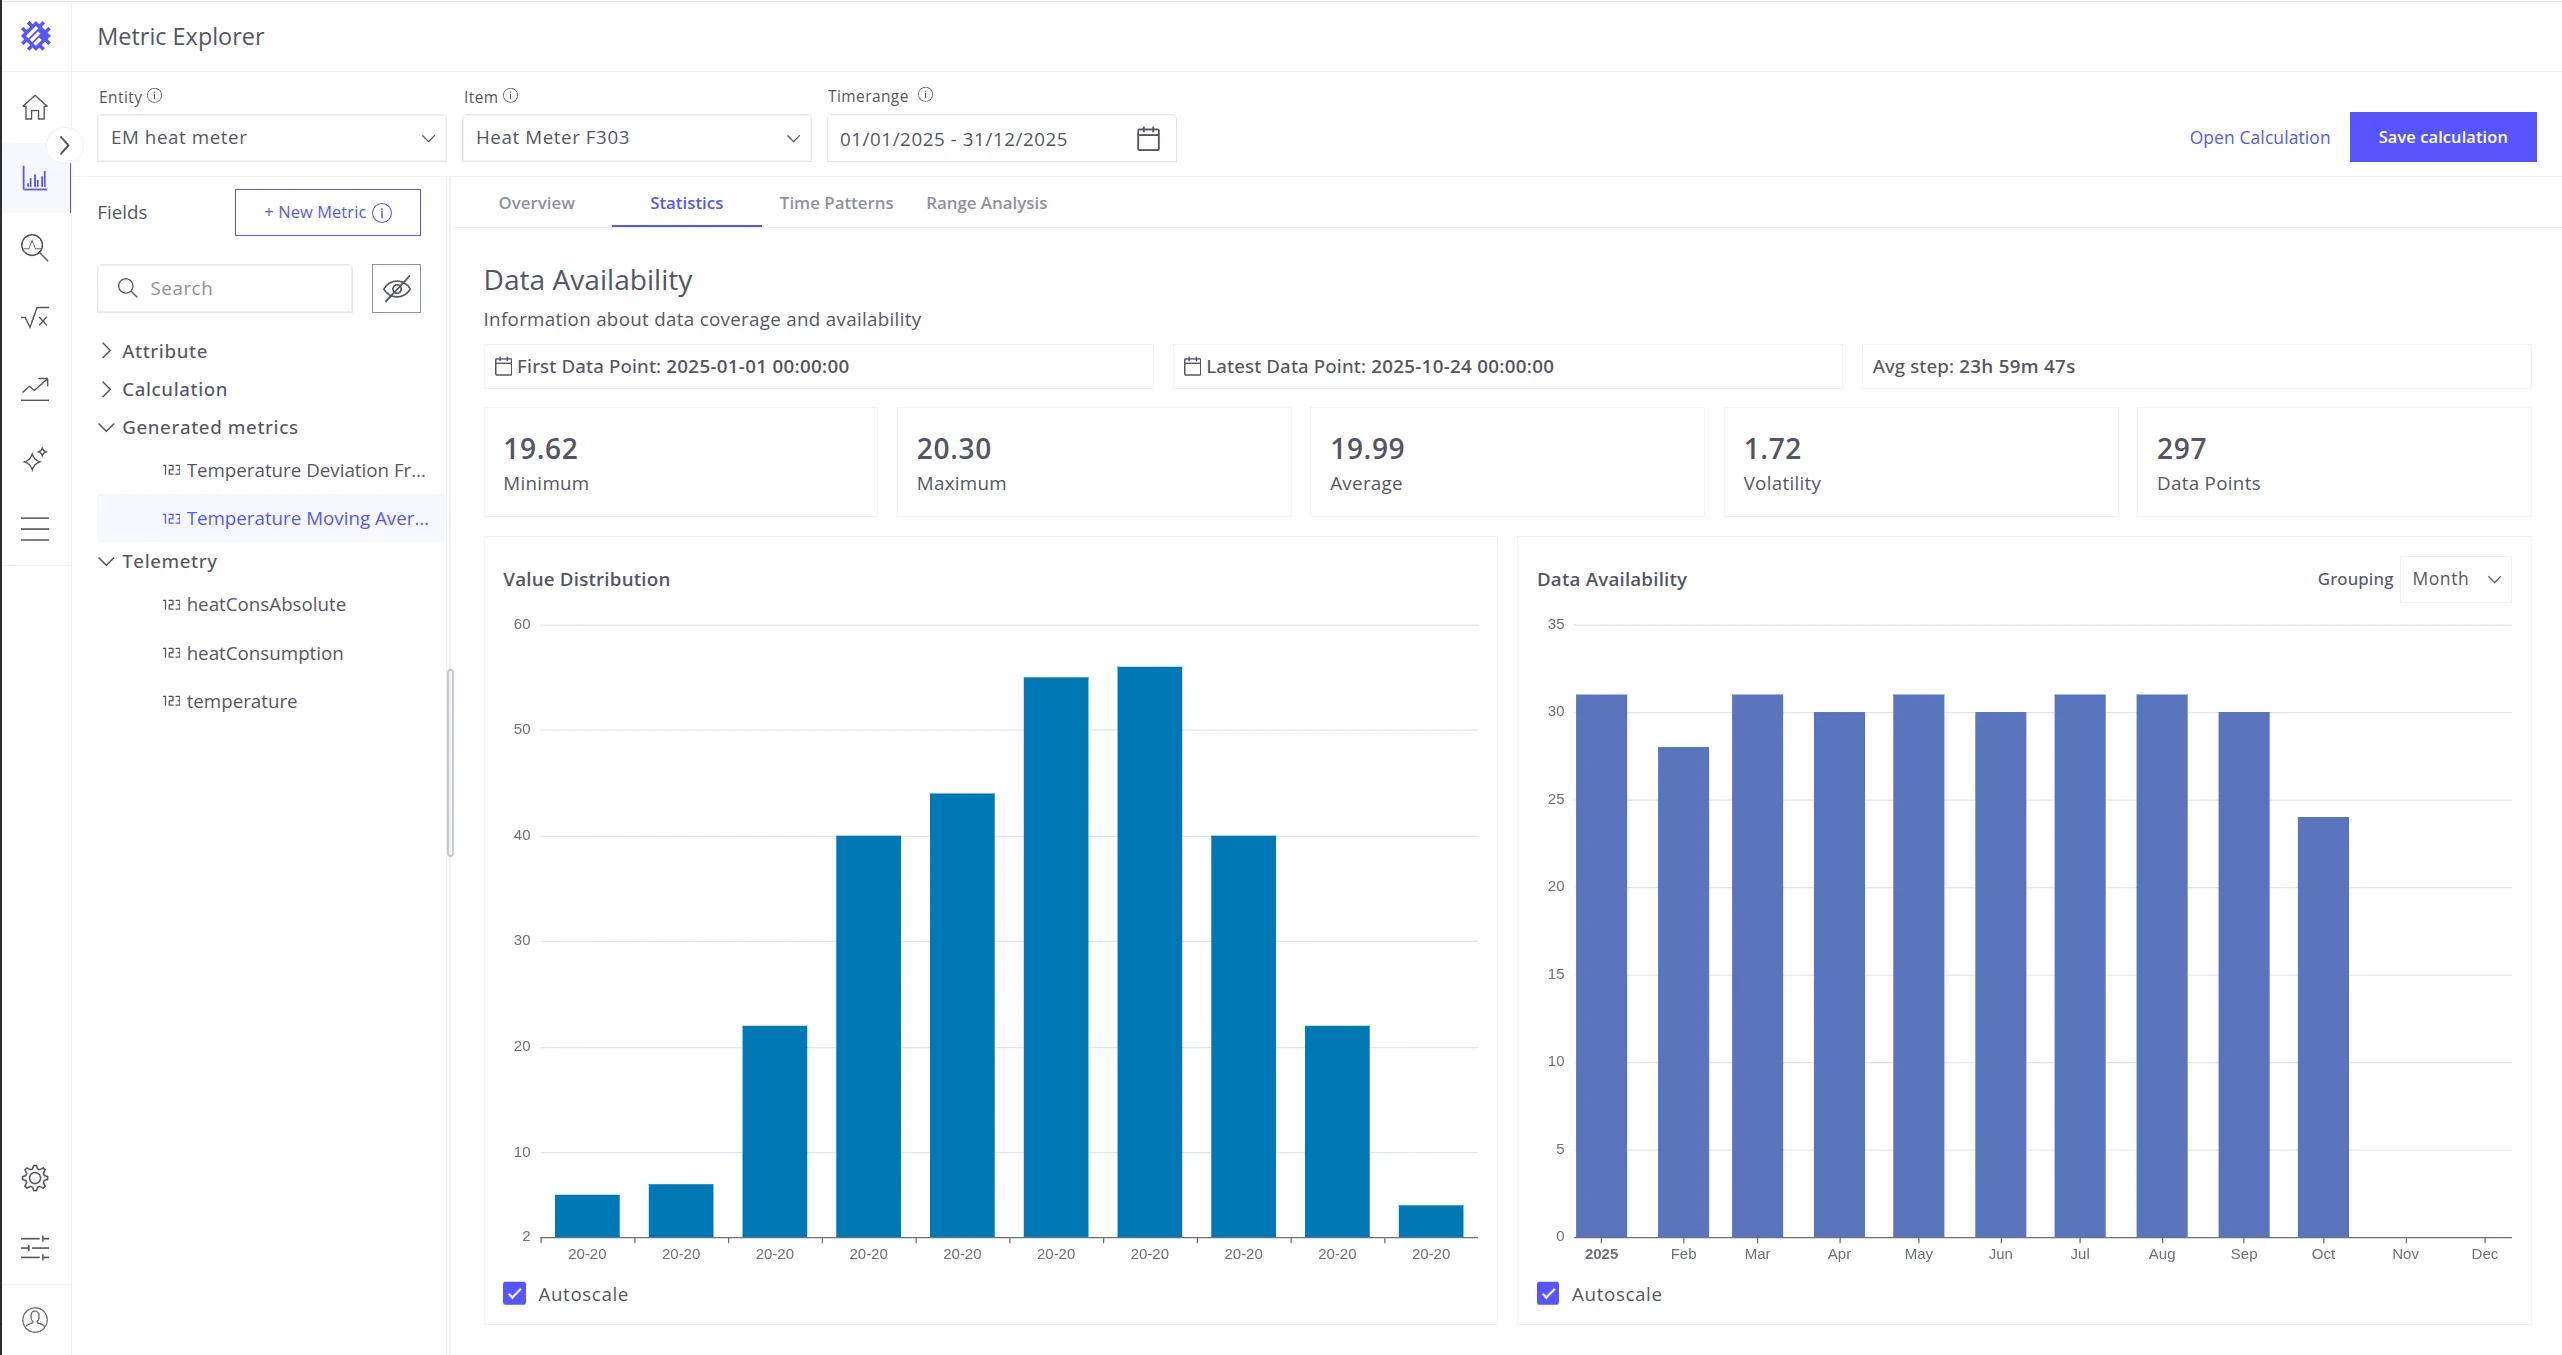
See Tabs Section for a full description of each tab.
Best Practices
Section titled “Best Practices”- Use Manual mode with AI for specific custom metrics — give the AI a clear description of the business problem and the desired output, not just a formula.
- Give precise instructions when prompting the AI — instead of “Fix my code”, describe the symptom: “The function returns NaN when temperature is below 0, fix the null check.”
- Check logs first when generated code fails — the log section shows which line caused the error and why.
- Fix timeout errors by reducing how often
get_telemetriesis called. If it is called inside a loop, ask AI to call it once per device instead. Alternatively, narrow the timerange to reduce the number of data points analyzed. You can also increase the execution timeout viaSCRIPT_ENGINE_RUNTIME_TIMEOUTin the Python Executor configuration or viaSCRIPT_ENGINE_TIMEOUTin the Trendz configuration properties. - Save frequently using the Save Changes button — unsaved changes are lost if you navigate away.
- Add comments and logs via AI to improve debuggability: ask the AI to add
print()statements at key steps, then review them in the Logs section.
Was this helpful?